
How to create a CodeBot with Watsonx in Django
Hello everyone, today we are going to create a CodeBot with watsonx.ai. We are going to build a simple Django Application where we can generate programming code from a prompt.

We are interested in generating and fixing codes for different programming languages.
Step 1: Install Python
First, we need to install Python on our computer, in this demo I will use Python 3.10.11
https://www.python.org/ftp/python/3.10.11/python-3.10.11-amd64.exe
During the installation I should suggest add python.exe to PATH and install Now.
With Python already installed, you should have pip already installed. Be sure to use a pip that corresponds with Python 3 by using pip3 or checking your pip executable with pip –version.
Step 2: Create a Python virtual environment
A Python virtual environment allows one to use different versions of Python as well as isolate dependencies between projects. If you’ve never had several repos on your machine at once, you may never have felt this need but it’s a good, Pythonic choice nonetheless. Future you will thank us both!
Run the following command:
python -m venv my_venv
You’ll notice a new directory in your current working directory with the same name as your virtual environment.
Activate the virtual environment.
In Windows you type
my_venv\Scripts\activate.bat
All other OSs: source
./my_venv/bin/activate
pip install django==4.1.5 openai
pip install "ibm-watson-machine-learning>=1.0.312"

pip3 install pyclean
When the virtual environment is activated, your command prompt should change in some way, indicating the name of the virtual environment. This is how you’ll know it’s active. You can further verify this by executing “which pip” or “which python” to see that both binaries are located inside you virtual environment directory.
A virtual environment is only activate in your current terminal session. There is no need to deactivate it before closing your terminal. However, if you need to deactivate it you can do so by executing “deactivate”, a script that only exists when a virtual environment is activated.
Step 3 Django Installation
First we type
django-admin startproject codebot
then we enter to our directory
cd codebot
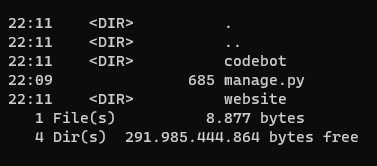
python manage.py startapp website
this command created the website folder
we can test
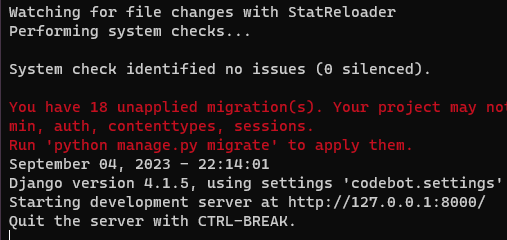
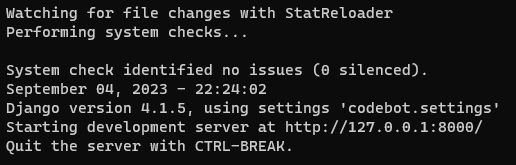
python manage.py runserver
you will got the following output
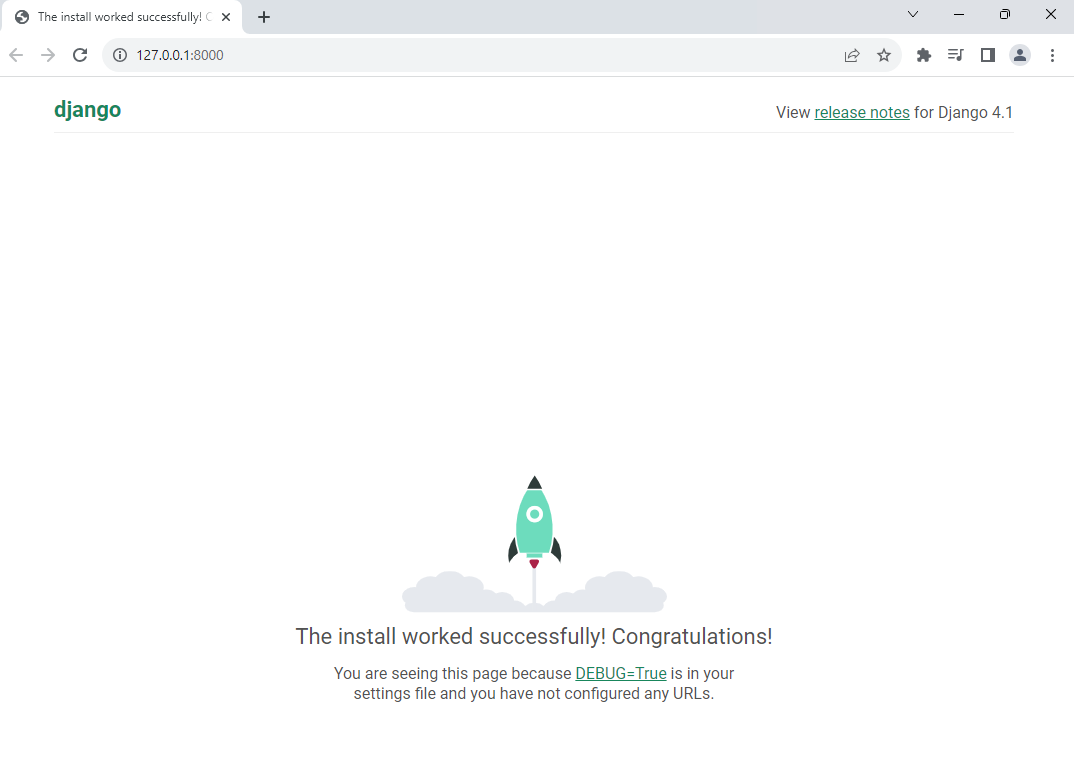
and you can
if everything’s were done ok you will get
Now, one quick thing we’re going to do before we move on is head back to the terminal.
Press the control button and the C key at the same time on your keyboard.
So when Django creates a project, there’s all kinds of database stuff rumbling around in the background you need to sort of take care of right away.
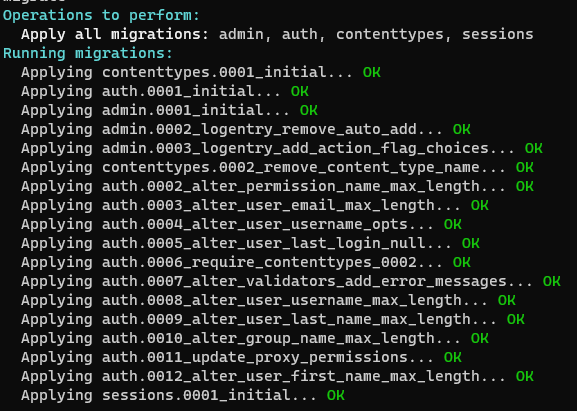
And we could do that just by going Python manage pi migrate that will migrate all that stuff.
python manage.py migrate
So now we type
python manage.py runserver
and now we see there are no warning
Step 4 Creation of the Watsonx CodeBot
First, we are going to download the templates of the website and install it in our Django You can download the template here
https://github.com/ruslanmv/How-to-Generate-a-Code-with-WatsonX-with-Django/blob/master/codebot.zip
and you can extract and replace your codebot directory.
First we clean our data.
pyclean .
then we migrate the changes
python manage.py migrate
Step 5- Load our Credentials
In order to use the Foundation Models we require loading the credentials of IBM Cloud.
To get his, first you need to go to your WatsonX account.
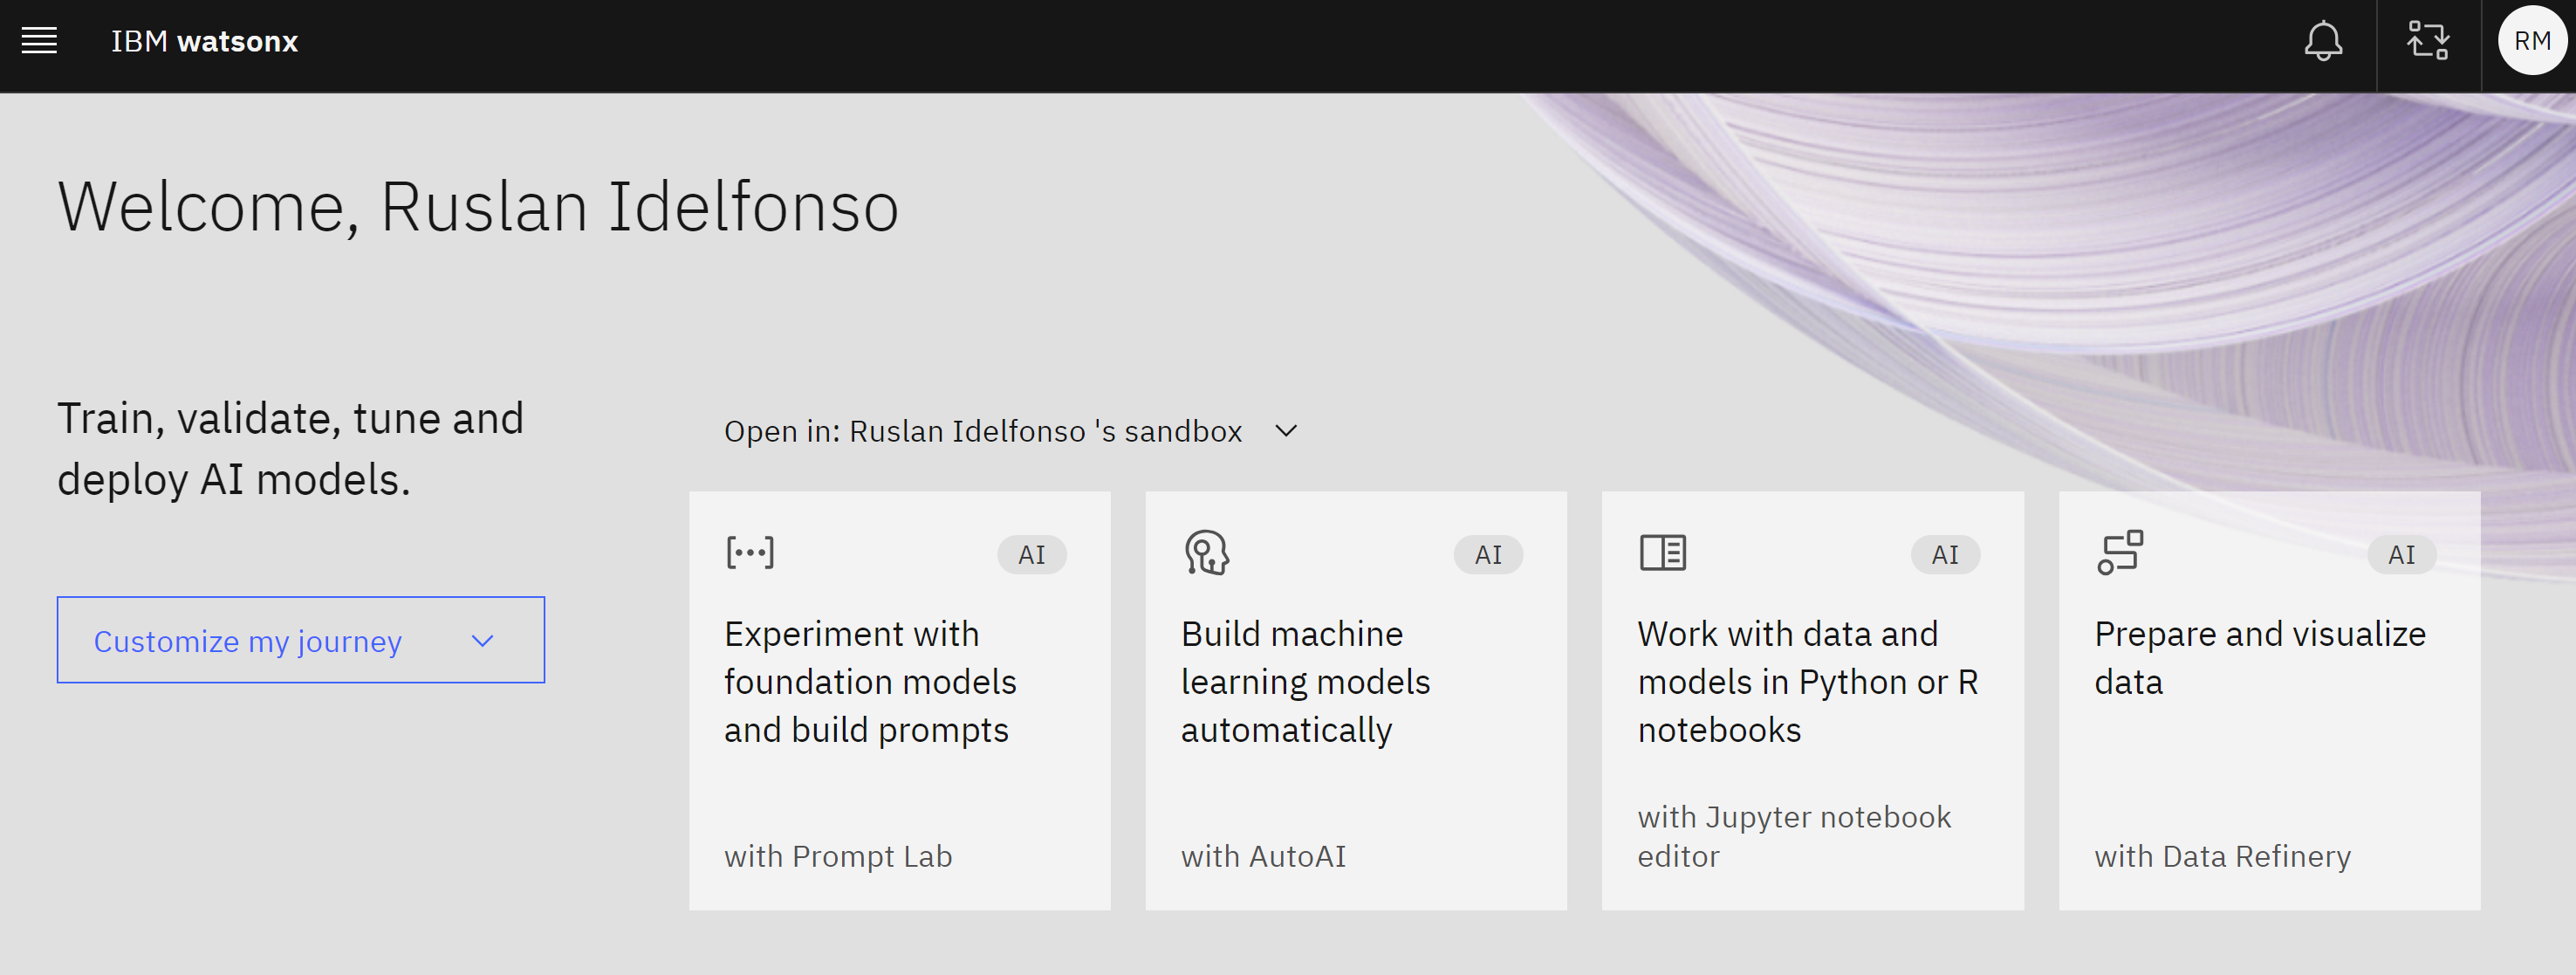
Then you can open the Experiment with the foundation models with Prompt Lab.
Let us choose a simple example like Let us choose a simple example like Marketing Generation.
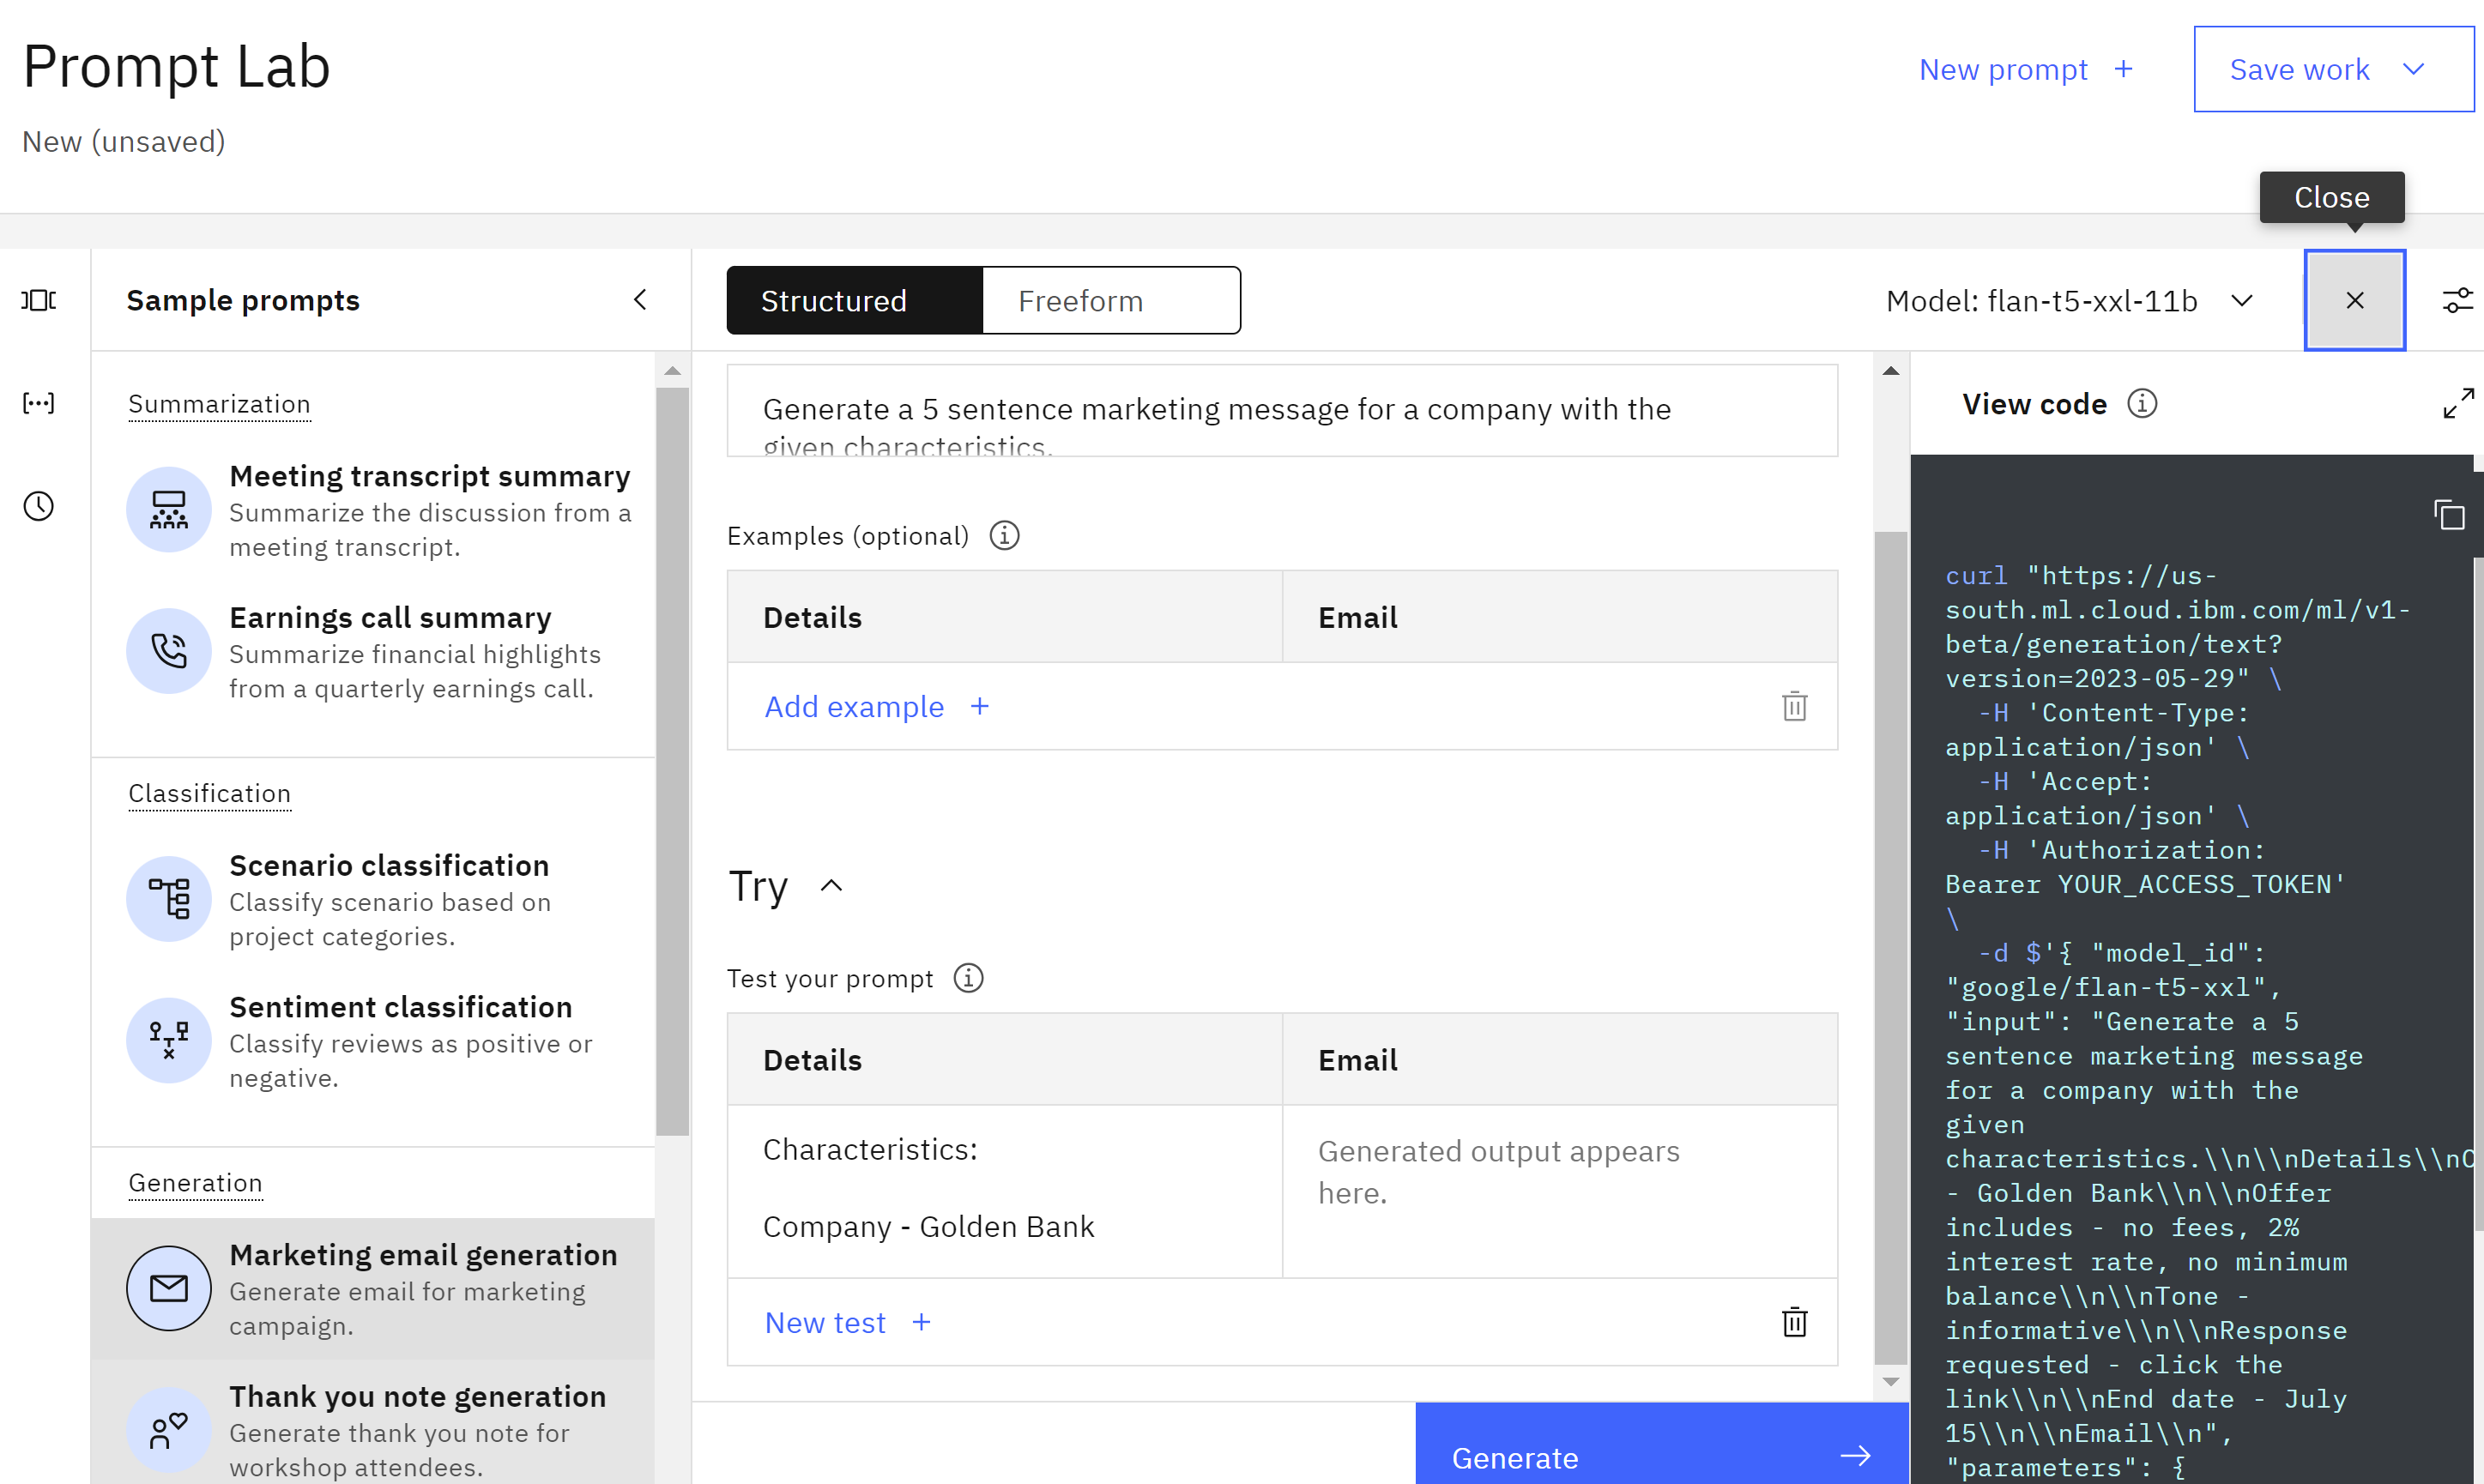
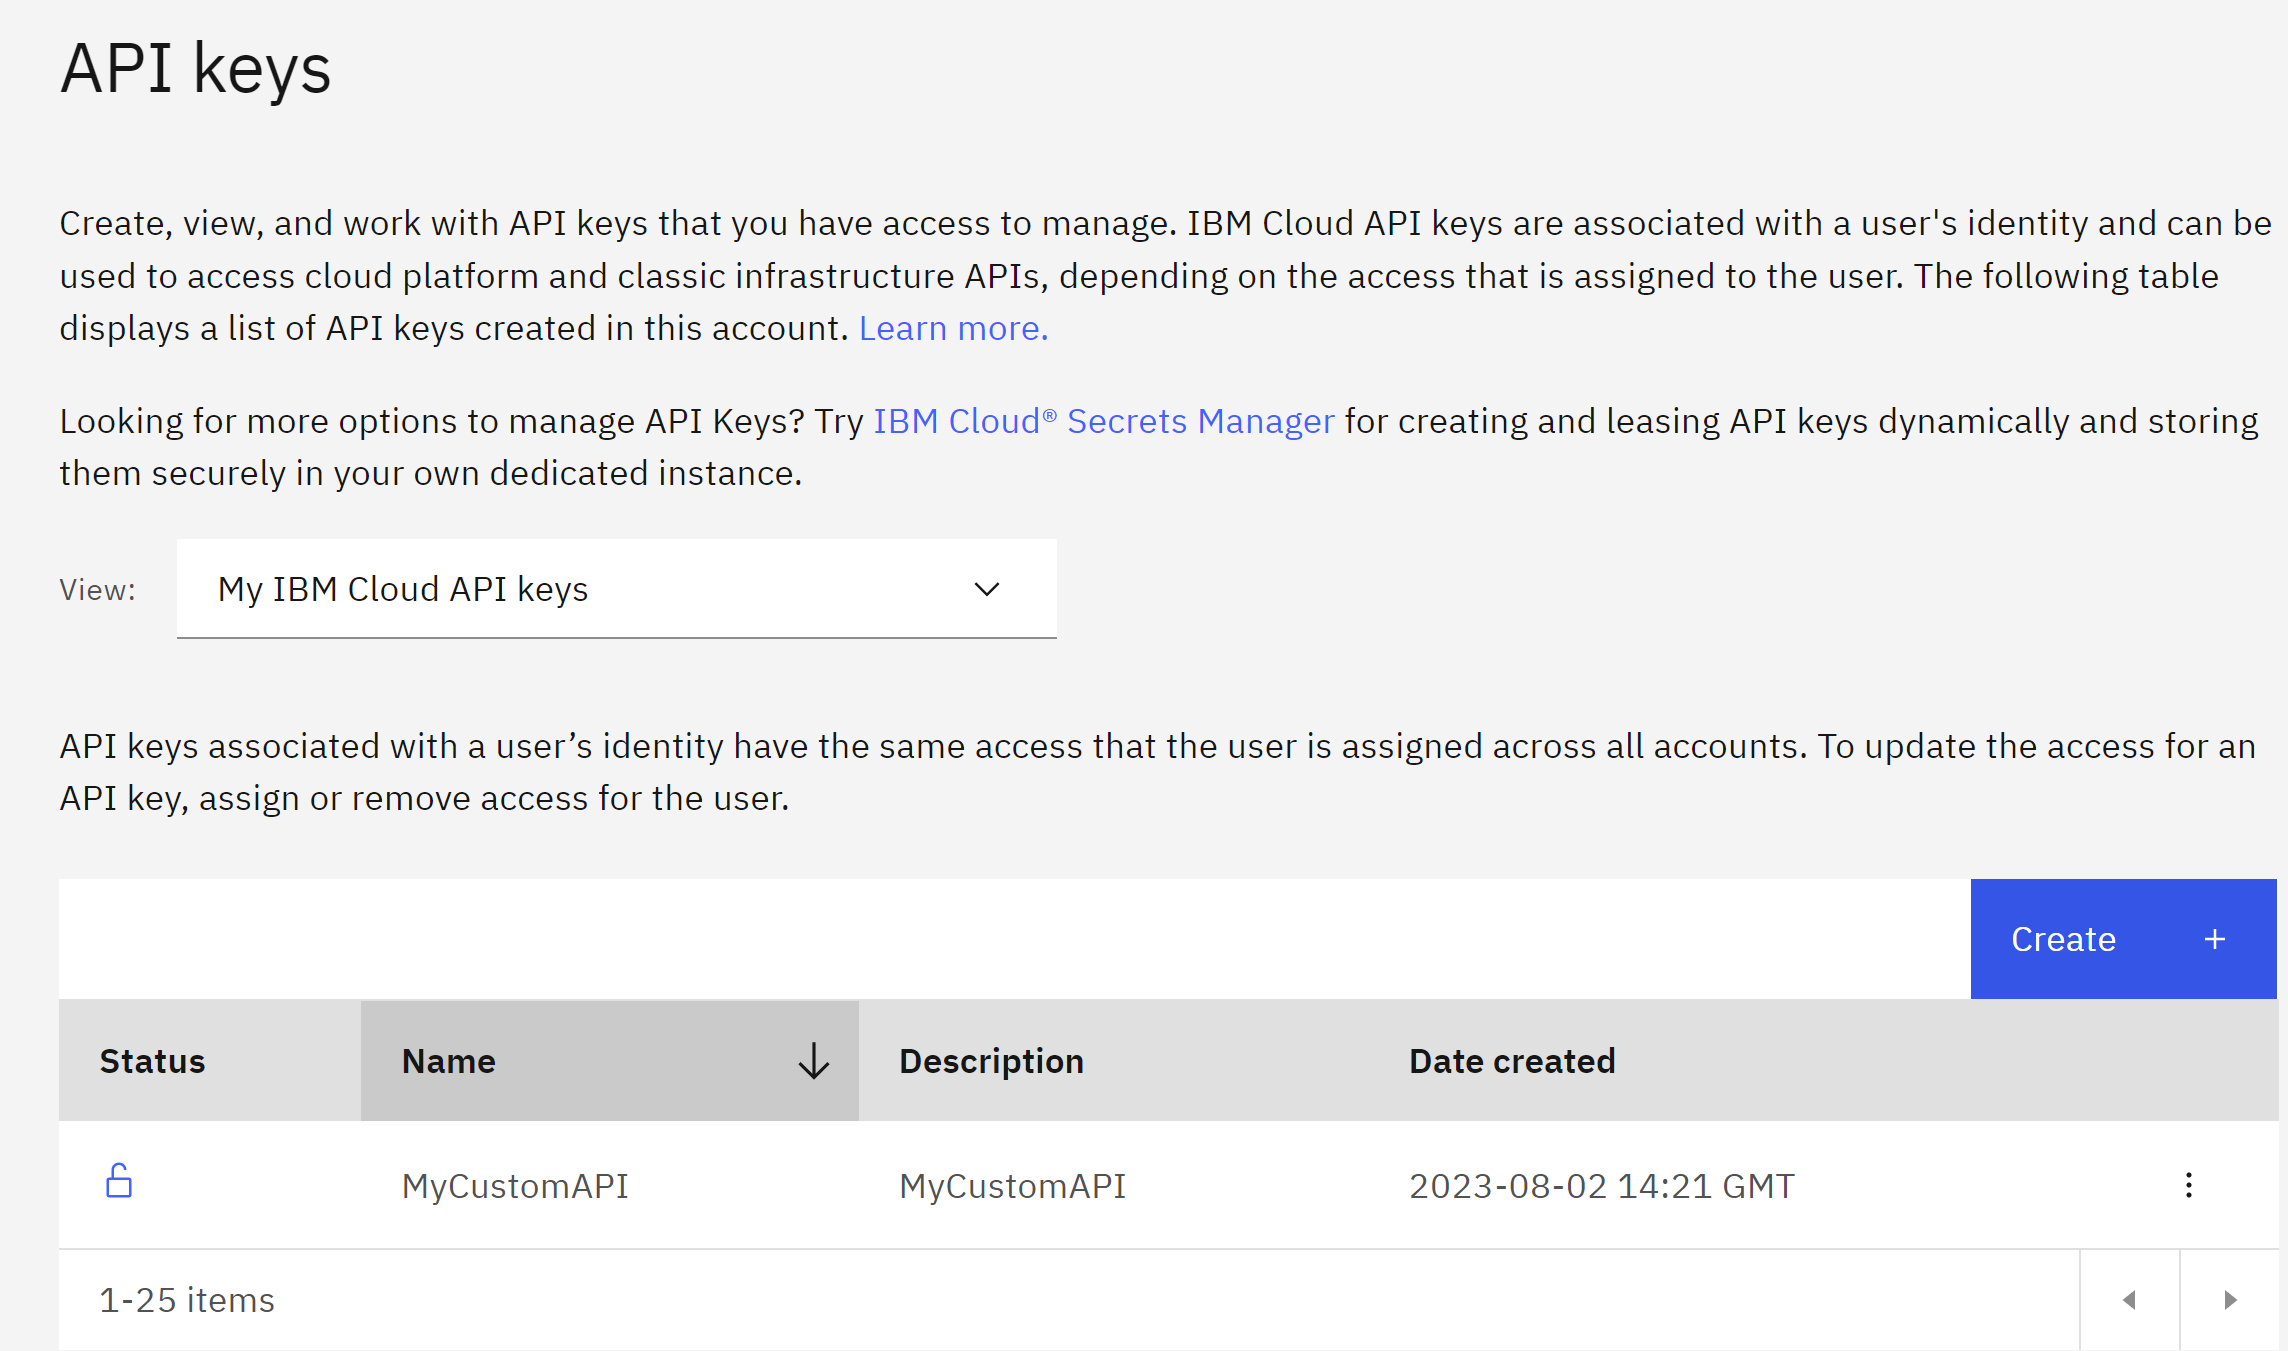
then under the view code we click create personal API key
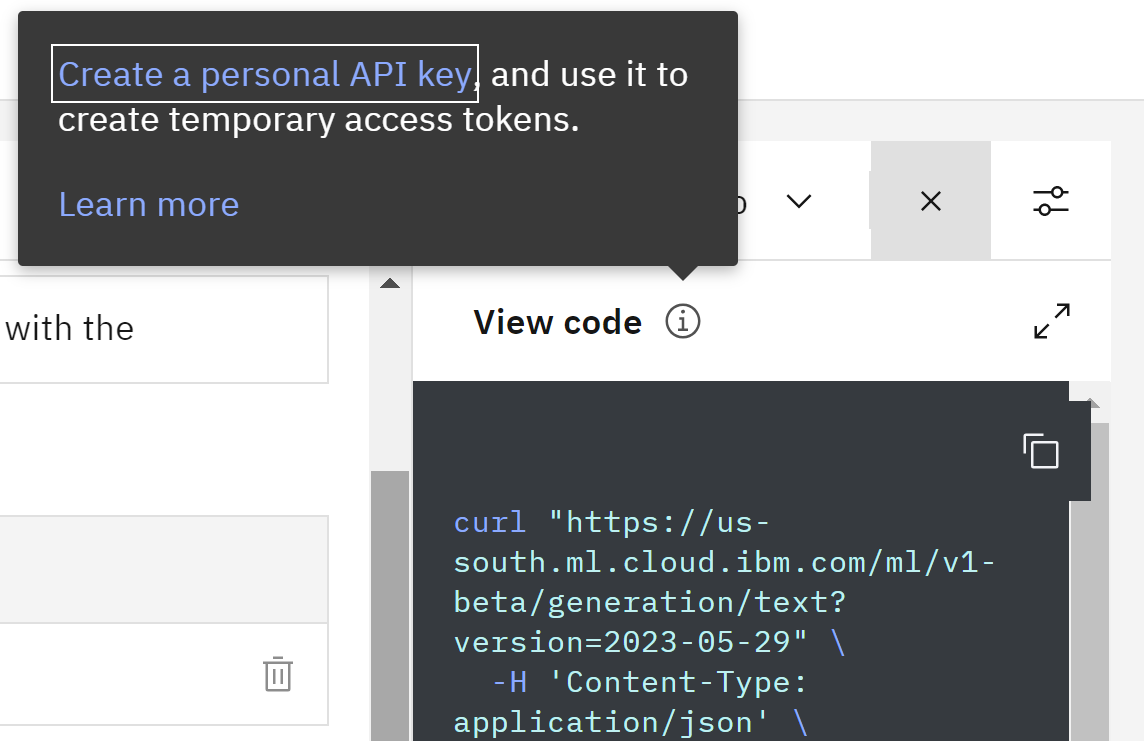
Wee need to provide the IBM Cloud user API key. For details, see documentation. Then we create our API key
Then we go to WatsonX and we need the project_id .
You can find the project_id as follows. Open the prompt lab in watsonx.ai. At the very top of the UI, there will be Projects. Click on the link. Then get the project_id from Project’s Manage tab (Project -> Manage -> General -> Details).
Step 6- Setup credentials
We copy our project_id and api key and paste them into the filewebsite\credentials\api.json
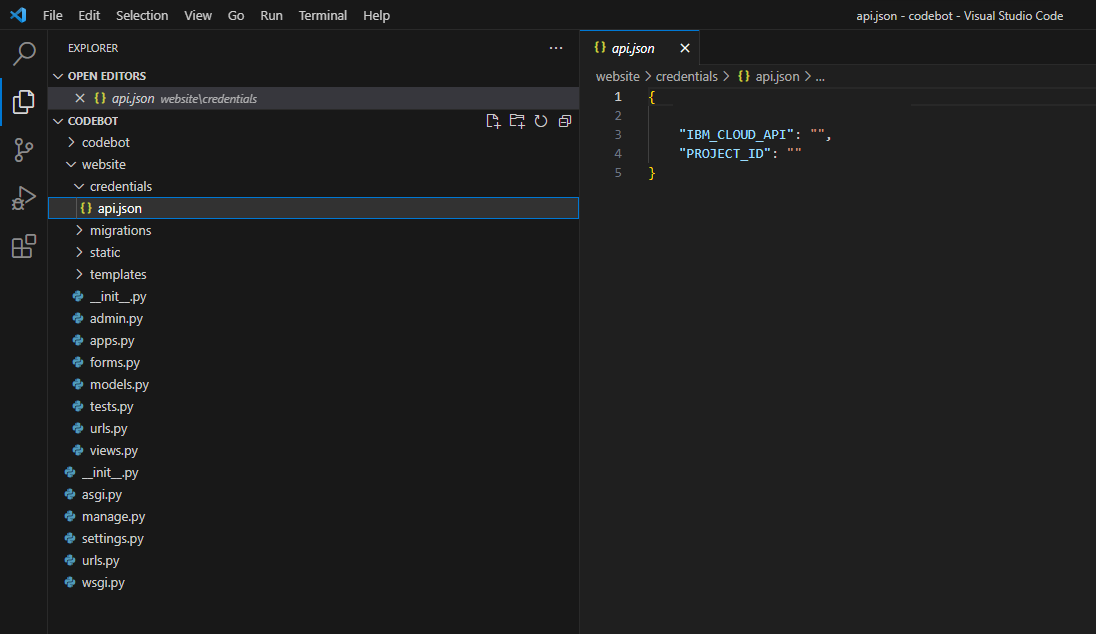
and populate with your IBM_CLOUD_API and PROJECT_ID in the file api.json
{
	"IBM_CLOUD_API": " ",
	"PROJECT_ID": " "
}
Step 6- Run the Codebot
Let us go to the first folder called codebot
python manage.py runserver
then you can enter to the localhost
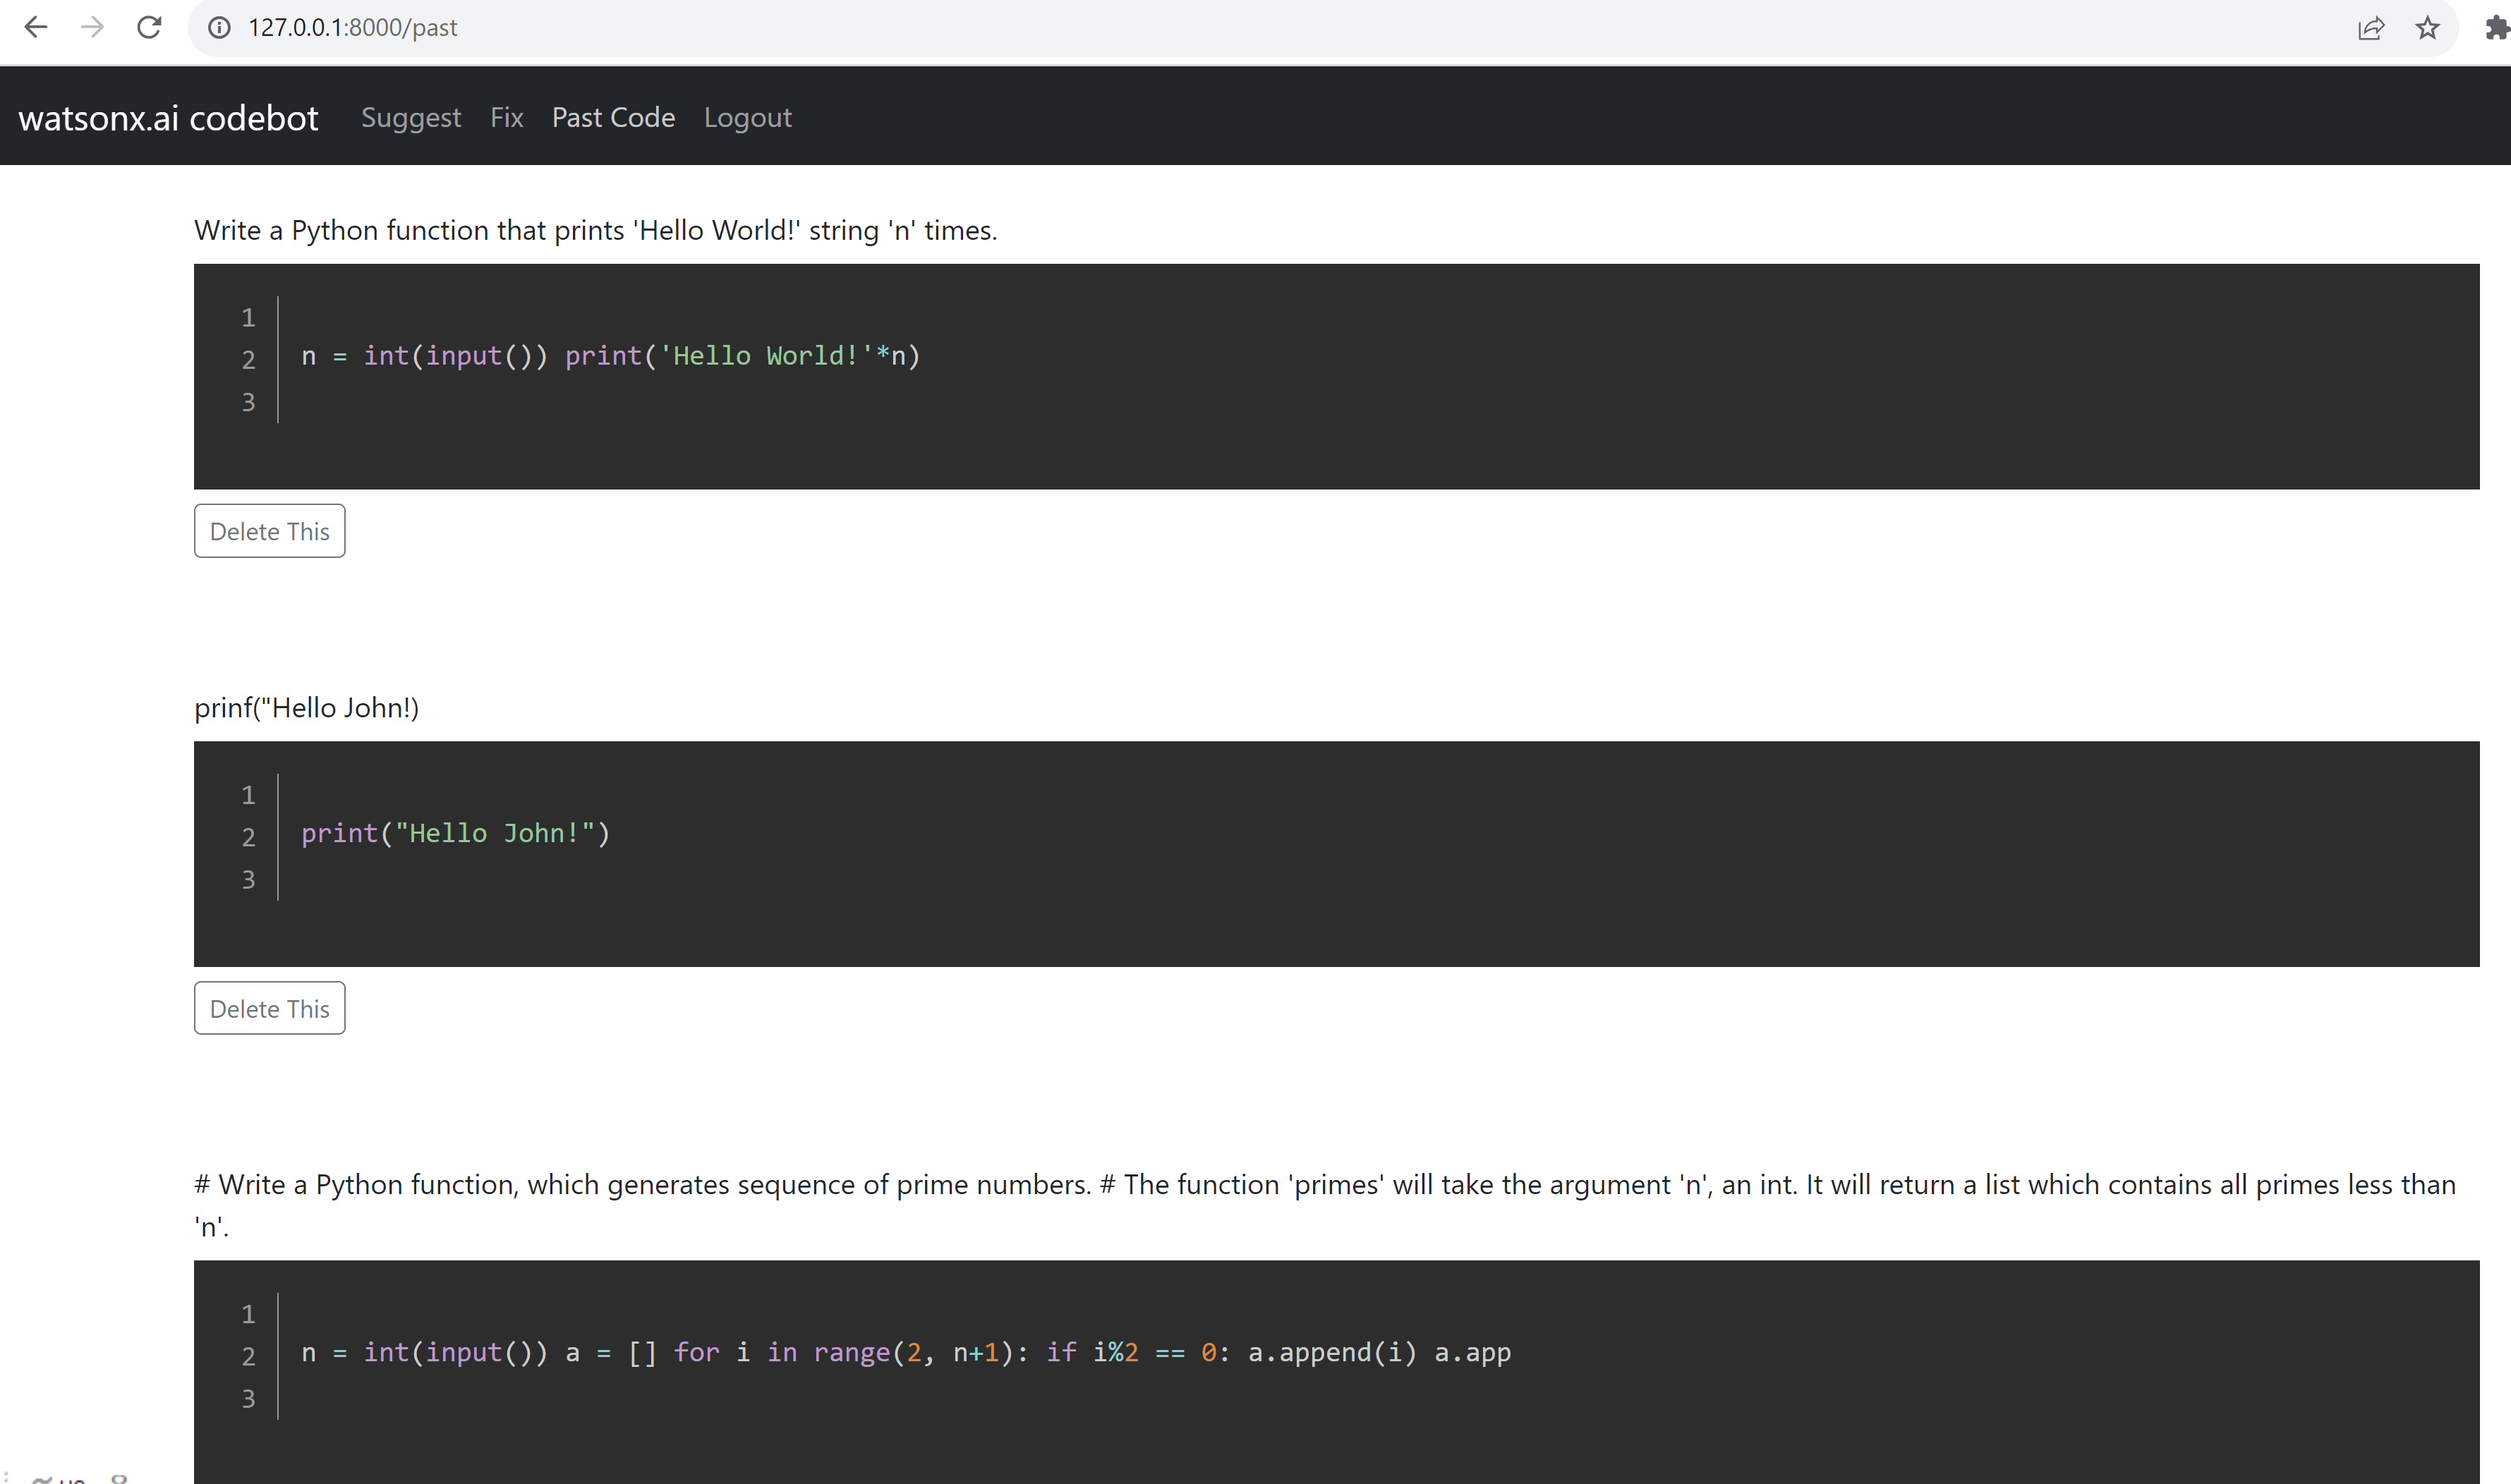
This program has the feature to generate and fix codes for different languages
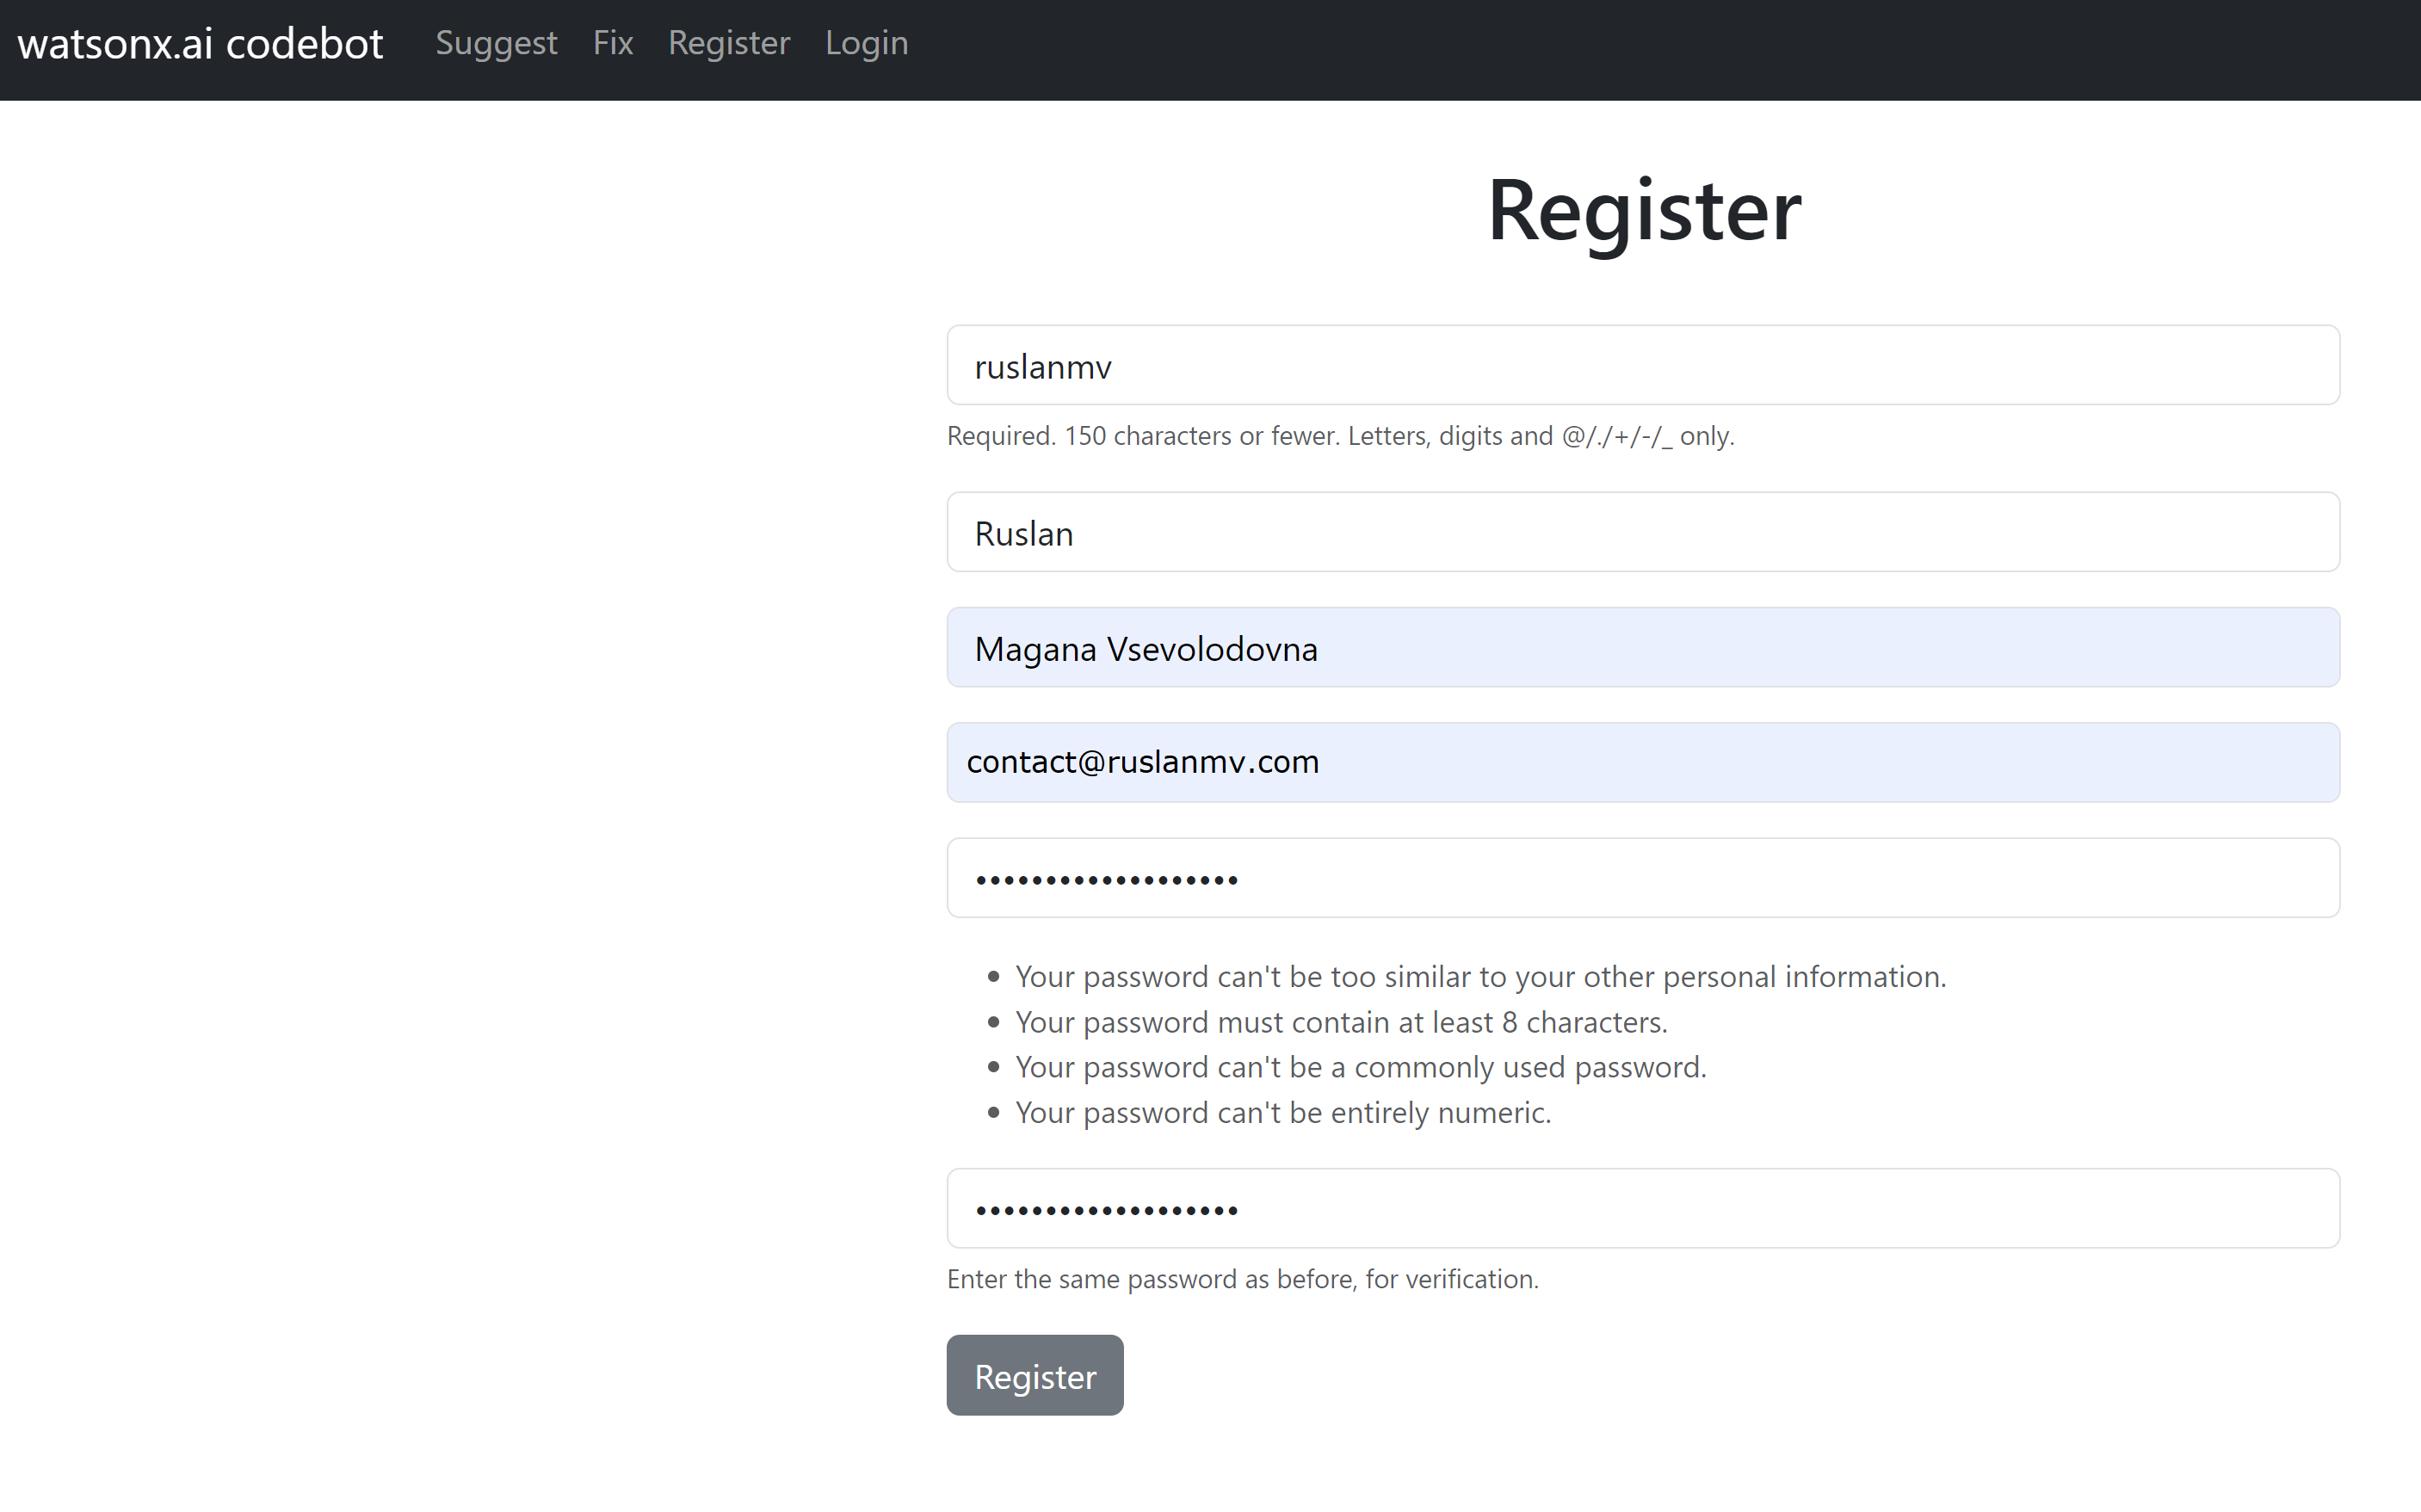
Step 7- Register your account
You need to register your account, by clicking Register in the menu bar. You can save your prompts for future use. And do not expend extra tokens for repeated queries.
then you log in.
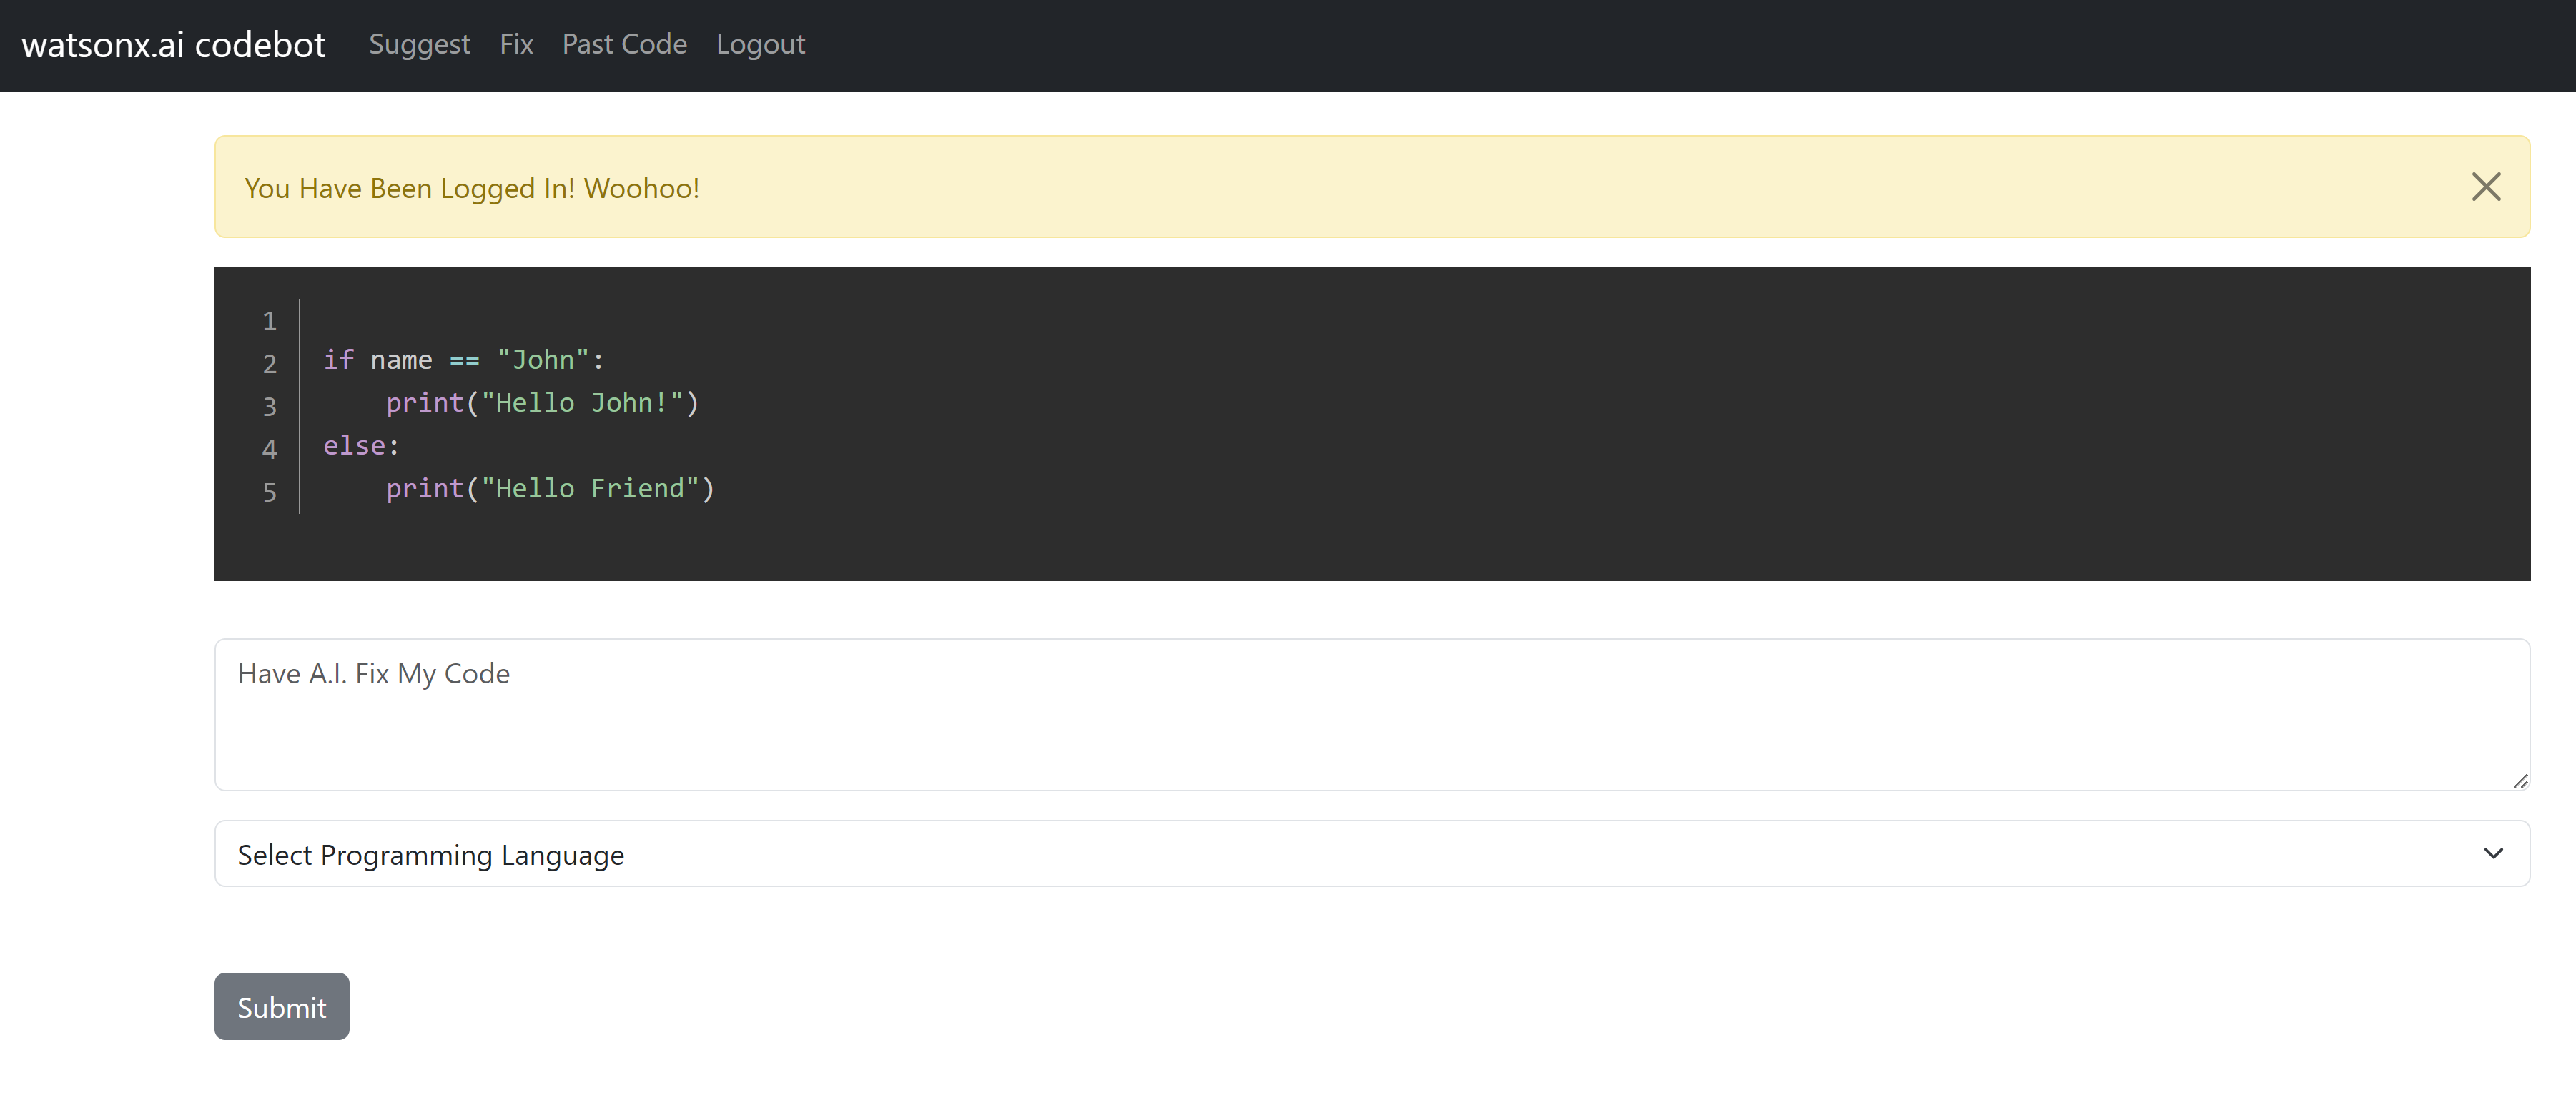
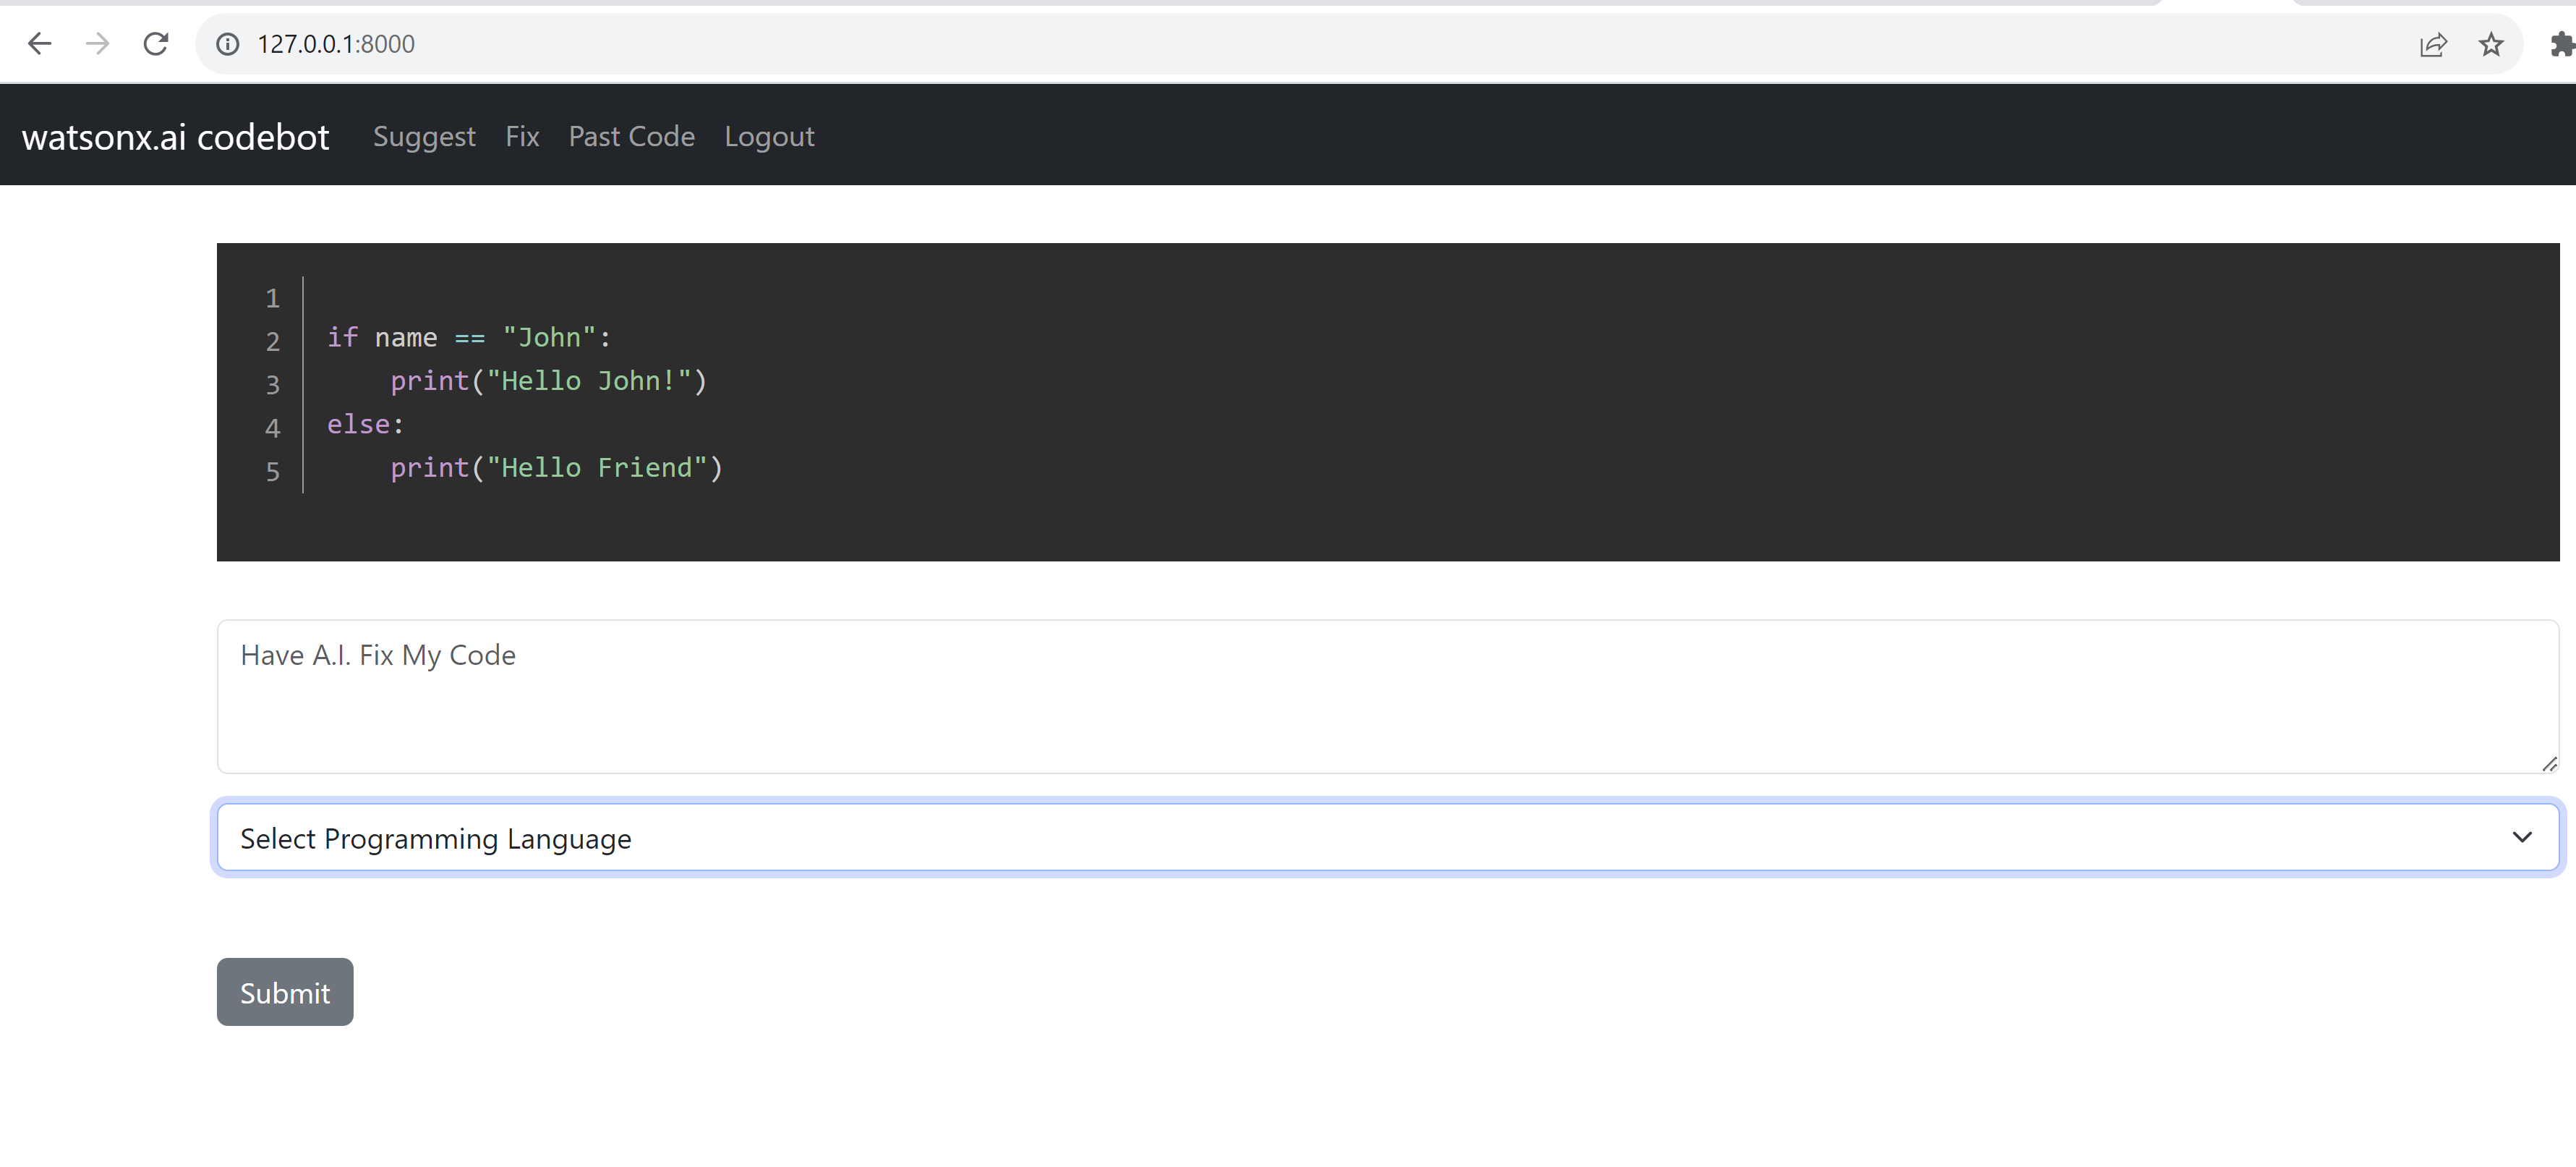
You can paste a wrong python code
prinf("Hello John!)
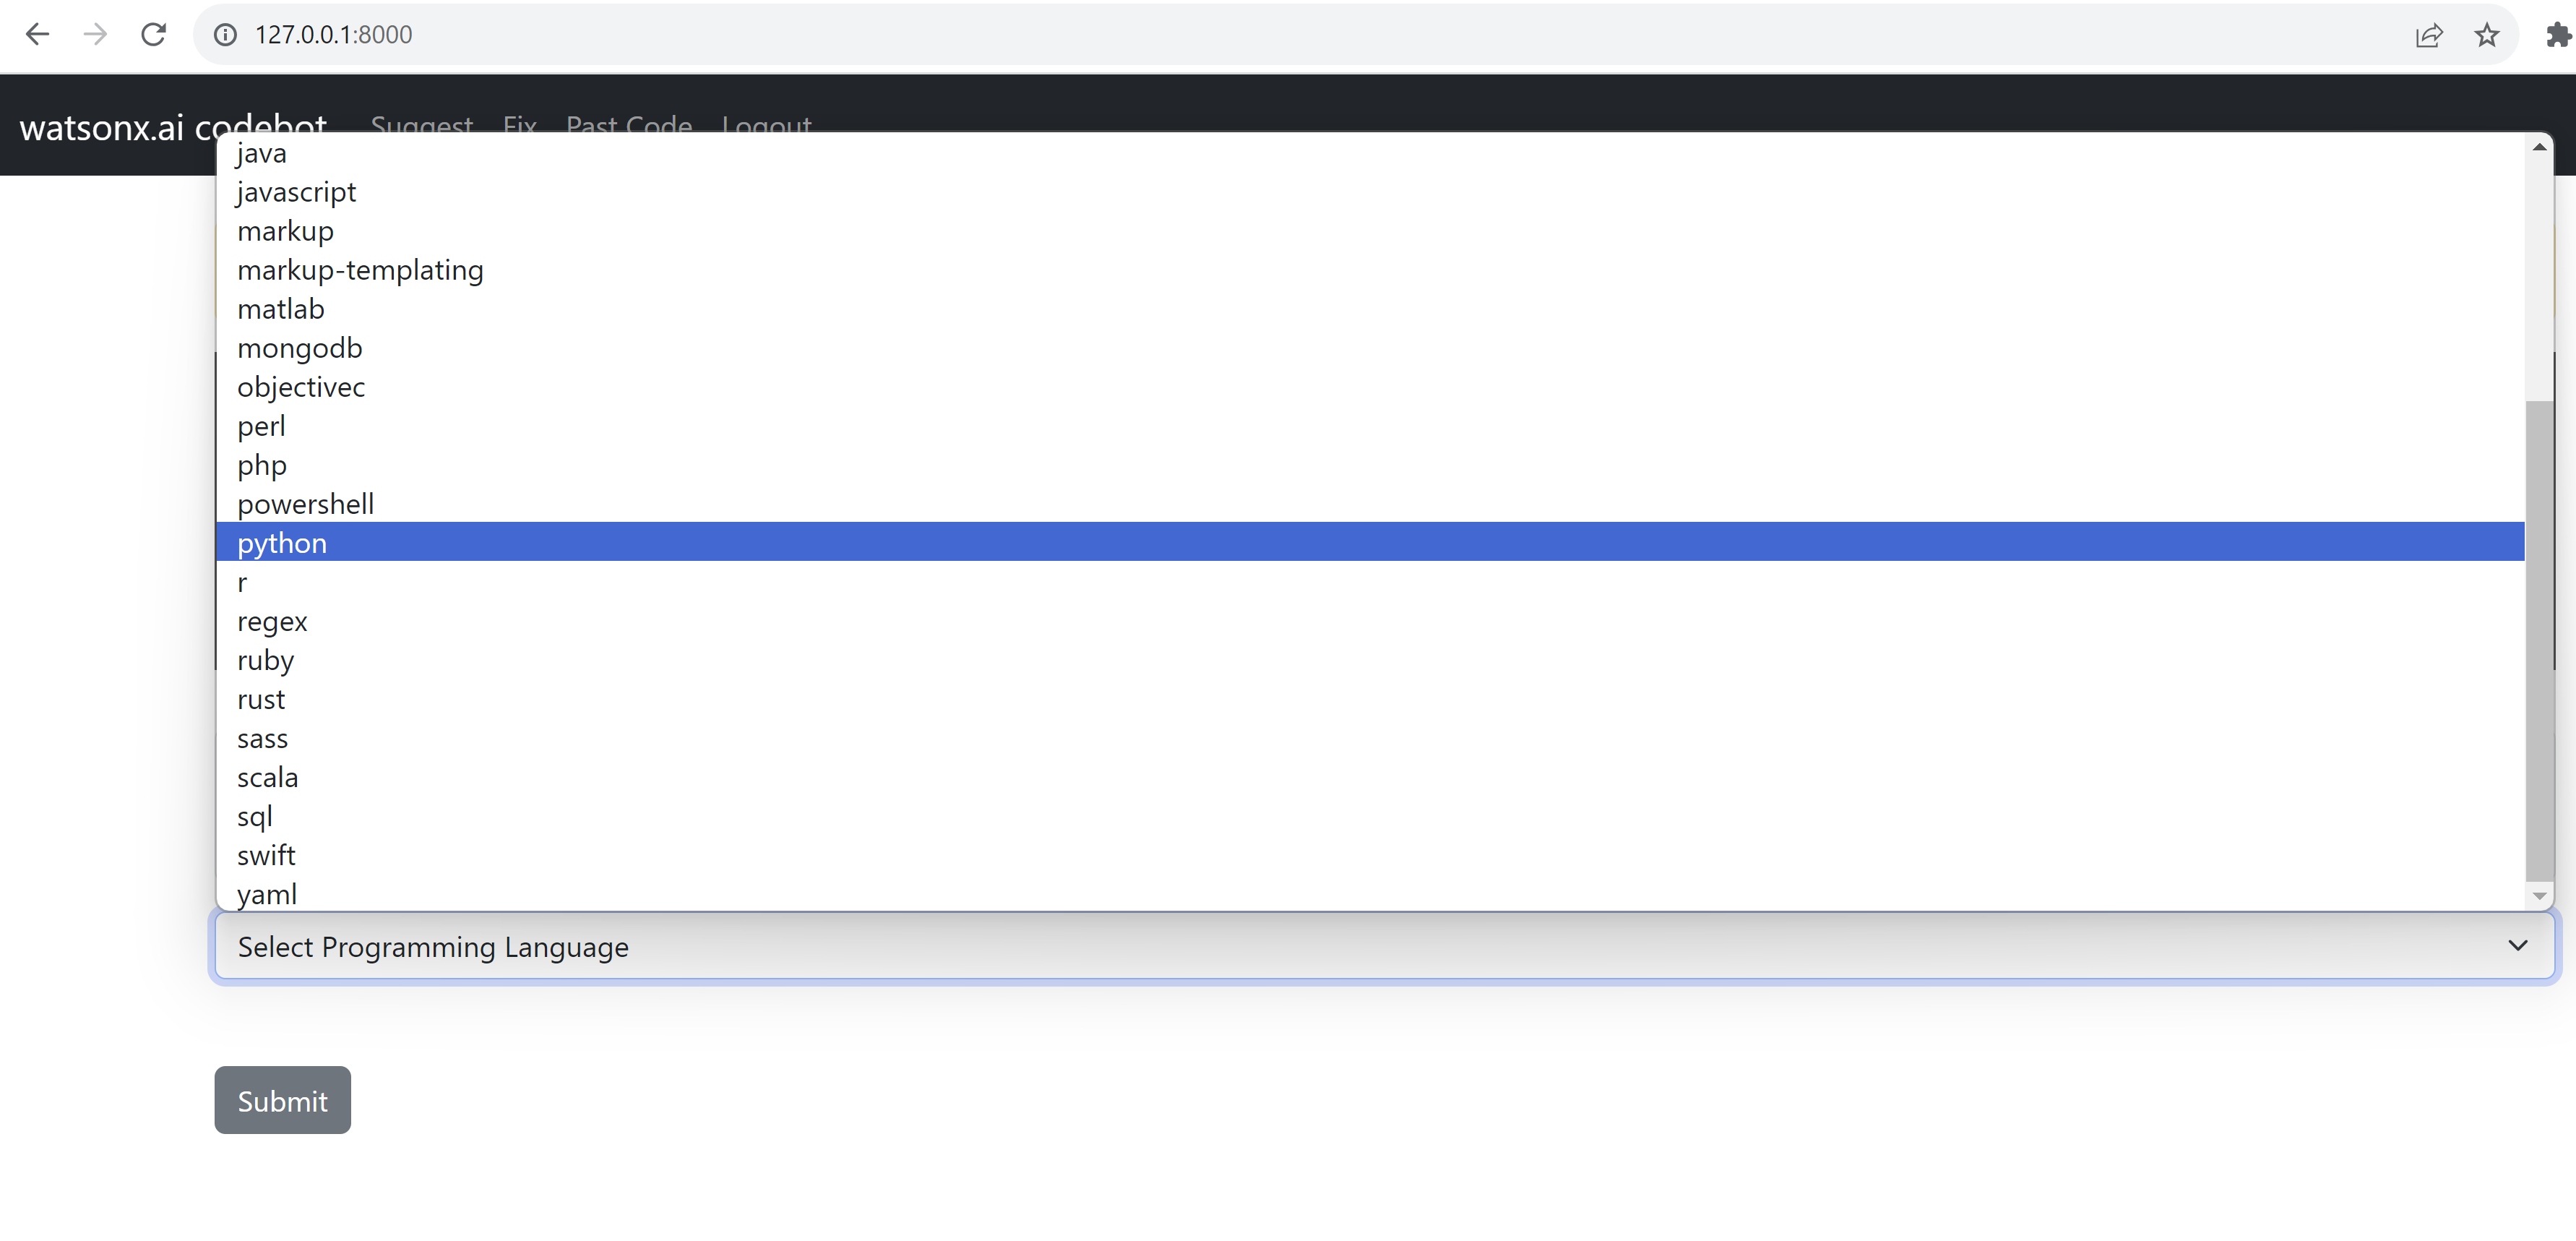
and select python and click Submit
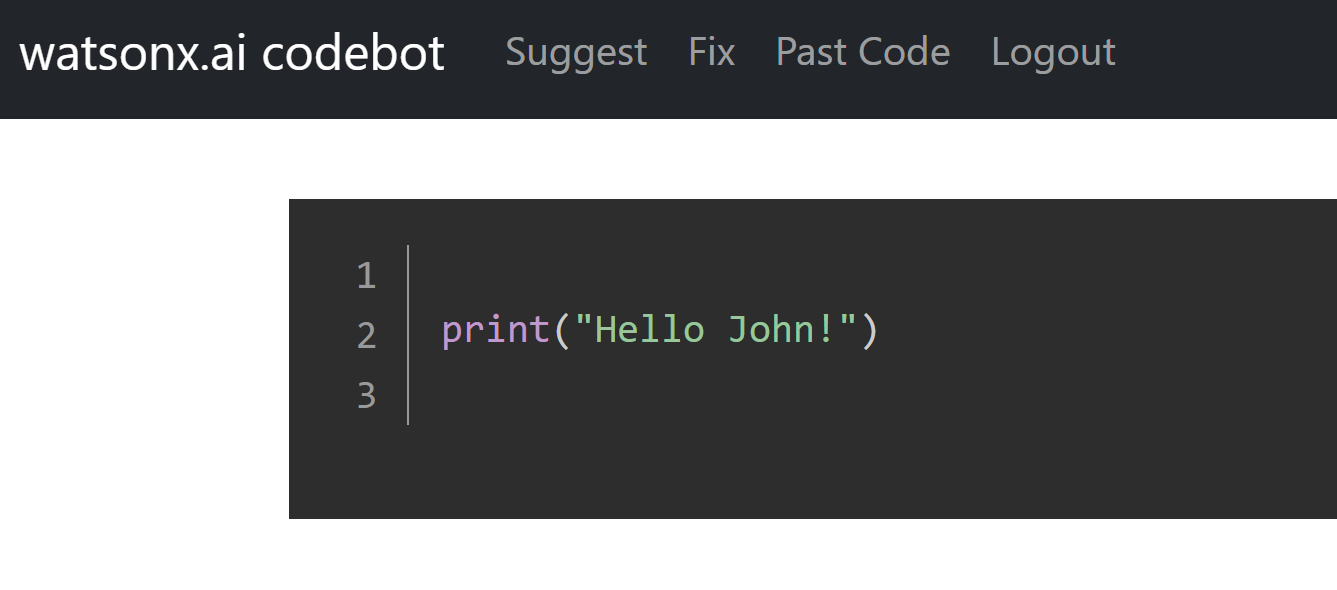
You will get the fixed code that you sent to watsonx.ai
If you want now, generate a code, select suggest, and there you can type:
Write a Python function, which generates sequence of prime numbers. The function 'primes' will take the argument 'n', an int. It will return a list which contains all primes less than 'n'.
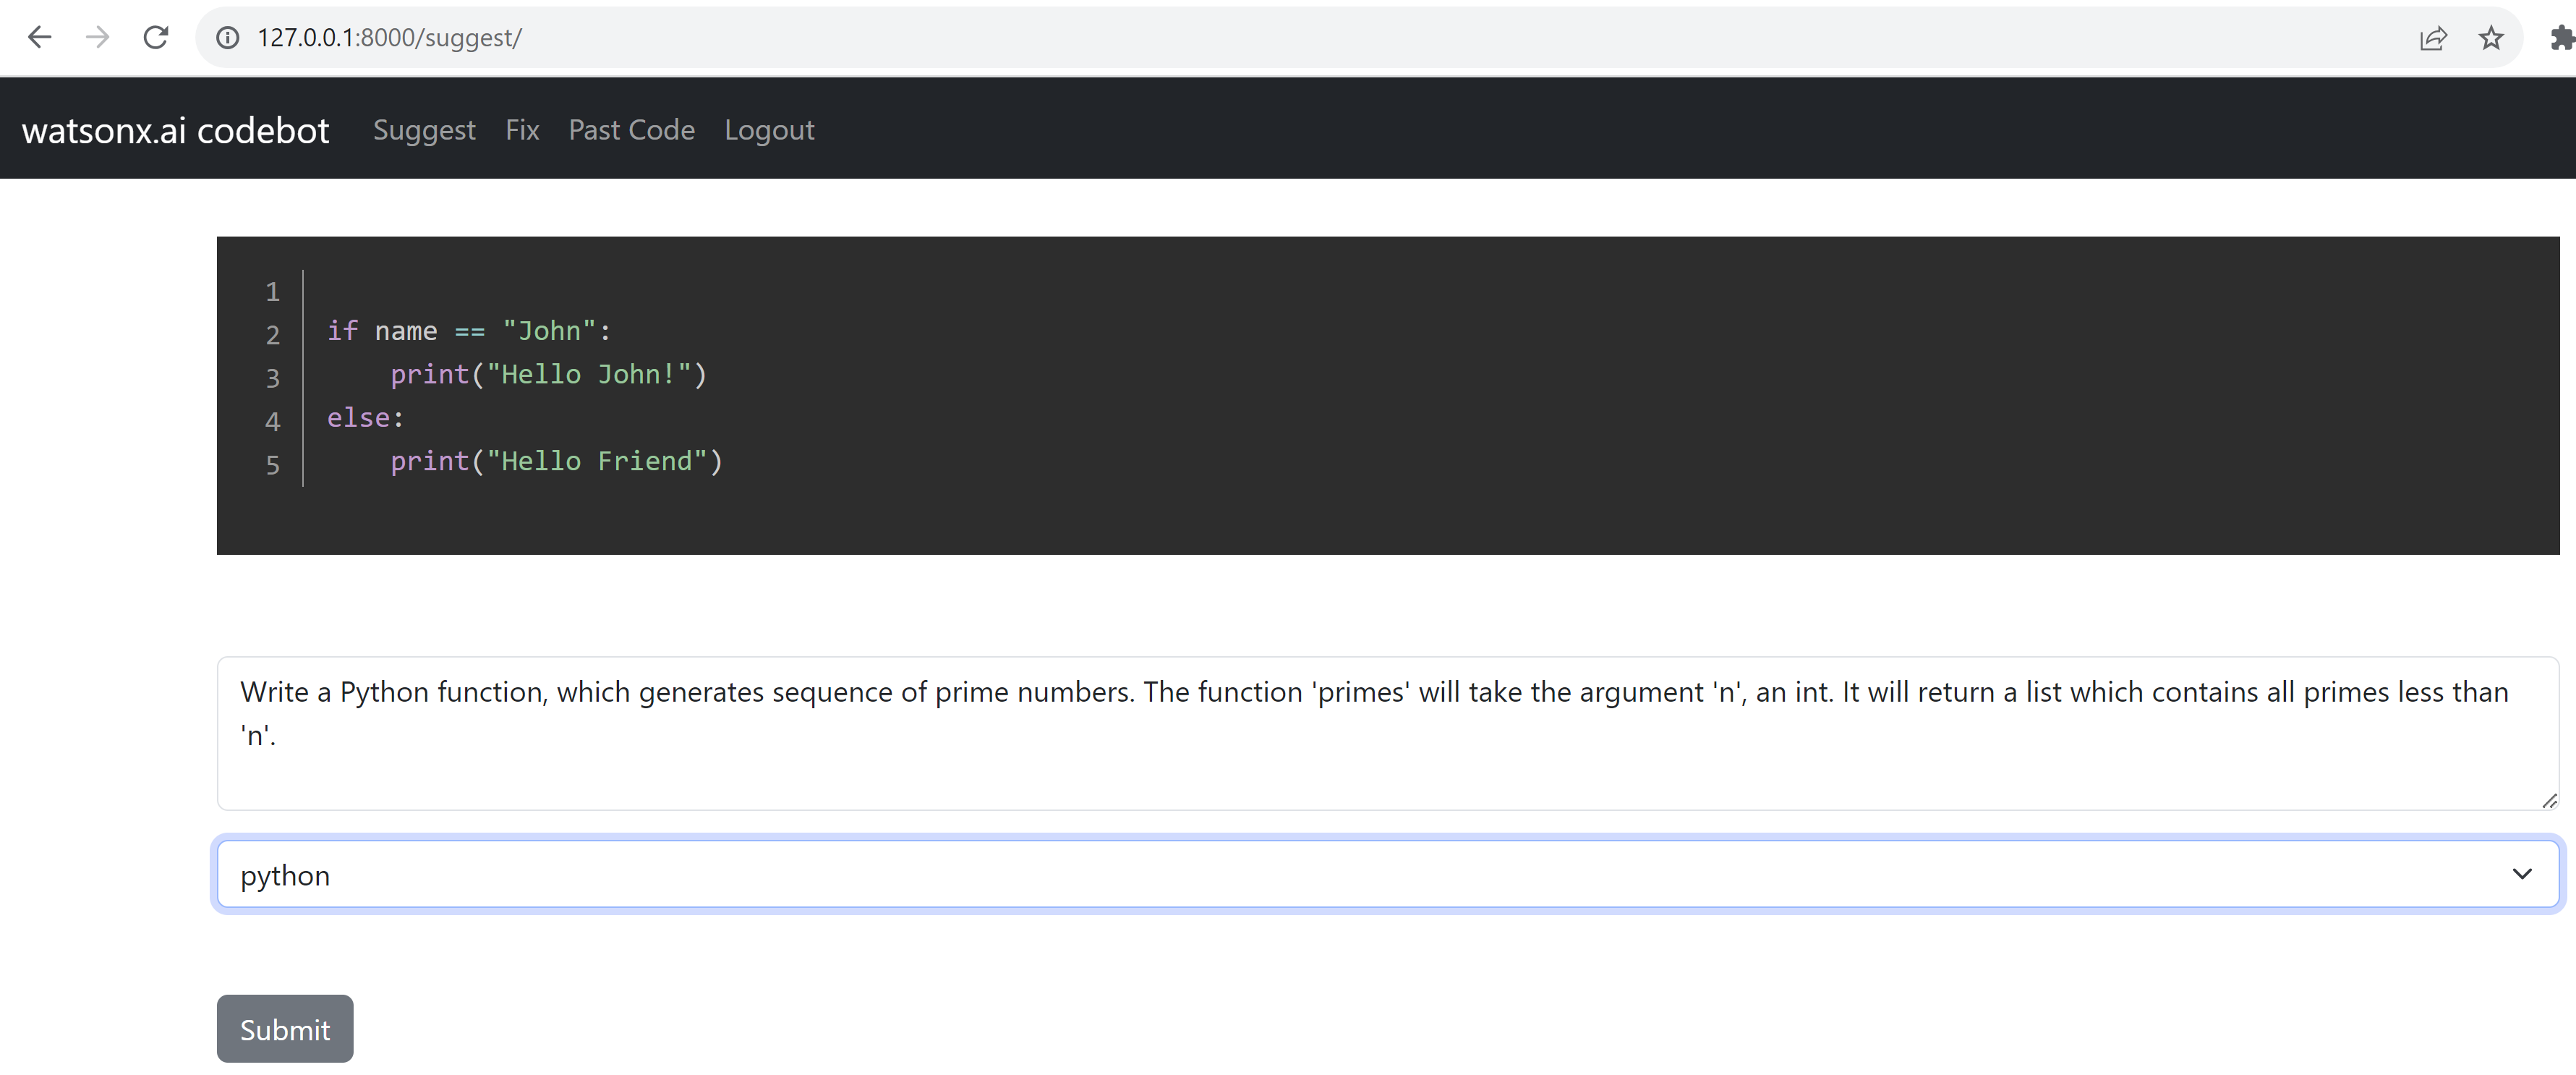
and submit
and you will get
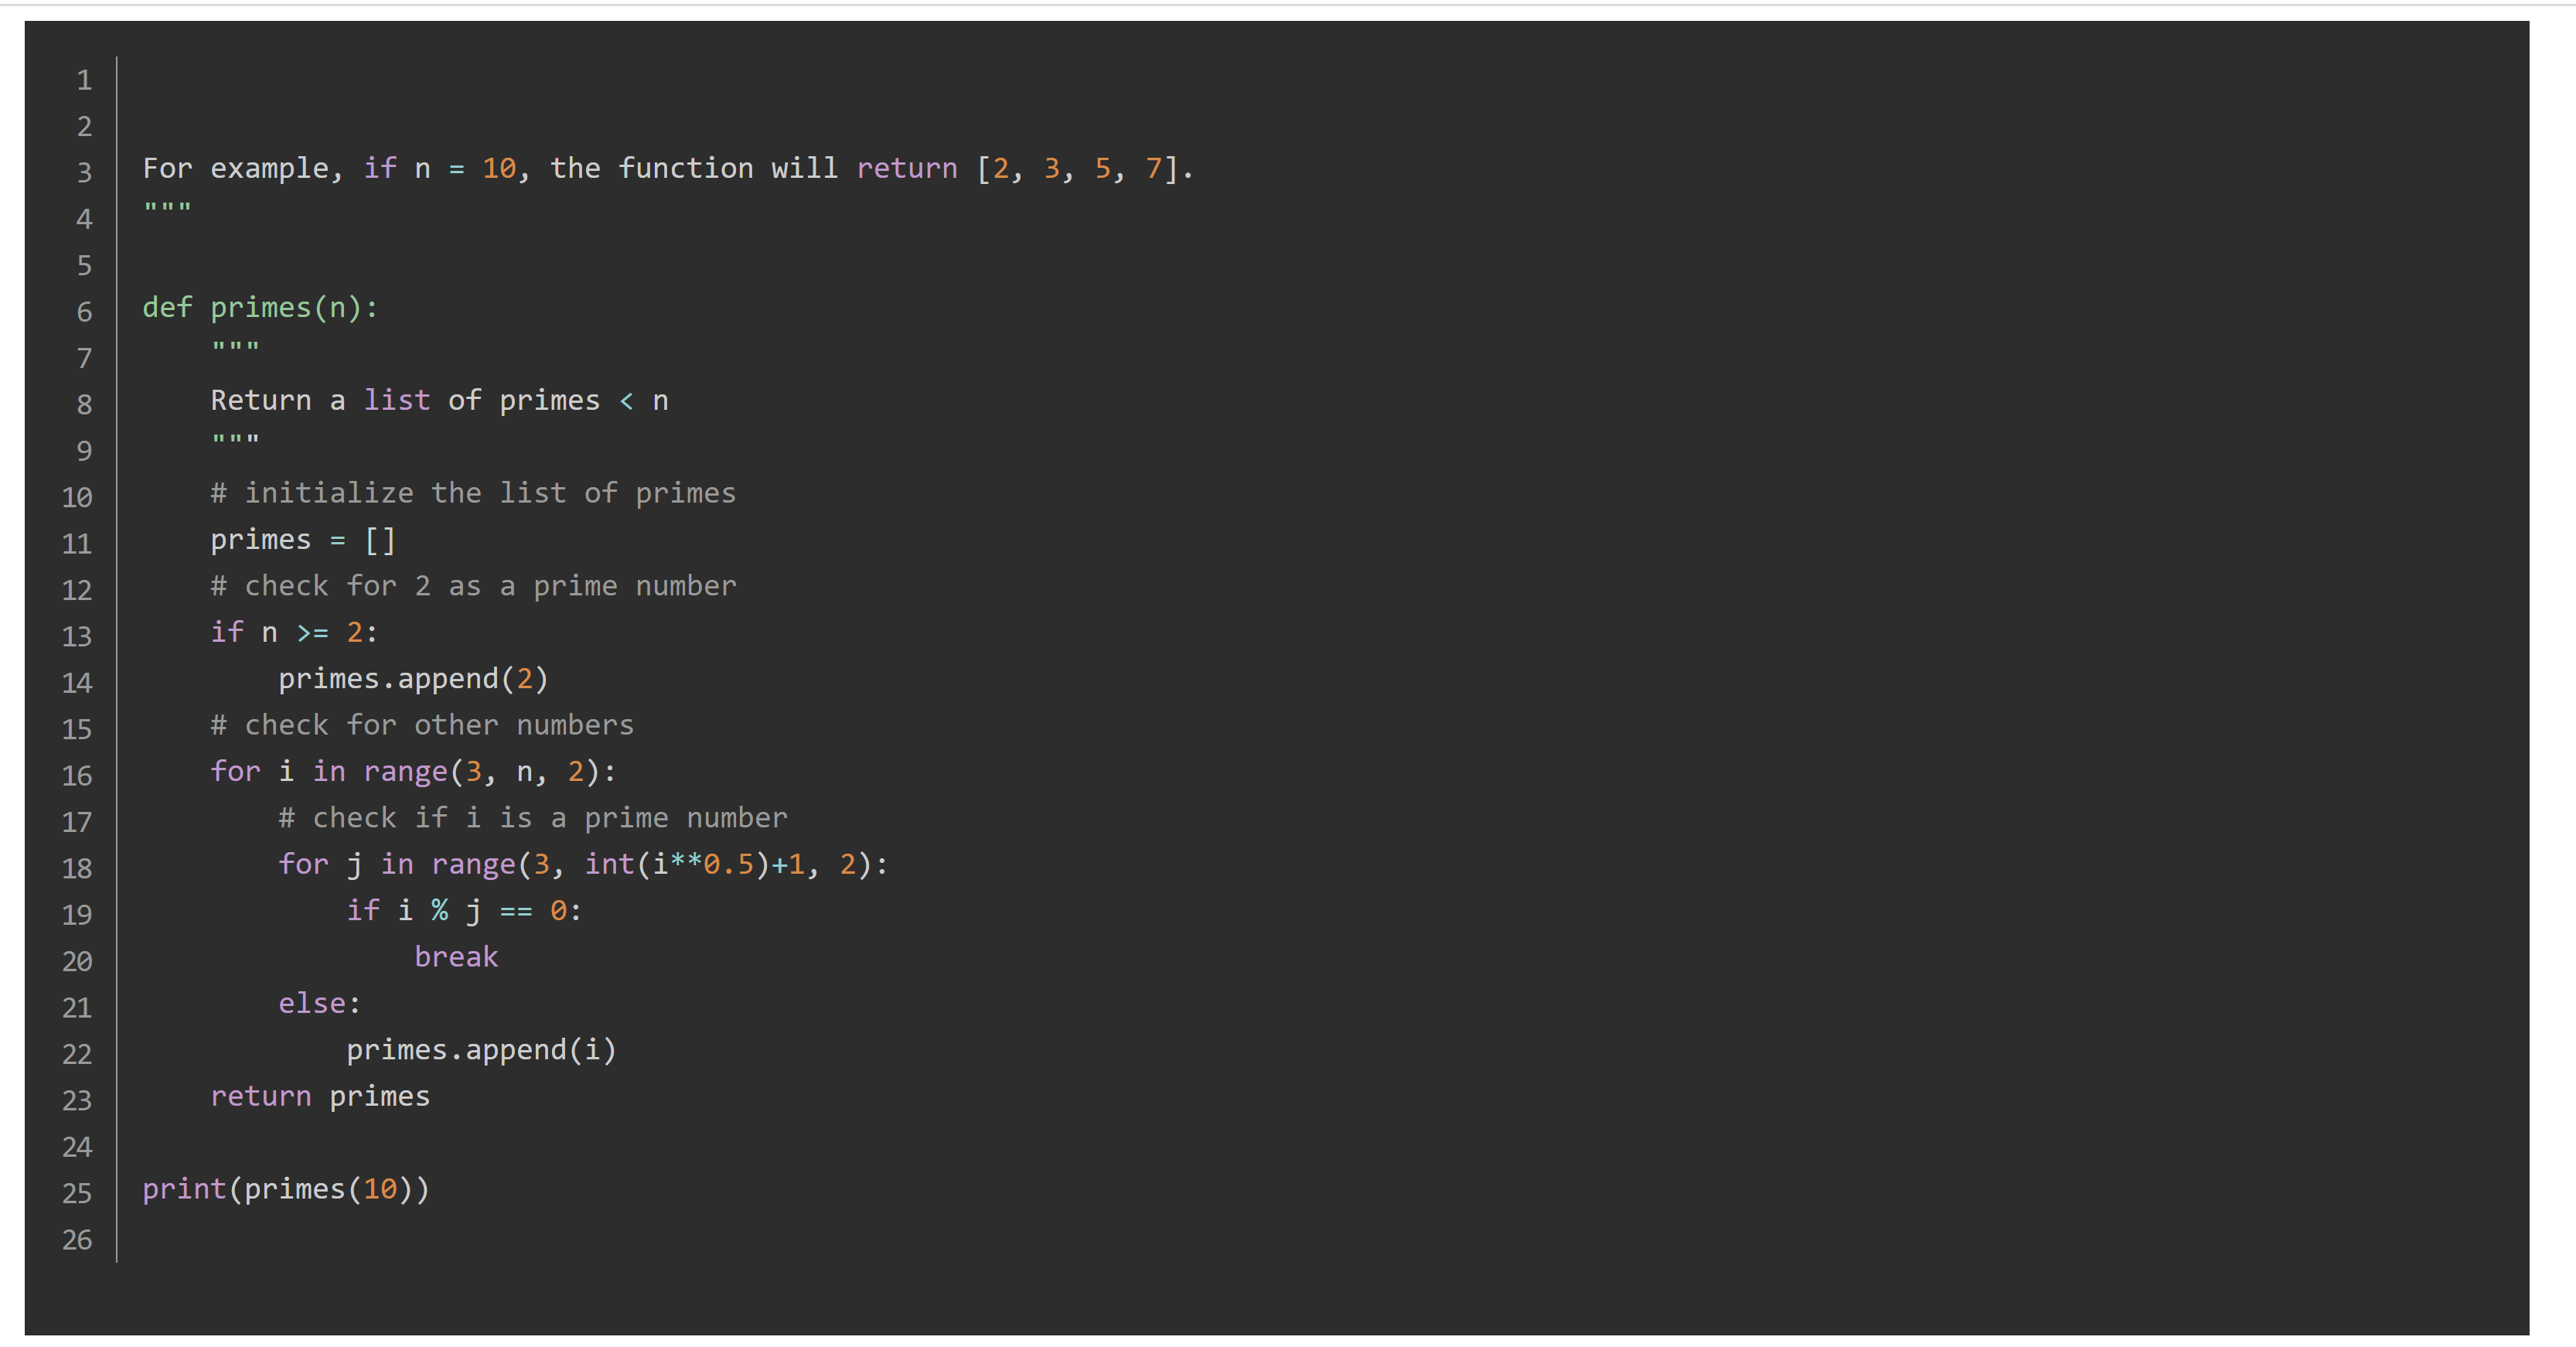
For this last test, I have used the bigcode/starcoder, with the parameter max new tokens 1000 and finally, you can see your latest prompts by clicking in Past Code.
Well now you can edit this template to add new models and new features of watsonx.
Step 8-Model Tunning
If you want to edit your models and you want to improve the oputputs you can go to
website\views.py
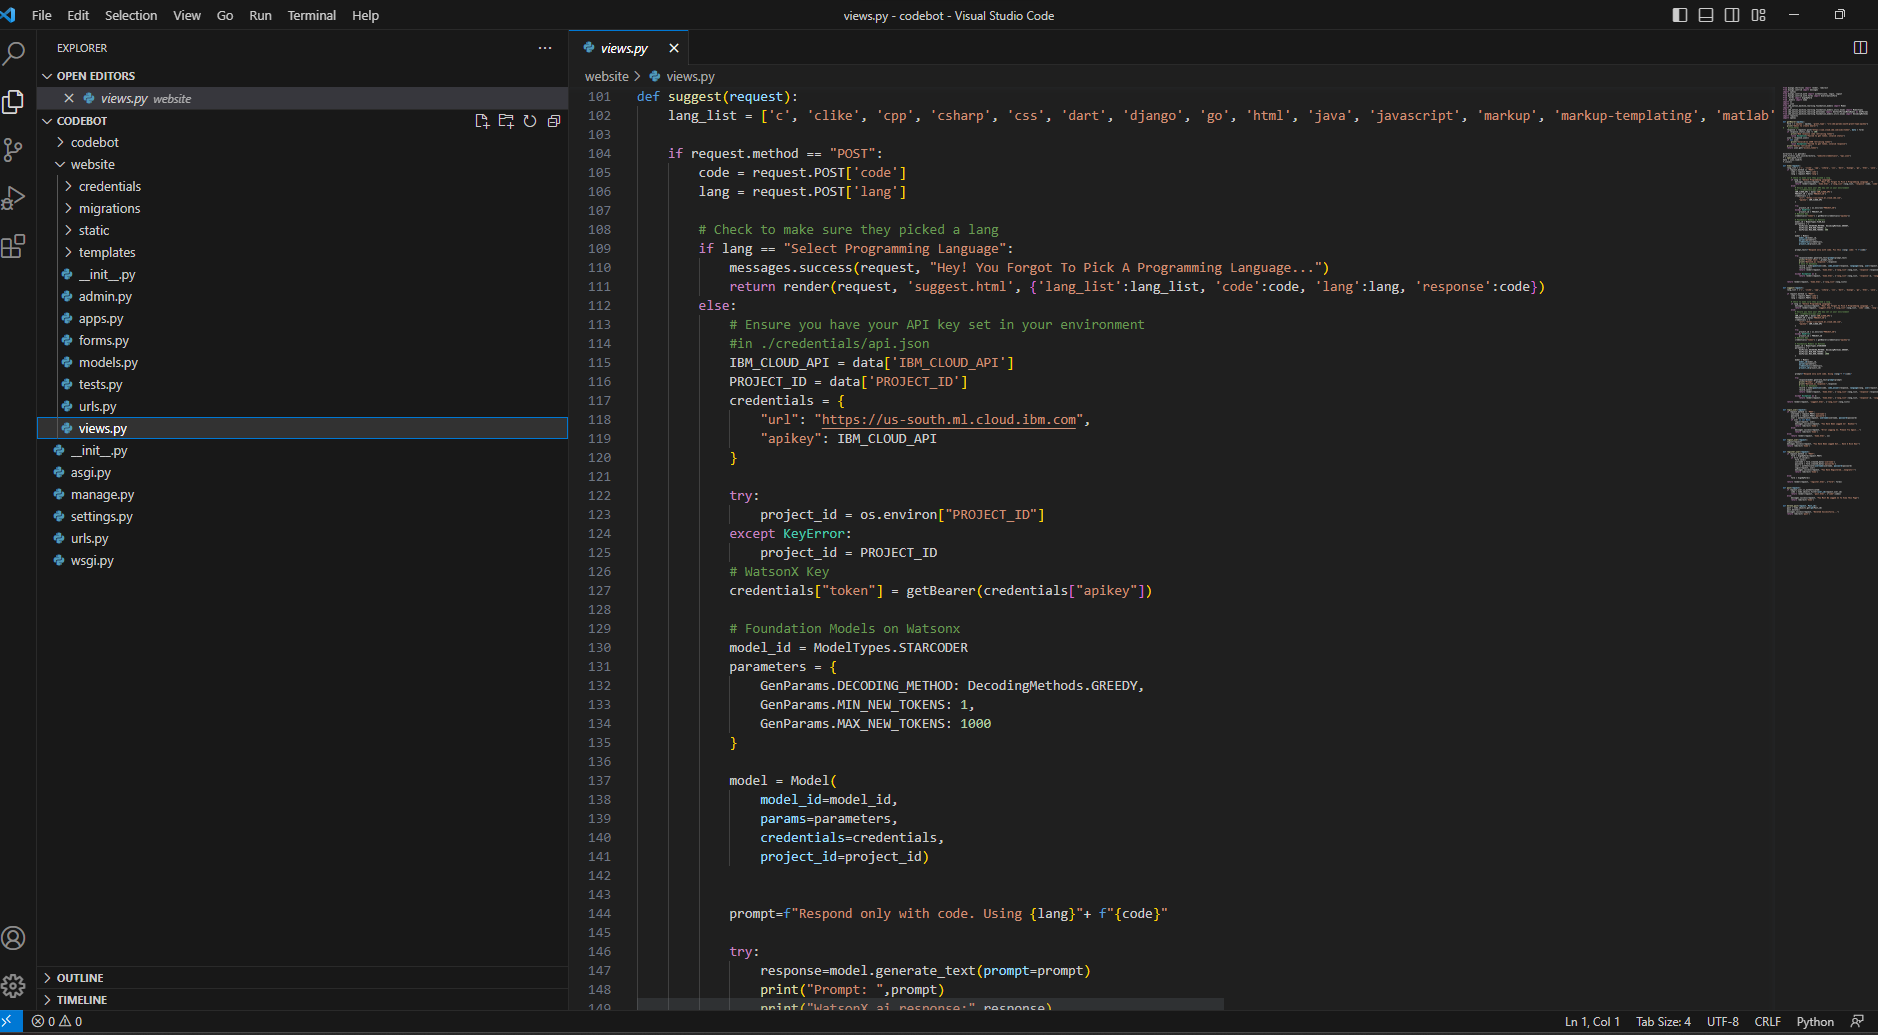
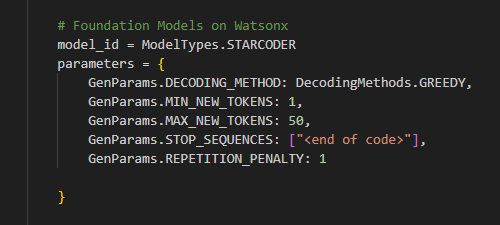
You can modify the model and the parameters
# Foundation Models on Watsonx
    model_id = ModelTypes.STARCODER
    parameters = {
        GenParams.DECODING_METHOD: DecodingMethods.GREEDY,
        GenParams.MIN_NEW_TOKENS: 1,
        GenParams.MAX_NEW_TOKENS: 1000
    }
Supported foundation models are:
- FLAN_T5_XXL = “google/flan-t5-xxl”
- FLAN_UL2 = “google/flan-ul2”
- MT0_XXL = “bigscience/mt0-xxl”
- GPT_NEOX = ‘eleutherai/gpt-neox-20b’
- MPT_7B_INSTRUCT2 = ‘ibm/mpt-7b-instruct2’
- STARCODER = ‘bigcode/starcoder’
Supported decoding methods for text generation
- SAMPLE = “sample”
- GREEDY = “greedy”
Supported parameters for GenParams. are
- DECODING_METHOD
- LENGTH_PENALTY
- TEMPERATURE
- TOP_P
- TOP_K
- RANDOM_SEED
- REPETITION_PENALTY
- MIN_NEW_TOKENS
- MAX_NEW_TOKENS
- STOP_SEQUENCES
- TIME_LIMIT
- TRUNCATE_INPUT_TOKENS
- RETURN_OPTIONS
For example, you can add GenParams.REPETITION_PENALTY =1 to avoid repetitions.
In this demo example of codebot, we have used the FLAN_UL2 for fix the codes and STARCODER for code generation. The length of the answer can be tunned by changing MAX_NEW_TOKENS parameter from 50 up to 1000. For example if you want small answers you can put 50 tokens.
As a rough rule of thumb, 1 token is approximately 4 characters or 0.75 words for English text. One limitation to keep in mind is that for a Foundation Models, the prompt and the generated output combined must be no more than the model’s maximum context length. For example, 100 tokens are ~=75 words. You can play around with different combinations to get the best fit for your needs.
Troubleshooting’s
Sometimes if we make modifications in the code we need to restart the django server to see the new updates.
If you want to delete all your Django database clean your accounts and save prompts. You can type
python manage.py flush
Congratulations! You have created a Codebot with WatsonX.ai.
Leave a comment