
How to read and write files from S3 bucket with PySpark in a Docker Container
Hello everyone, today we are going create a custom Docker Container with JupyterLab with PySpark that will read files from AWS S3
Introduction
If you need to read your files in S3 Bucket from any computer you need only do few steps:
-
Install Docker.
-
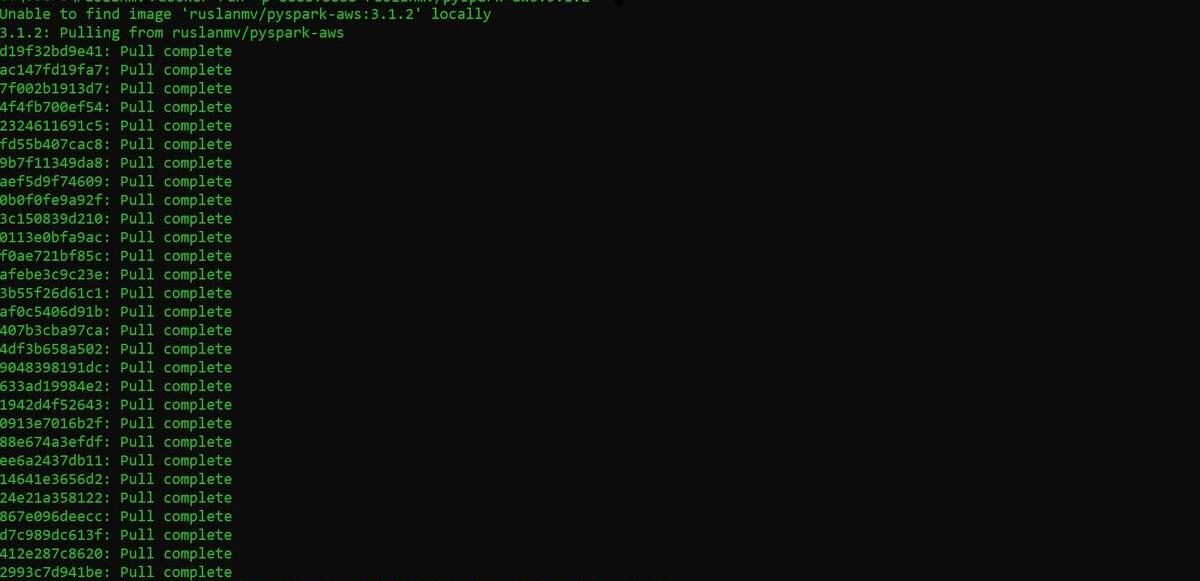
Run this command:
docker run -p 8888:8888 ruslanmv/pyspark-aws:3.1.2
-
Open web browser and paste link of your previous step
-
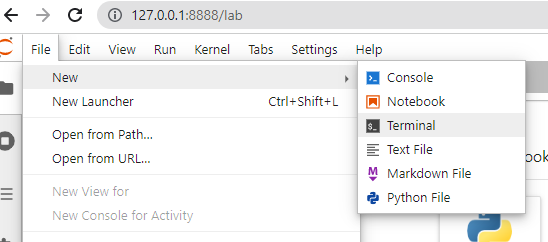
Open a new terminal
-
Run the command:
aws configuretype all the information about your AWS account.
-
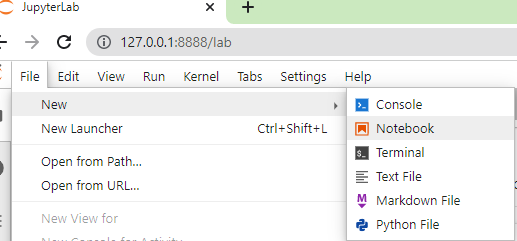
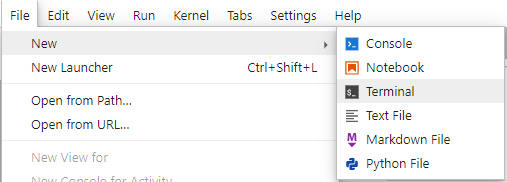
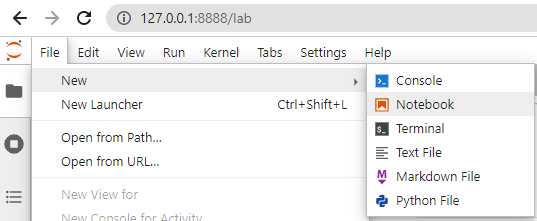
Open a new notebook
-
If you want read the files in you bucket, replace BUCKET_NAME
import boto3
s3 = boto3.resource('s3')
my_bucket = s3.Bucket('BUCKET_NAME')
for file in my_bucket.objects.all():
    print(file.key)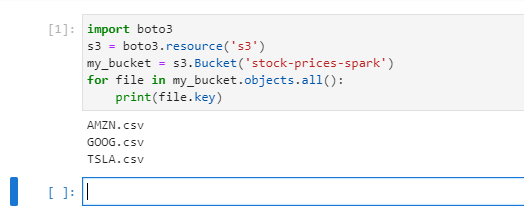
Good ! you have seen how simple is read the files inside a S3 bucket within boto3.
In the following sections I will explain in more details how to create this container and how to read an write by using this container.
Getting started with pyspark-aws container
Step 1 Installation of Docker
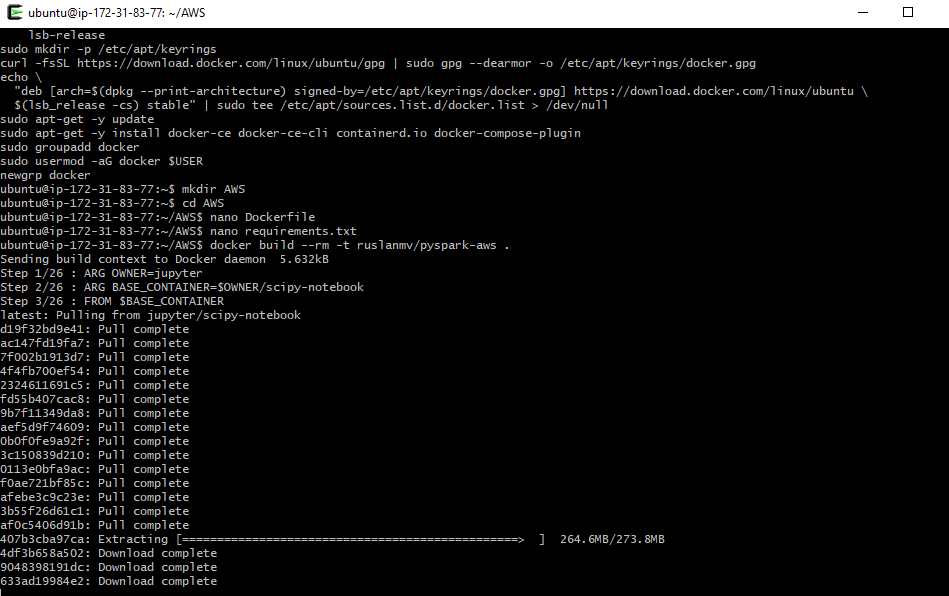
If you are in Linux, using Ubuntu, you can create an script file called install_docker.sh and paste the following code
This script is compatible with any EC2 instance with Ubuntu 22.04 LSTM, then just type sh install_docker.sh in the terminal.
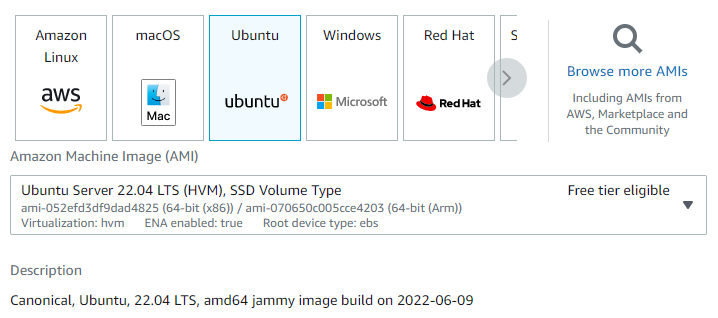
If you are using Windows 10/11, for example in your Laptop, You can install the docker Desktop
https://www.docker.com/products/docker-desktop
Step 2 Creation of the Container
If you want create your own Docker Container you can create Dockerfile and requirements.txt with the following:
then in the terminal type
docker build --rm -t ruslanmv/pyspark-aws .
and then you will have:
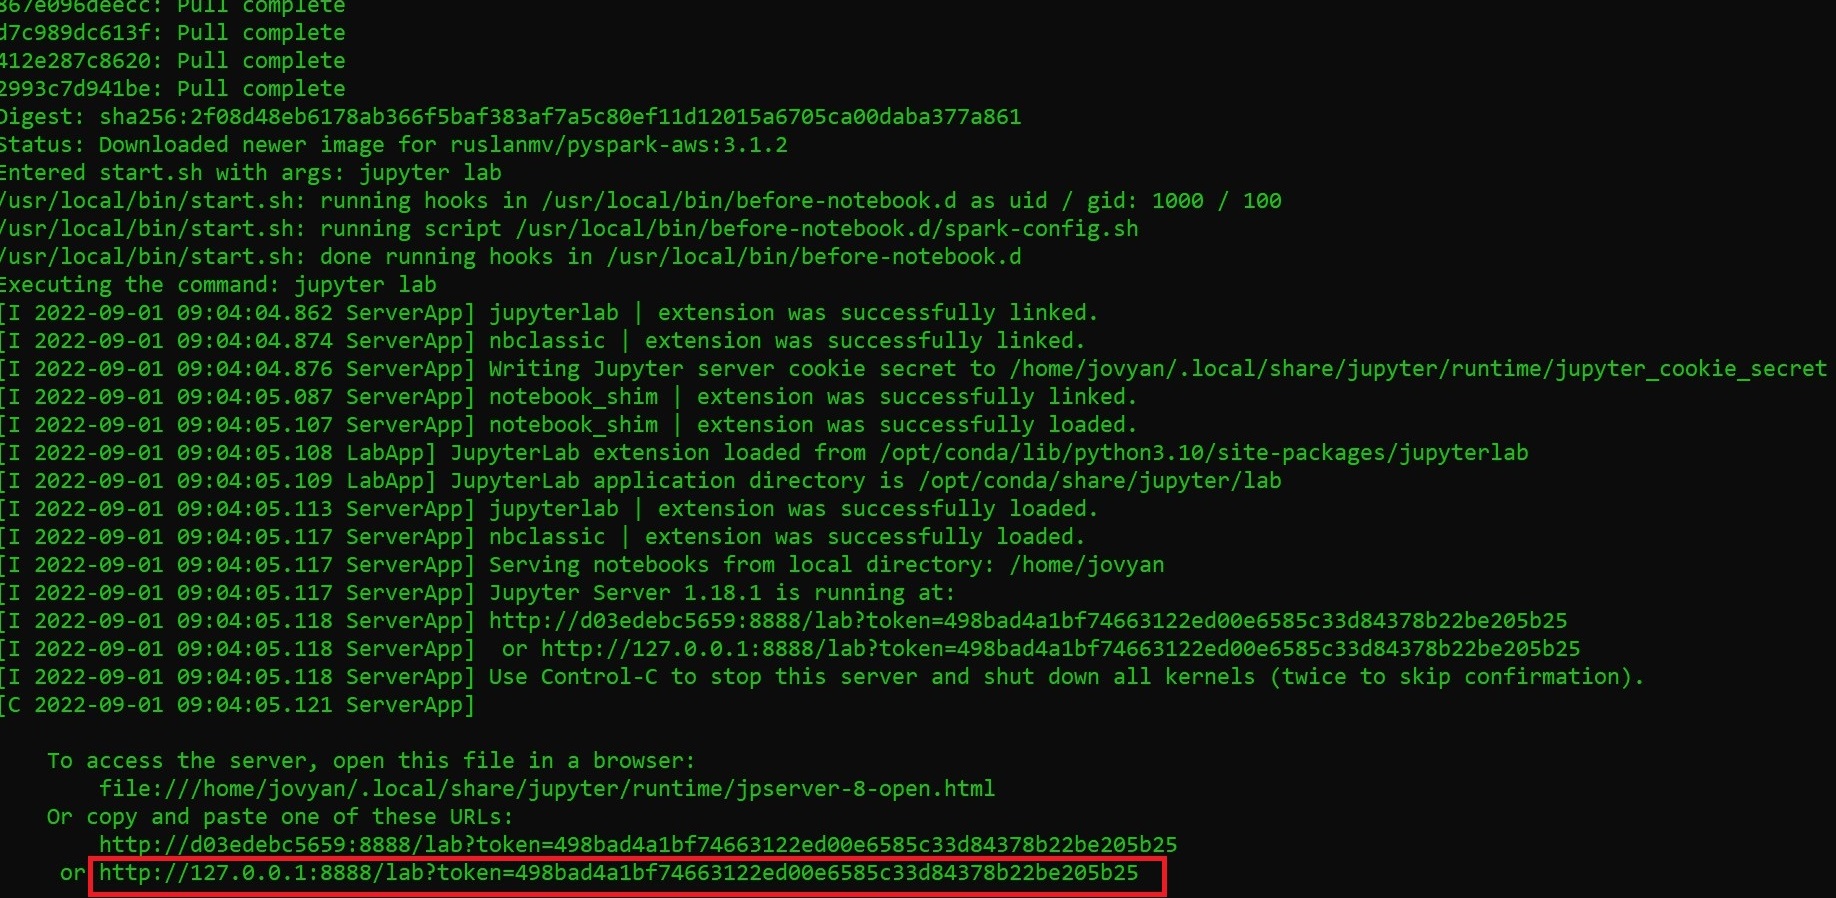
Step 3. Running the container
Setting up a Docker container on your local machine is pretty simple. We run the following command in the terminal:
docker run --name pyspark-aws -it -p 8888:8888 -d ruslanmv/pyspark-aws
after you ran , you simply copy the latest link and then you can open your webrowser.
Step 4. Adding credentials to your Container
First you need to insert your AWS credentials
you should type
aws configure
and paste all the information of your AWS account.
The following example shows sample values.
AWS Access Key ID [None]: AKIAIOSFODNN7EXAMPLE
AWS Secret Access Key [None]: wJalrXUtnFEMI/K7MDENG/bPxRfiCYEXAMPLEKEY
Default region name [None]: us-west-2
Default output format [None]: json
Read and Write files from S3 with Pyspark Container
Once you have added your credentials open a new notebooks from your container and follow the next steps
Step 1 Getting the AWS credentials
A simple way to read your AWS credentials from the ~/.aws/credentials file is creating this function
import os
# We assume that you have added your credential with $ aws configure
def get_aws_credentials():
    with open(os.path.expanduser("~/.aws/credentials")) as f:
        for line in f:
            #print(line.strip().split(' = '))
            try:
                key, val = line.strip().split(' = ')
                if key == 'aws_access_key_id':
                    aws_access_key_id = val
                elif key == 'aws_secret_access_key':
                    aws_secret_access_key = val
            except ValueError:
                pass
    return aws_access_key_id, aws_secret_access_key
access_key, secret_key = get_aws_credentials()
For normal use we can export AWS CLI Profile to Environment Variables
# Set environment variables
!export AWS_ACCESS_KEY_ID=$(aws configure get default.aws_access_key_id)
!export AWS_SECRET_ACCESS_KEY=$(aws configure get default.aws_secret_access_key)
and later load the enviroment variables in python.
Step 2 Setup of Hadoop of the Container
import sys
from random import random
from operator import add
from pyspark.sql import SparkSession
from pyspark.conf import SparkConf
spark = SparkSession \
    .builder \
    .appName("Pyspark S3 reader") \
    .getOrCreate()
sc = spark.sparkContext

# remove this block if use core-site.xml and env variable
sc._jsc.hadoopConfiguration().set("fs.s3.awsAccessKeyId", access_key)
sc._jsc.hadoopConfiguration().set("fs.s3n.awsAccessKeyId", access_key)
sc._jsc.hadoopConfiguration().set("fs.s3a.access.key", access_key)
sc._jsc.hadoopConfiguration().set("fs.s3.awsSecretAccessKey", secret_key)
sc._jsc.hadoopConfiguration().set("fs.s3n.awsSecretAccessKey", secret_key)
sc._jsc.hadoopConfiguration().set("fs.s3a.secret.key", secret_key)
sc._jsc.hadoopConfiguration().set("fs.s3n.impl", "org.apache.hadoop.fs.s3native.NativeS3FileSystem")
sc._jsc.hadoopConfiguration().set("fs.s3a.impl", "org.apache.hadoop.fs.s3a.S3AFileSystem")
sc._jsc.hadoopConfiguration().set("fs.s3.impl", "org.apache.hadoop.fs.s3.S3FileSystem")
Step 3 Download you demo Dataset to the Container
!wget https://github.com/ruslanmv/How-to-read-and-write-files-in-S3-from-Pyspark-Docker/raw/master/example/AMZN.csv
Step 4 Read the dataset present on local system
df_AMZN=spark.read.csv('AMZN.csv',header=True,inferSchema=True)
df_AMZN.show(5)
+----------+-----------+-----------+-----------+-----------+-----------+-------+
|      Date|       Open|       High|        Low|      Close|  Adj Close| Volume|
+----------+-----------+-----------+-----------+-----------+-----------+-------+
|2020-02-10| 2085.01001|2135.600098|2084.959961|2133.909912|2133.909912|5056200|
|2020-02-11|2150.899902|2185.949951|     2136.0|2150.800049|2150.800049|5746000|
|2020-02-12|2163.199951|    2180.25|2155.290039|     2160.0|     2160.0|3334300|
|2020-02-13| 2144.98999|2170.280029|     2142.0|2149.870117|2149.870117|3031800|
|2020-02-14|2155.679932|2159.040039|2125.889893|2134.870117|2134.870117|2606200|
+----------+-----------+-----------+-----------+-----------+-----------+-------+
only showing top 5 rows
Step 5 Creation of the S3 Bucket
Here we are going to create a Bucket in the AWS account, please you can change your folder name my_new_bucket='your_bucket' in the following code
import boto3
s3 = boto3.resource('s3')
# You should change the name the new bucket
my_new_bucket='stock-prices-pyspark'
s3.create_bucket(Bucket=my_new_bucket)
then
s3.Bucket(name='stock-prices-pyspark')
you can know if you have created
# You can list you latest Bucket Created
!aws s3 ls --recursive | sort | tail -n 1
2022-08-31 21:59:41 stock-prices-pyspark
Step 6. Write PySpark Dataframe to AWS S3 Bucket
df_AMZN.write.format('csv').option('header','true').save('s3a://stock-prices-pyspark/csv/AMZN.csv',mode='overwrite')
Step 7. Read Data from AWS S3 into PySpark Dataframe
s3_df=spark.read.csv("s3a://stock-prices-pyspark/csv/AMZN.csv",header=True,inferSchema=True)
s3_df.show(5)
+----------+-----------+-----------+-----------+-----------+-----------+-------+
|      Date|       Open|       High|        Low|      Close|  Adj Close| Volume|
+----------+-----------+-----------+-----------+-----------+-----------+-------+
|2020-02-10| 2085.01001|2135.600098|2084.959961|2133.909912|2133.909912|5056200|
|2020-02-11|2150.899902|2185.949951|     2136.0|2150.800049|2150.800049|5746000|
|2020-02-12|2163.199951|    2180.25|2155.290039|     2160.0|     2160.0|3334300|
|2020-02-13| 2144.98999|2170.280029|     2142.0|2149.870117|2149.870117|3031800|
|2020-02-14|2155.679932|2159.040039|2125.889893|2134.870117|2134.870117|2606200|
+----------+-----------+-----------+-----------+-----------+-----------+-------+
only showing top 5 rows
Step 8. Read the files in the Bucket
import boto3
import pandas as pd
bucket = "stock-prices-pyspark"
# We read the files in the Bucket
s3 = boto3.resource('s3')
my_bucket = s3.Bucket(bucket)
for file in my_bucket.objects.all():
    print(file.key)
/csv/GOOG.csv
csv/AMZN.csv/_SUCCESS
csv/AMZN.csv/part-00000-2f15d0e6-376c-4e19-bbfb-5147235b02c7-c000.csv
Step 9. Read Data from AWS S3 with boto3
If you dont need use Pyspark also you can read
#We select one file of the bucket
bucket = "stock-prices-pyspark"
file_name = "csv/AMZN.csv/part-00000-2f15d0e6-376c-4e19-bbfb-5147235b02c7-c000.csv"
#s3 = boto3.client('s3')
s3 =  boto3.client('s3', region_name='us-east-1')
# 's3' is a key word. create connection to S3 using default config and all buckets within S3
obj = s3.get_object(Bucket= bucket, Key= file_name)
# get object and file (key) from bucket
df = pd.read_csv(obj['Body']) # 'Body' is a key word
df.head()
| Date | Open | High | Low | Close | Adj Close | Volume | |
|---|---|---|---|---|---|---|---|
| 0 | 2020-02-10 | 2085.010010 | 2135.600098 | 2084.959961 | 2133.909912 | 2133.909912 | 5056200 |
| 1 | 2020-02-11 | 2150.899902 | 2185.949951 | 2136.000000 | 2150.800049 | 2150.800049 | 5746000 |
| 2 | 2020-02-12 | 2163.199951 | 2180.250000 | 2155.290039 | 2160.000000 | 2160.000000 | 3334300 |
| 3 | 2020-02-13 | 2144.989990 | 2170.280029 | 2142.000000 | 2149.870117 | 2149.870117 | 3031800 |
| 4 | 2020-02-14 | 2155.679932 | 2159.040039 | 2125.889893 | 2134.870117 | 2134.870117 | 2606200 |
Step 10 - Downloading Multiple Files locally with wget
If you want to download multiple files at once, use the -i option followed by the path to a local or external file containing a list of the URLs to be downloaded. Each URL needs to be on a separate line.
We create the file list to download
with open("datasets.txt","a") as file:
    file.write("https://github.com/ruslanmv/How-to-read-and-write-files-in-S3-from-Pyspark-Docker/raw/master/example/AMZN.csv\n")
    file.write("https://github.com/ruslanmv/How-to-read-and-write-files-in-S3-from-Pyspark-Docker/raw/master/example/GOOG.csv\n")
    file.write("https://github.com/ruslanmv/How-to-read-and-write-files-in-S3-from-Pyspark-Docker/raw/master/example/TSLA.csv\n")
# we download all the files
!wget -q -i datasets.txt
import boto3
bucket = "stock-prices-pyspark"
s3 = boto3.resource('s3')
s3.meta.client.upload_file('GOOG.csv', bucket, 'csv/'+'GOOG.csv')
!aws s3 ls
2022-01-24 14:42:55 datalake-temporal-proyect-240122
2022-07-25 21:31:05 mysound-s3-ruslanmv
2022-08-03 19:50:23 sagemaker-studio-342527032693-bas5sukiu4c
2022-08-31 21:59:41 stock-prices-pyspark
2022-08-31 21:22:06 stock-prices-spark
spark.stop()
You can download the notebook here.
Congratulations! You have practiced to read and write files in AWS S3 from your Pyspark Container.
Specials thanks to Stephen Ea for the issue of AWS in the container.
Leave a comment