
Create a Flask Regression Plot App Docker Container.
Today I wanted to create a Flask Seaborn Regression Plot by using an app Docker Container
In this blog post, we’ll see how to create a Docker Container in Mac OS, and how to use Docker Container to Create a Flask Seaborn Regression Plot App
Flask Regression with App Docker Container
Now we will work on Docker Container. We will accomplish it by completing each task in the project:
- Install a Linux image into a docker container.
- Use the Pandas package with Seaborn to create a regression plot.
- Use flask to create a web application that returns a plot.
- Build a requirements document with packages needed for the application.
- Build the application in a container using a Dockerfile and test it.
Install Docker on your MacOS using Homebrew
Note that brew install docker and brew cask install docker is different. Some of the instructions about docker installation on Mac OS use the latter code that installs Docker as an Application,
$ brew install docker docker-machine
$ brew cask install virtualbox
-> need password
-> possibly need to address System Preference setting
$ docker-machine create --driver virtualbox default
$ docker-machine env default
$ eval "$(docker-machine env default)"
Notice: that if the deamon of the docker is stopped, you can start it with the command
$ docker-machine start default
After installation, add yourself to the docker group, otherwise use sudo for commands.
We check if the installation of the docker is correct
$ docker run hello-world
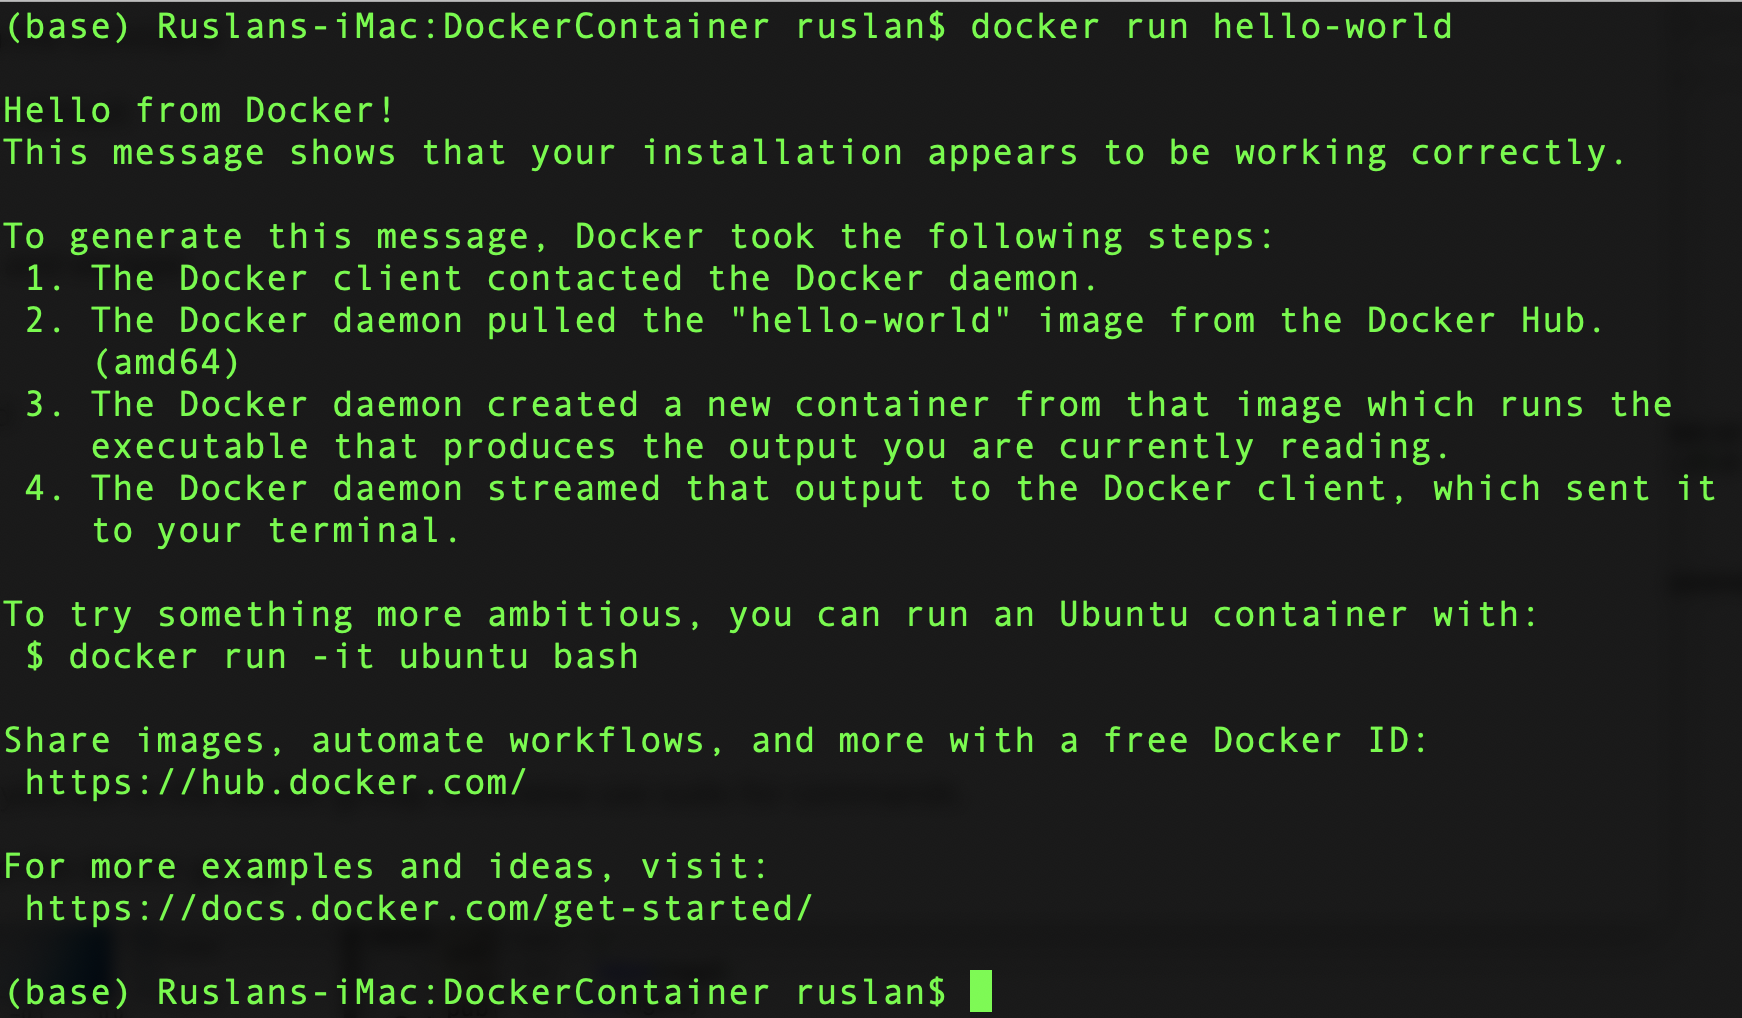
Here, you are added to the docker group
Start a Docker container with a Linux Image.
$docker run python:3.8
Use Docker command ps-a to view containers.
To list all running Docker containers, enter the following into a terminal window:
docker ps –a

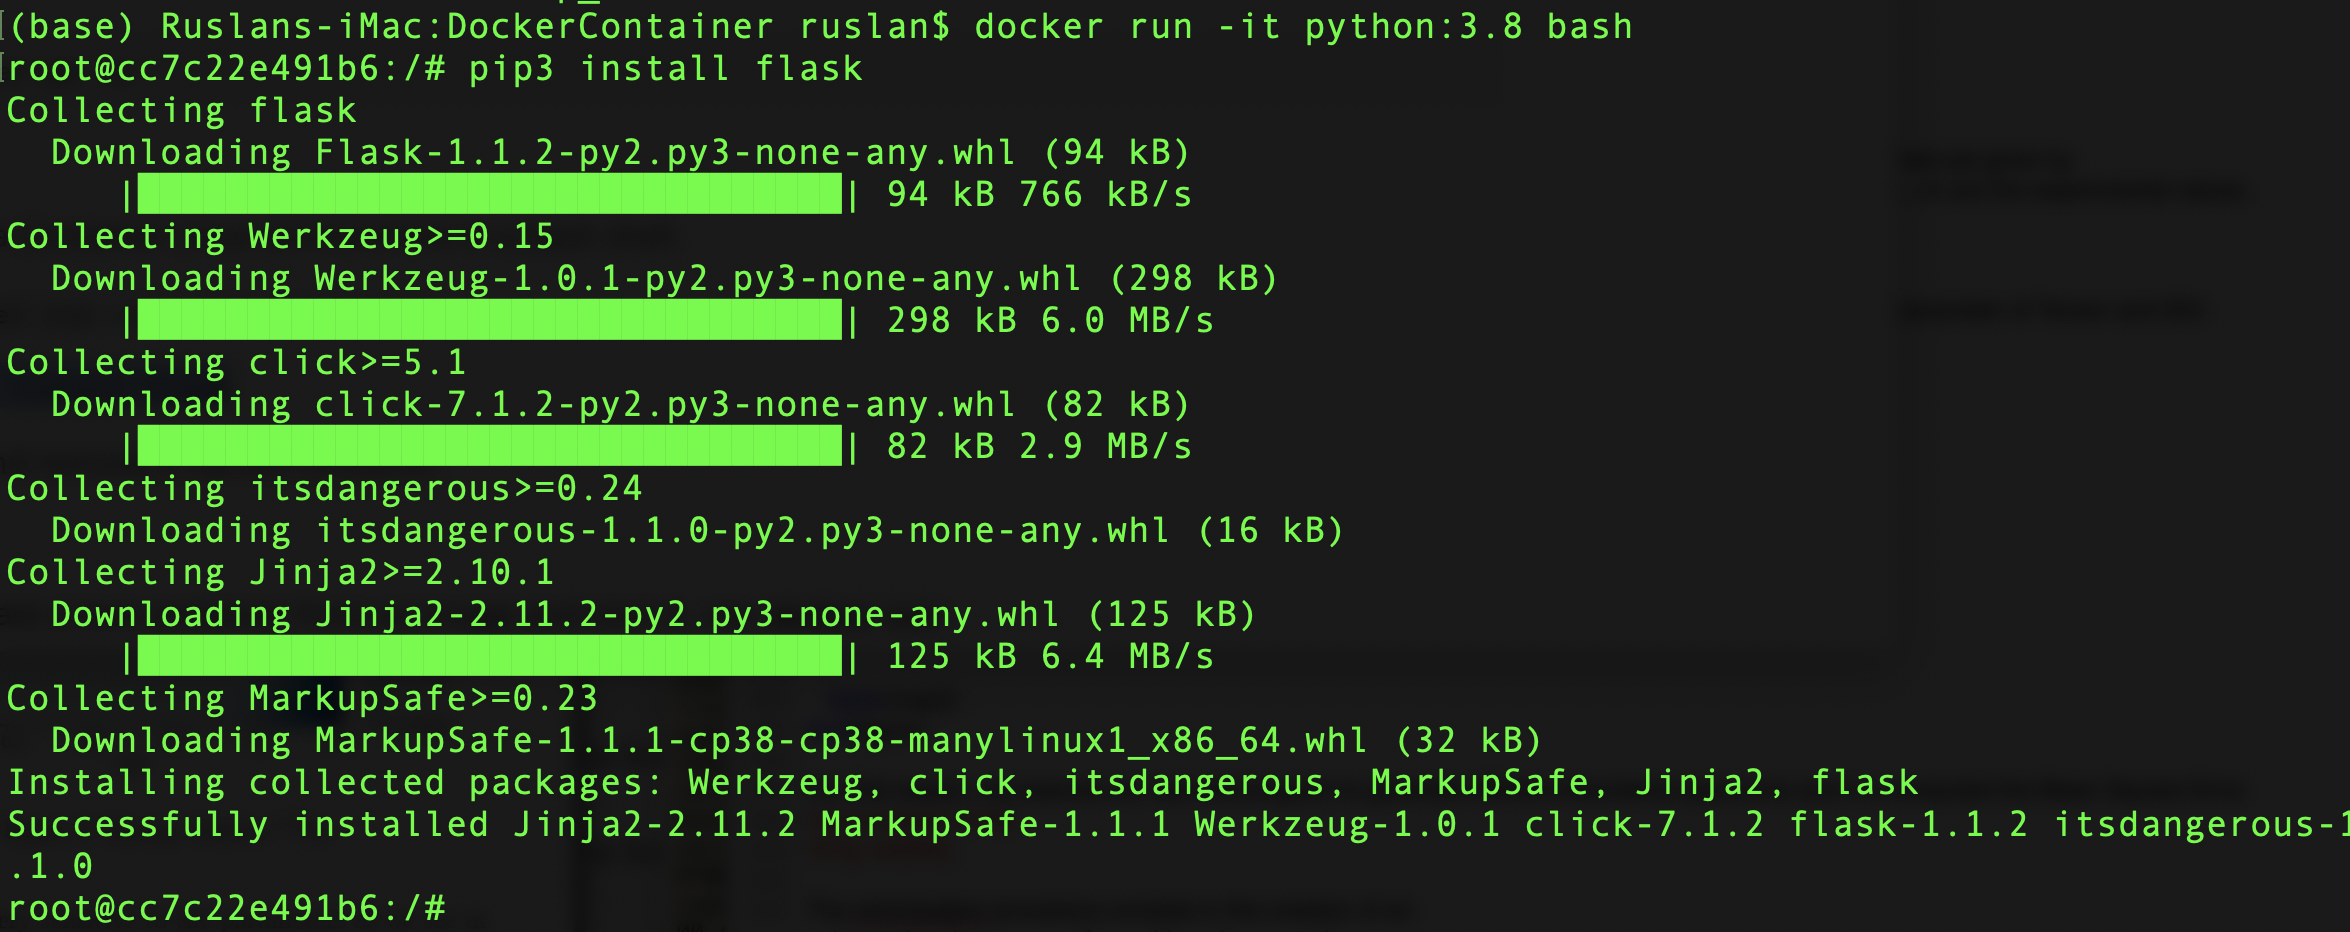
Enter a Container Linux environment in a bash shell.
$docker run -it python:3.8 bash
pip3 install flask
exit
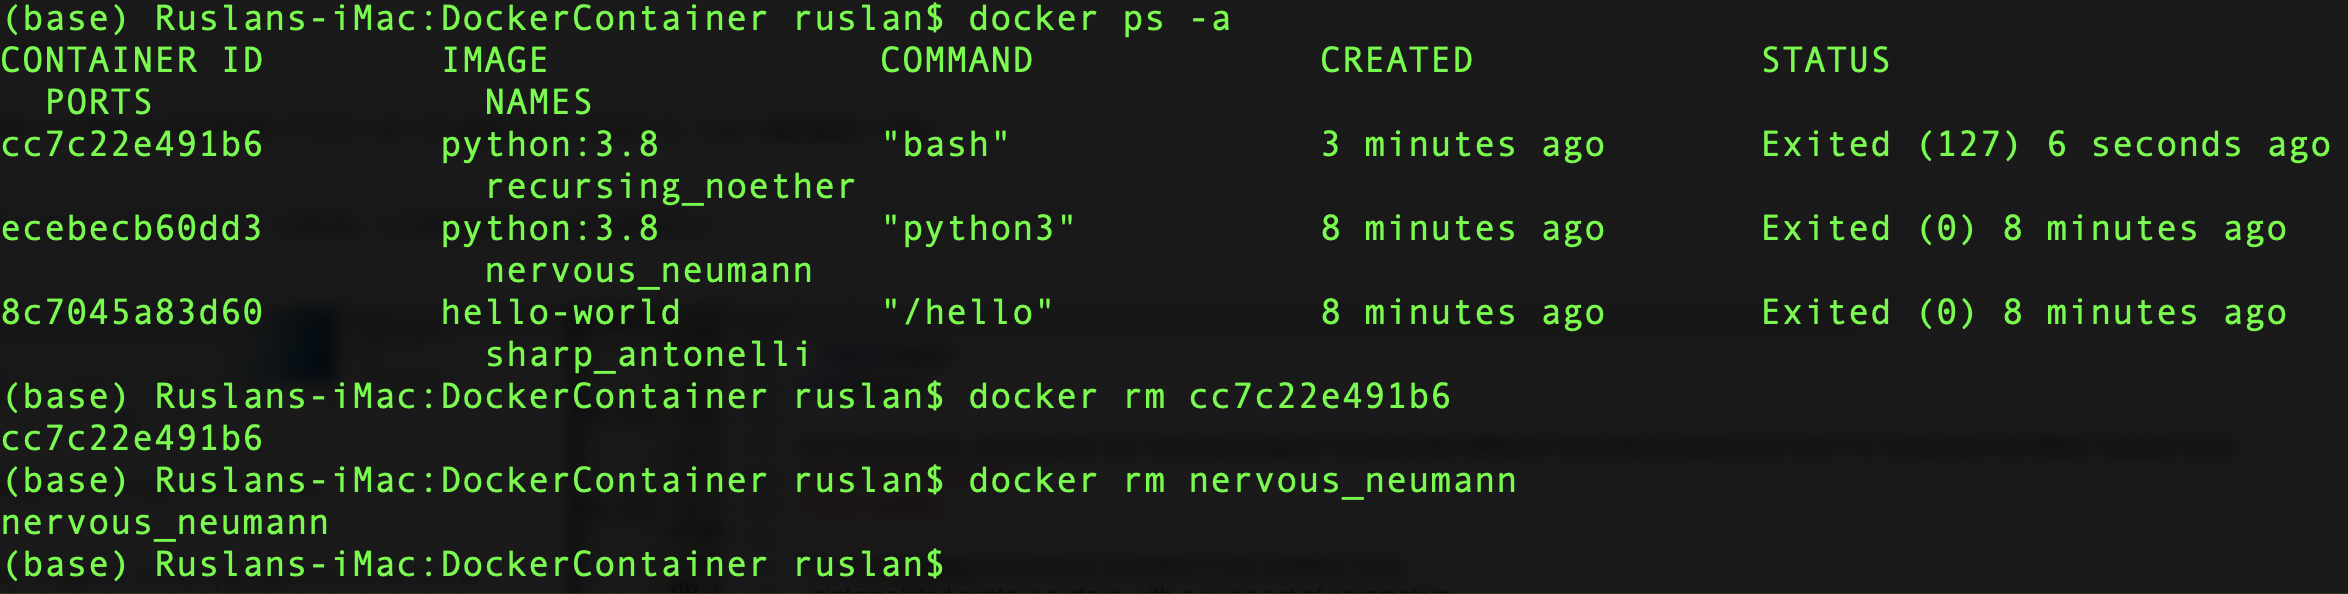
Run and remove a named container.
docker ps -a
To immediately remove a docker container without waiting for the grace period to end use:
docker rm container_id
##
To create a new container from an image and start it, use docker run:
docker run --name myContainer python:3.8
and remove
docker rm myContainer
Congratulations! now that you have created your first container with unix, we will create the application
to add to the docker container.
Setup Workspace
First we create a folder called DockerContainer and enter
$mkdir DockerContainer
$cd DockerContainer
we copy the Pandas dataframe tempYearly.csv to the folder
$curl -o ./tempYearly.csv -k https://github.com/ruslanmv/DockerContainer.git
and inside we create a app folder
$mkdir app
$cd app
we create a plotdata.py file.
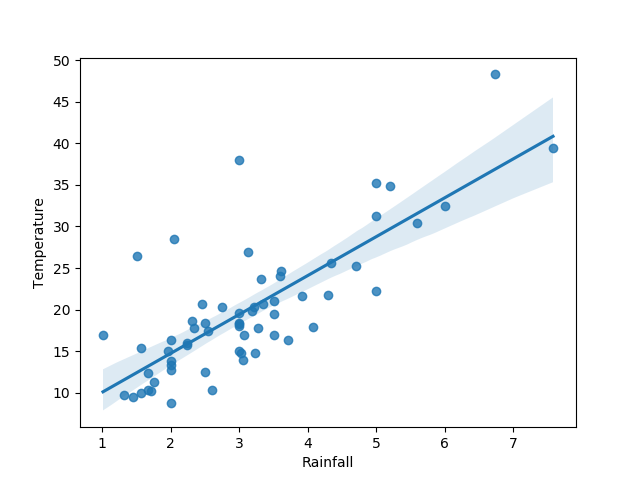
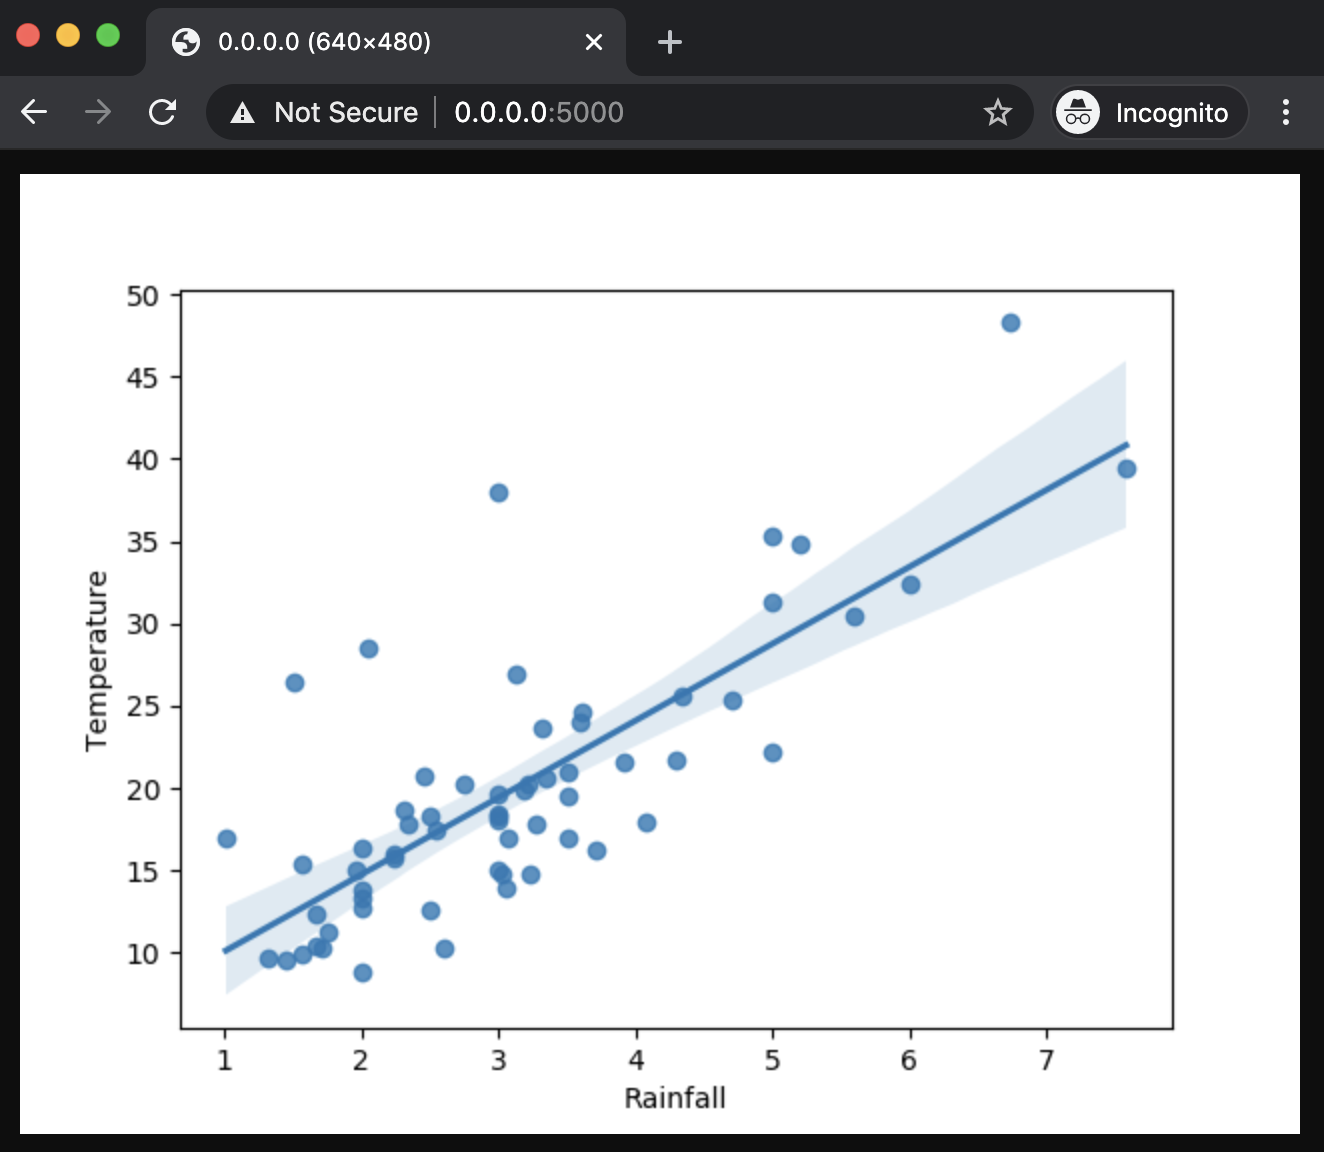
Wee need create a python code where uses the Pandas package with Seaborn to create a regression plot, we need import the a Pandas Dataframe and create a Seaborn regression plot to show possible correlation and we need save the file locally to verify code and return the data file.
We can do this by typing the following code:
import pandas as pd
import matplotlib
import seaborn as sns
import io
if __name__ =='__main__':
    from PIL import Image

matplotlib.use('agg')

def regression_plot():
    df = pd.read_csv('tempYearly.csv')

    sns_plot = sns.regplot(x='Rainfall', y='Temperature', data=df)

    image = io.BytesIO()

    sns_plot.figure.savefig(image, format = 'png')

    image.seek(0)
    return image

if  __name__ == '__main__':
    image = regression_plot()
    im = Image.open(image)
    im.save('regress.png','PNG')
After write this code we can test this program, so we return back to the folder DockerContainer and from there we run the app to test
python3 ./app/plotdata.py
then it is created a file regress.png
Good!. Now let us create the application that uses Flask to call this program.
The next task is use flask to create a web application that returns a plot.
Import objects and methods to create a flask application.
Use the regression plot to get an image.
Return the image to the browser window.
Run the application and browse to localhost:5000
Let us return back to the folder app and there we create the the file app.py
with the following code:
from flask import Flask, send_file
from plotdata import regression_plot

app = Flask(__name__)

@app.route('/', methods = ['GET'])
def regr_plot():
    image = regression_plot()

    return send_file(image,
    attachment_filename = 'regplot.png',
    mimetype = 'image/png' )

if __name__ == '__main__':
    app.run(host='0.0.0.0',debug = False)
We return back to the folder DockerContainer and we the app with the following
$python3 ./app/app.py
we obtain

We copy the address http://0.0.0.0:5000/ and we paste it in our browser
Build a requirements document with packages needed for the application.
We return back to the folder DockerContainer and there
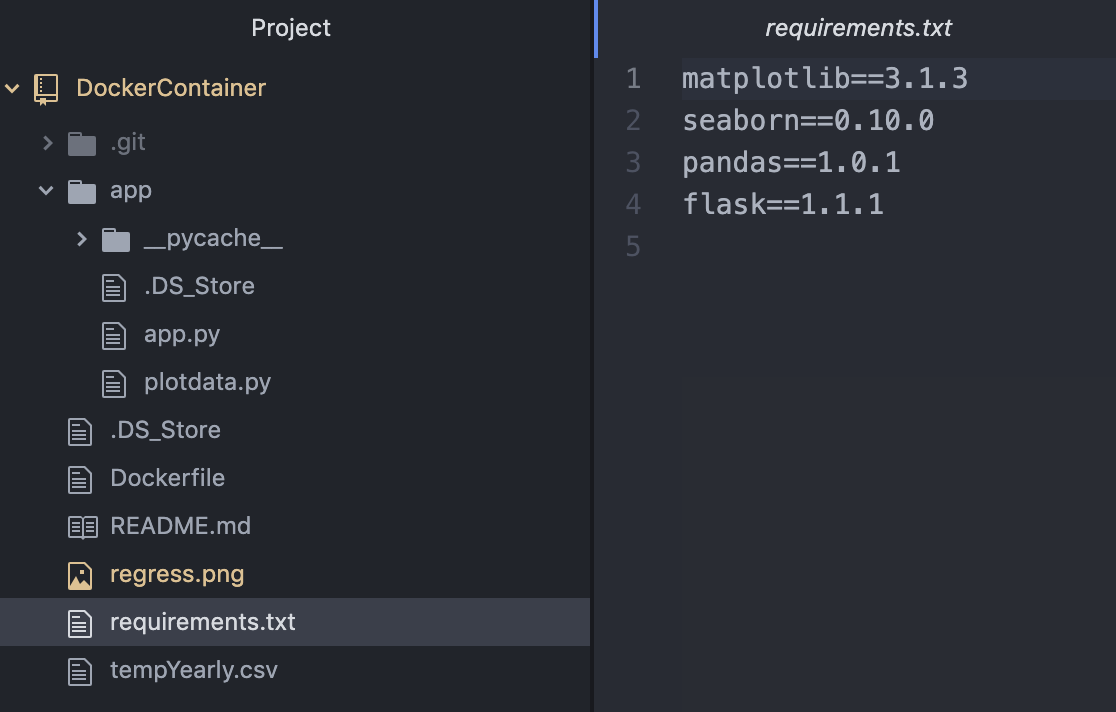
we create a file called requirements.txt
We have to determine the versions of packages needed for the application:
$pip freeze | grep pandas
$pip freeze | grep matplotlib
$pip freeze | grep seaborn
$pip freeze | grep matplotlib
python
import flask
flask.__ version __
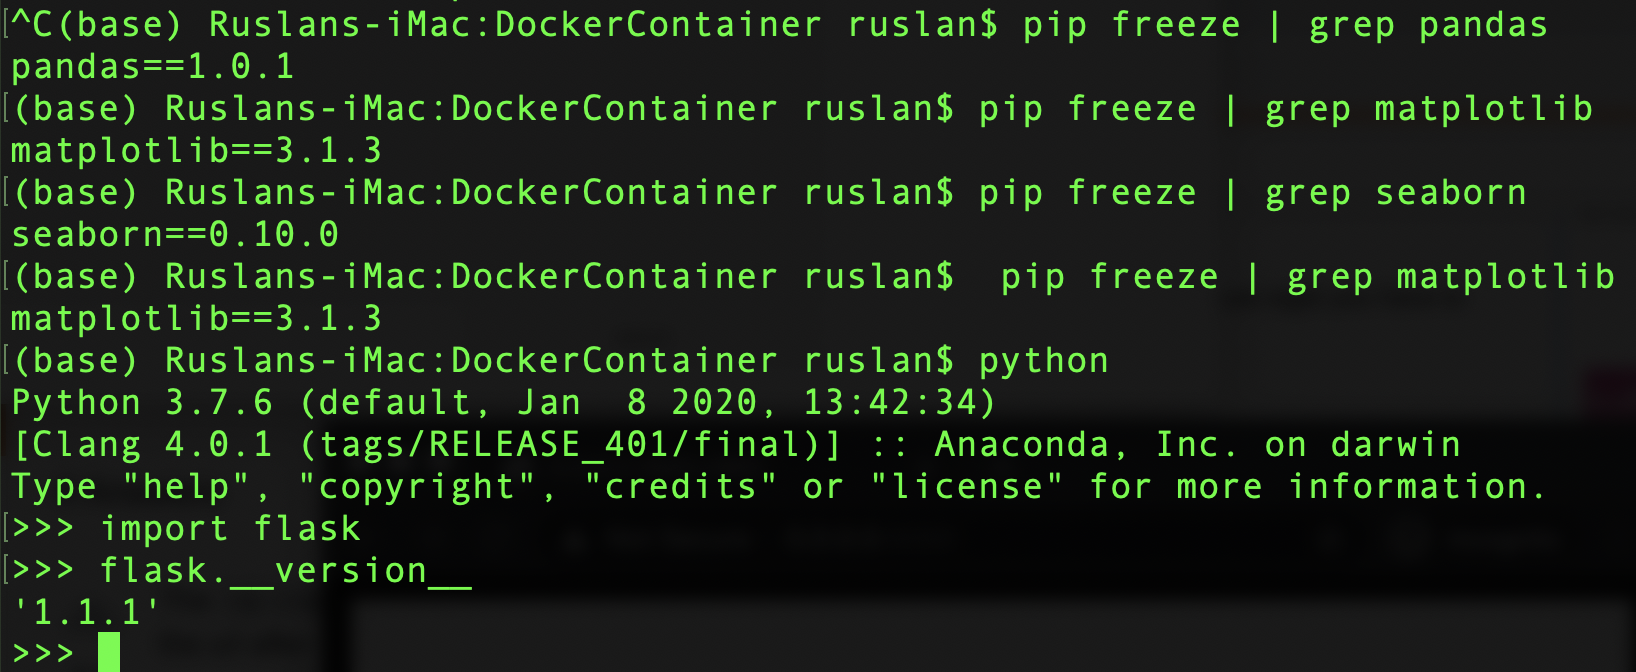
With these information of the versions, we add the packages and versions to the requirements.txt.
Create a Dockerfile for use in the next task
Build the application in a container using a Dockerfile and test it.
We create a Dockerfile in the folder of the DockerContainer
There we copy the requirements to the container and we run the app of the container chossing the port to 5000.
FROM python:3.8

COPY ./requirements.txt /requirements.txt

WORKDIR /

RUN pip3 install -r requirements.txt

COPY . /

EXPOSE 5000

ENTRYPOINT ["python3"]

CMD ["app/app.py"]
Load the base image with the following command
$docker build --tag flask-plotting-app .

$docker run -i -t --name flaskpltapp -p5000:5000 flask-plotting-app:latest
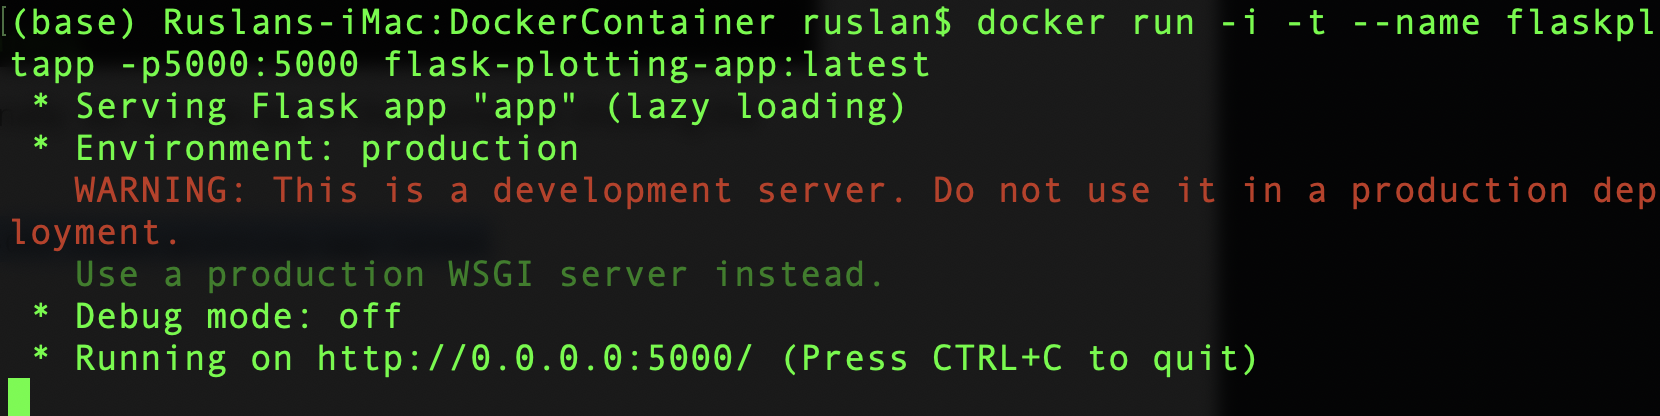
Congratulations! you have created App Docker Container wirh a Flask Regression.
When you finish playing around with Docker this time, don’t forget to stop the machine with this command. ( You can check the status docker-machine ls)
$ docker-machine stop default
Leave a comment