
How to connect WatsonX with Watson Assistant
Hello everyone, today we are going to create a chatbot with Generative AI with IBM WatsonX. We are going to discuss how to connect IBM WatsonX.ai with Watson Assistant.
There are different ways to integrate WatsonX with Watson Assistant. One way is by using an third party integration NeuralSeek by Cerebral Blue LLC that turns Watson Discovery into an intelligent, conversational answer and curation service for Watson Assistant. A second way that I will present in this blog is by simple beta toolkit addon of Watson Assistant to WatsonX
Step 1 - Download the json extension.
First we need to download the following json file https://github.com/watson-developer-cloud/assistant-toolkit/blob/master/integrations/extensions/starter-kits/language-model-watsonx/watsonx-openapi.json
Step 2 - Create your Watson Assistant at IBM Cloud
Then we need to create our Watson Assistant.
https://www.ibm.com/products/watson-assistant/artificial-intelligence
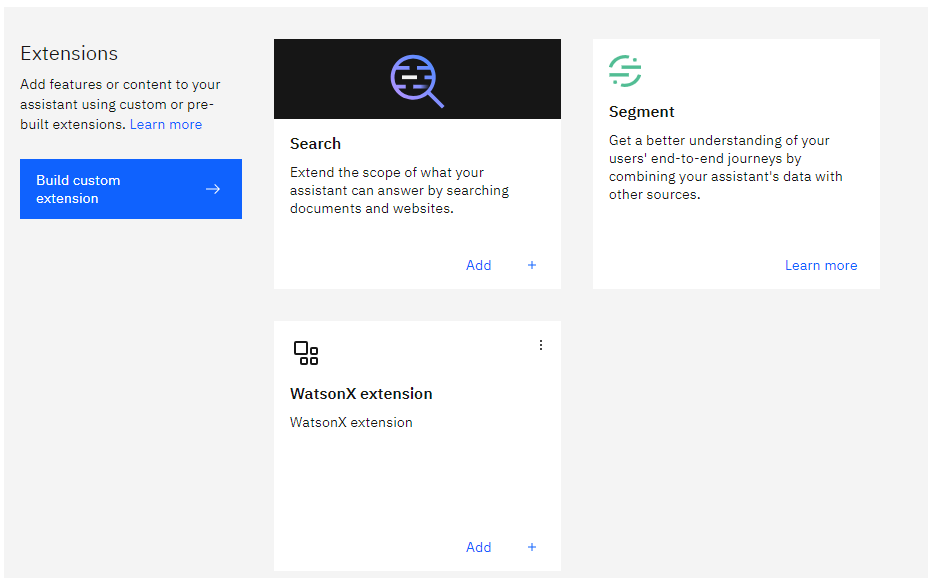
After it is created we go to Integrations
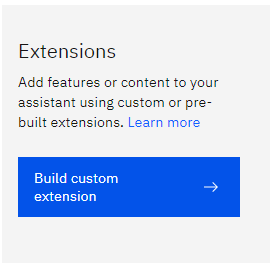
then we go to Extensions and click Build custom extension
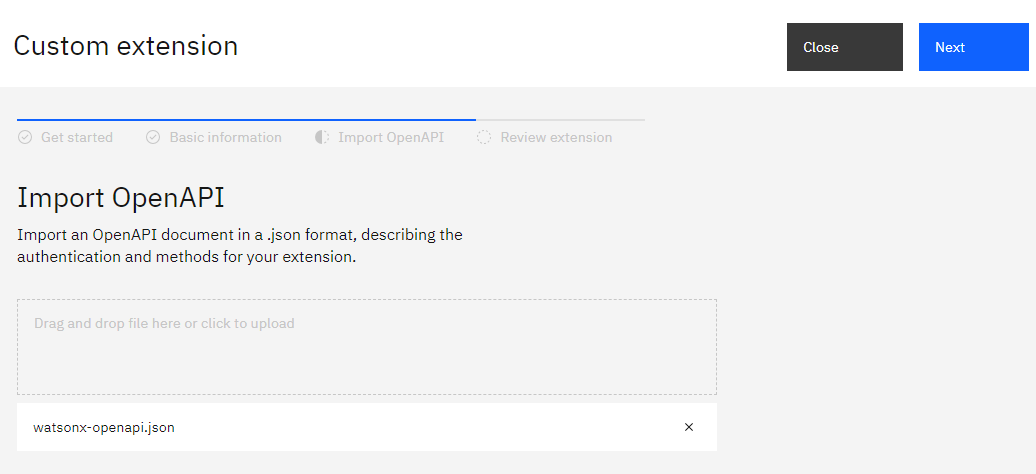
We click next and then we can name like WatsonX extension then next and we attach our wasonx openapi.json
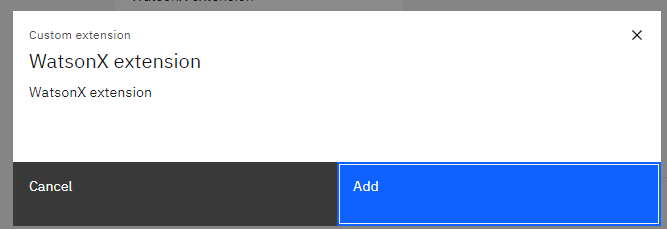
 then we have to add the WatsonX extension to Watson Assistant by click in Add
 you click Add
During the setup of this extension, you require to get the API of the WatsonX.
Step 3 - Create WatsonX account
To get his, first you need to go to your WatsonX account
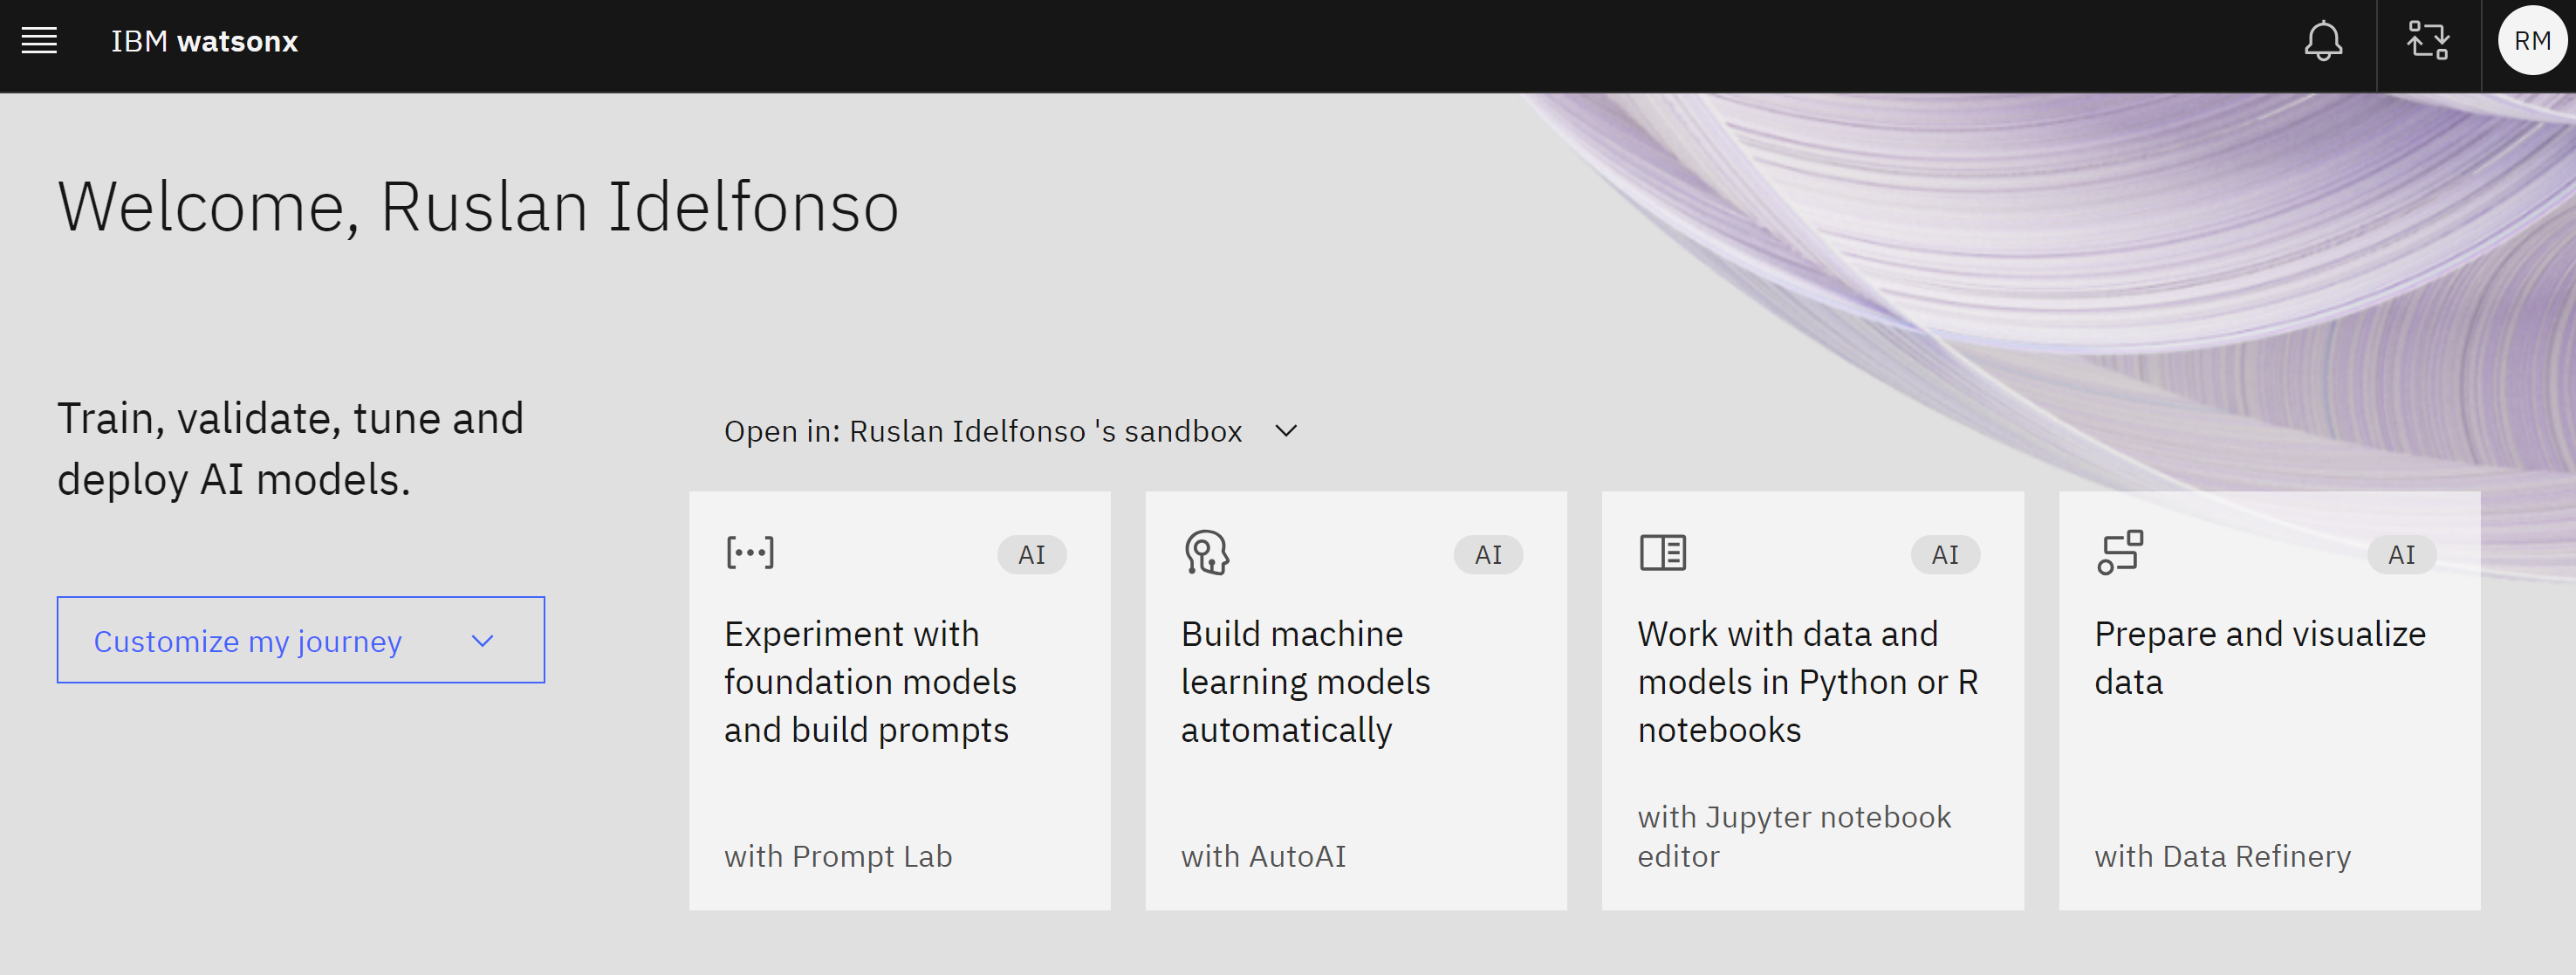
Step 4 - Create a prompt Lab
Then you can open the Experiment with the foundation models with Prompt Lab
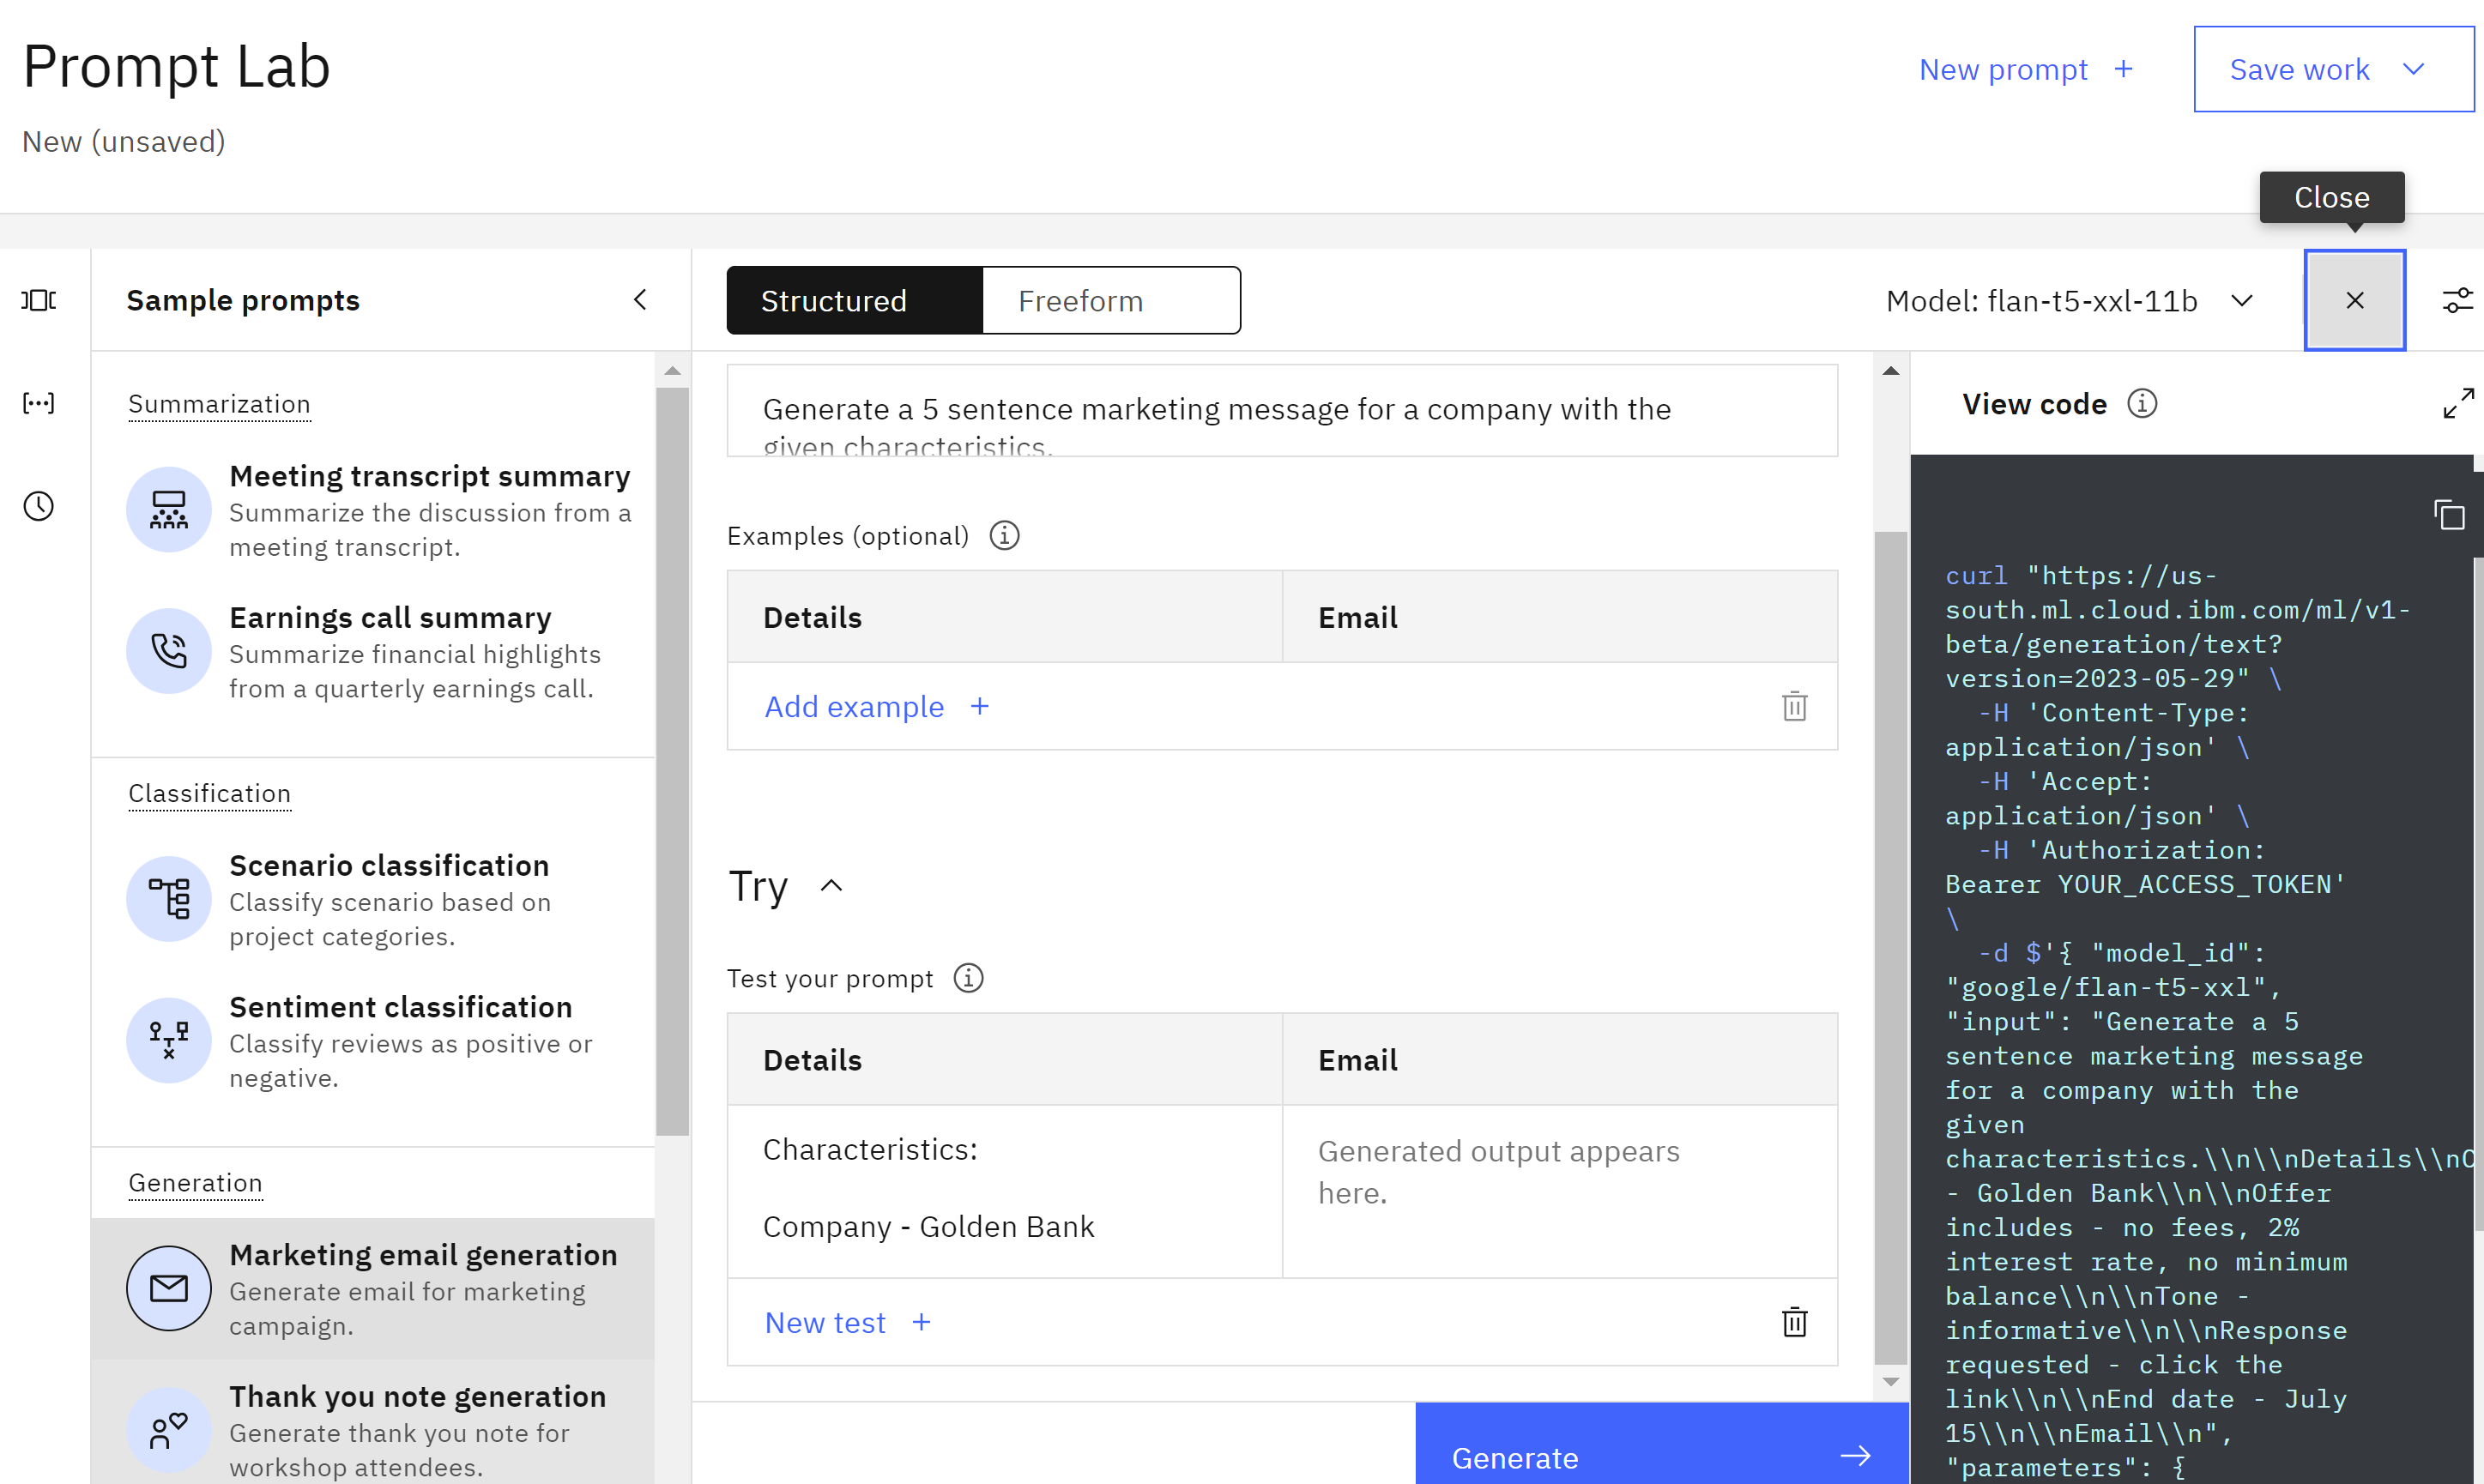
Let us choose an simple example like Marketing Generation
Step 5 - Create personal API key
then under the view code we click create personal API key
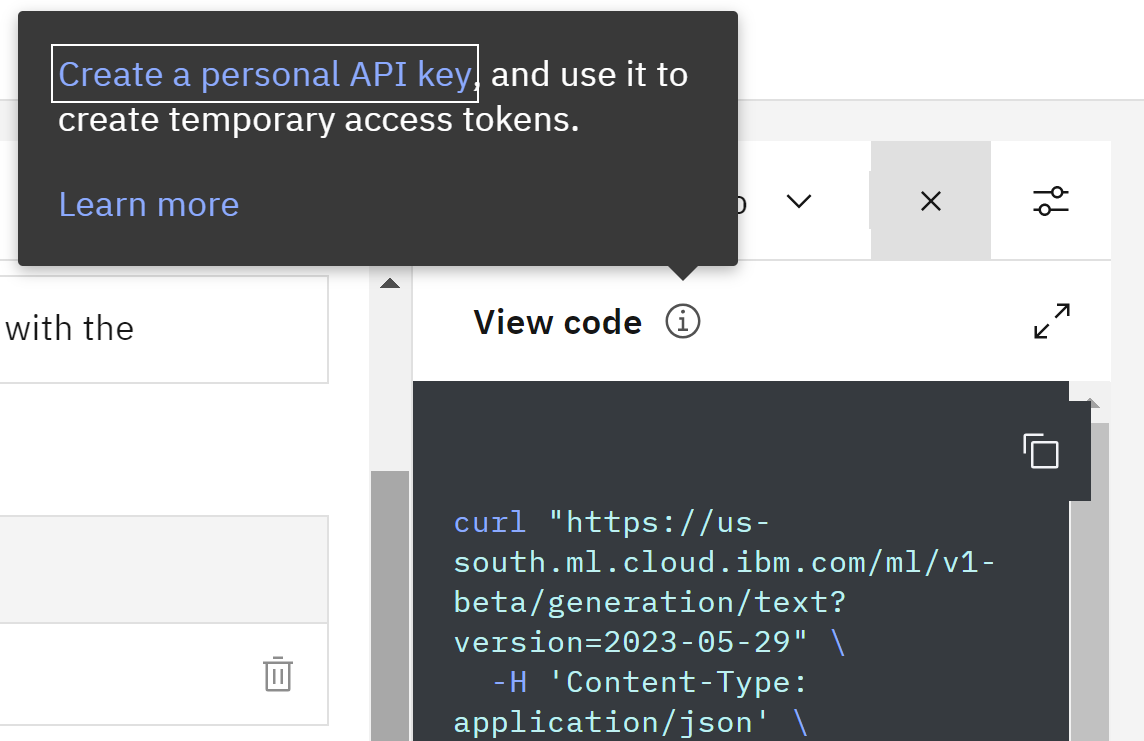
then we create our API key

Step 6- Setup WatsonX extension
then we copy it and we paste in our WatsonX extension
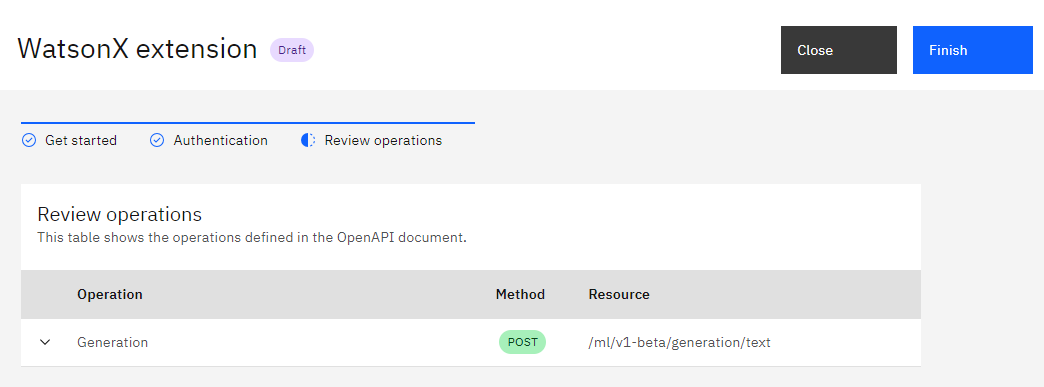
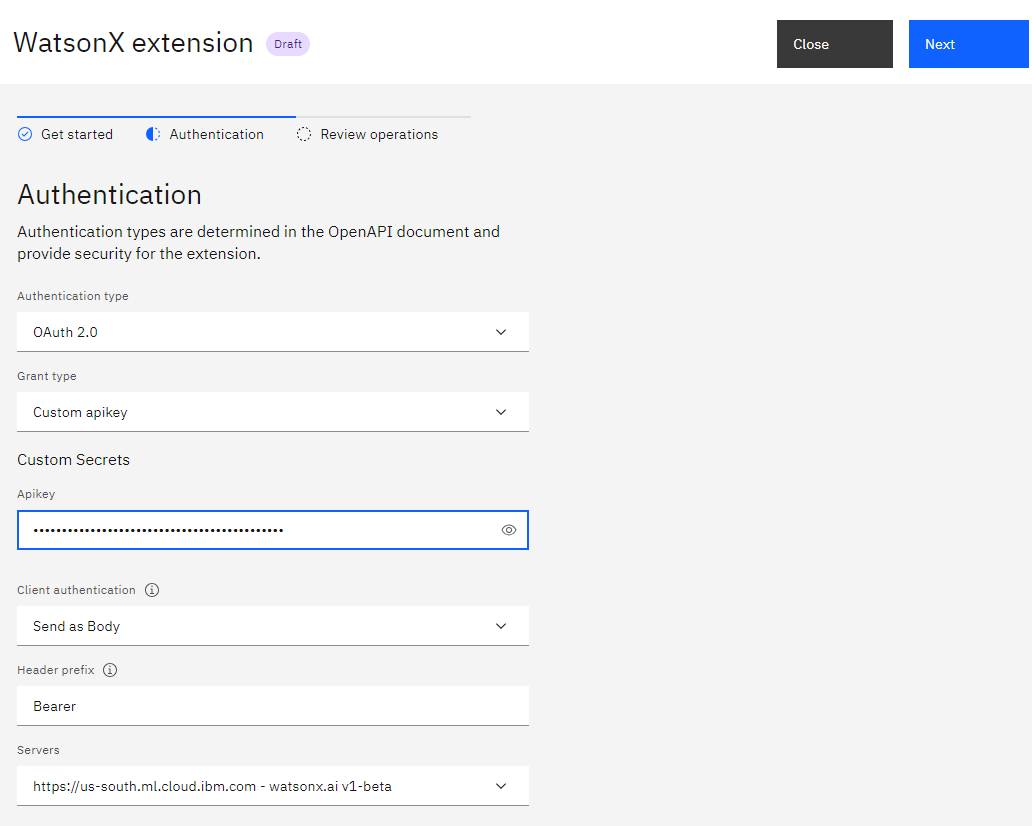 then we save and finish
Step 7- Setup Watson Assistant with WatsonX
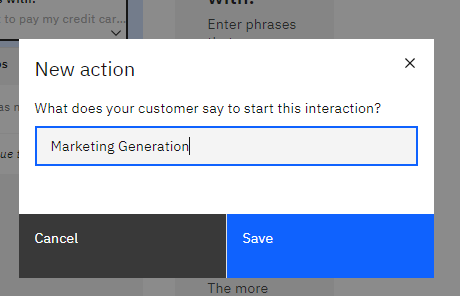
We return back to our Watson Assistant and we can create an action
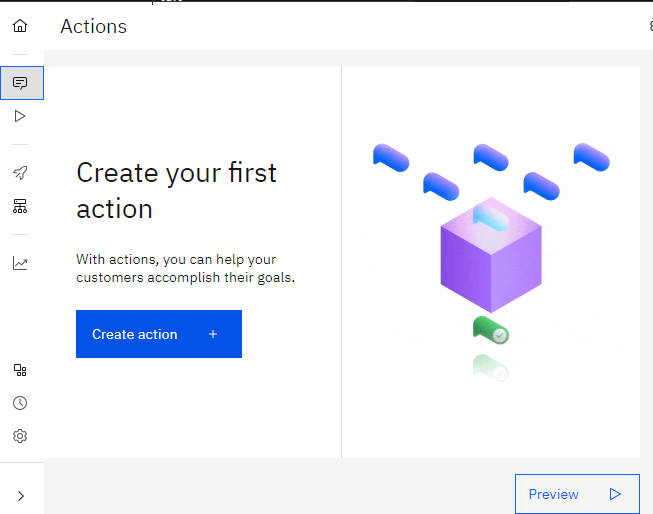
for example Marketing Generation
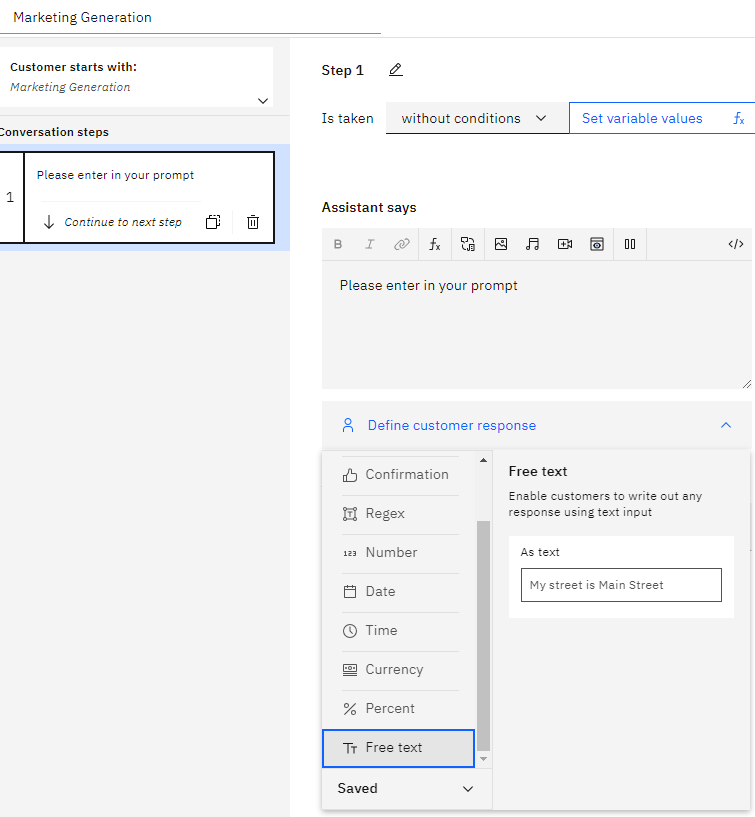
We create the first step, we can say
Please enter in your prompt
and then we define a custemer response like Free text
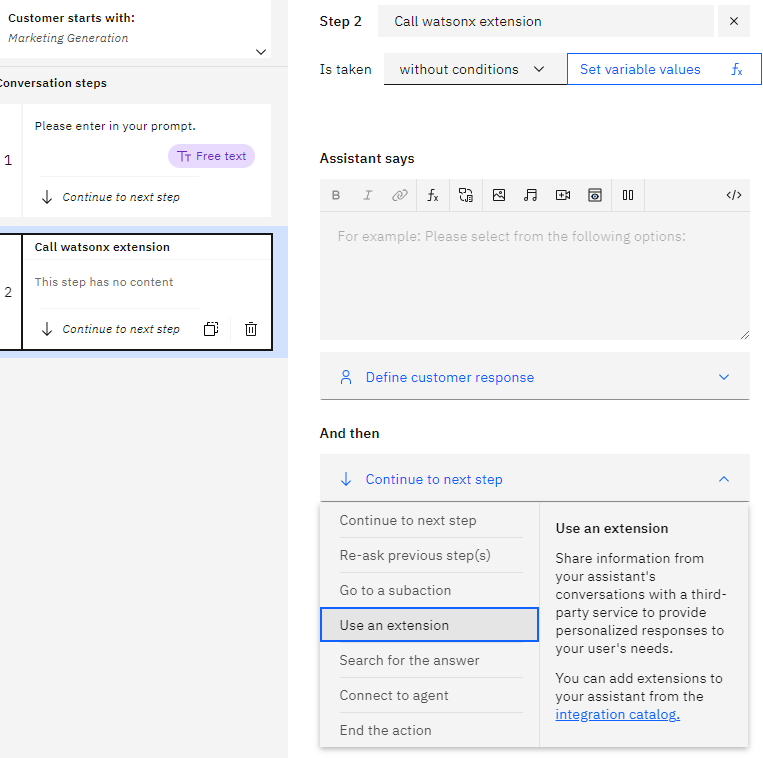
then we create an extra step, the step we name
Call watson extension
and then we continue to next step by using an extension
In ordering to setup the extension you requiere to go back to your WatsonX and see the code
in my example will have something like
curl "https://us-south.ml.cloud.ibm.com/ml/v1-beta/generation/text?version=2023-05-29" \
  -H 'Content-Type: application/json' \
  -H 'Accept: application/json' \
  -H 'Authorization: Bearer YOUR_ACCESS_TOKEN' \
  -d $'{
  "model_id": "google/flan-t5-xxl",
  "input": "Generate a 5 sentence marketing message for a company with the given characteristics.\\n\\nDetails\\nCharacteristics:\\n\\nCompany - Golden Bank\\n\\nOffer includes - no fees, 2% interest rate, no minimum balance\\n\\nTone - informative\\n\\nResponse requested - click the link\\n\\nEnd date - July 15\\n\\nEmail\\n",
  "parameters": {
    "decoding_method": "sample",
    "max_new_tokens": 200,
    "min_new_tokens": 50,
    "random_seed": 111,
    "stop_sequences": [],
    "temperature": 0.8,
    "top_k": 50,
    "top_p": 1,
    "repetition_penalty": 2
  },
  "project_id": "4asdasdds-56ed-4eea-b36d"
}'
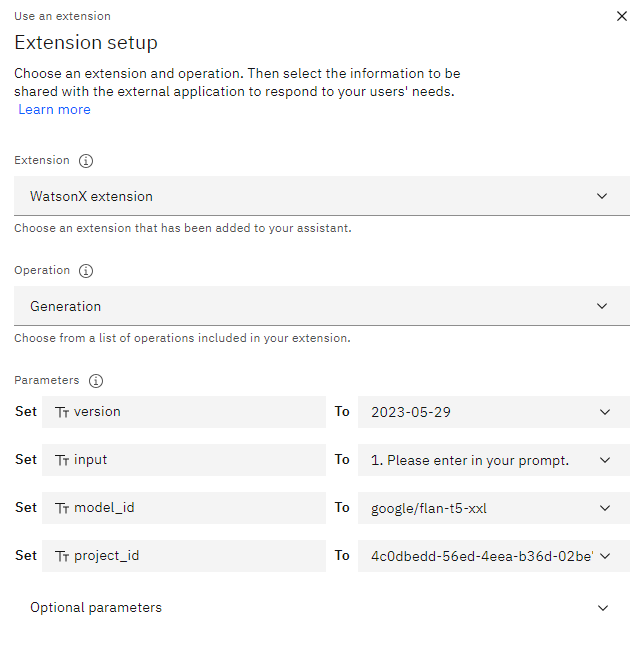
we will use the previous information to setup our extension in Watson Assistant
-
For the version you will use a text with
2023-05-29 -
For input you will choose Action Step Variables and then you choose the first step
1.Please enter in your promt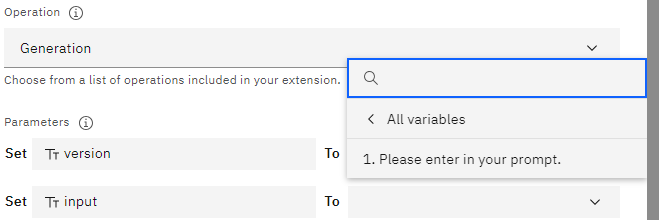
-
For model_id
google/flan-t5-xxl -
for project_id you paste your project id for example
4asdasdds-56ed-4eea-b36dyou will have something like -
then for this example we will requiere additional options
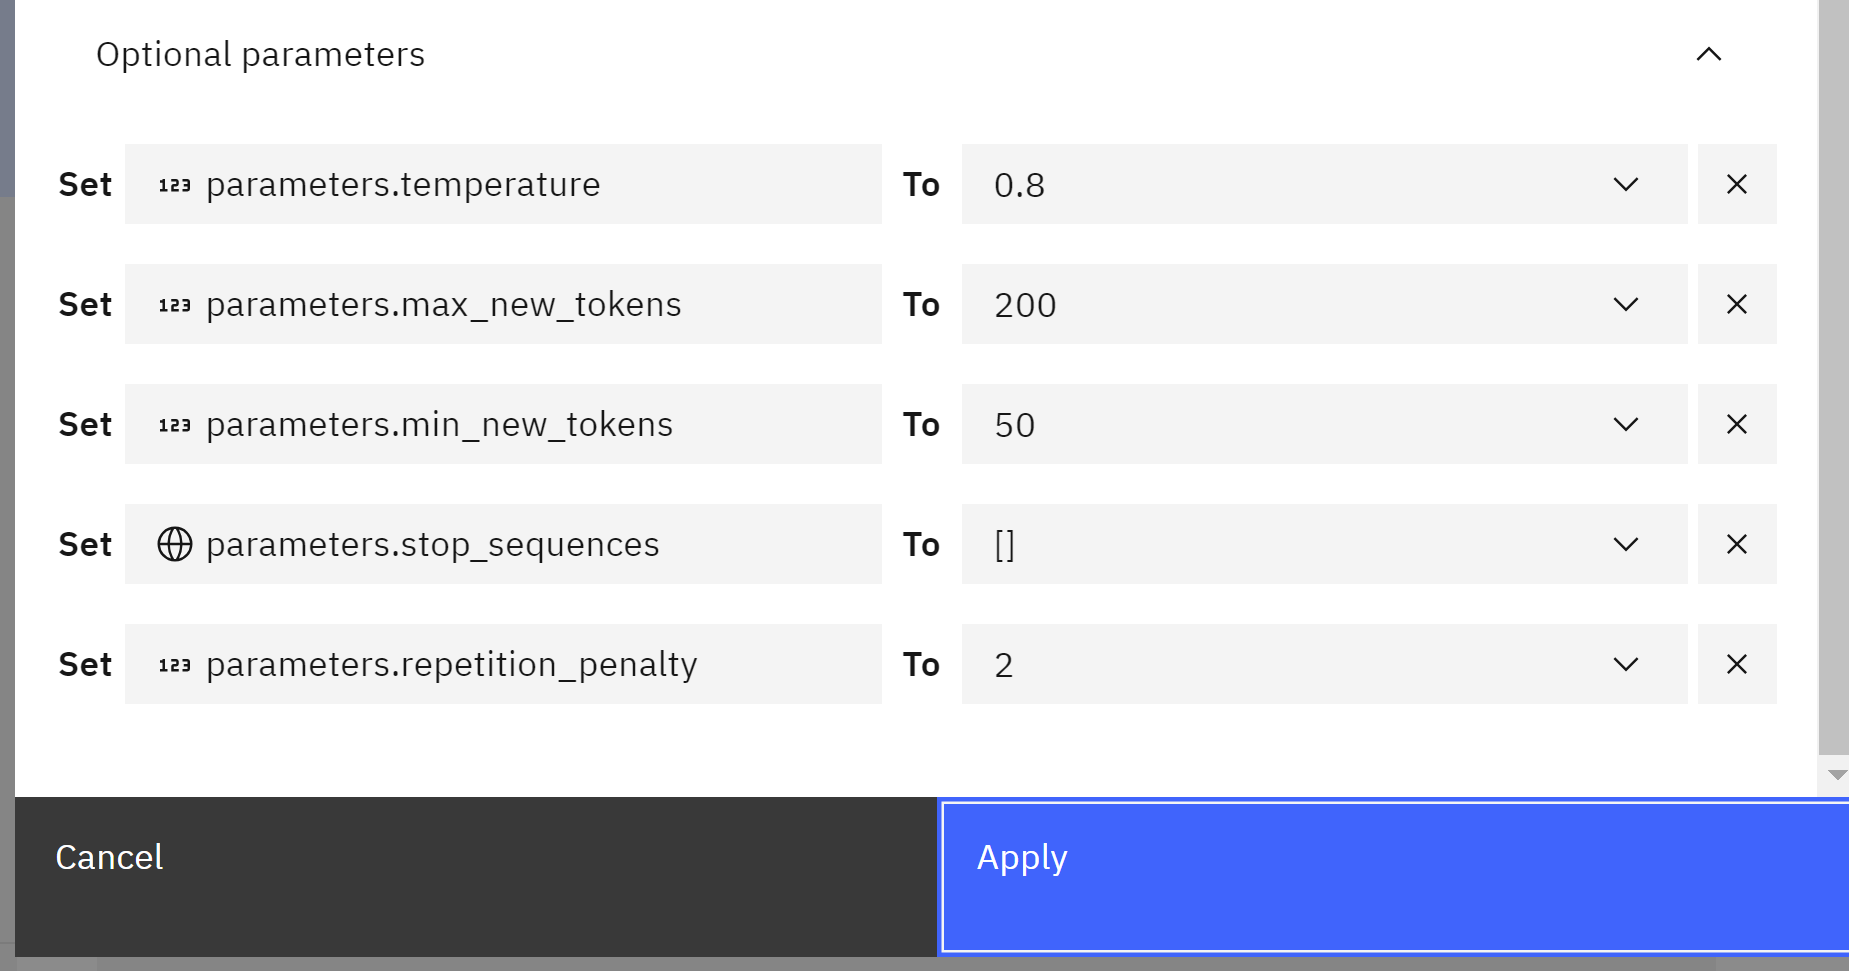
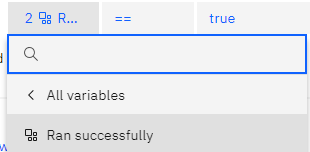
then click apply. Then we create a new step, with conditions, we choose WatsonX extension(step2)
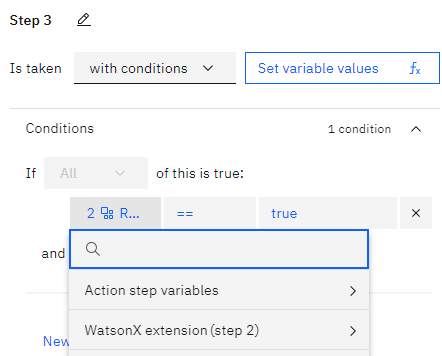
then Ran successfully
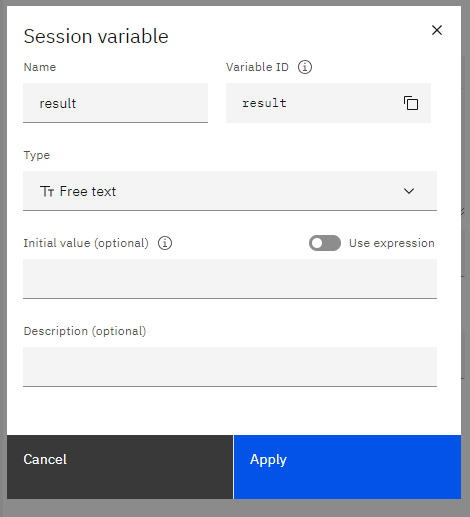
in order to express code we set variable values, and we create a New session variable
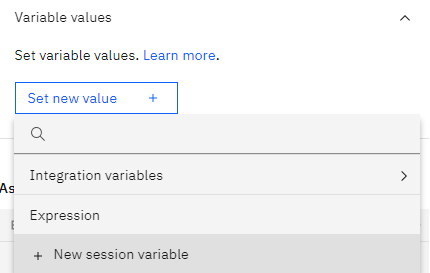
we name result and will be free text and then apply.
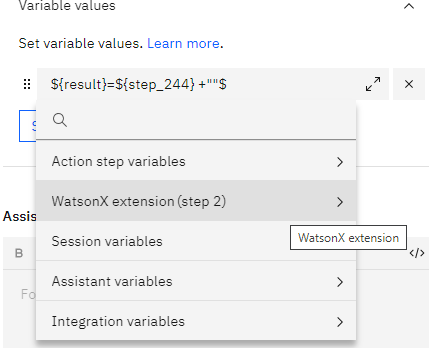
then we click set variable values and then expression

then we type in the value of the variable
${result}=$
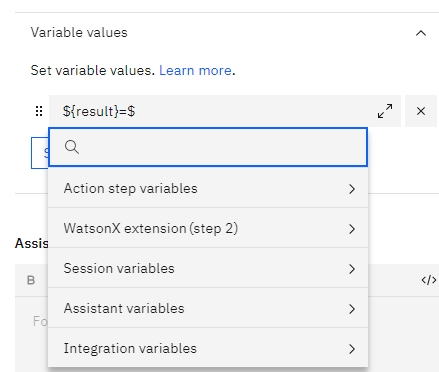
and search action step variables
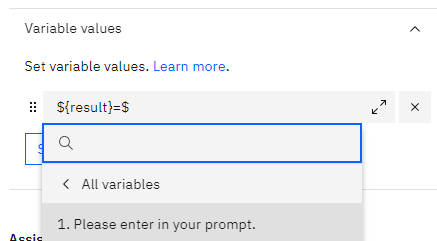
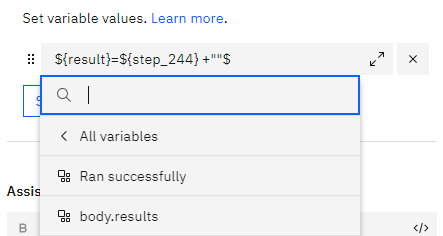
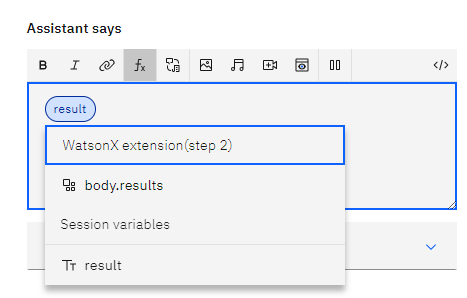
and select 1.Please enter in your propmt. Then you add an space then ` + “ “$ and find WatsonX extension(step2)`
then click on Body.results
and you are going to have something like this
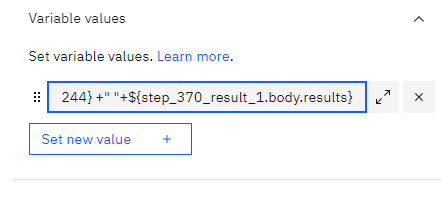
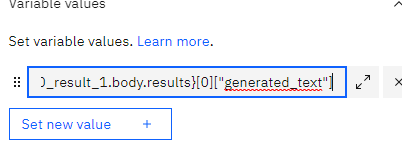
due to you get an array, you add the following [0]["generated_text"] that together in my case in something like this
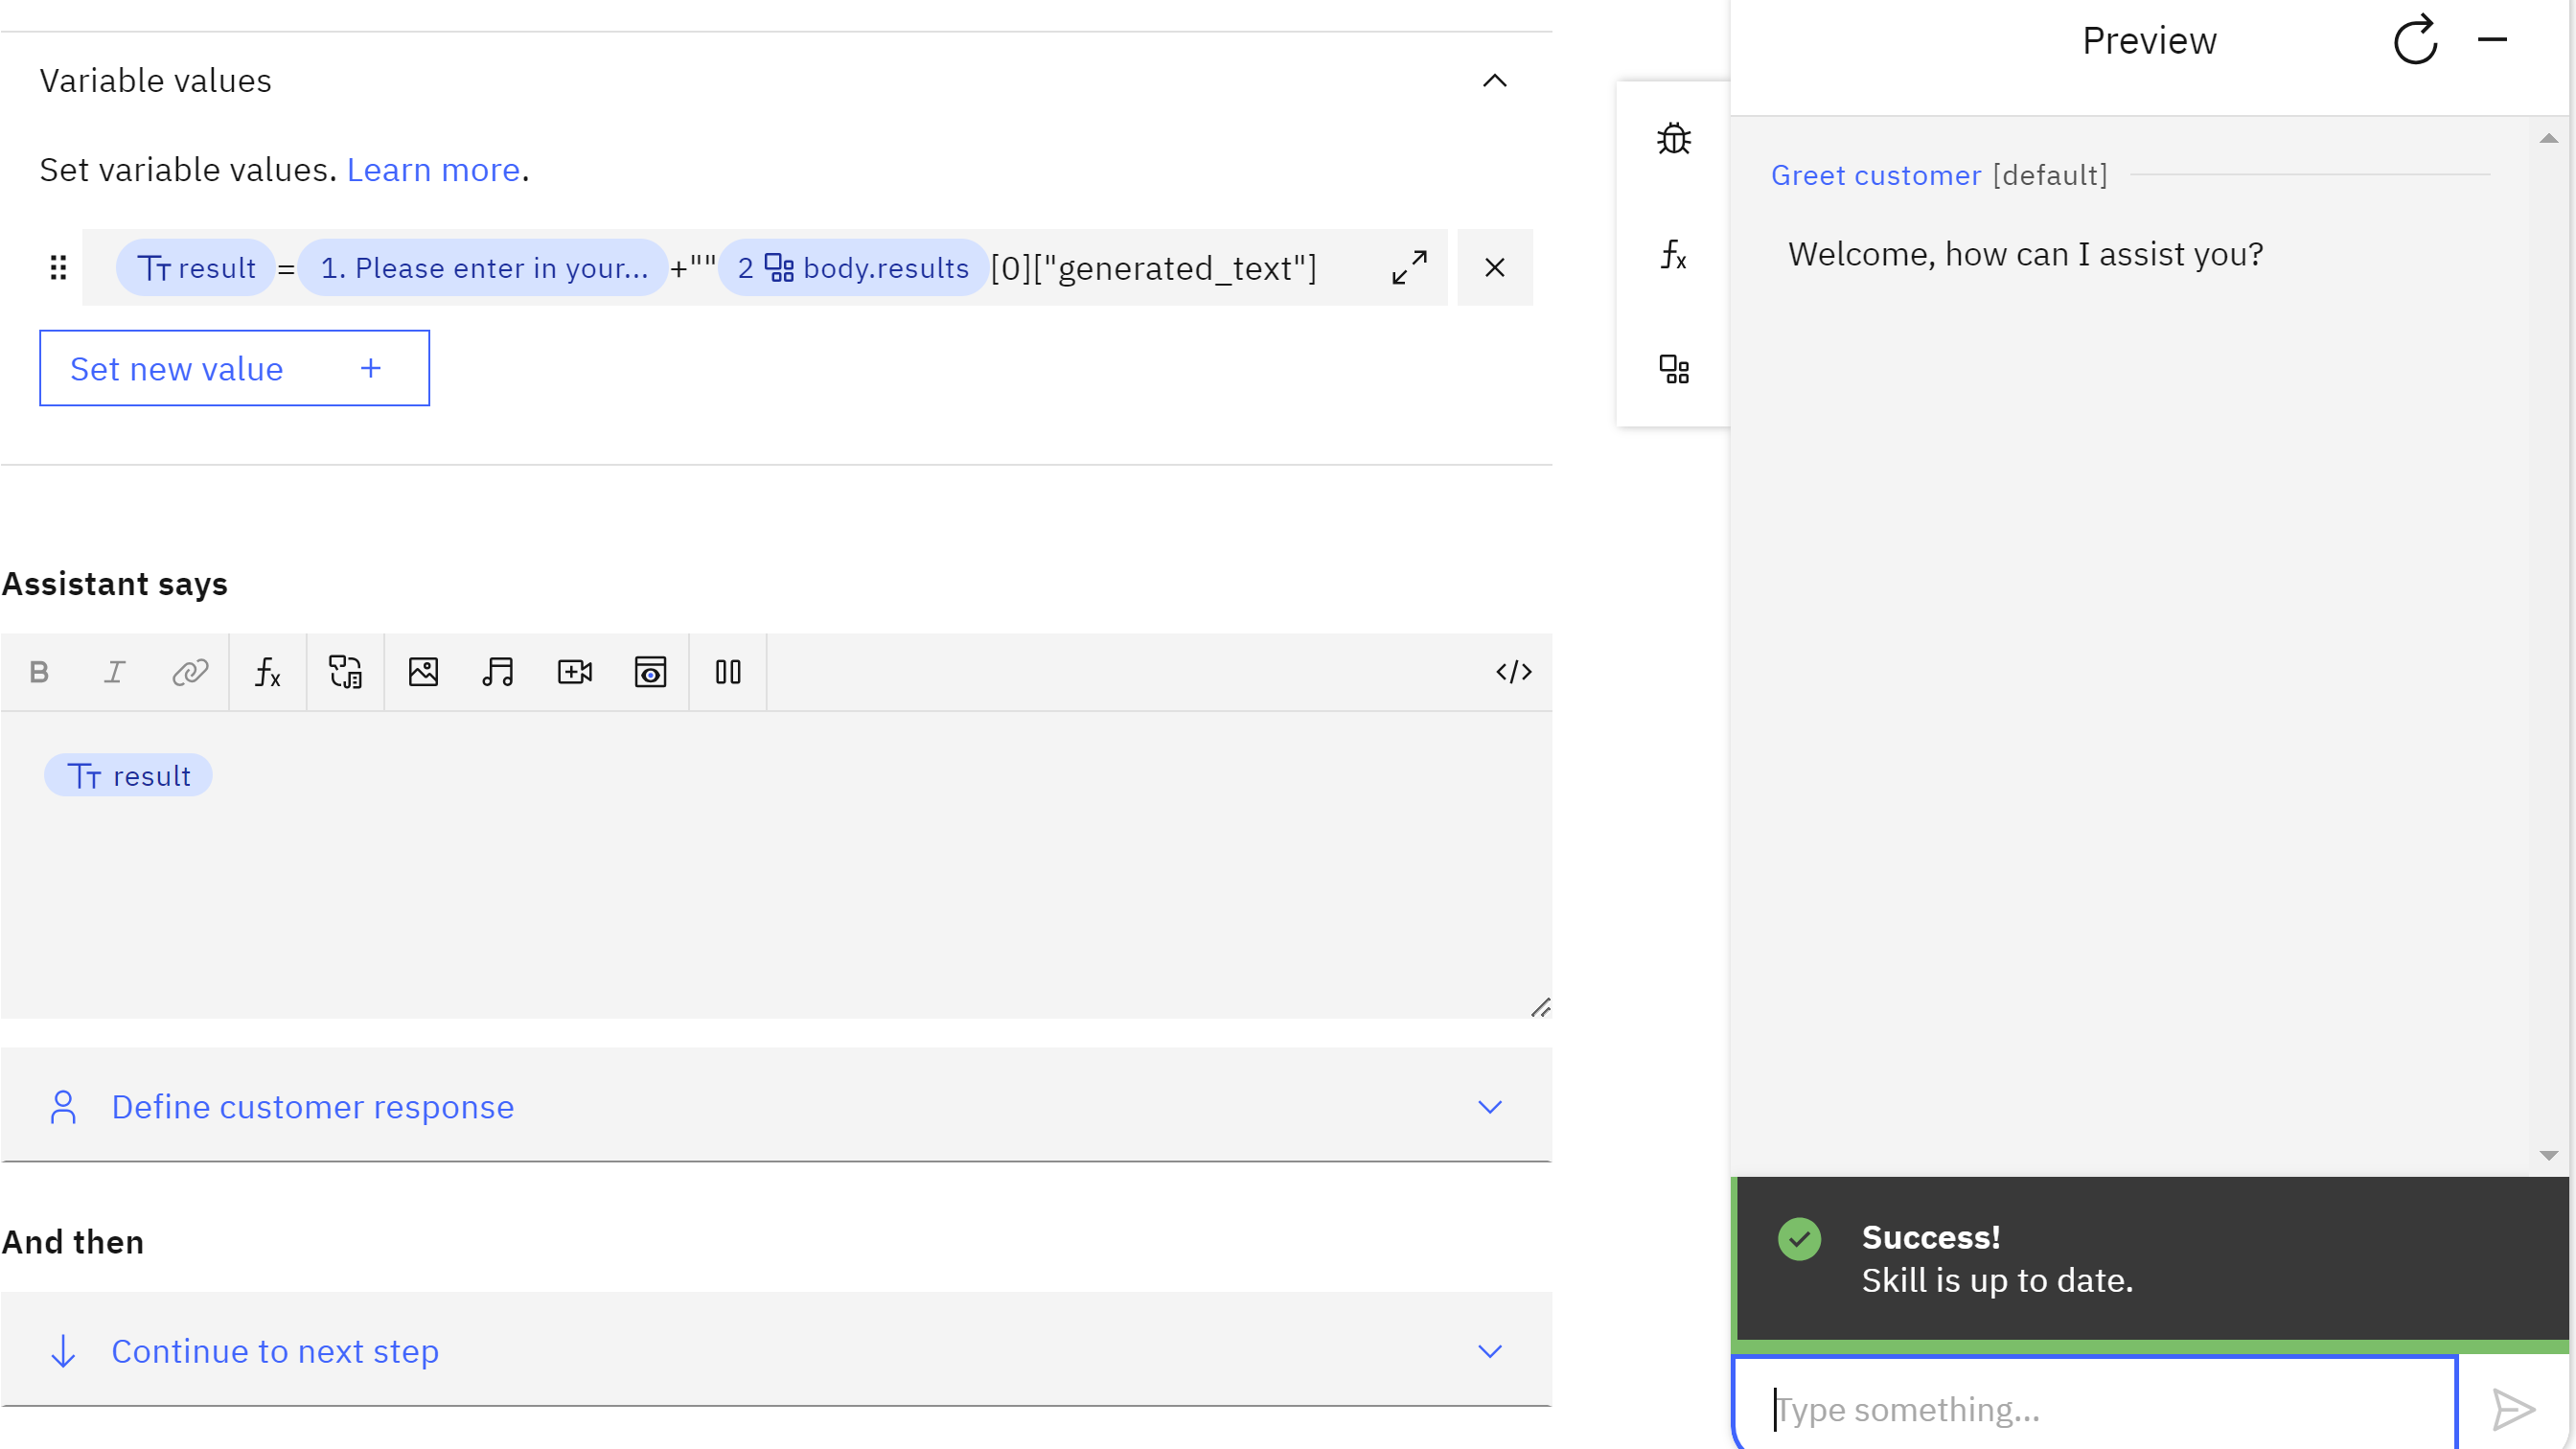
${result} =${step_244} +" \\nOutput: \\n"+${step_370_result_1.body.results}[0]["generated_text"]
then in the assitant says you add a function result
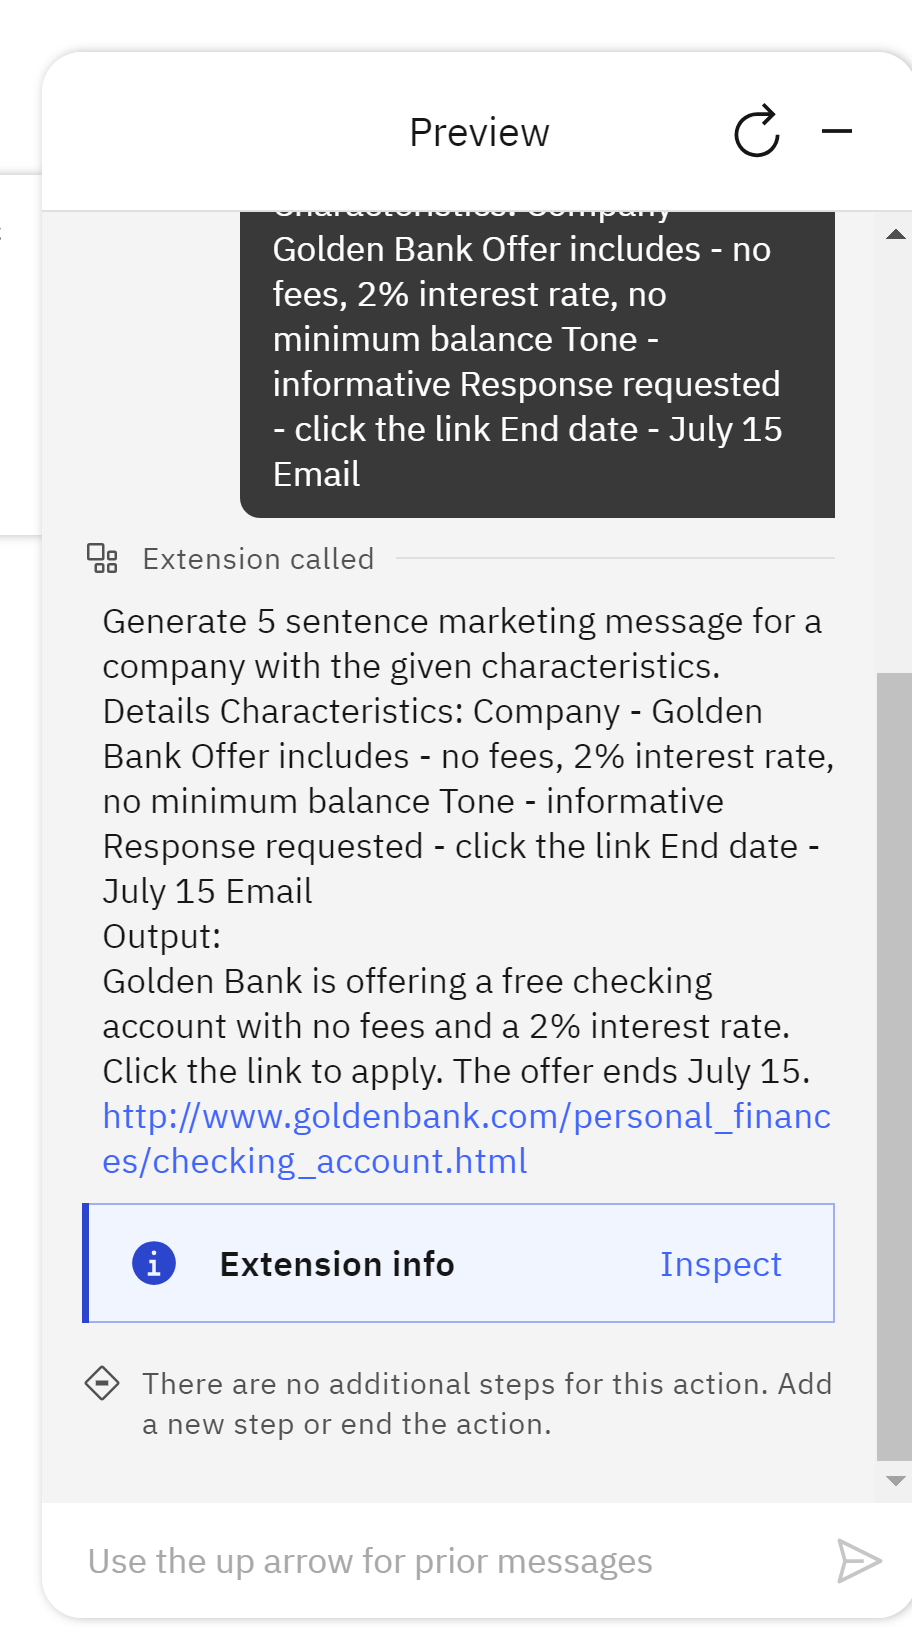
and finally we click on preview
then type
Marketing Generation
` then
Generate 5 sentence marketing message for a company with the given characteristics. Details Characteristics: Company - Golden Bank Offer includes - no fees, 2% interest rate, no minimum balance Tone - informative Response requested - click the link End date - July 15 Email
additionally you can analyze the output in the Extension inspector, to debug and analyze the results.
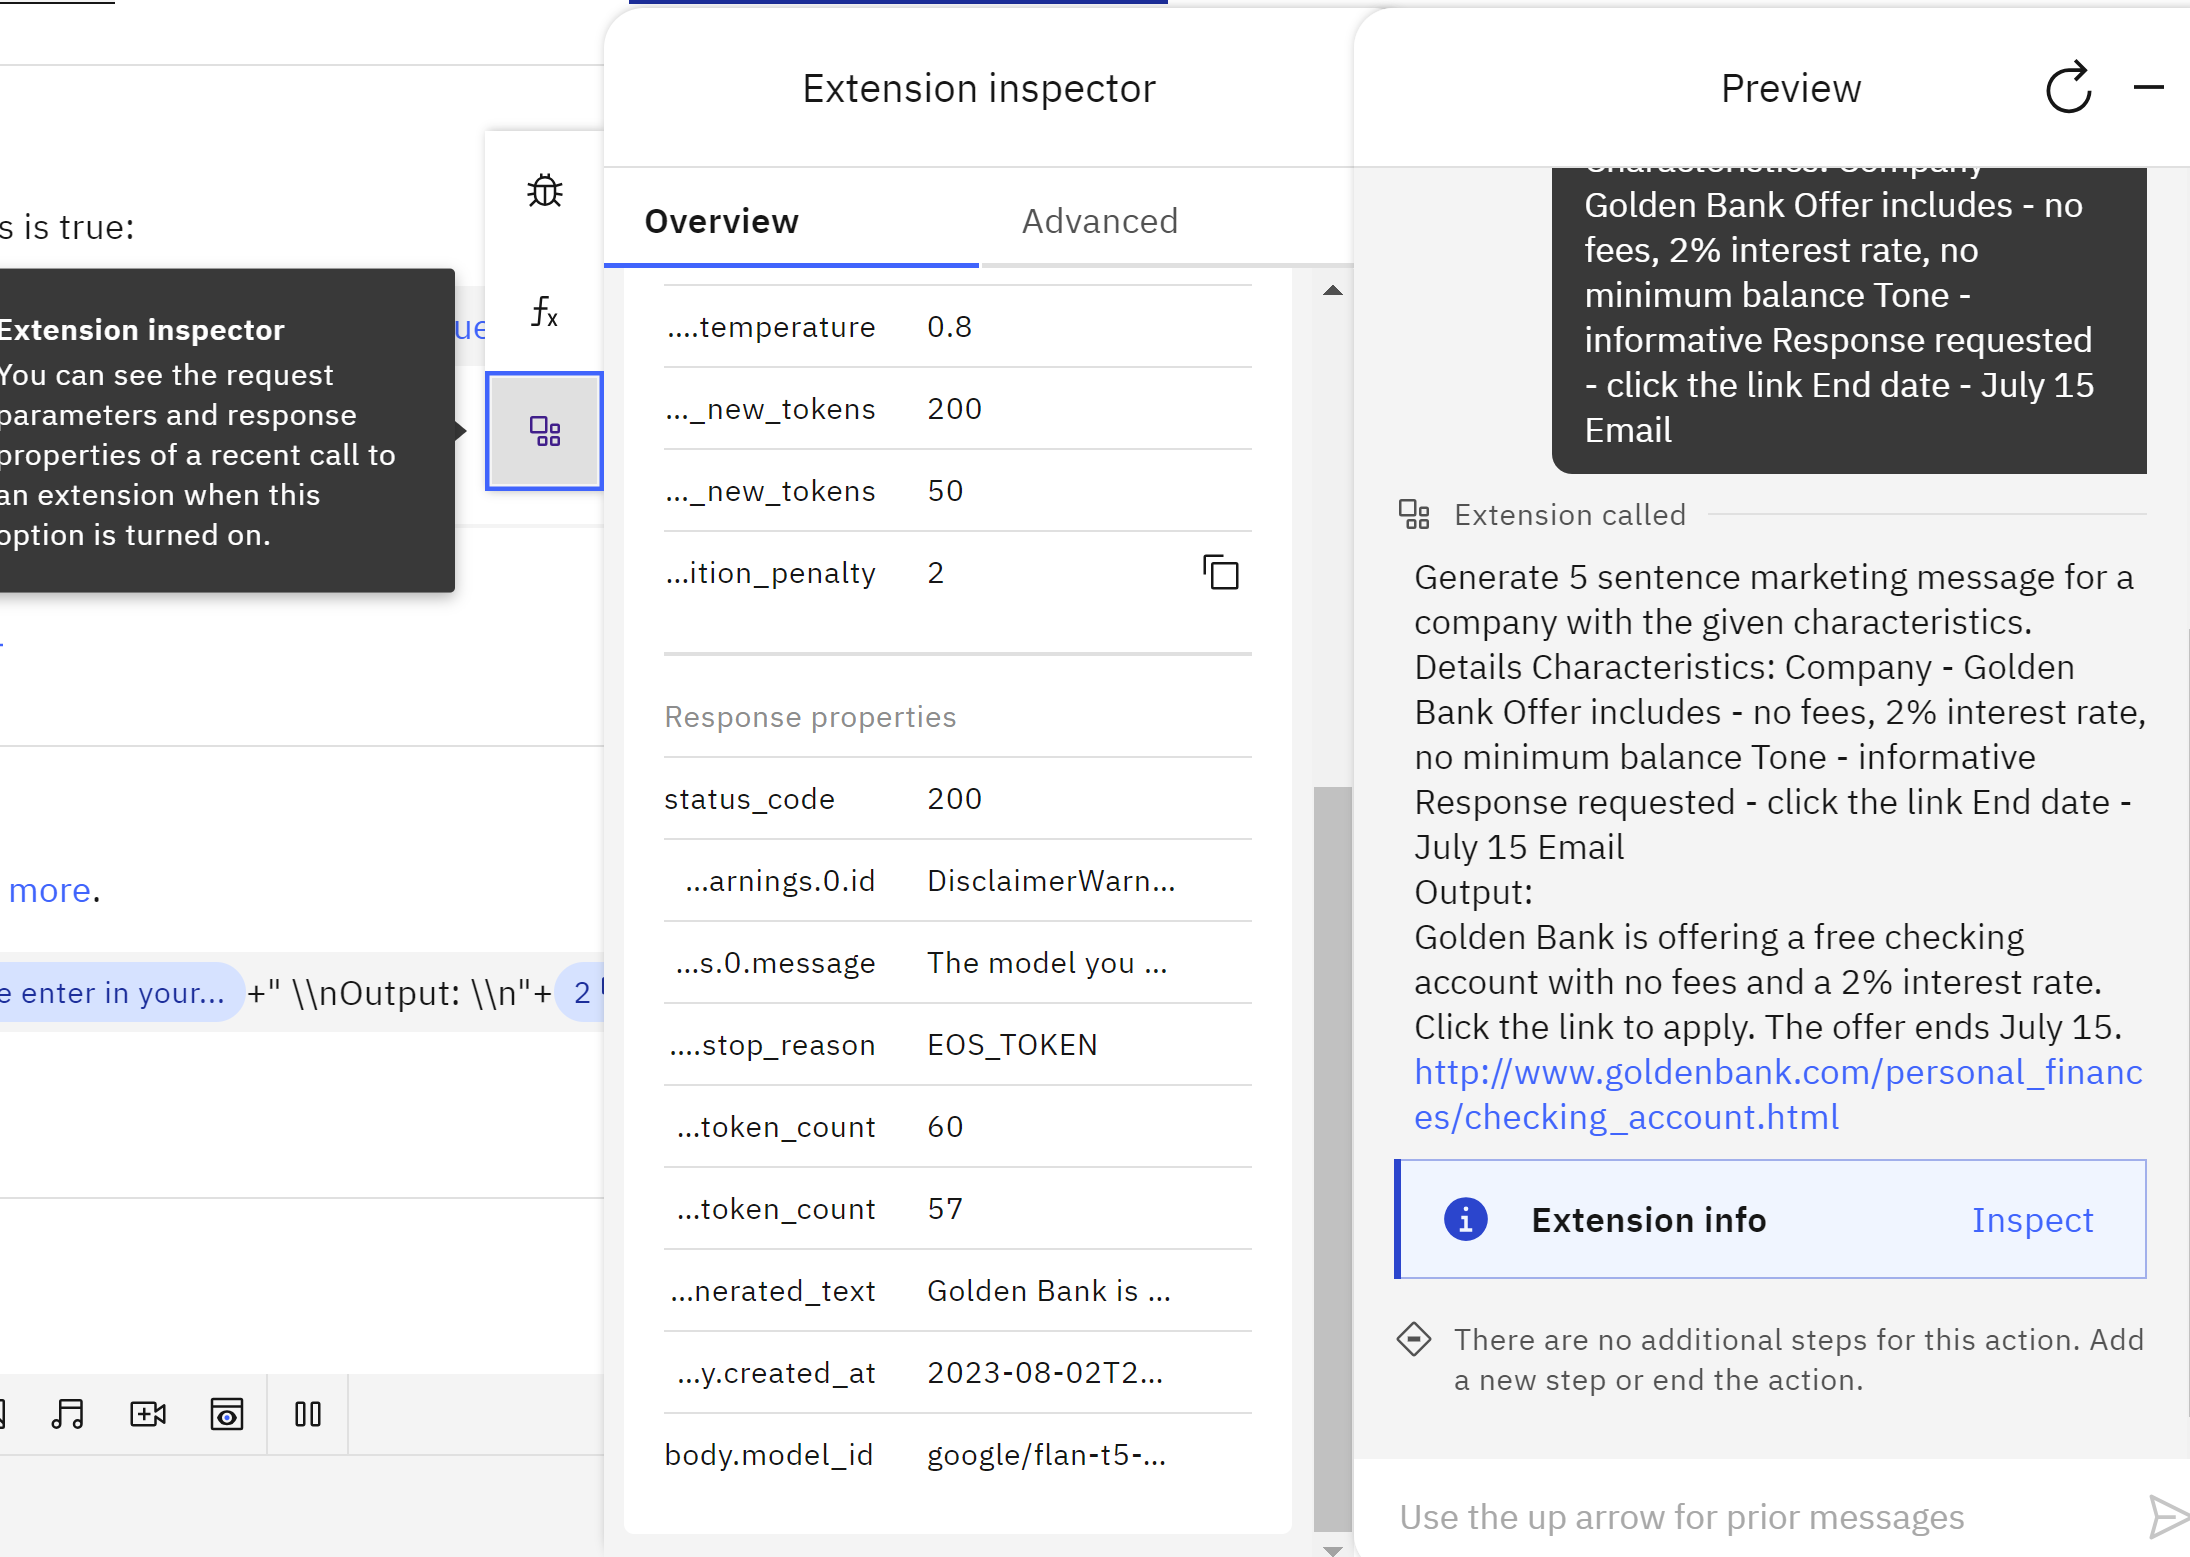
Congratulations! We have created a chatbot with LLM capability by using IBM WatsonX and IBM Watson Assistant.
Leave a comment