
How to deploy a WebApp on EC2 Instance with Flask
Today we are going to deploy a web application on the AWS cloud that perform a regression and plot the results on the web browser. This method can be used to deploy different Machine Learning models.
Introduction
![]()
Amazon Elastic Compute Cloud (Amazon EC2) is a web service that provides secure, resizable compute capacity in the cloud. It is designed to make web-scale cloud computing easier for developers. Amazon EC2’s simple web service interface allows you to obtain and configure capacity with minimal friction. It provides you with complete control of your computing resources and lets you run on Amazon’s proven computing environment.
Amazon EC2 offers the broadest and deepest compute platform with choice of processor, storage, networking, operating system, and purchase model.
![]()
Flask is a lightweight WSGI web application framework. It is designed to make getting started quick and easy, with the ability to scale up to complex applications. It began as a simple wrapper around Werkzeug and Jinja and has become one of the most popular Python web application frameworks.
EC2 Instance Setup
First we need to enter to the AWS Management Console
https://aws.amazon.com/it/console/
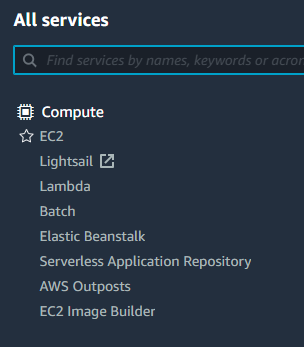
We enter with our credentials and we enter to the EC2 service
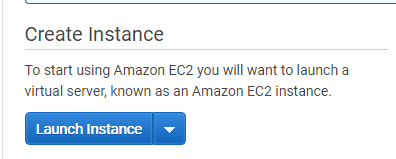
We launch an instance
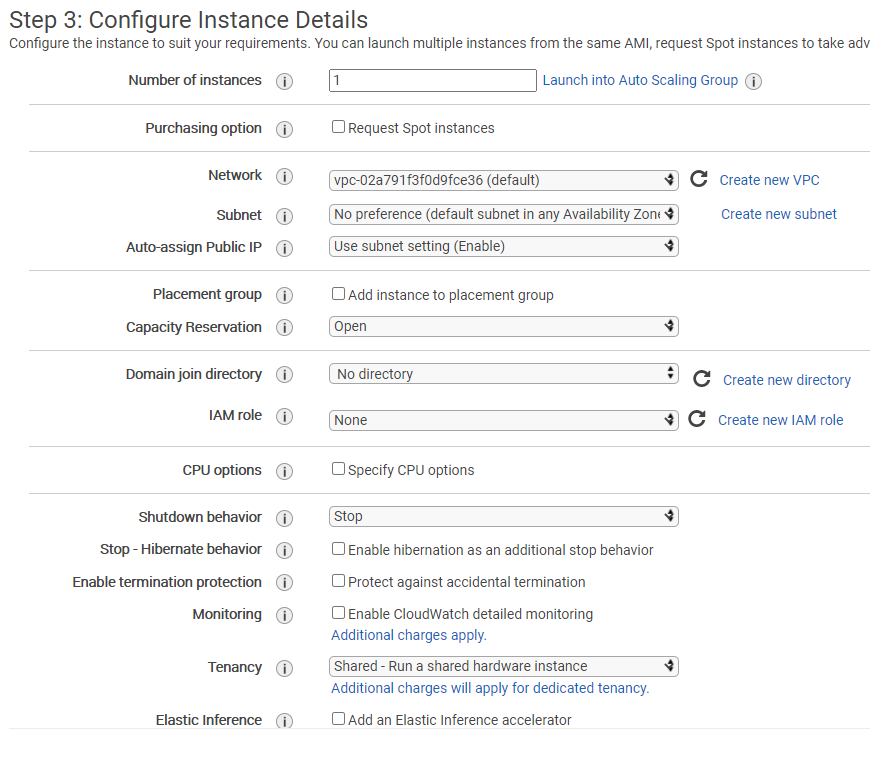
We Select Amazon Linux 2 AMI (HVM), SSD Volume Type with the default settings
We add the tag, Name with the value WebApplication

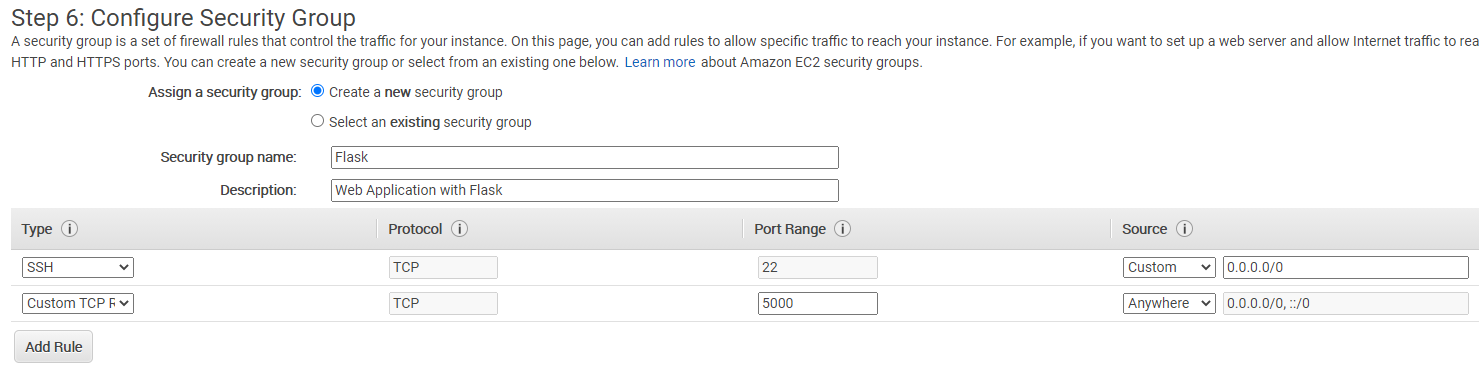
For the Security Group, for this example, we assign open the port 22 TCP and the Custom 5000 for the Flask application.
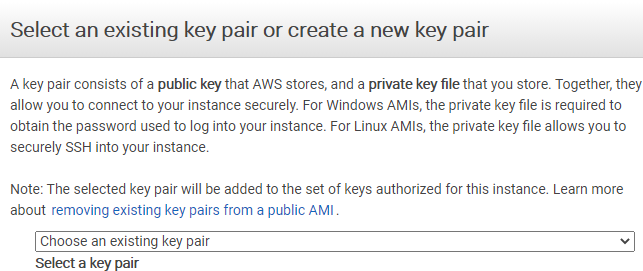
For the key pair , we can create new key pair or use your key pair.
If you don’t have your keypair you have create and download.
Because you will use in order to enter to the server.
Finally we launch our EC2 Instance.
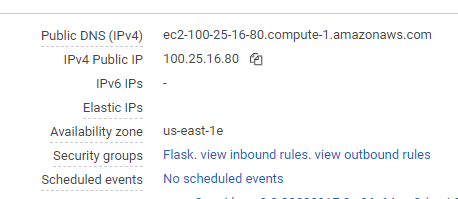
We return back to the EC2 Dashboard and we copy the IPv4 Public IP

-
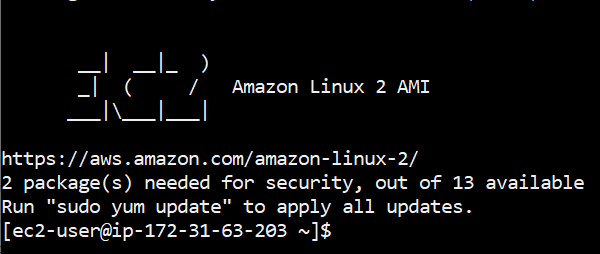
We go to our terminal and with our
IPv4 Public IPthat should be different to mineyou type
ssh [email protected] -i MyKey.pem
we apply all updates
sudo yum update -y
there are two ways to run the Flask Application,
a) Docker with Flask
b) Flask without Docker
Both options are good but if you use docker you have the advantage to install in different platforms.
I prefer use Docker but I going to install Python and Flask on the EC2 Instances to have both options.
Docker Installation on EC2
sudo amazon-linux-extras install docker
we start the docker daemon
sudo service docker start
We want add the privilege to the ec2-user to use docker
sudo usermod -a -G docker ec2-user
Python Installation on EC2
In addition to Docker, and have the opportunity to execute in natural way the python programs we install python on the EC2 Instance
sudo yum install python37
we check if was installed
python --version
sudo yum install python37
python3 --version
We want to install pip, on EC2 instance, so we execute this script
curl -O https://bootstrap.pypa.io/get-pip.py
python3 get-pip.py --user
pip --version
If everything was done correctly
we got
[ec2-user@ip-172-31-63-203 ~]$ pip --version
pip 20.2.4 from /home/ec2-user/.local/lib/python3.7/site-packages/pip (python 3.7)
we can remove the downloaded file
rm get-pip.py
Finally we can exit and start with everything running properly.
exit
Web Application Installation
We enter again to our EC2 server
ssh [email protected] -i MyKey.pem
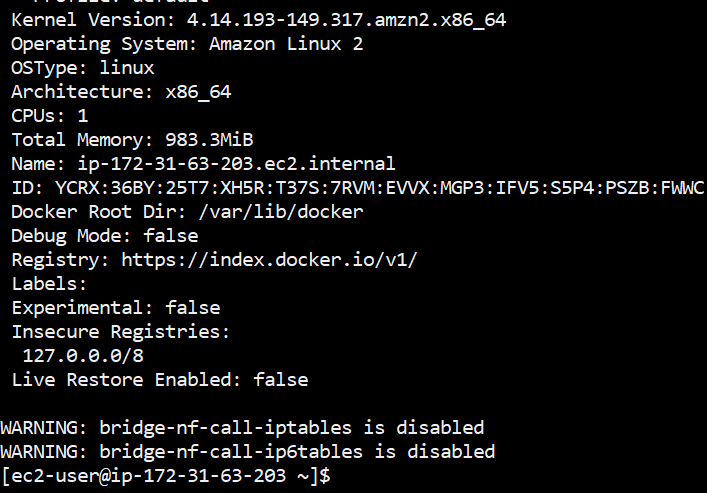
We check if now we can run docker
docker info
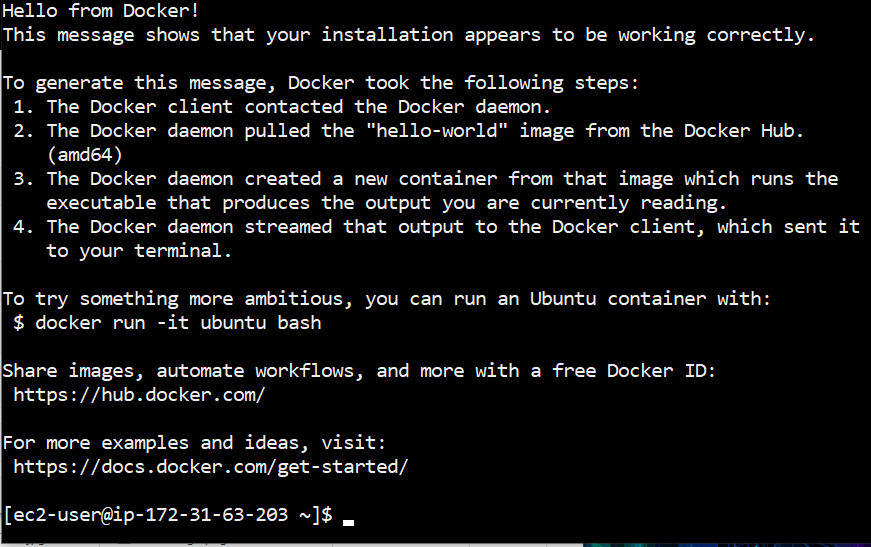
Now we can do a test, by running the hello-world
docker run hello-world
It is possible list the active Docker containers
docker ps -a

Let us remove the hello-world container, lets copy the CONTANIER ID and delete
docker rm 0d69fdc5d8e1
there is not any running container
docker ps -a
Docker Container Installation
First we create the folder where we want to install the webapp
mkdir DockerContainer
and we enter there
cd DockerContainer/
We choose a dataset that we want to perform the regression,
curl -o ./tempYearly.csv -k https://raw.githubusercontent.com/ruslanmv/DockerContainer/master/tempYearly.csv
we download the docker file
curl -o ./Dockerfile -k https://raw.githubusercontent.com/ruslanmv/DockerContainer/master/Dockerfile
and the dependencies of our webapp
curl -o ./requirements.txt -k https://raw.githubusercontent.com/ruslanmv/DockerContainer/master/requirements.txt
and we create the folder where we will put the python codes
mkdir app
cd app
Those file are already used in previous posts. https://ruslanmv.com/blog/creation-of-container
curl -o ./app.py -k https://raw.githubusercontent.com/ruslanmv/DockerContainer/master/app/app.py
curl -o ./plotdata.py -k https://raw.githubusercontent.com/ruslanmv/DockerContainer/master/app/plotdata.py
cd ..
Building the Docker WebApp
docker build --tag flask-plotting-app .
this create the container flask-plotting-app:latest
Successfully tagged flask-plotting-app:latest
Execution of the WebApp
We can execute the container by the following command
docker run -i -t --name flaskpltapp -p5000:5000 flask-plotting-app:latest
if everthing was done well you will get the following message

Run the WebApp on the Browser
We copy our public IP of the EC2 Instance
and you write you IP following by the port 5000 , for example : http://100.25.16.80:5000/ on your web browser and finally you got the regression plot
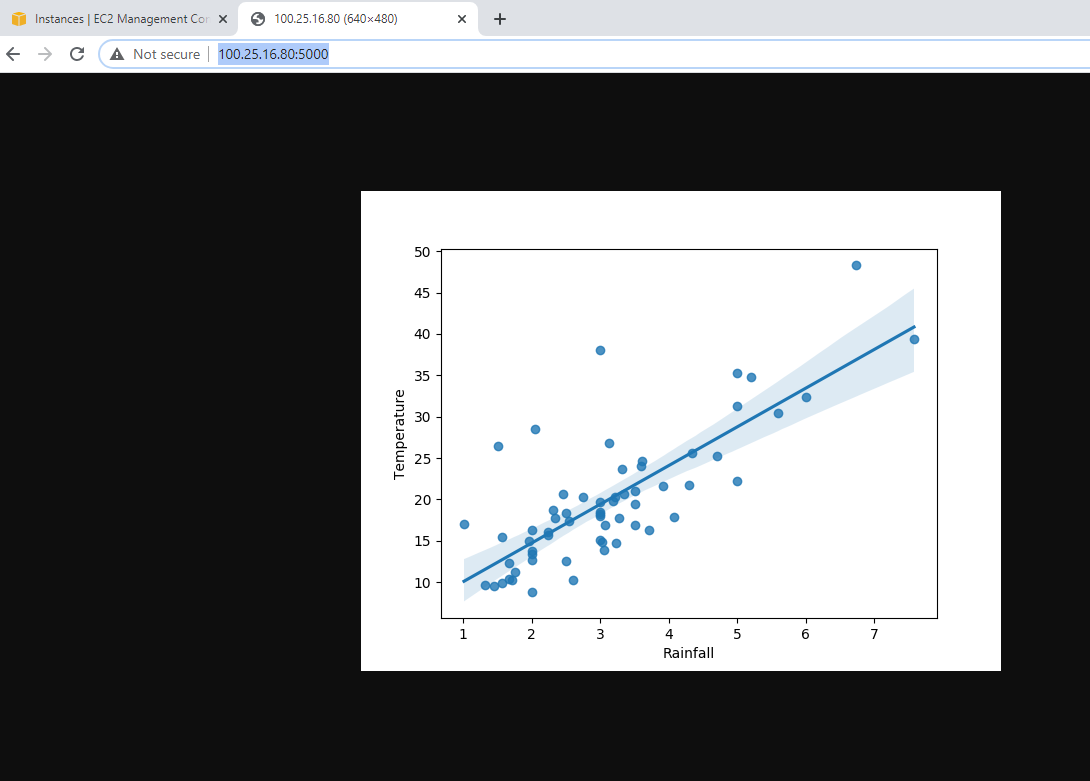
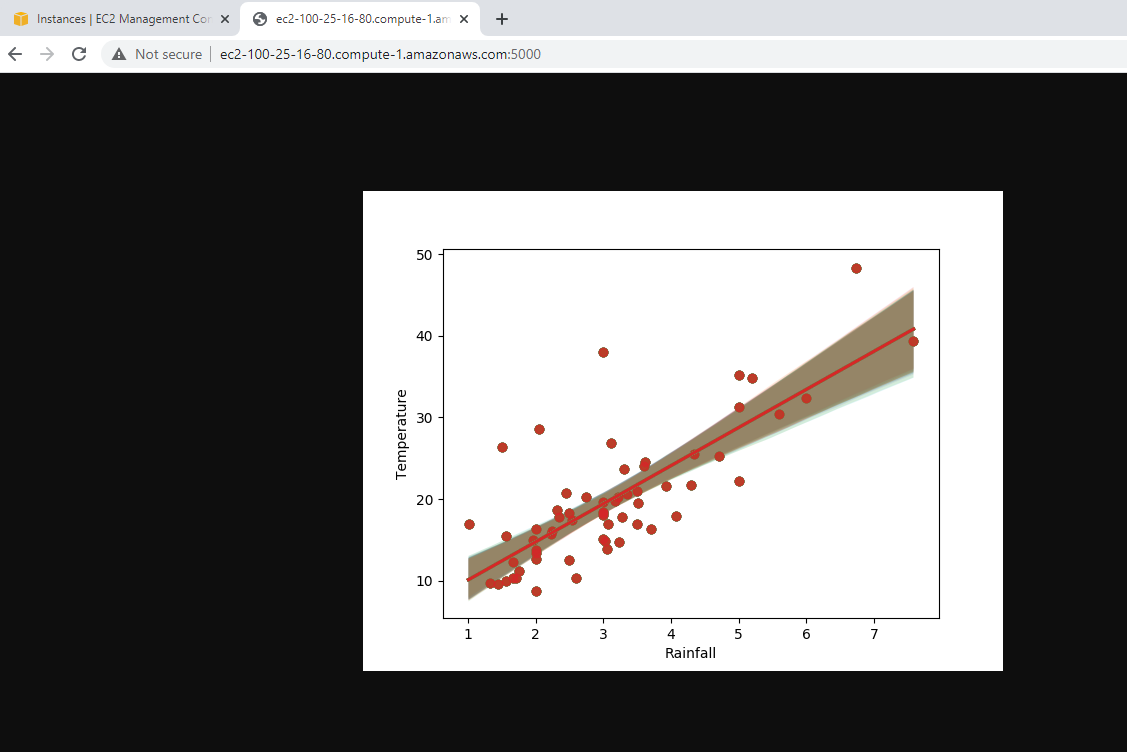
also you can use the public DNS http://ec2-100-25-16-80.compute-1.amazonaws.com:5000/
each time you execute you python program, you can visualize on the terminal, the logs of that.
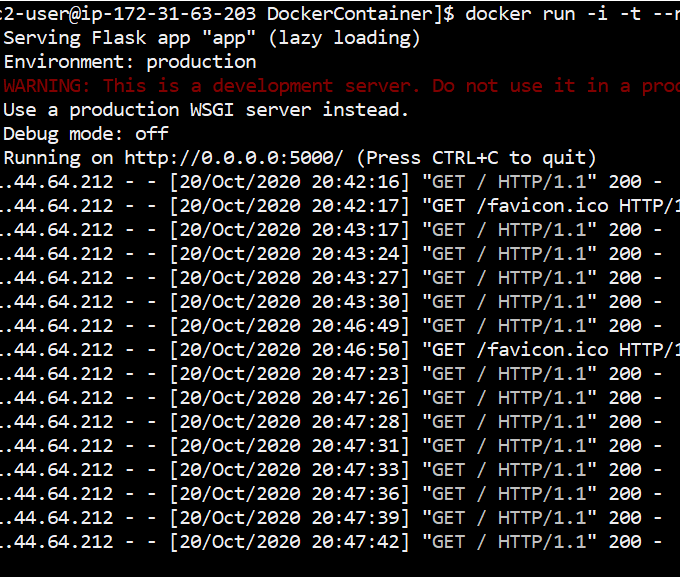
you can close the application by using CTRL+C to quit.
Web Application without Docker
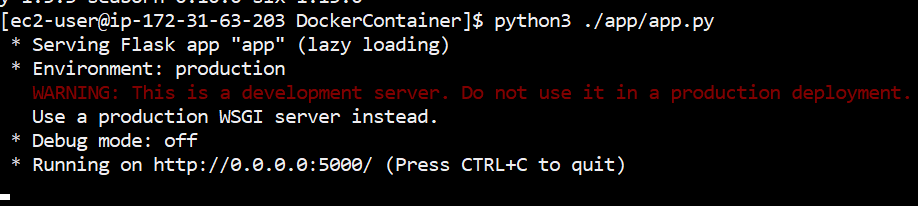
The second method simpler, consists in the installation of all dependencies of your webapp by using pip3.
go to your terminal there
pip3 install -r requirements.txt
and to run your application just execute them as
python3 ./app/app.py
and wualaaa
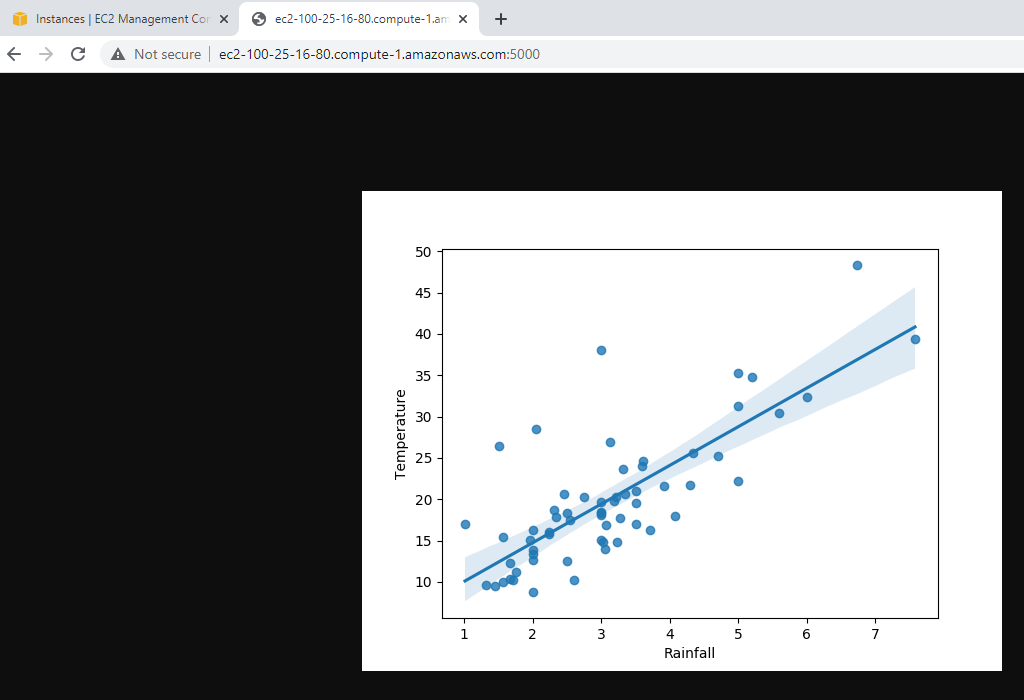
again you go the plot , but now without the docker. Finally, in order to avoid costs on AWS, don’t forget terminate our instance.
Congratulations! we could perform a Regression Plot with our web app on AWS.
Leave a comment