
Deploy Elasticsearch and Kibana in a Cluster
Deploy Elasticsearch in a Cluster
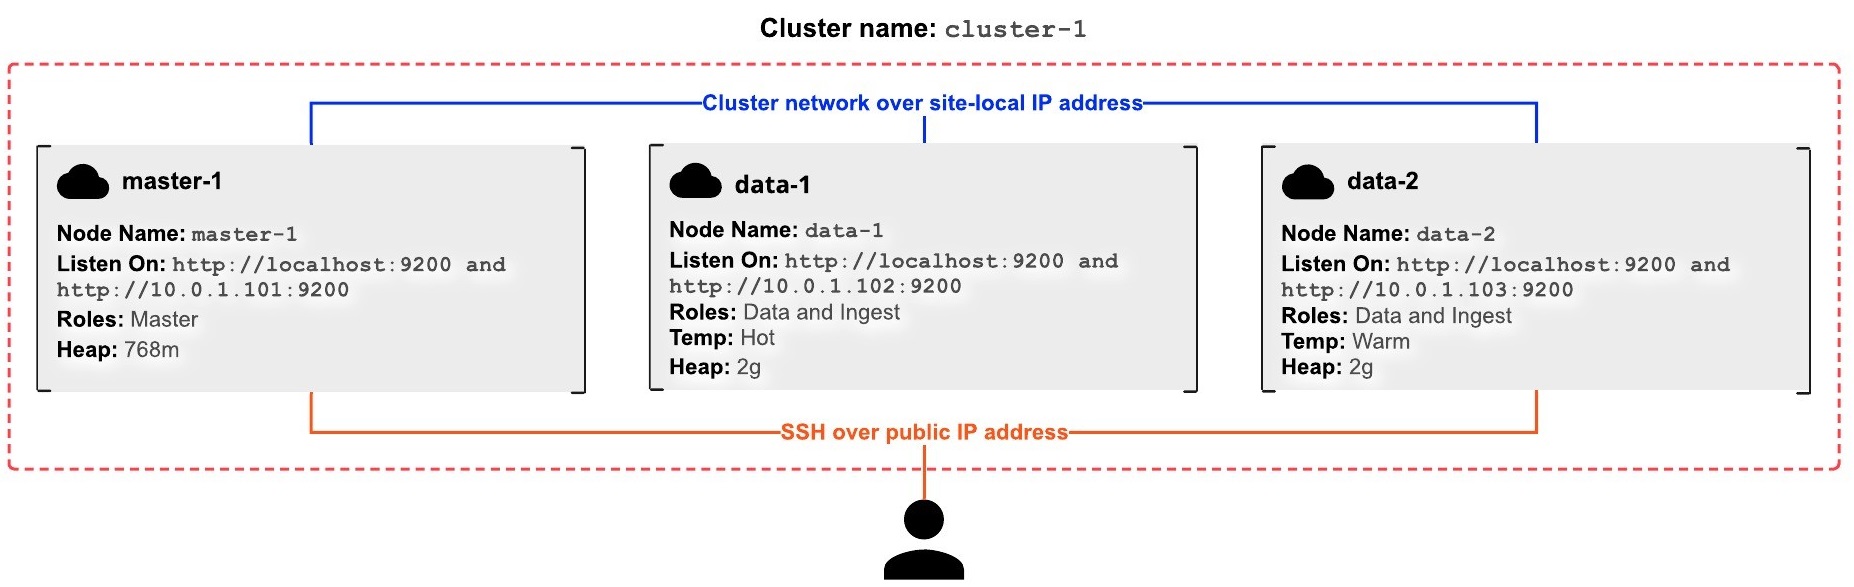
We are going to create a cluster with 3 nodes, 1 master node and 2 data nodes by using CentOS Linux 7
Master Node Setup
The first computer that we will connect will be the master computer.
Using the Secure Shell (SSH), log in via the public IP address.
First we enter like a root user with:
sudo su -
Import the Elastic GPG key:
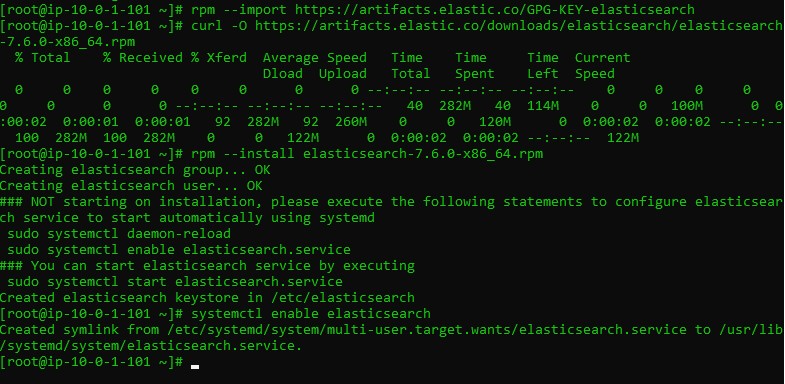
rpm --import https://artifacts.elastic.co/GPG-KEY-elasticsearch
Download the Elasticsearch 7.6 RPM:
curl -O https://artifacts.elastic.co/downloads/elasticsearch/elasticsearch-7.6.0-x86_64.rpm
Install Elasticsearch:
rpm --install elasticsearch-7.6.0-x86_64.rpm
Configure Elasticsearch to start on system boot:
systemctl enable elasticsearch
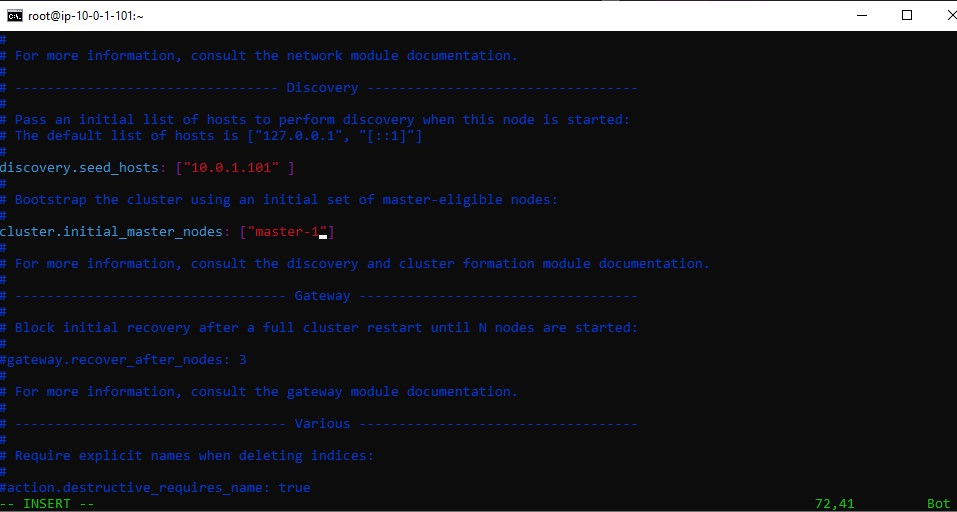
Configure the elasticsearch.yml per instructions.
Open the elasticsearch.yml file:
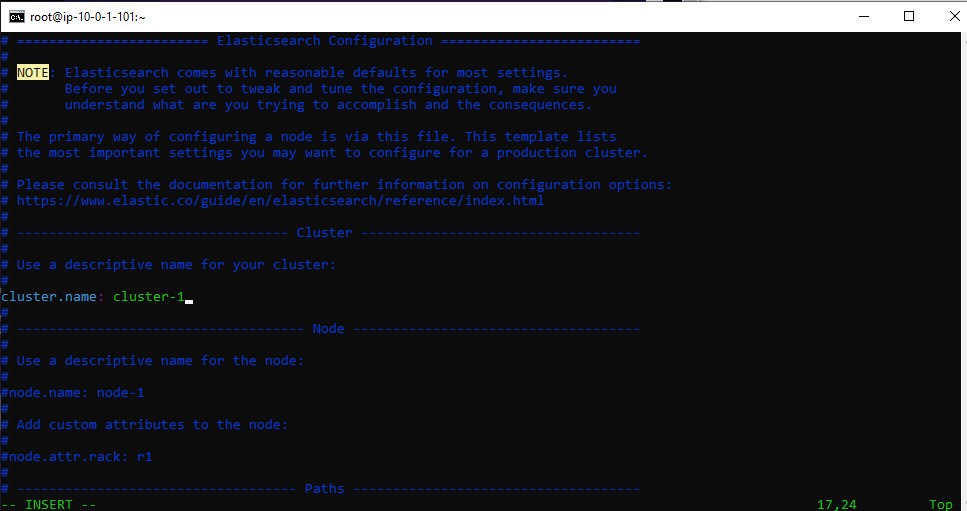
vim /etc/elasticsearch/elasticsearch.yml
Change the following line:
#cluster.name: my-application
to
cluster.name: cluster-1
Press the letter i on your keyboard to enter INSERT mode in vim.
Change the following line on master-1:
#node.name: node-1
to
node.name: master-1
Change
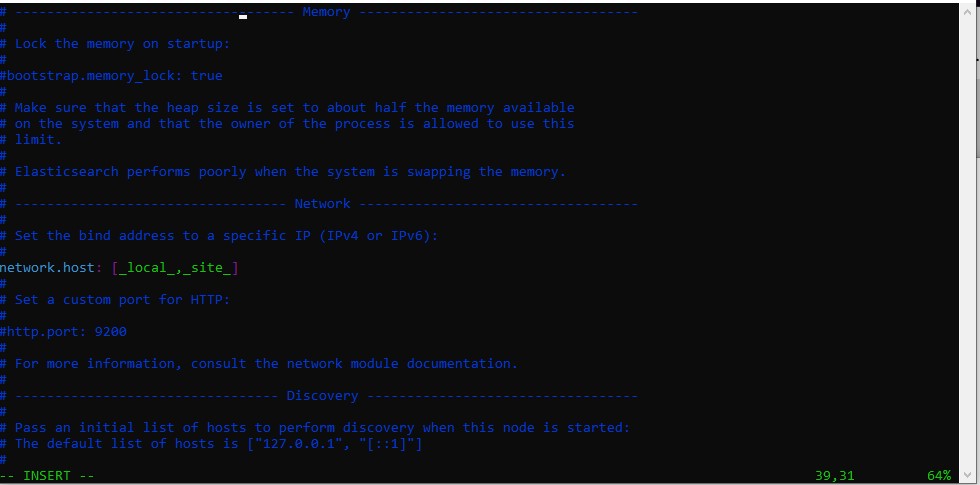
#network.host: 192.168.0.1
to
network.host: [_local_,_site_]
change
#discovery.seed_hosts: ["host1", "host2"]
to
discovery.seed_hosts: ["10.0.1.101"]
and change
#cluster.initial_master_nodes: ["node-1", "node-2"]
to
cluster.initial_master_nodes: ["master-1"]
we add the following lines
node.master: truenode.data: falsenode.ingest: falsenode.ml: false
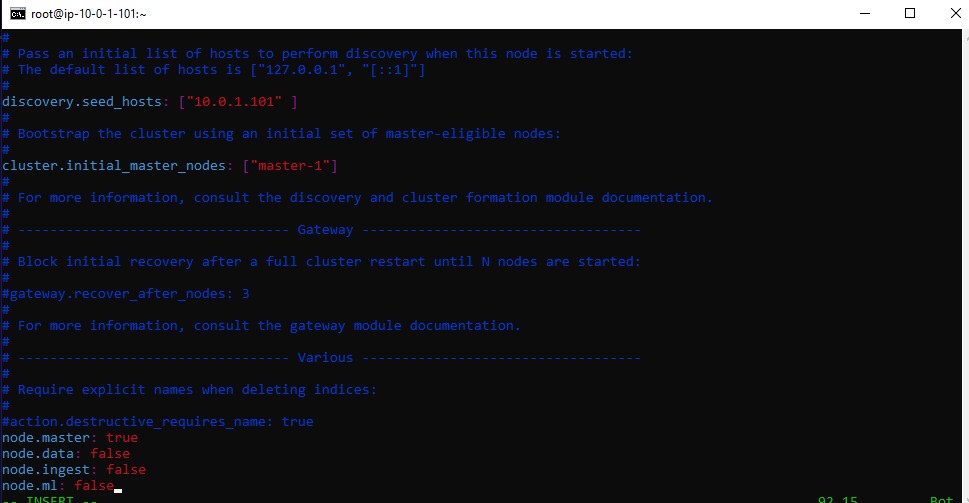
Then save and quit.
To save the file and exit the editor simultaneously, press Esc to switch to normal mode, type :wq and hit Enter.
Node 1 Setup
We conect now the the node 1 again by using the Secure Shell (SSH), log in via the public IP address.
and we repeate the same steps
Become the root user with:
sudo su -
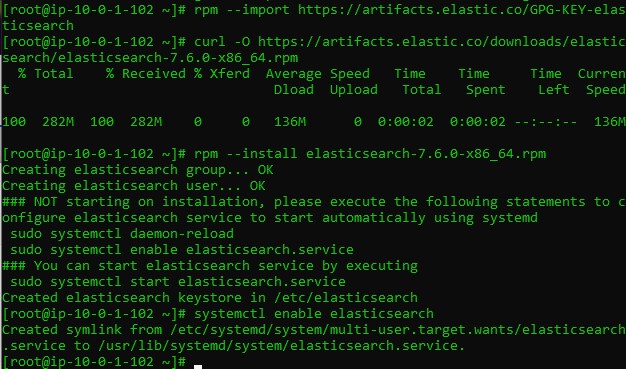
Import the Elastic GPG key:
rpm --import https://artifacts.elastic.co/GPG-KEY-elasticsearch
Download the Elasticsearch 7.6 RPM:
curl -O https://artifacts.elastic.co/downloads/elasticsearch/elasticsearch-7.6.0-x86_64.rpm
Install Elasticsearch:
rpm --install elasticsearch-7.6.0-x86_64.rpm
Configure Elasticsearch to start on system boot:
systemctl enable elasticsearch
we configure the node’s elasticsearch.yml per instructions.
Open the elasticsearch.yml file:
vim /etc/elasticsearch/elasticsearch.yml
Change the following line:
#cluster.name: my-application
to
cluster.name: cluster-1
Change the following line on data-1:
#node.name: node-1
to
node.name: data-1
Change the following line on data-1:
#node.attr.rack: r1
to
node.attr.temp: hot
node.name: master-1
Change
#network.host: 192.168.0.1
to
network.host: [_local_,_site_]
change
#discovery.seed_hosts: ["host1", "host2"]
to
discovery.seed_hosts: ["10.0.1.101"]
and change
#cluster.initial_master_nodes: ["node-1", "node-2"]
to
cluster.initial_master_nodes: ["master-1"]
Add the following lines on data-1:
node.master: falsenode.data: truenode.ingest: truenode.ml: false
Node 2 Setup
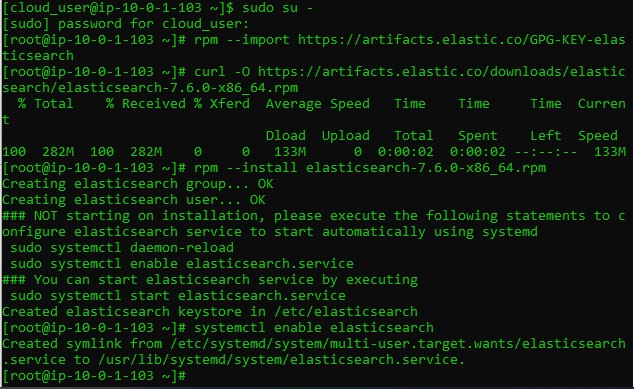
We conect now the the node 2 again by using the Secure Shell (SSH), log in via the public IP address.
and we repeat the same steps
sudo su -
Import the Elastic GPG key:
rpm --import https://artifacts.elastic.co/GPG-KEY-elasticsearch
Download the Elasticsearch 7.6 RPM:
curl -O https://artifacts.elastic.co/downloads/elasticsearch/elasticsearch-7.6.0-x86_64.rpm
Install Elasticsearch:
rpm --install elasticsearch-7.6.0-x86_64.rpm
Configure Elasticsearch to start on system boot:
systemctl enable elasticsearch
Configure elasticsearch.yml per instructions.
Log in to each node and become the root user:
sudo su -
Open the elasticsearch.yml file:
vim /etc/elasticsearch/elasticsearch.yml
Change the following line:
#cluster.name: my-application
to
cluster.name: cluster-1
Change the following line on data-2:
#node.name: node-1
to
node.name: data-2
Change the following line on data-2:
#node.attr.rack: r1
to
node.attr.temp: warm
Change
#network.host: 192.168.0.1
to
network.host: [_local_,_site_]
change
#discovery.seed_hosts: ["host1", "host2"]
to
discovery.seed_hosts: ["10.0.1.101"]
and change
#cluster.initial_master_nodes: ["node-1", "node-2"]
to
cluster.initial_master_nodes: ["master-1"]
Add the following lines on data-2:
node.master: falsenode.data: truenode.ingest: truenode.ml: false
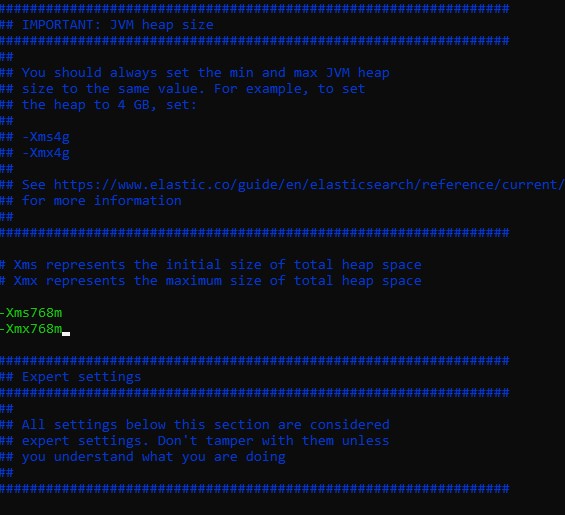
Configure the heap for each node per instructions.
Log in to the master node
sudo su -
Open the jvm.options file:
vim /etc/elasticsearch/jvm.options
Change the following lines:
-Xms1g-Xmx1g
to
-Xms768m-Xmx768m
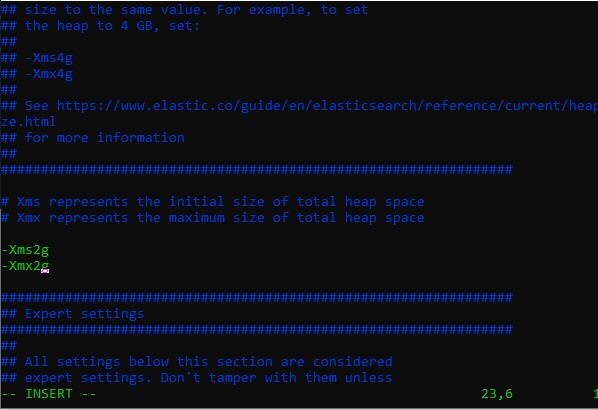
Log in to each data node and become the root user:
sudo su -
Open the jvm.options file:
vim /etc/elasticsearch/jvm.options
Change the following lines:
-Xms1g-Xmx1g
to
-Xms2g-Xmx2g
Start Elasticsearch on each node.
systemctl start elasticsearch
Check the startup process:
less /var/log/elasticsearch/cluster-1.log
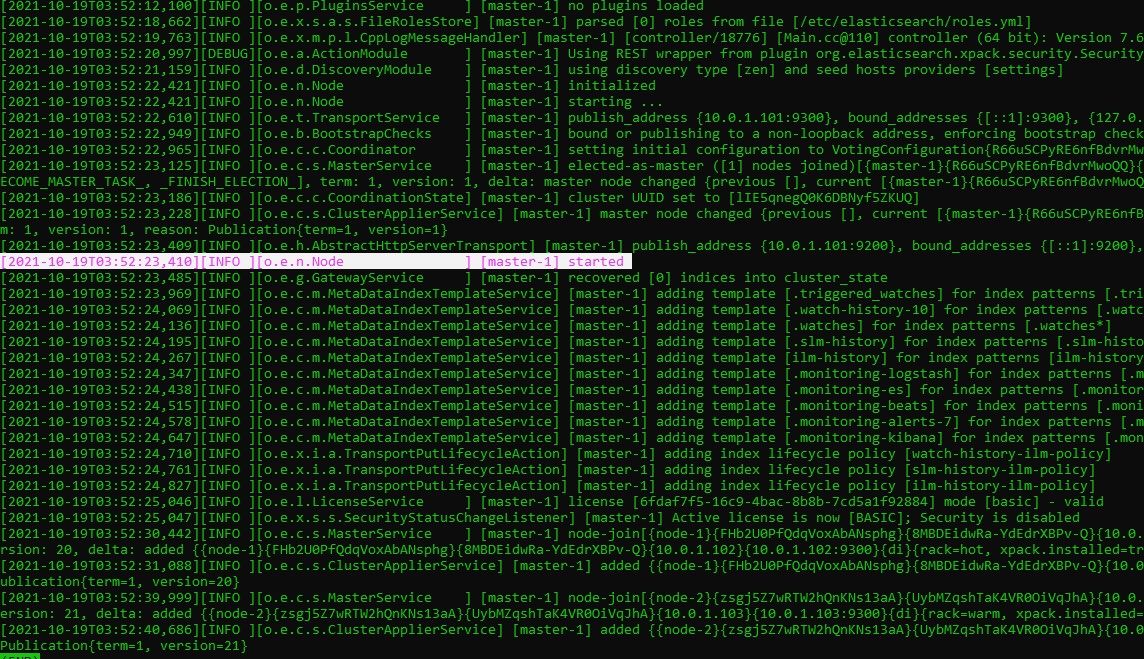
from there we can see
[master-1] started
and
[master-1] added node-1
[master-1] added node-2
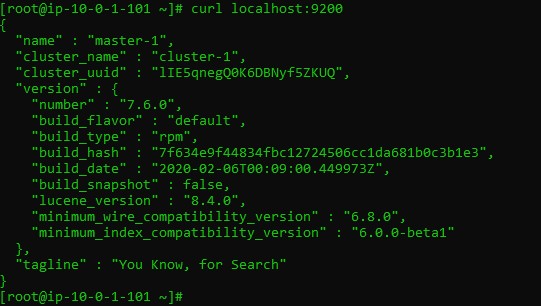
Check the node configuration:
curl localhost:9200
curl localhost:9200/_cat/nodes?v

to get more information about your cluster you can use cat to know
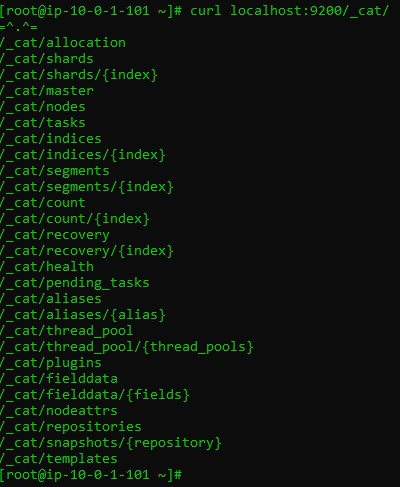
Configure Kibana for an Elasticsearch Cluster
Install Kibana on the master-1 node.
Using the Secure Shell (SSH), log in to the master-1 node as cloud_user via the public IP address.
Become the root user with:
sudo su -
Download the Kibana 7.6 RPM:
curl -O https://artifacts.elastic.co/downloads/kibana/kibana-7.6.0-x86_64.rpm
Install Kibana:
rpm --install kibana-7.6.0-x86_64.rpm
Configure Kibana to start on system boot:
systemctl enable kibana
Log in to the master-1 node and become the root user with:
sudo su -
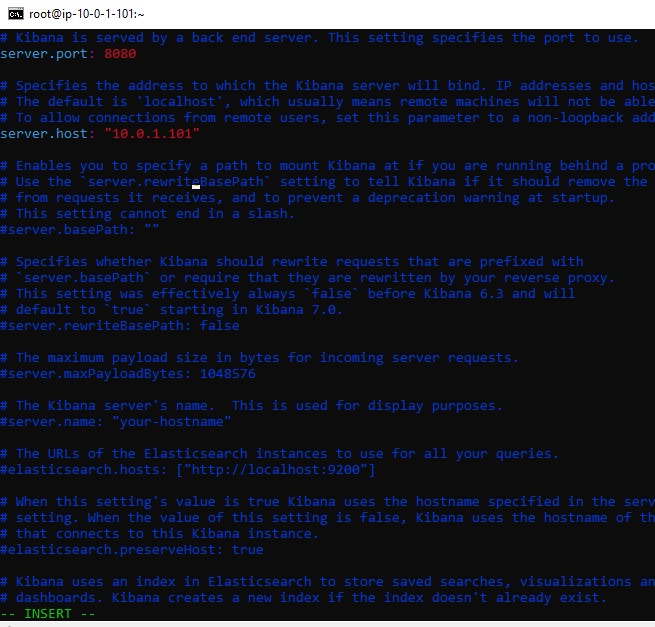
Open the /etc/kibana/kibana.yml file:
vim /etc/kibana/kibana.yml
Change the following line:
#server.port: 5601
to
server.port: 8080
Change the following line:
#server.host: "localhost"
to
server.host: "10.0.1.101"
Start Kibana:
systemctl start kibana
After Kibana has finished starting up, which may take a few minutes navigate to http://PUBLIC_IP_ADDRESS_OF_MASTER-1:8080 in your web browser
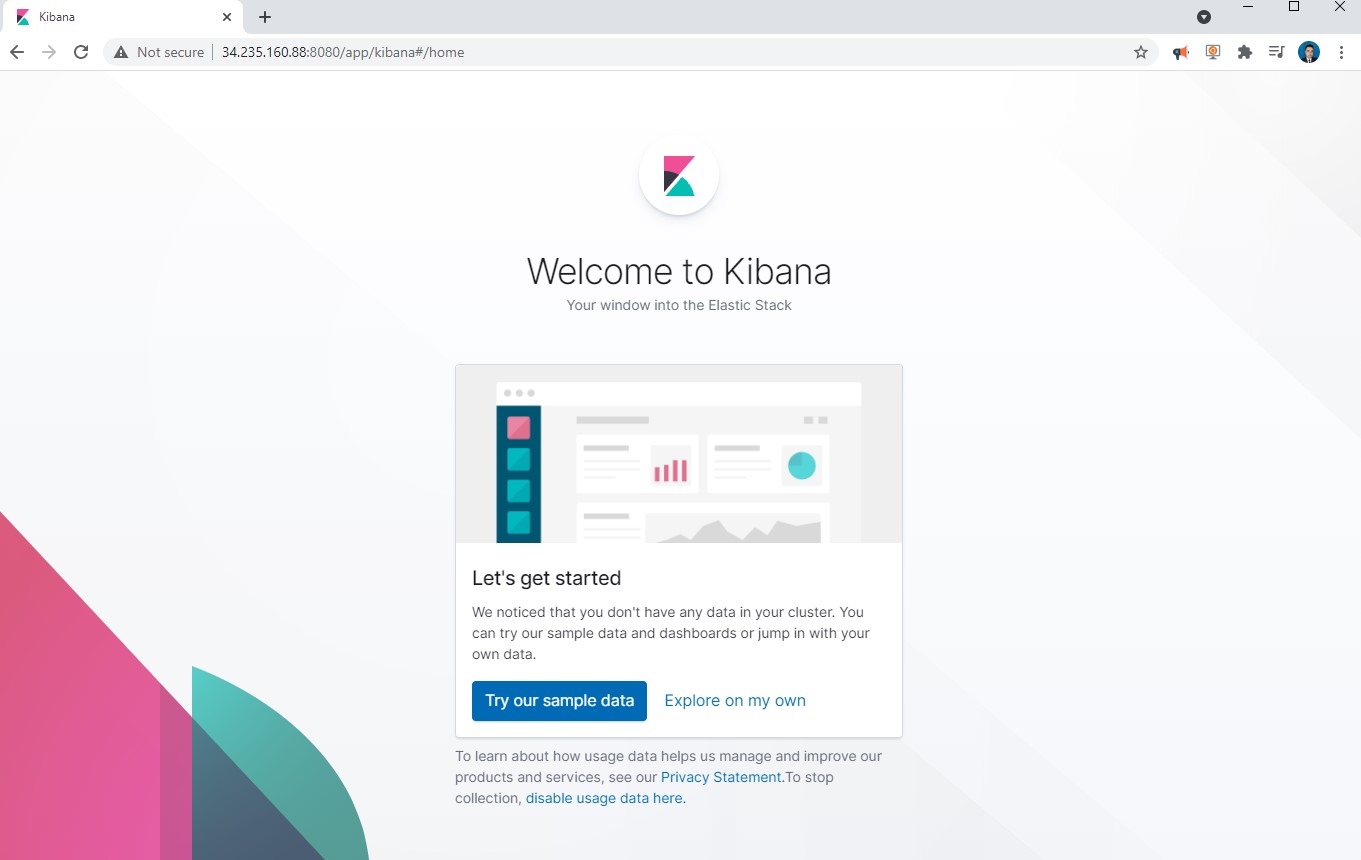
click Explore on my own
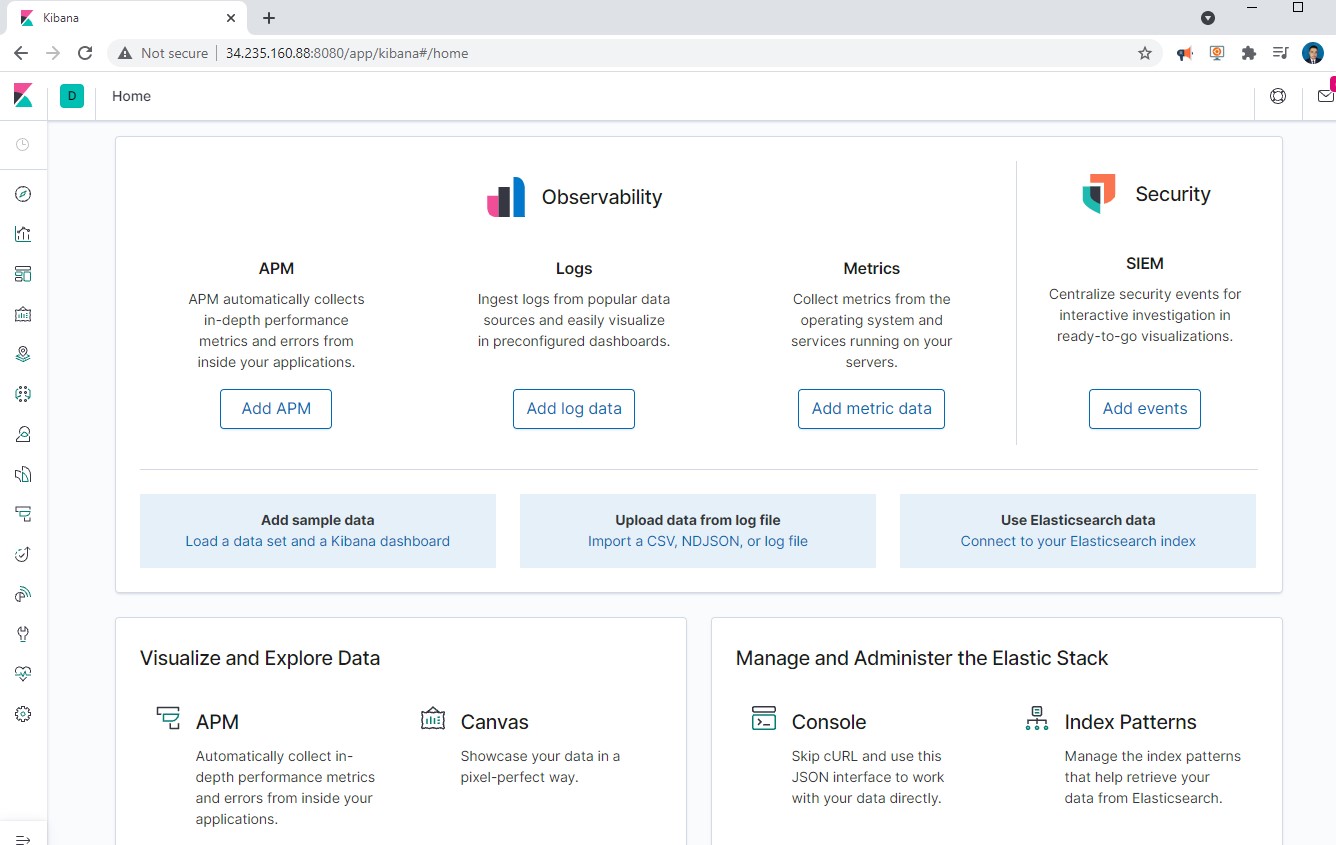
and navigate to Dev Tools > Console.
Check the node status of the cluster via the console tool with:
GET _cat/nodes?v
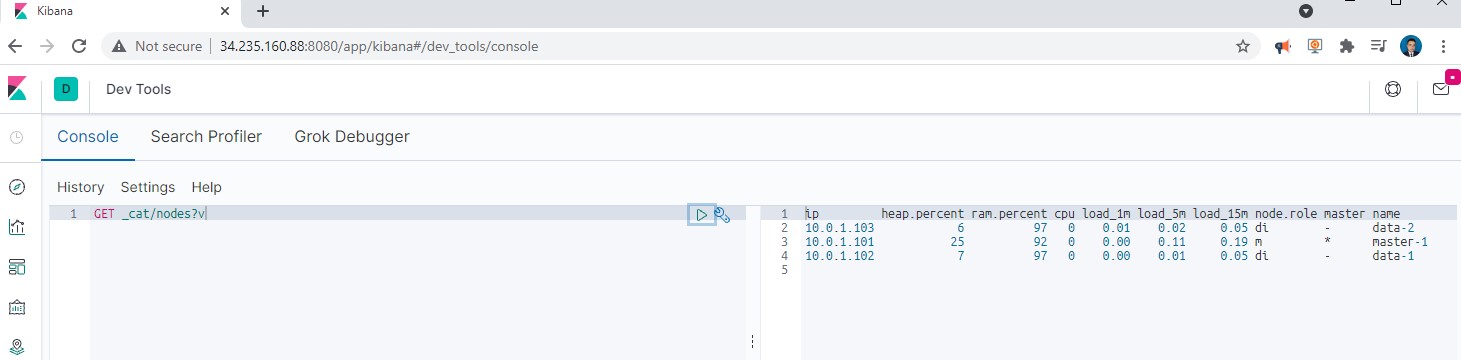
Great, now we can start working on Kibana.
Deploy Elasticsearch with Amazon OpenSearch
OpenSearch is a community-driven, open source search and analytics suite derived from Apache 2.0 licensed Elasticsearch 7.10.2 & Kibana 7.10.2. It consists of a search engine daemon, OpenSearch, and a visualization and user interface, OpenSearch Dashboards.
We login to our AWS console and then we search for Opensearch
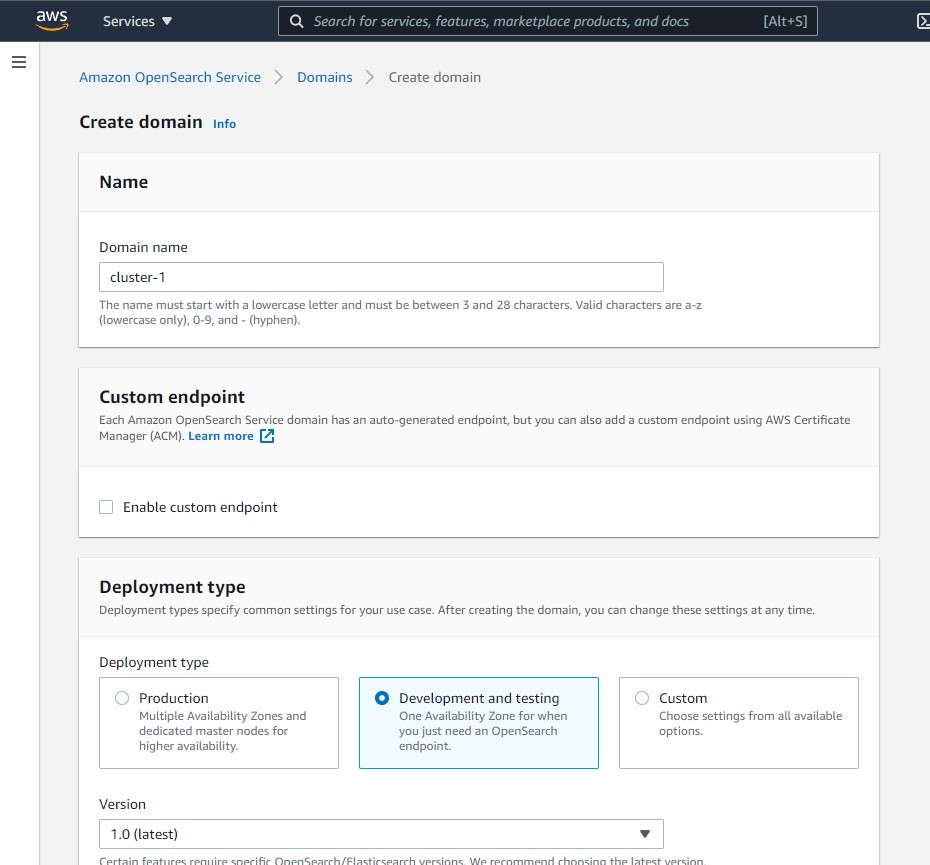
Let us create a cluster in AWS by creating a domain in OpenSearch.

we name the Domain name as cluster-1
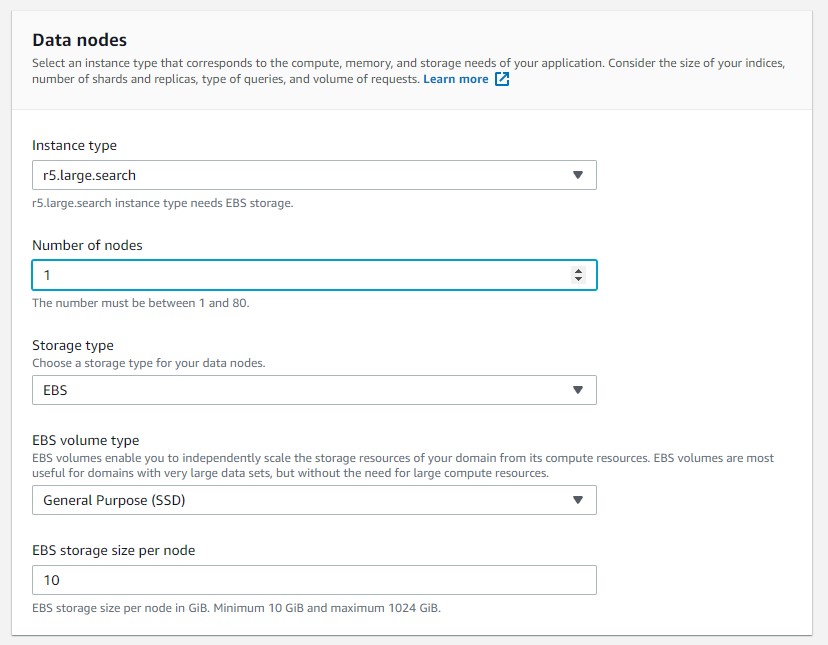
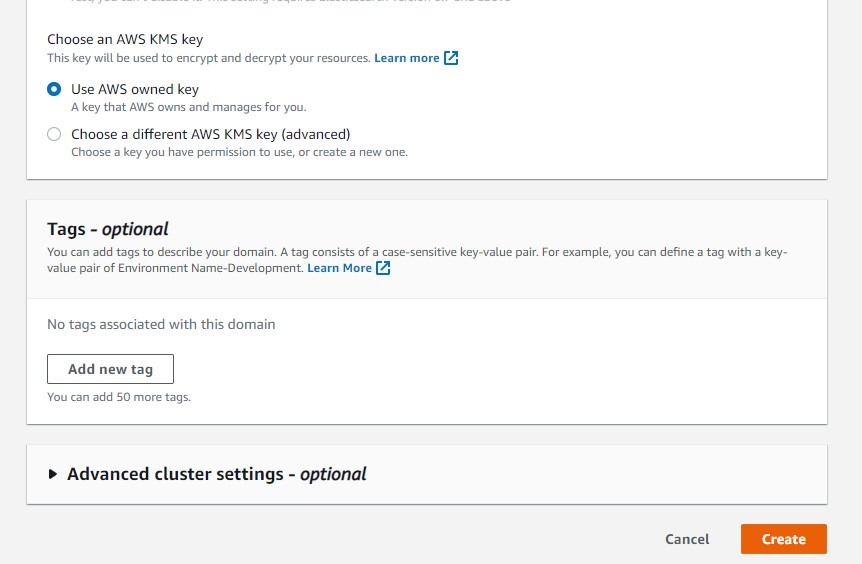
then we select the instance type r5.large.search and only 1 node, for this test
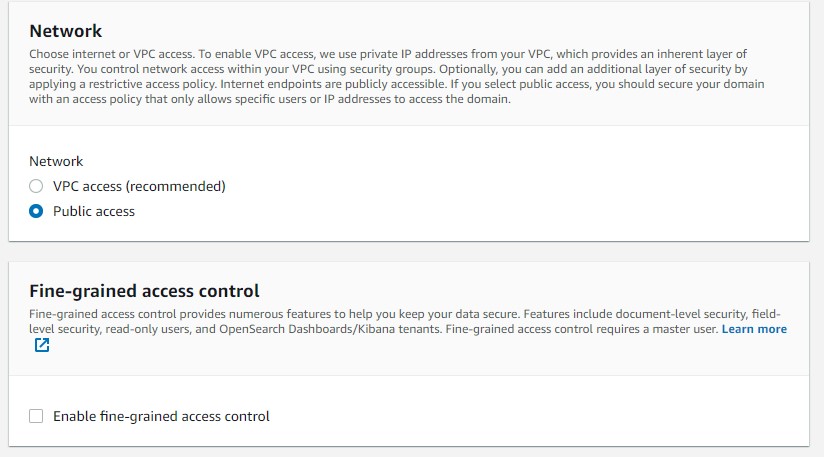
then in Network we choose Public access and without fine grained access, for production we should use VPC and Fine grained access control.
For the access policy we choose configure our level, we choose our current ip
for exaample https://www.whatsmyip.org/ and copy your address ip and paste in the principal
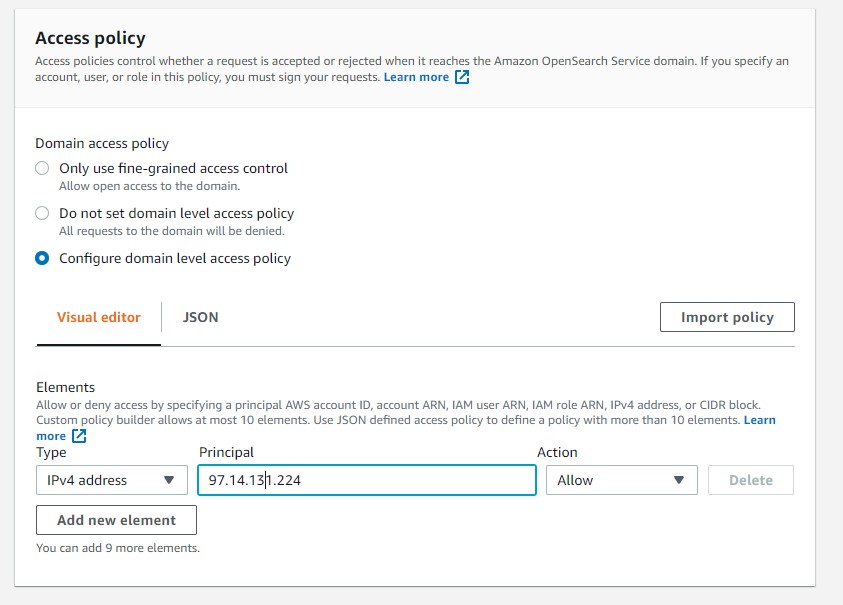
The Access Policy generated in JSON format should be something similar like
{
  "Version": "2012-10-17",
  "Statement": [
    {
      "Effect": "Allow",
      "Principal": {
        "AWS": "*"
      },
      "Action": [
        "es:*"
      ],
      "Resource": "arn:aws:es:us-east-1:298039135746:domain/cluster-1/*",
      "Condition": {
        "IpAddress": {
          "aws:SourceIp": [
            "97.14.131.224"
          ]
        }
      }
    }
  ]
}
then we create our cluster
we have to wait at least 10 minutes
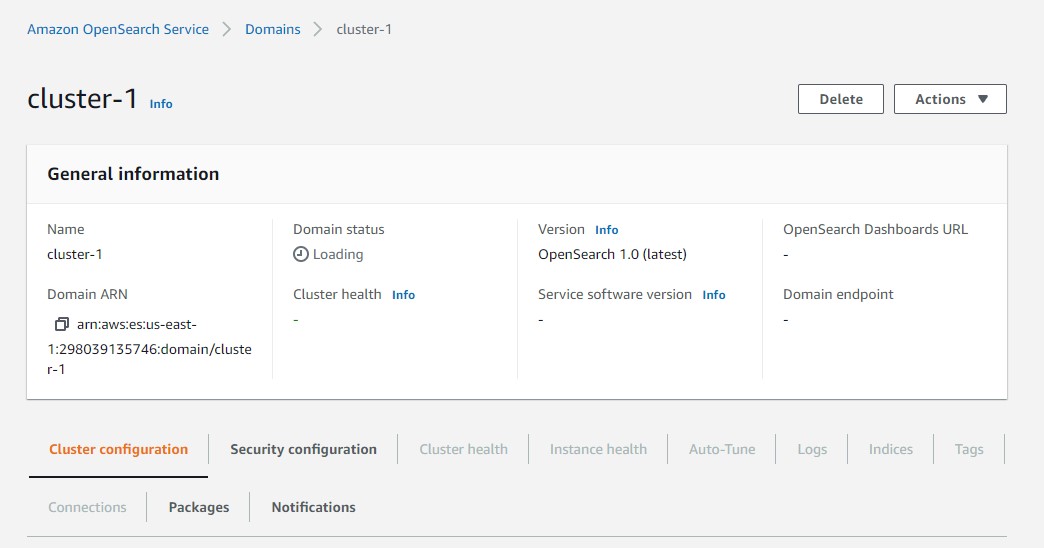
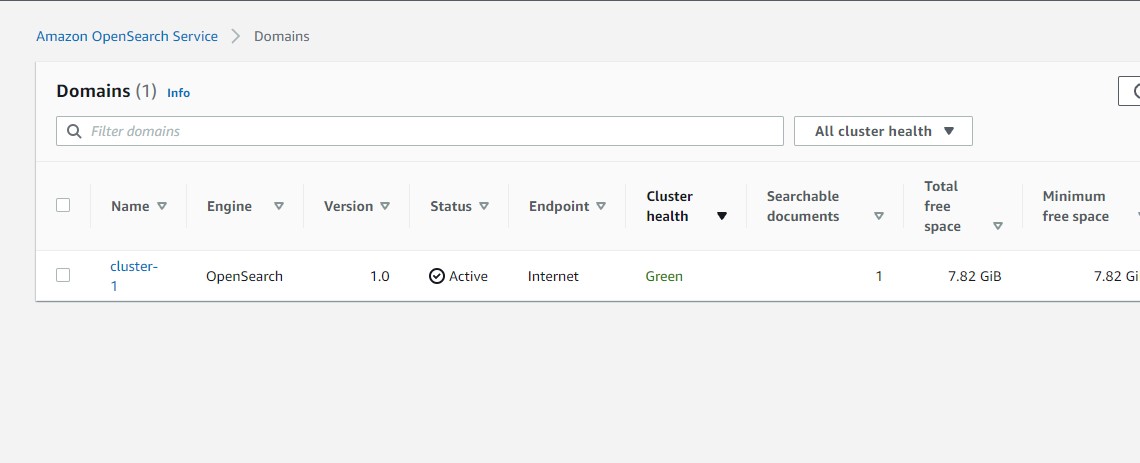
after a while the status should be Active
Then we go to our terminal, and lets get information about our cluster
we will use the command curl -XGET + Domain endpoint , we copy the Domain endpoint from our AWS console , in my case is https://search-cluster-1-qtas43cbwk4zwyvjfyfr4ic4ye.us-east-1.es.amazonaws.com/ you should have something similar, then type
curl -XGET https://search-cluster-1-qtas43cbwk4zwyvjfyfr4ic4ye.us-east-1.es.amazonaws.com/
you will get
{
  "name" : "c3812926142472338371572d47cc4d1a",
  "cluster_name" : "298039135746:cluster-1",
  "cluster_uuid" : "OdNhU9BkRou1MT77Ue4jBA",
  "version" : {
    "distribution" : "opensearch",
    "number" : "1.0.0",
    "build_type" : "tar",
    "build_hash" : "unknown",
    "build_date" : "2021-08-20T12:03:05.728738Z",
    "build_snapshot" : false,
    "lucene_version" : "8.8.2",
    "minimum_wire_compatibility_version" : "6.8.0",
    "minimum_index_compatibility_version" : "6.0.0-beta1"
  },
  "tagline" : "The OpenSearch Project: https://opensearch.org/"
}
The next step is download a test json to check our cluster.
curl -OL https://github.com/ruslanmv/Deploy-Elasticsearch-and-Kibana-in-a-Cluster/raw/master/movies.json
The next step is upload this json to the cluster by using the command
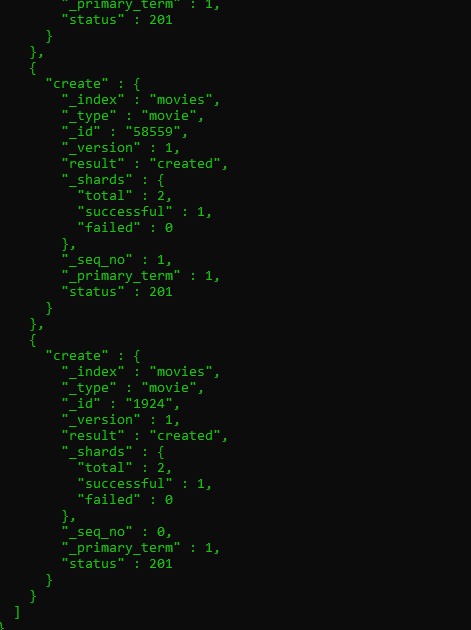
curl -XPUT + Domain endpoint + /_bulk?pretty --data-binary @movies.json -H 'Content-Type: application/json'
curl -XPUT https://search-cluster-1-qtas43cbwk4zwyvjfyfr4ic4ye.us-east-1.es.amazonaws.com/_bulk?pretty --data-binary @movies.json -H 'Content-Type: application/json'
the output will be
then let us check if was loaded
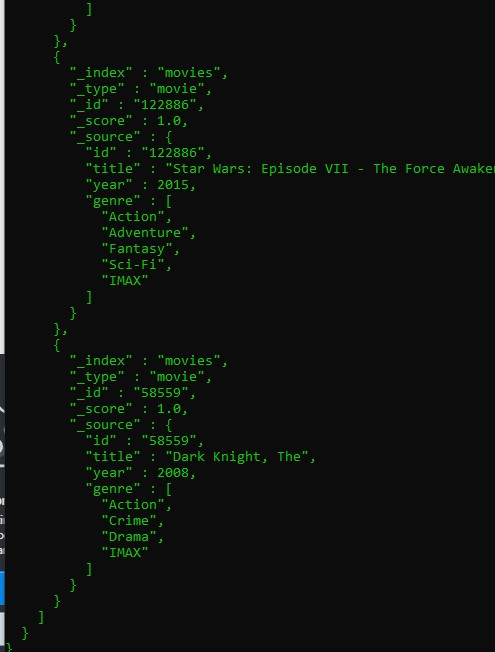
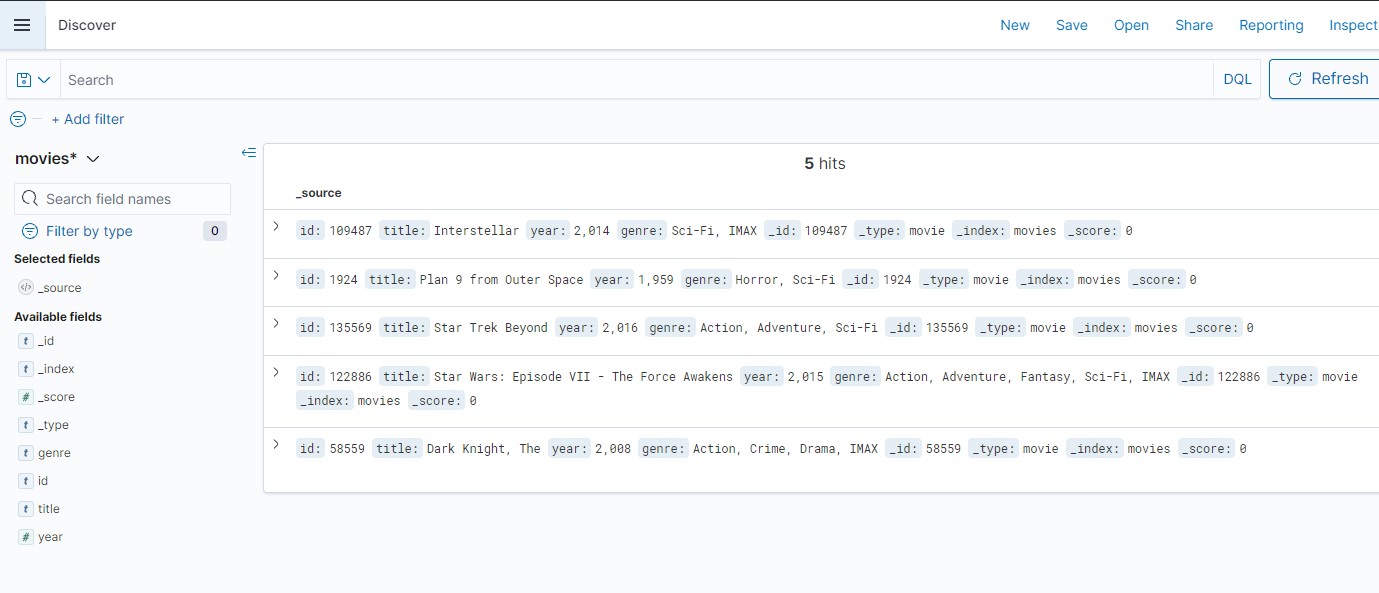
curl -XPGET + Domain endpoint , +/movies/_search?pretty
curl -XGET https://search-cluster-1-qtas43cbwk4zwyvjfyfr4ic4ye.us-east-1.es.amazonaws.com/movies/_search?pretty
and then output should be
Finally we can copy address of the the OpenSearch Dashboard url and paste in the browser
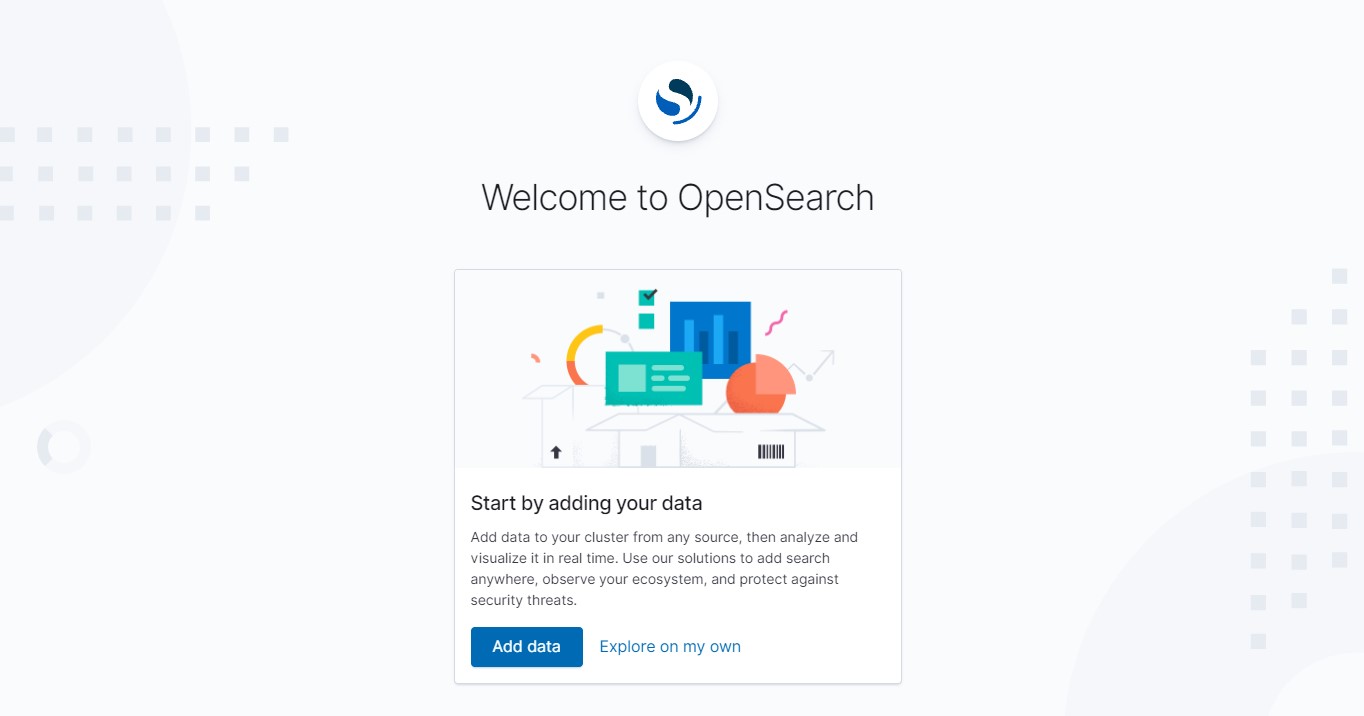
in th OpenSearch click Explore on my own, we go to Management Tab then Stack Management then Index Pattern
Then Create Index Pattern
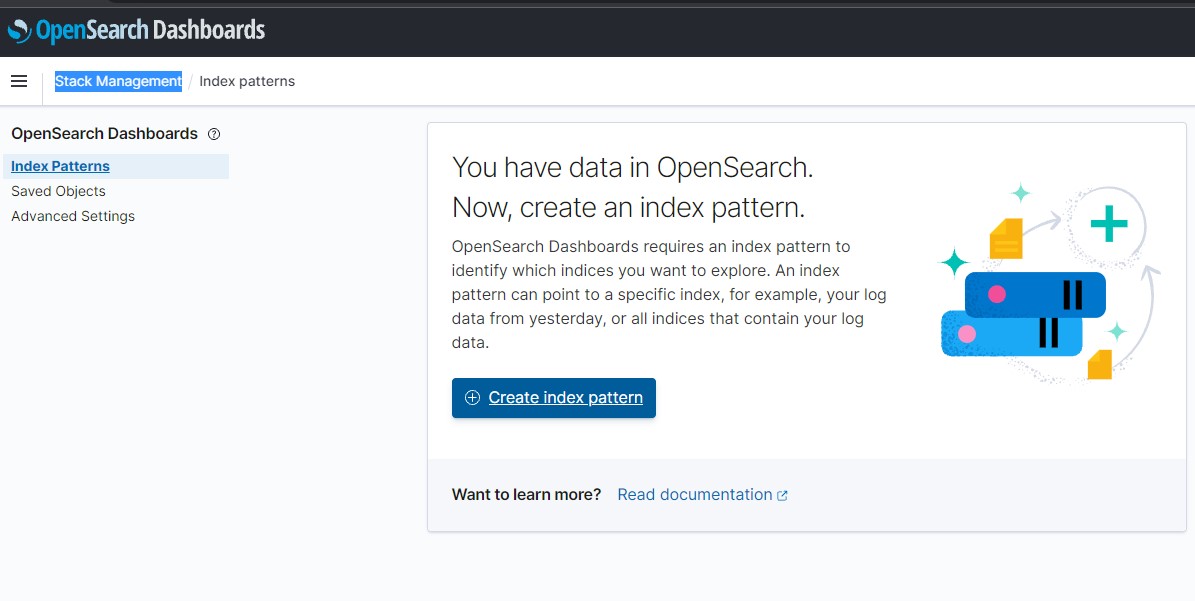
and write movies*
Below the index pattern
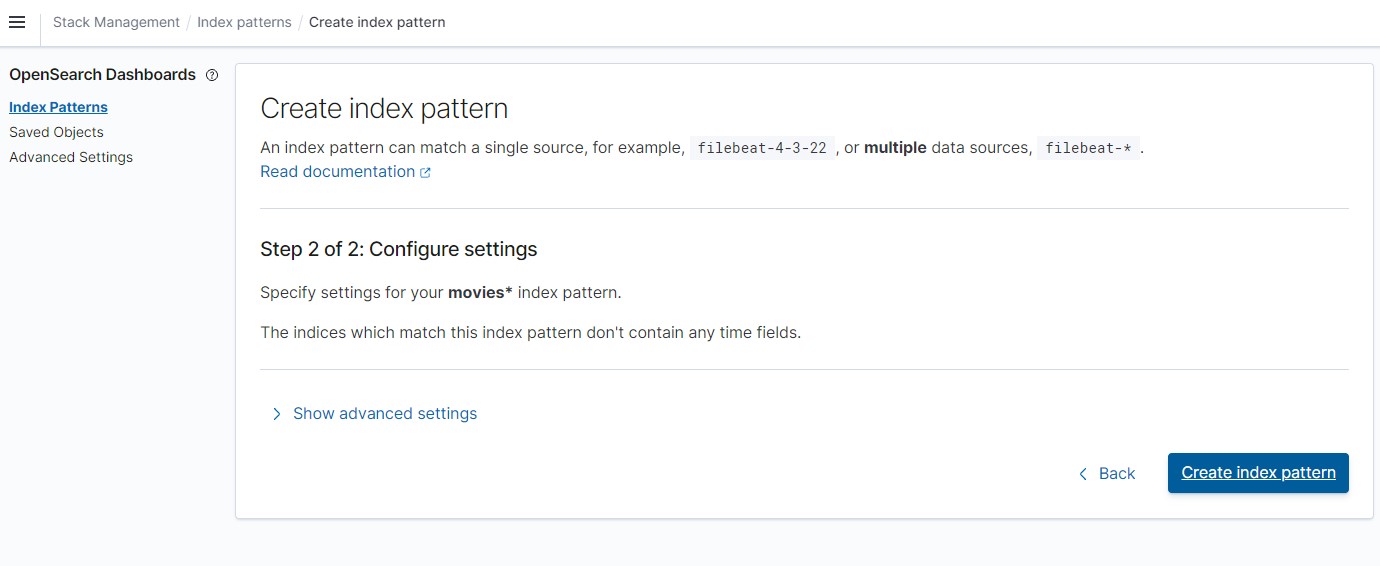
we will get
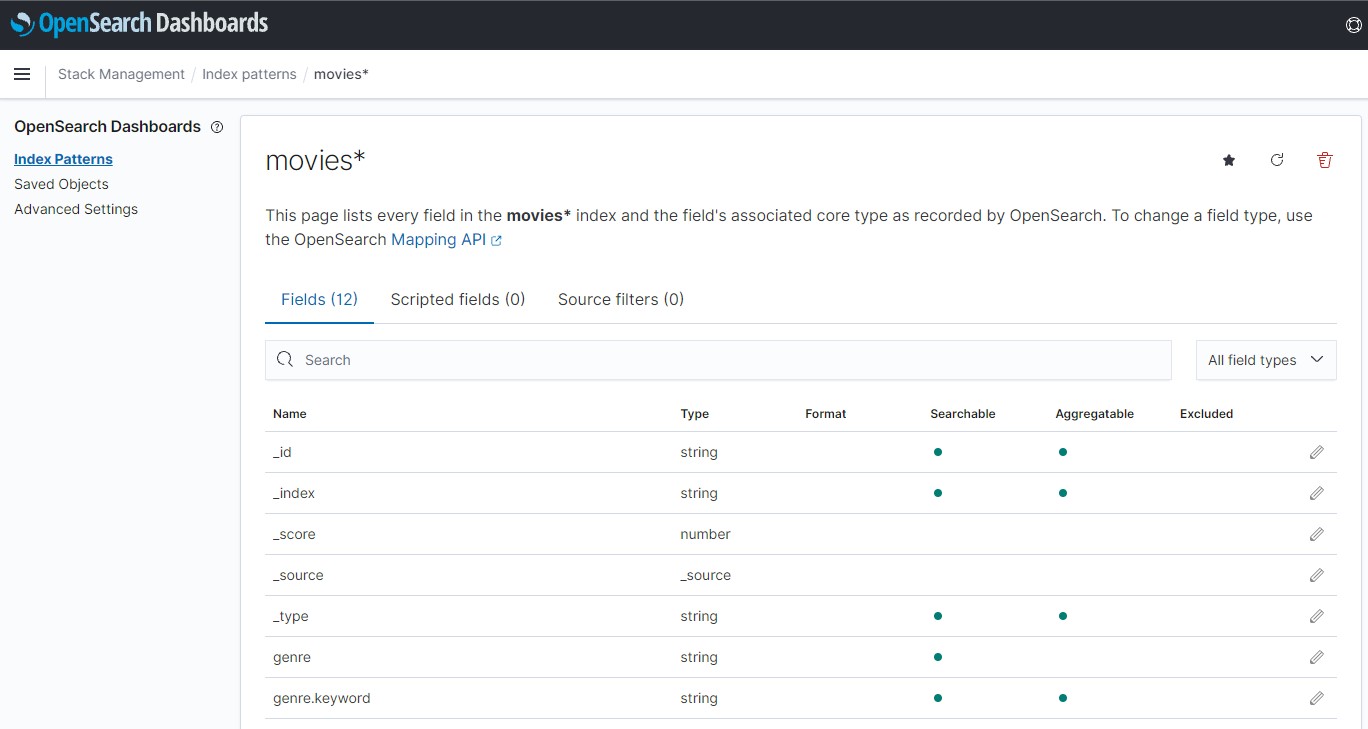
finally you can analyze them
After finished this project, you can Delete the Domain to avoid charges in AWS.
Congratulations! We have installed Elasticsearch and Kibana and Opensearch in a Cluster
Leave a comment