
How to Install CUDA and cuDNN on Ubuntu on an EC2 Instance with GPU
Hello everyone, today we are going to create an EC2 Server with GPU and Install CUDA and cuDNN and create your private AMI.
An EC2 instance, short for Elastic Compute Cloud instance, is a virtual server provided by Amazon Web Services (AWS). It allows users to rent virtual machines in the cloud to run their applications and services. EC2 instances offer a wide range of benefits, including scalability, flexibility, and cost-effectiveness.
When it comes to using EC2 instances with GPUs (Graphics Processing Units), there are several advantages. GPUs are highly specialized processors designed to handle complex mathematical computations efficiently. By utilizing GPUs in EC2 instances, users can accelerate tasks that require heavy parallel processing, such as machine learning, data analysis, and scientific simulations.
The inclusion of GPUs in EC2 instances enables faster and more efficient processing of graphics-intensive workloads. This can lead to significant performance improvements, reduced processing time, and enhanced capabilities for applications that heavily rely on graphical processing power.

In summary, leveraging EC2 instances with GPUs provides users with the ability to harness the power of specialized processors, enabling them to tackle computationally demanding tasks more effectively and efficiently.
Create EC2 Instance with GPU
First we need to login to our AWS Account
Login to your AWS Account.
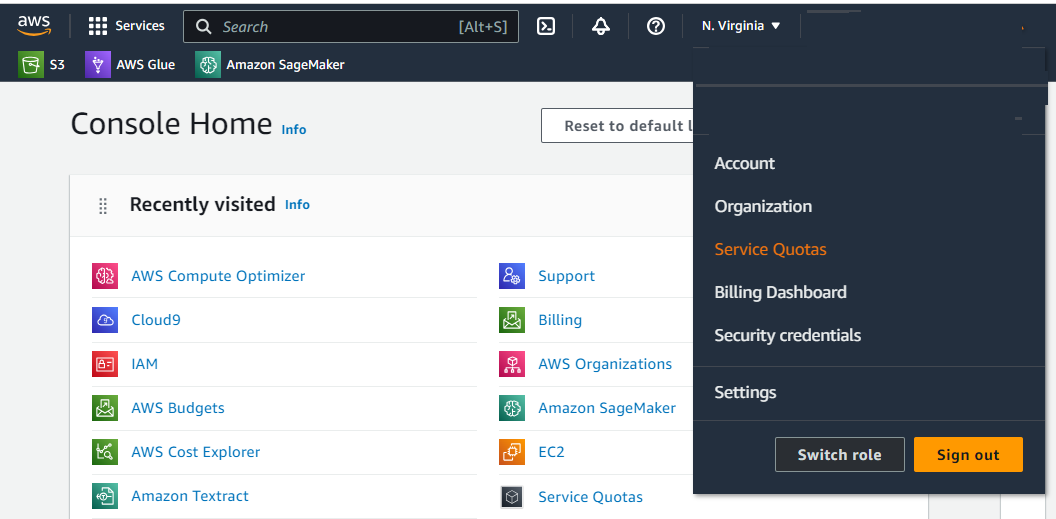
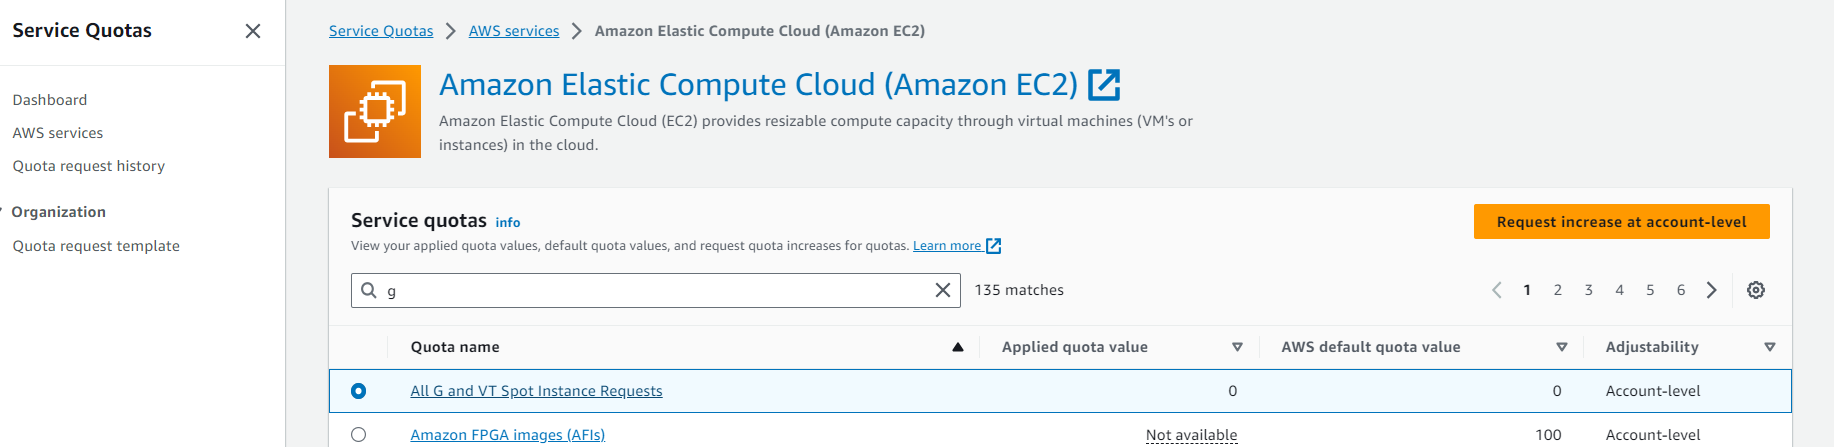
Then go to your menu and click Services Quotas
and select All G and VT Spot Instances Requests and click Request increase account level and choose 4 otherwise wont towk. Because the cheaper GPU currently on AWS has 4 vcps and if yo request 1, you wont launch the instance.
After few hours maximum on day, will be available the spot instances for P4 instances. In ordert
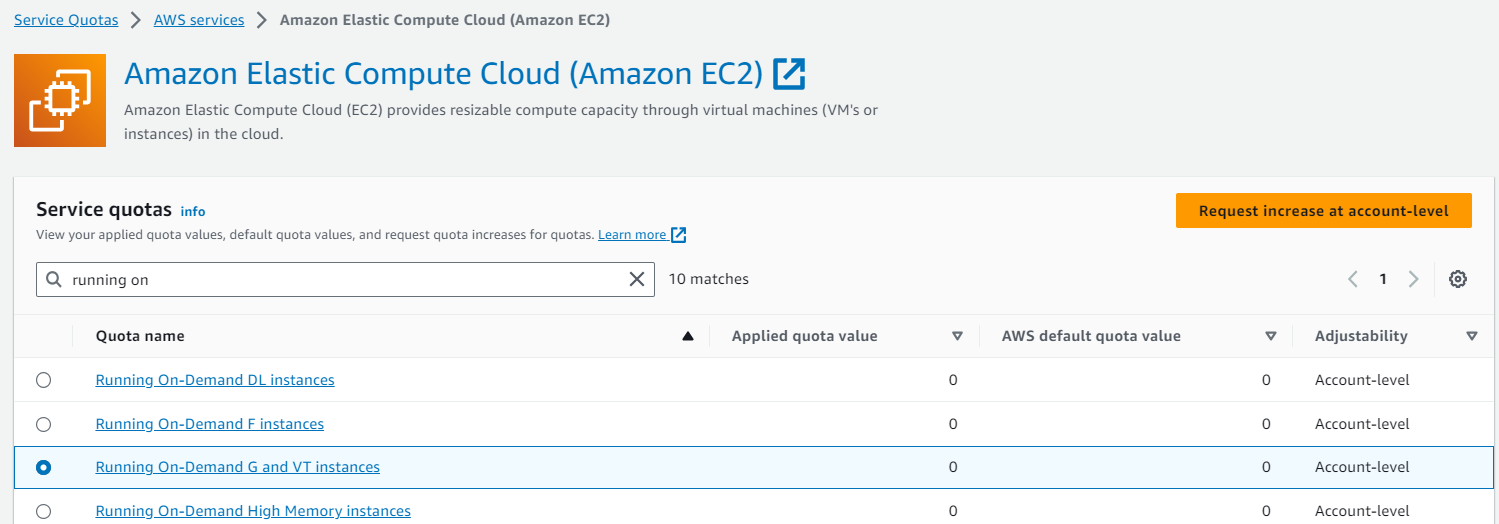
If you want use on demand you can use Running on Demand G and VT instances. and agiain you request 4.
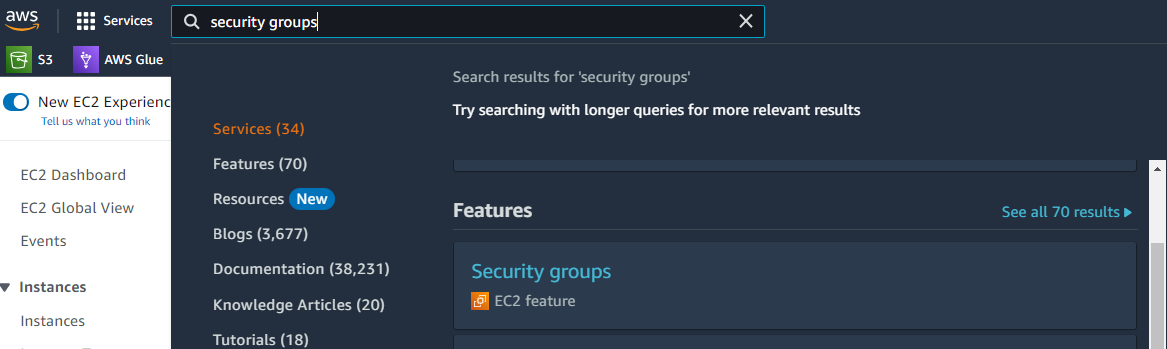
Creation of the Security Group
Since our Chatbot will use Streamlit, normally runs on port 8501 or 850* we will have to create a new firewall run to allow a custom port for our streamlit app.
On the menu bar we find Security Groups
We open the Feature of EC2 and we click Create Security Group
So at the configure security group we will a custom tcp port by clicking on the ADD RULE. Then select Custom TCP Port . In the port range you will then change it to 8501, 8888, and 22. Finally you will select anywhere in the sources section. and for outbound keep the default values and click create security group.
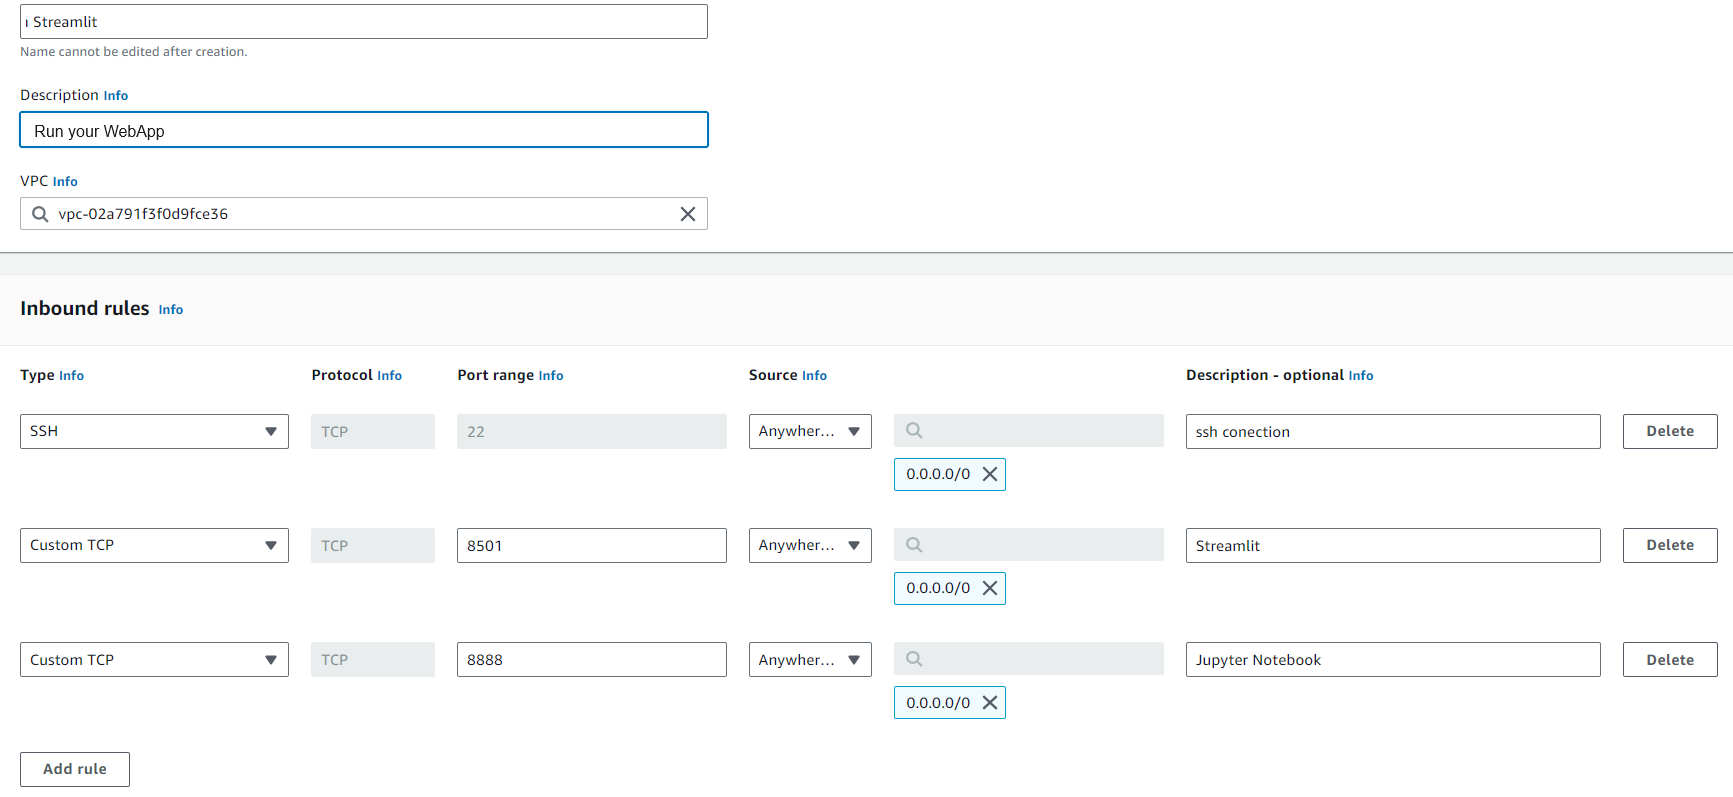
For production for sure you can remove the SSH and the Jupyter Notebook ports.
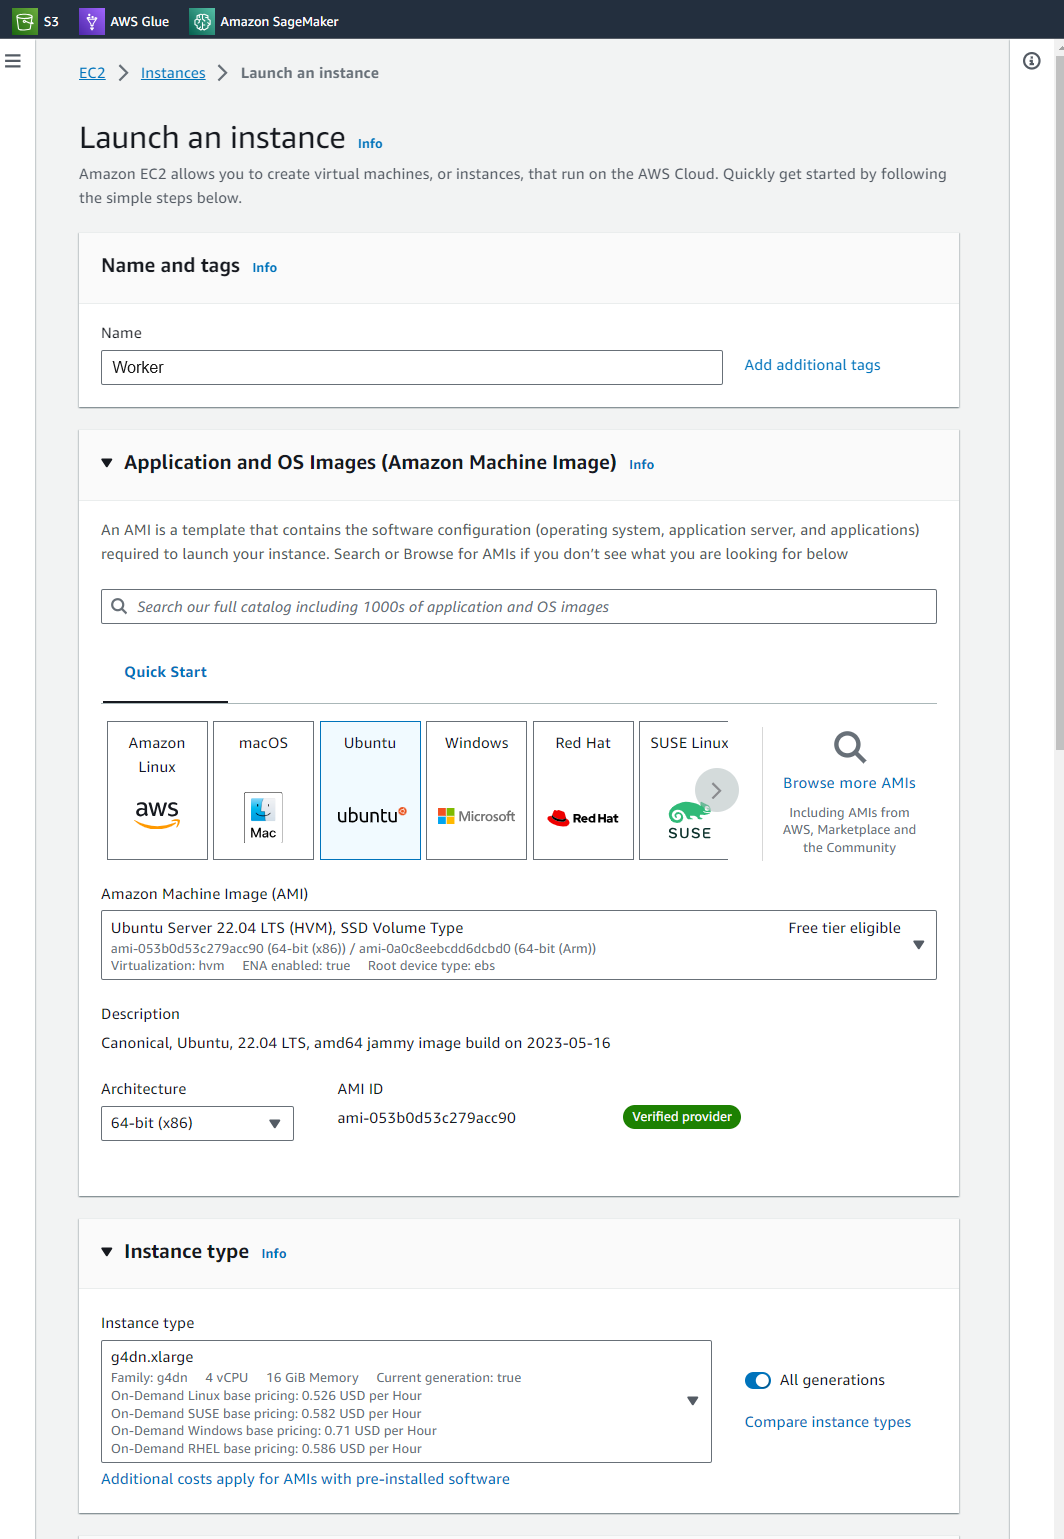
Launch EC2 Instance
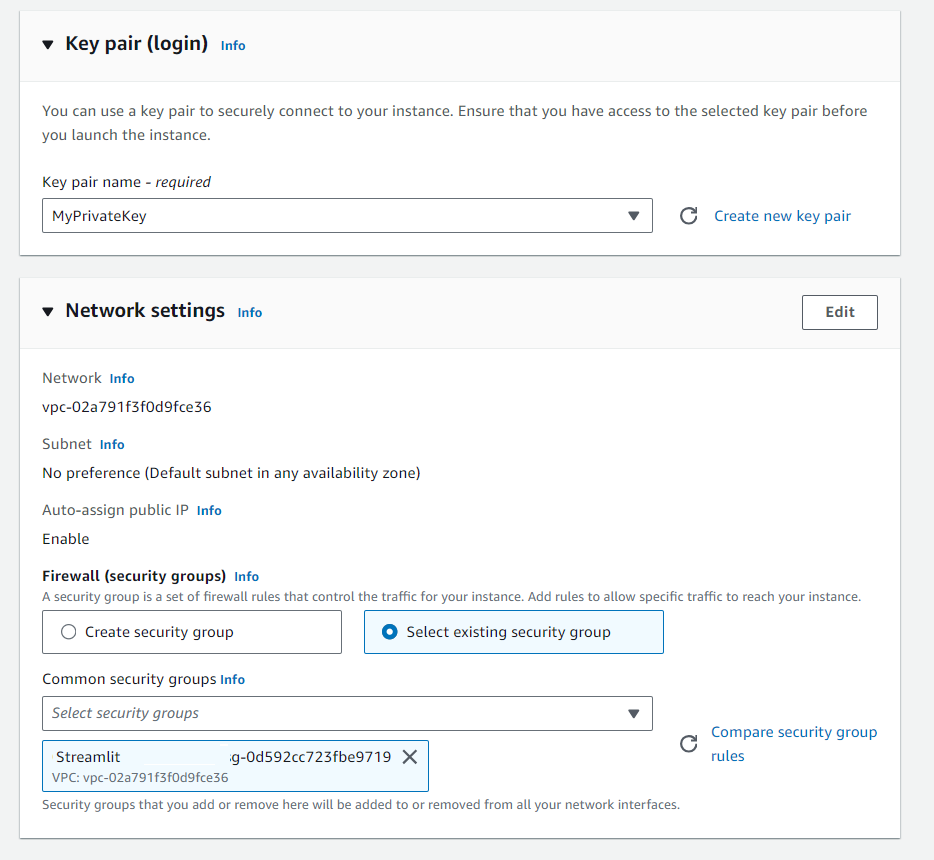
We go to EC2 and we create an instance Worker and we choose Ubuntu 22.04 with server g4dn.xlarge
we create a private key, you download this key because we will use later and for security group select existing security group , Streamlit,
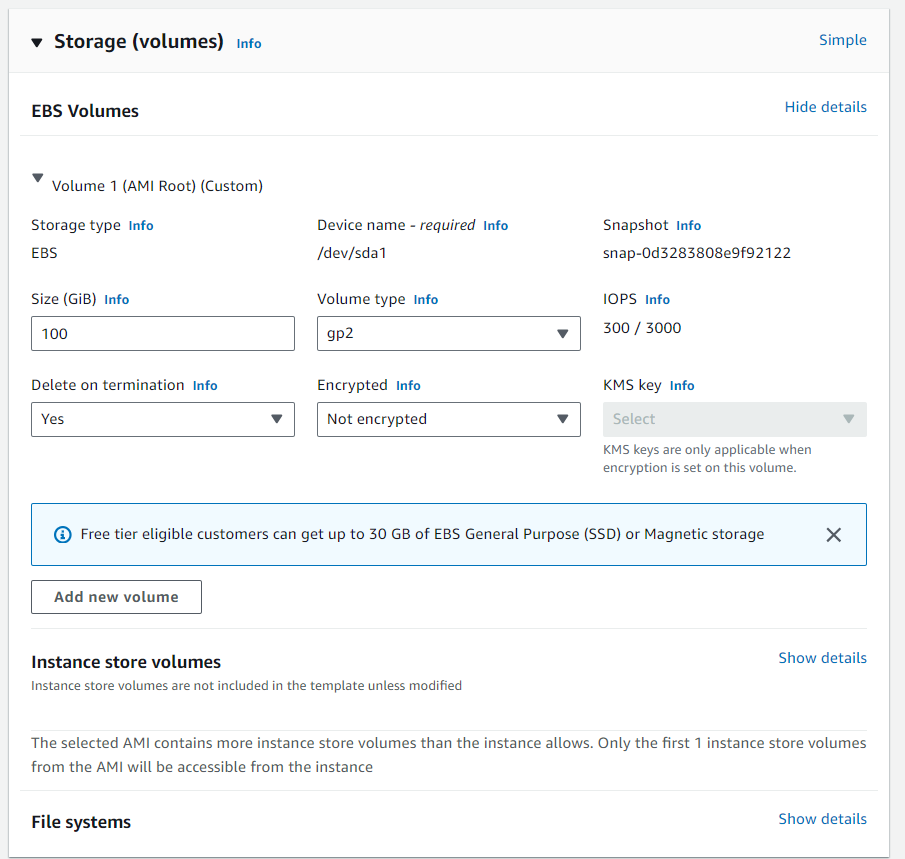
Then we require to add additional storage space to our Virtual Instance, we choose 100gb
If we want to save money , in Advanced details we must put spot.
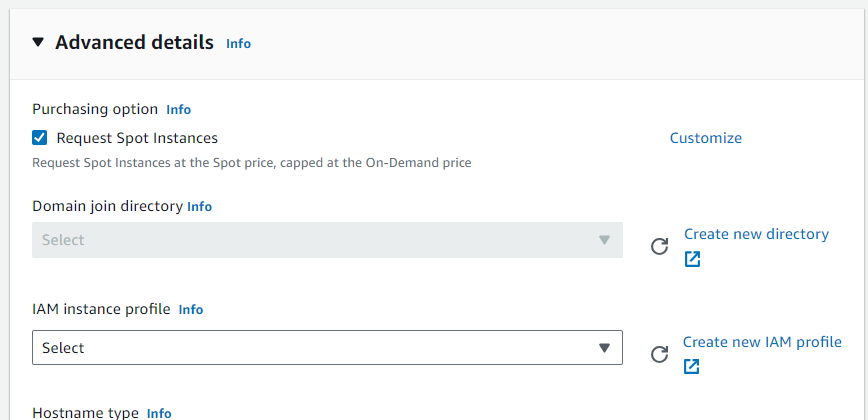
and we keep all the reamaining settings as default and click launch

Be aware that now time is money. So do not forget to delete your instance after you finish this demo.
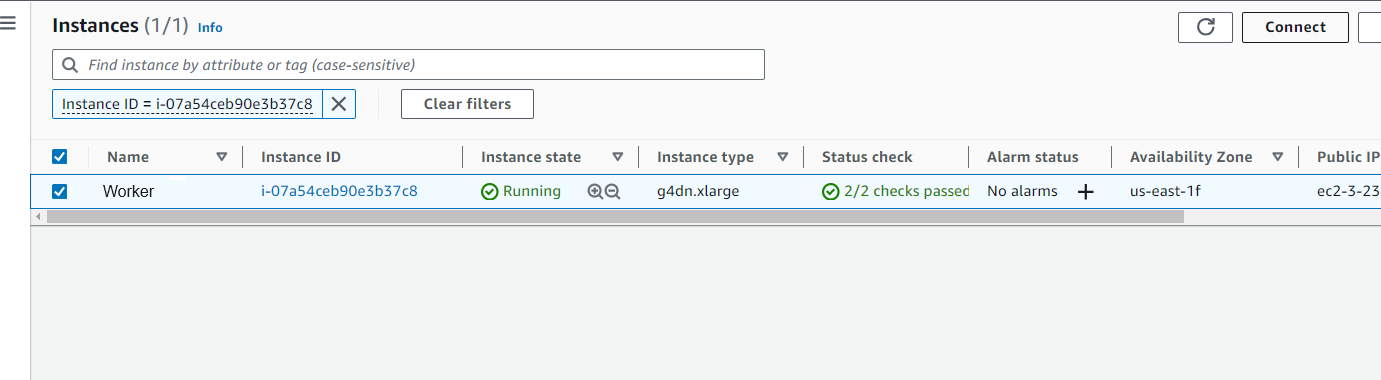
Now the Instance is initializing , we wait few minutes and then we click on Connect
then we select the SSH Client
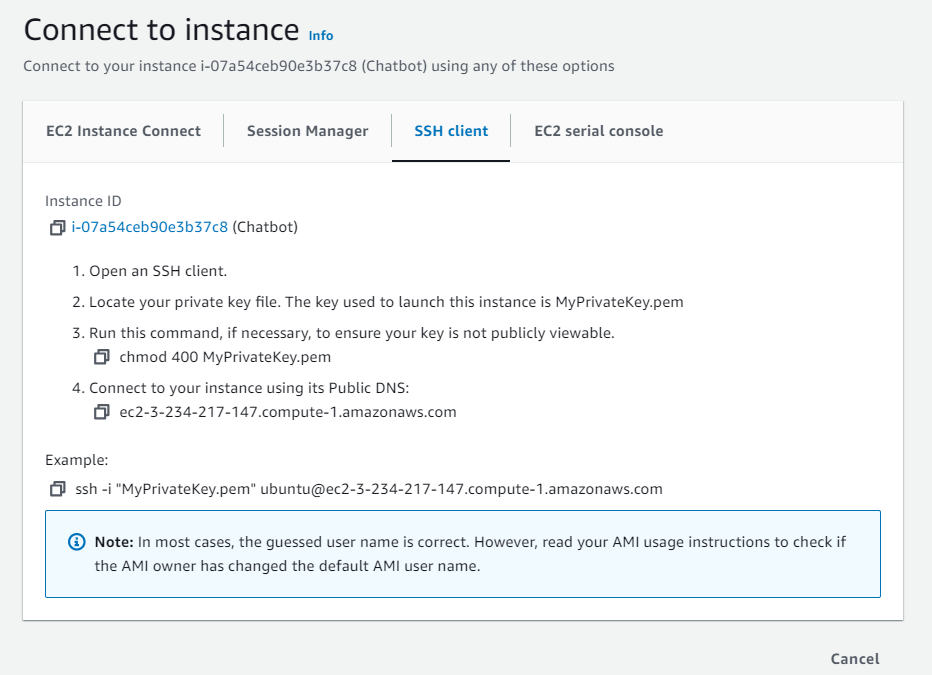
Then we have to open our terminal, then go where you downloaded your private key
-
Run this command, if necessary, to ensure your key is not publicly viewable.
-
chmod 400 MyPrivateKey.pem - Connect to your instance using its Public DNS for example:
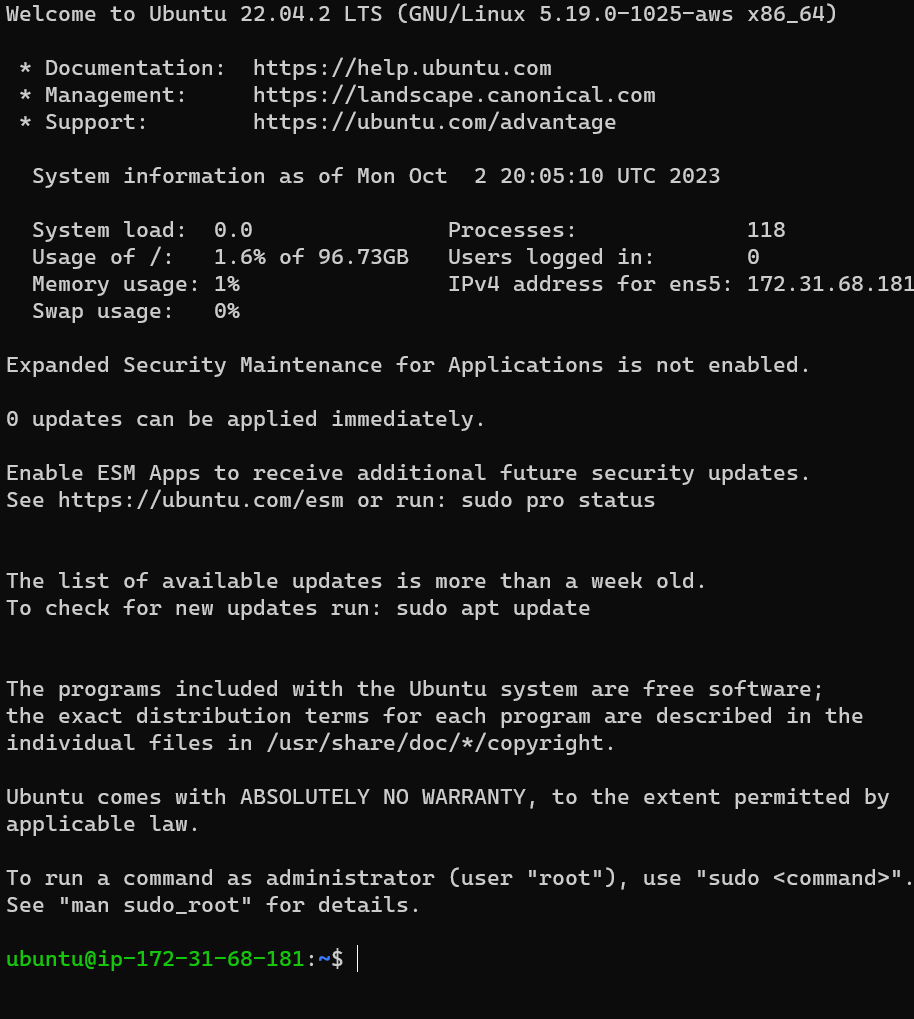
ssh -i "MyPrivateKey.pem" [email protected]
and you will got something like
Python Installation
Add the deadsnakes PPA repository to the system next. The simplest method for installing Python 3.10 is as follows:
sudo add-apt-repository ppa:deadsnakes/ppa
Use this command to install Python 3.10
sudo apt install python3.10 -y
we click in OK
we check the Python Version
python3 --version

then we install our friend pip
sudo apt install python3-pip -y
Install CUDA & cuDNN
Update & upgrade
sudo apt update && sudo apt upgrade -y
Just in case you want to remove previous NVIDIA installation you can do sudo apt autoremove nvidia* --purge, but we skip.
sudo apt install ubuntu-drivers-common -y
Check Ubuntu devices
ubuntu-drivers devices
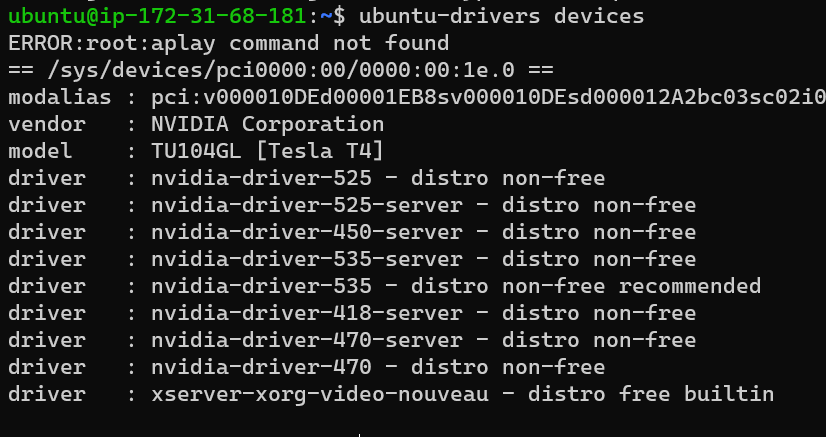
You will install the NVIDIA driver whose version is tagged with recommended
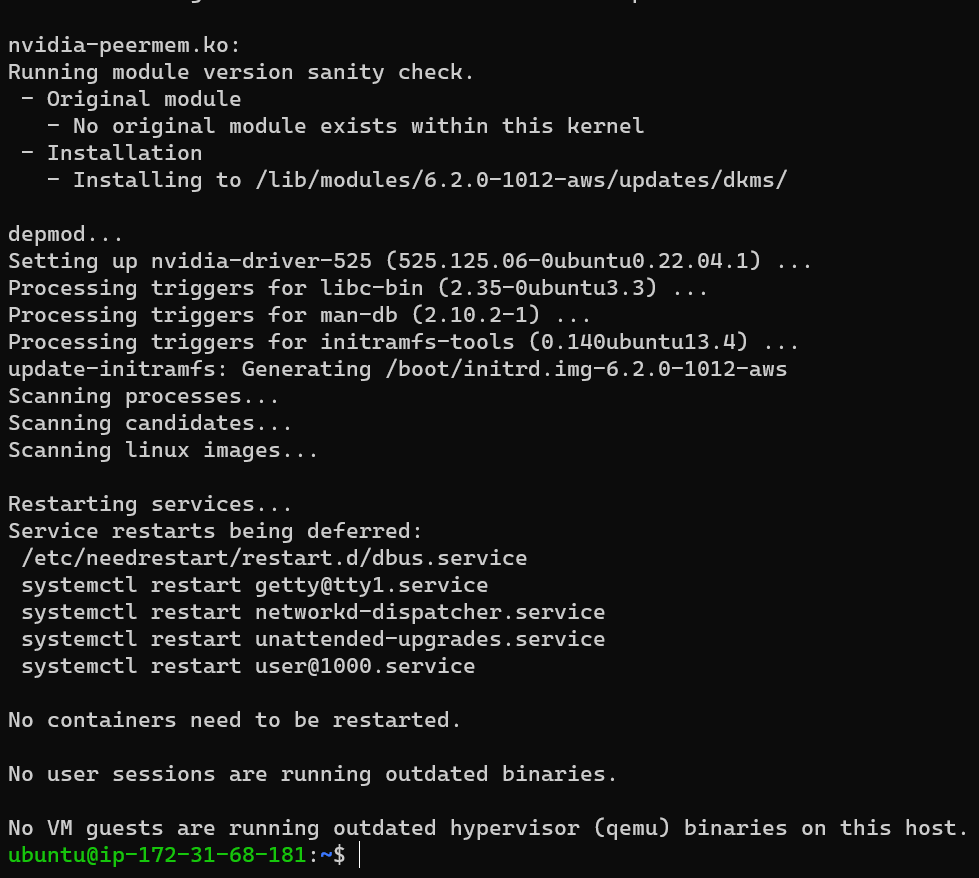
Install Ubuntu drivers
sudo ubuntu-drivers autoinstall
Install NVIDIA drivers
My recommended version is 525, adapt to yours
sudo apt install nvidia-driver-525 -y
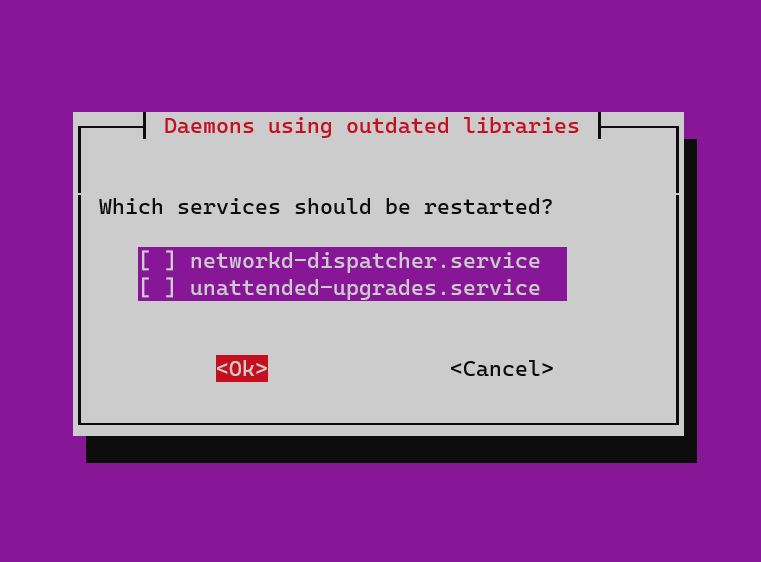
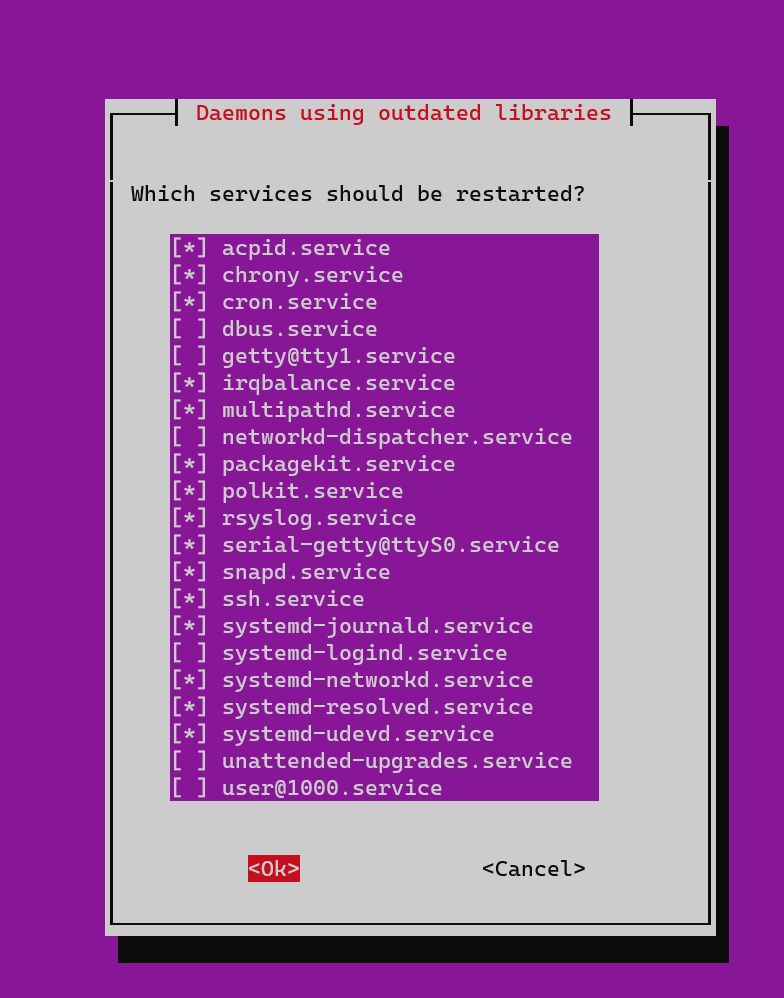
Reboot & Check
IF you were not on the cloud you can simply type reboot but here we have to reboot our instanced manually
exit

after that we reconnect via ssh verify that the following command works
nvidia-smi
and wualla
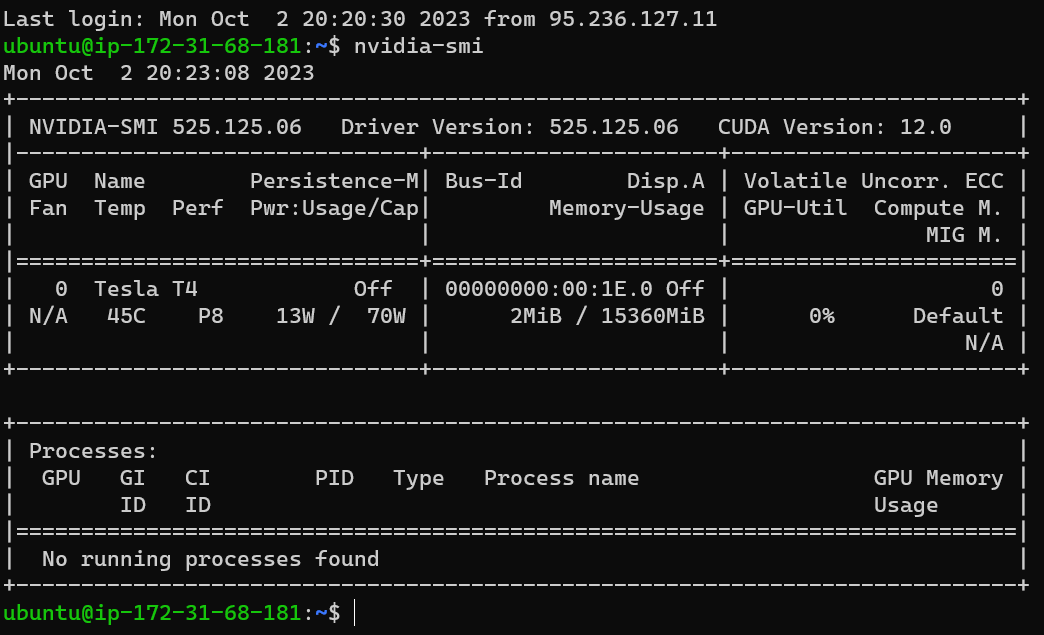
that is 
Install CUDA drivers
Install CUDA toolkit
sudo apt install nvidia-cuda-toolkit -y
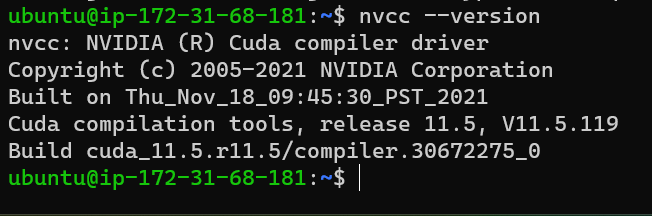
Check CUDA install
nvcc --version
Install cuDNN
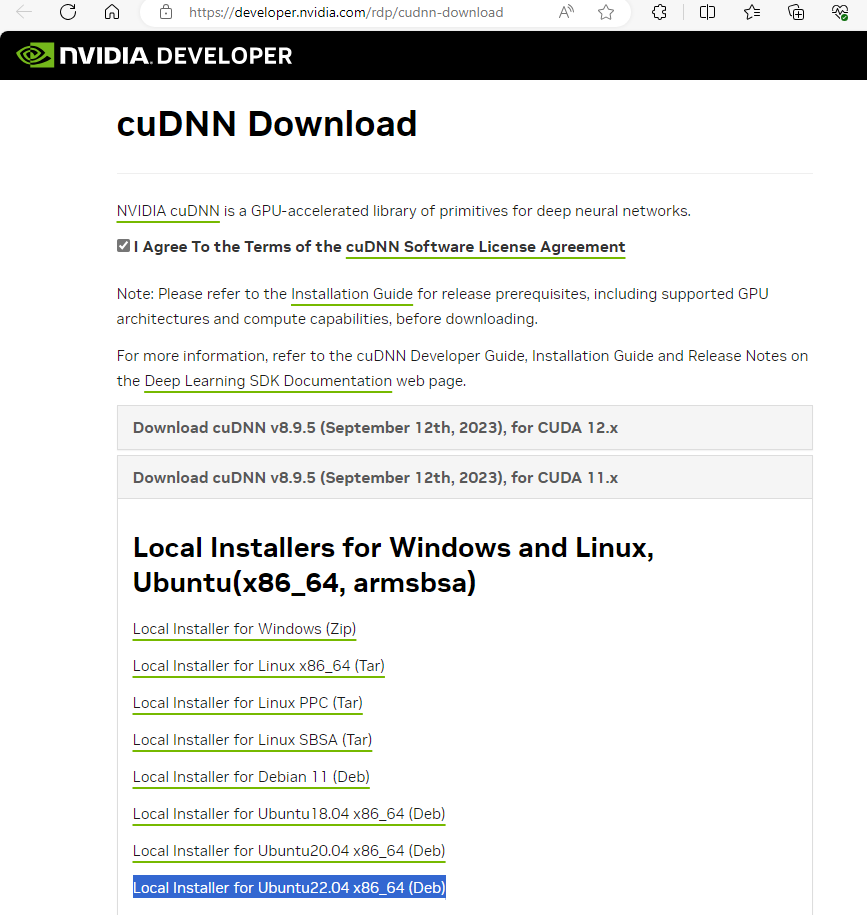
Download cuDNN .deb file
You can download cuDNN file here. You will need an Nvidia account. Select the cuDNN version for the appropriate CUDA version, which is the version that appears when you run:
nvcc --version
Transferring Files Using SCP
Secure Copy Protocol (SCP) is a means of securely transferring computer files between a local and a remote host or between two remote hosts. It’s based on the Secure Shell (SSH) protocol.
To copy a file from your local system to your EC2 instance, use the following command:
scp -i "MyPrivateKey.pem" C:\Users\Downloads\cudnn-local-repo-ubuntu2204-8.9.5.29_1.0-1_amd64.deb [email protected]:/home/ubuntu
and you can check if was uploaded

Install cuDNN
sudo apt install ./cudnn-local-repo-ubuntu2204-8.9.5.29_1.0-1_amd64.deb
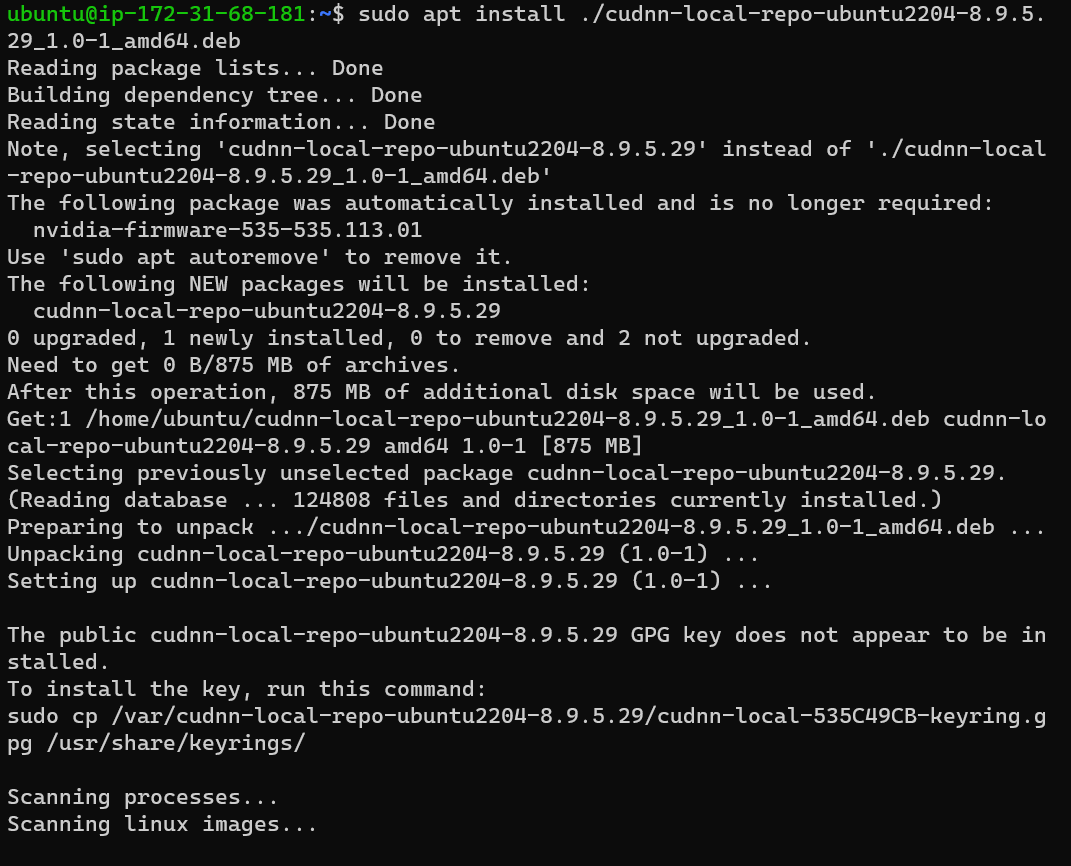
sudo cp /var/cudnn-local-repo-ubuntu2204-8.9.5.29/cudnn-local-535C49CB-keyring.gpg /usr/share/keyrings/
My cuDNN version is 8, adapt the following to your version:
sudo apt update
sudo apt install libcudnn8
sudo apt install libcudnn8-dev
sudo apt install libcudnn8-samples
Test CUDA on Pytorch
Create a virtualenv and activate it
sudo apt-get install python3-pip
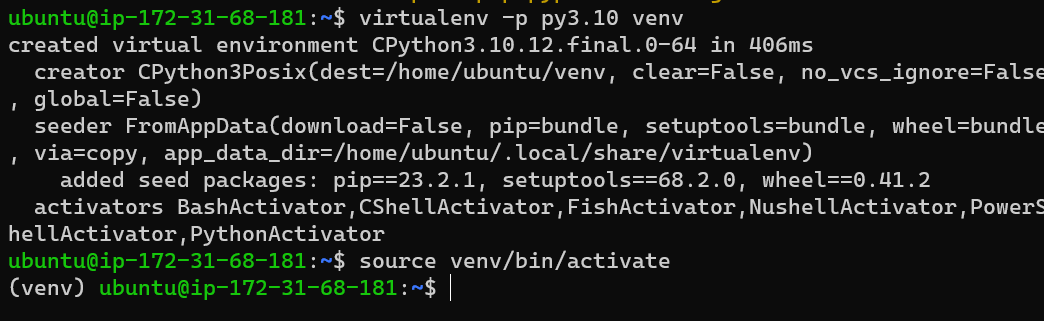
sudo pip3 install virtualenv
virtualenv -p py3.10 venv
source venv/bin/activate
Install pytorch
pip3 install torch torchvision torchaudio

Open Python and execute a test
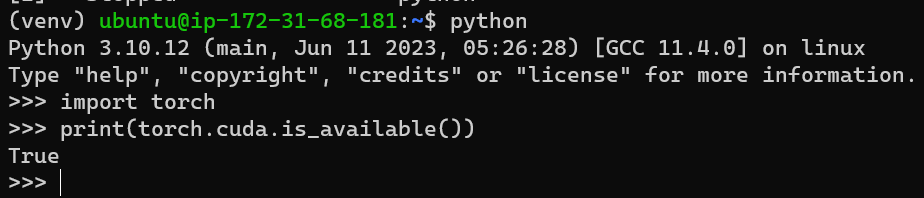
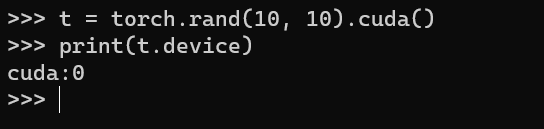
import torch
print(torch.cuda.is_available()) # should be True
t = torch.rand(10, 10).cuda()
print(t.device) # should be CUDA
Create an AMI from an Amazon EC2 Instance
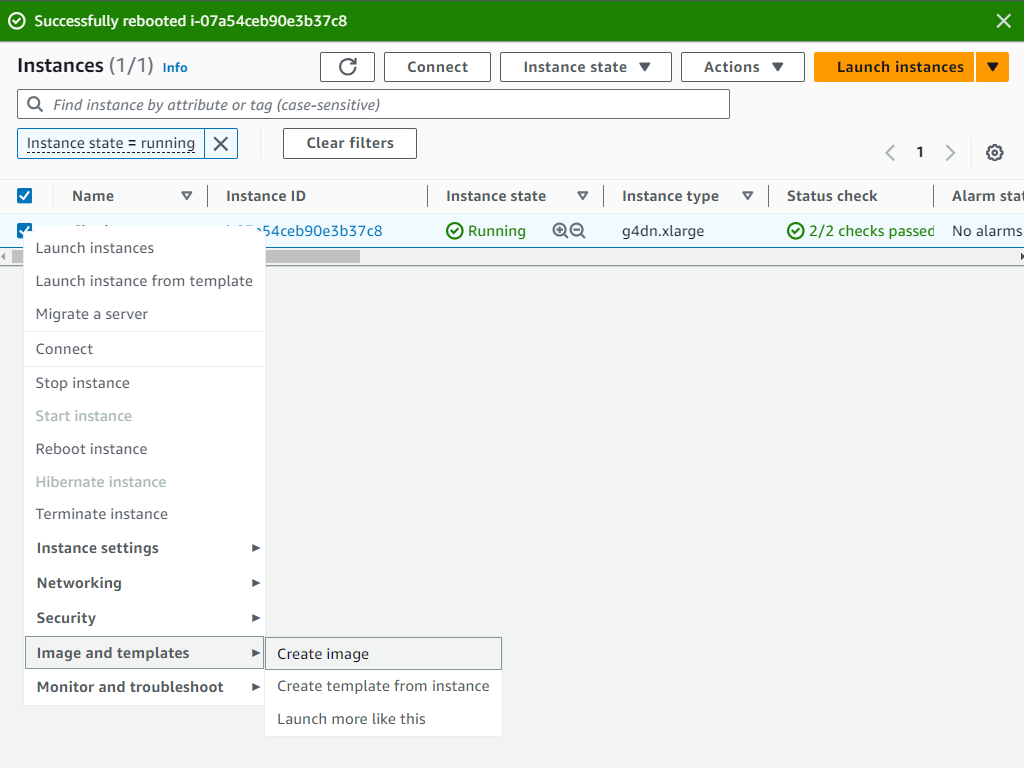
In ordering to save our EC2 Instance Setup that we have done before got to Amazon EC2 Instances view, you can create Amazon Machine Images (AMIs) from either running or stopped instances.
To create an AMI from an instance we Right-click the instance you want to use as the basis for your AMI, and choose Create Image from the context menu.
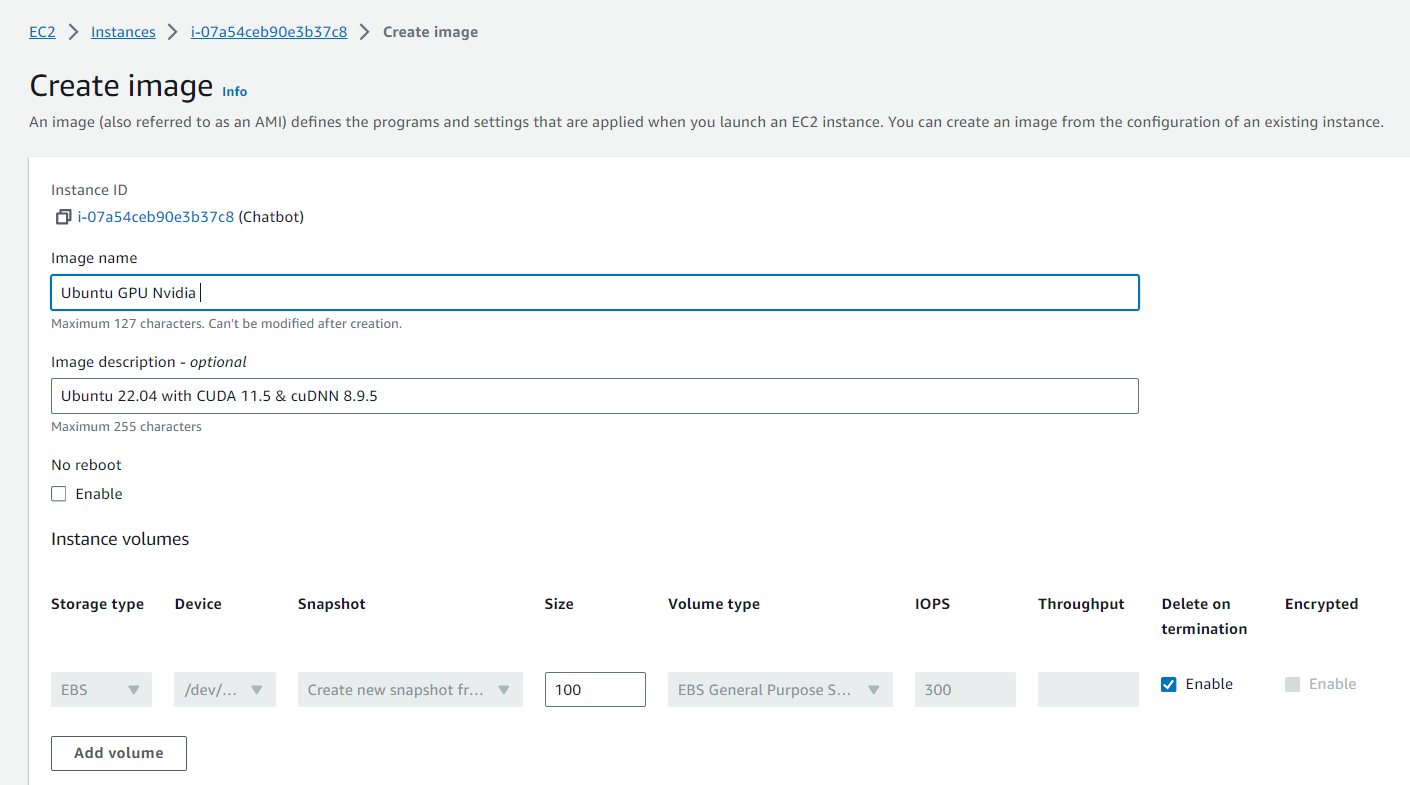
Then we Create Image context menu. In the Create Image dialog box, type a unique name and description, and then choose Create Image. By default, Amazon EC2 shuts down the instance, takes snapshots of any attached volumes, creates and registers the AMI, and then reboots the instance. Choose No rebootif you don’t want your instance to be shut down.
Warning : If you choose No reboot, we can’t guarantee the file system integrity of the created image.
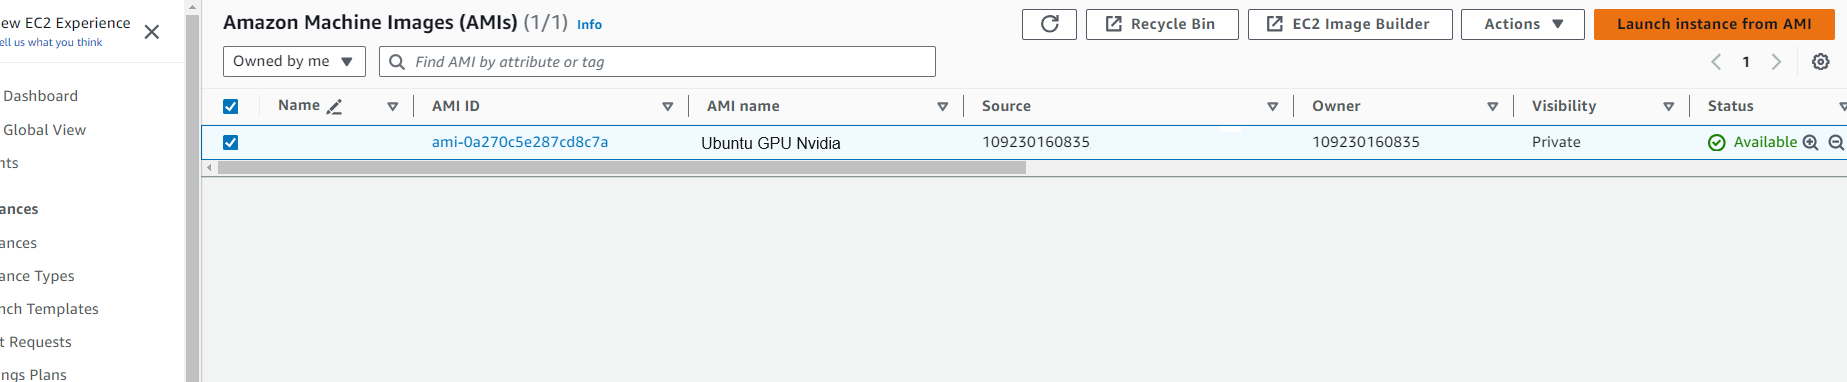
| Then Create Image dialog box. It may take a few minutes for the AMI to be created. After it is created, it will appear in the AMIs view in AWS Explorer. To display this view, double-click the **Amazon EC2 | AMIs** node in AWS Explorer. To see your AMIs, from the Viewing drop-down list, choose Owned By Me. You may need to choose Refresh to see your AMI. When the AMI first appears, it may be in a pending state, but after a few moments, it transitions to an available state. |
Now you can Terminate your Instance and next time you can load your new GPU instance
Remember that the GPU instances are expensive. Please terminate the instances after you finish this demo.
Congratulations! You have created an EC2 instance with GPU and installed CUDA and AMI.
Leave a comment