
How to install Jupyter Notebook in Visual Studio Code
Hello everyone, today we are going to Install Jupyter Notebook with Support of Visual Studio Code.

Step 1 - Installation of Python in Windows
We assume you have installed Python from here on your computer, you can follow this tutorial. We will use Visual Studio Code to run Jupyter Notebook.
Step 2- Installation Visual Studio
Download the Visual Studio Code installer for Windows here Once it is downloaded, run the installer. This will only take a minute. By default, VS Code is installed under
C:\Users\{Username}\AppData\Local\Programs\Microsoft VS Code.
Alternatively, you can also download a Zip archive, extract it and run Code from here.
Step 3 - Creation of Project
We create a project folder for example myproject, we open a terminal and type:
cd \
and we create folder called myproject
mkdir myproject
Step 4 - Open Visual Studio Code
Navigate to / open your project folder
cd myproject
and open Visual Studio Code by typing
code .
Step 5. Create, activate & select your virtual environment
Navigate to terminal and click New terminal
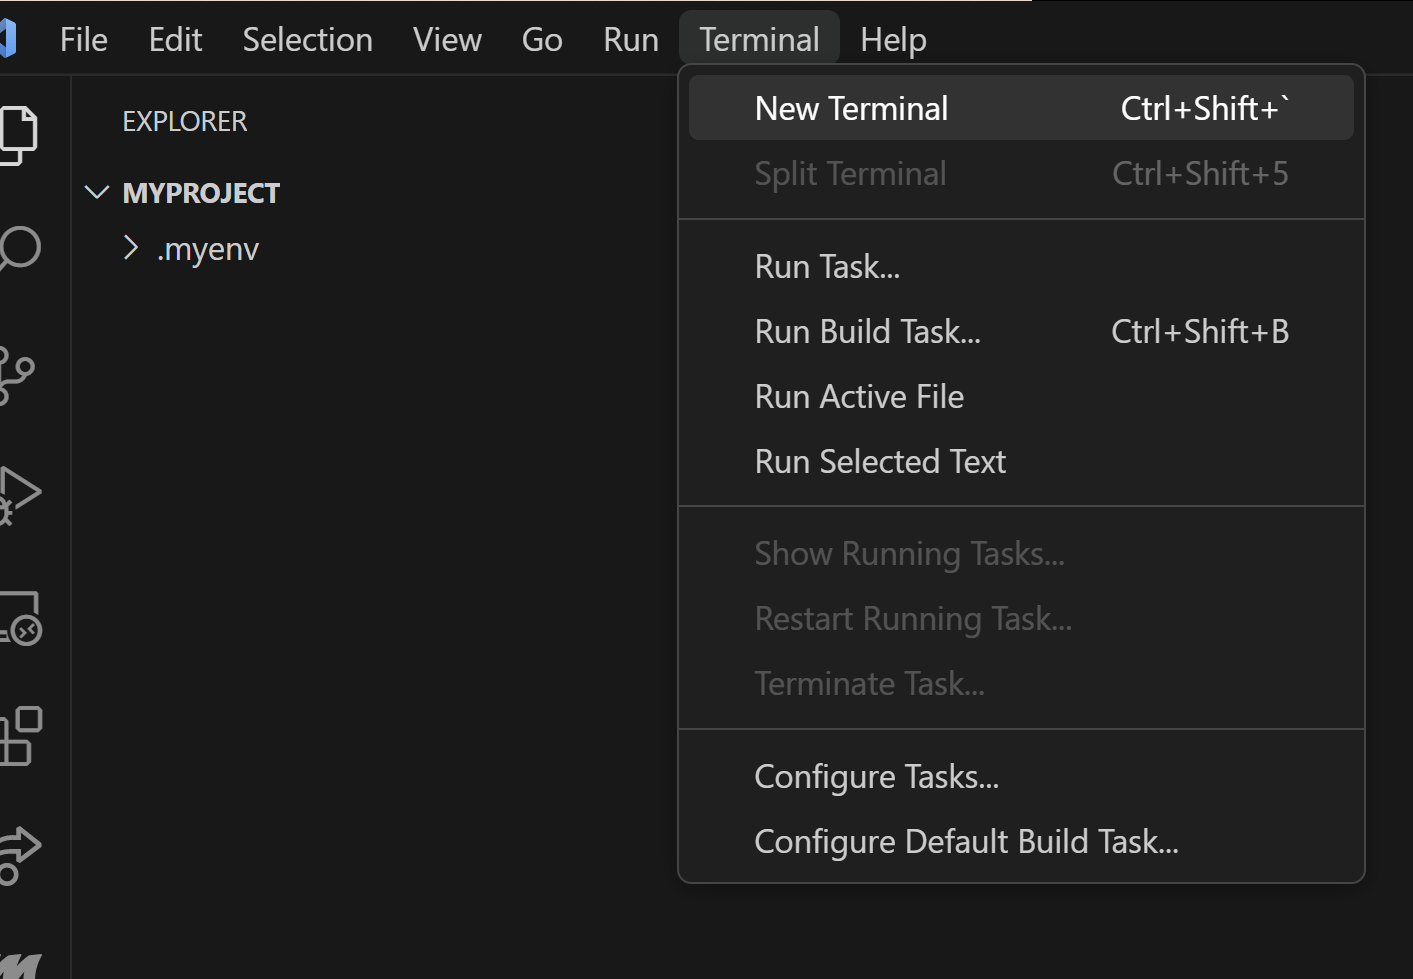
then we choose Command Prompt as our default terminal

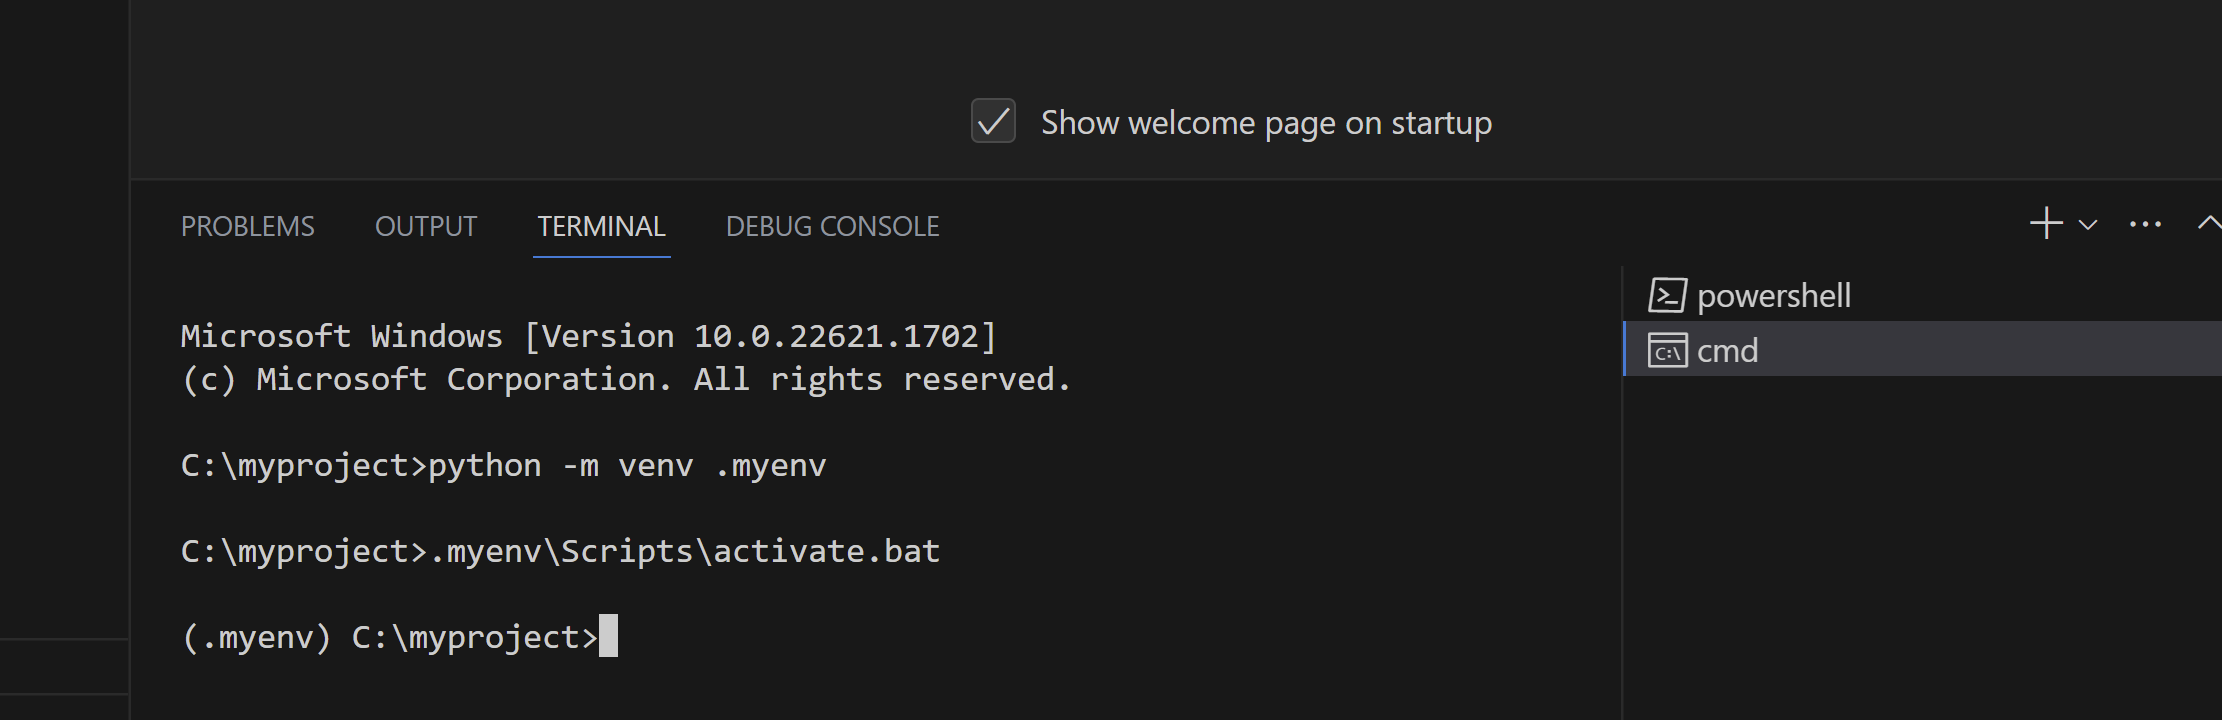
then inside of the terminal Command Prompt we create a virtual environment by typing
python -m venv .myenv
that would create a virtual environment named ‘.myenv’.
Now activate the virtual environment
.myenv\Scripts\activate.bat
in Linux usually can use source .myenv/bin/activate, to deactivate you can simply type deactivate .
If Visual Studio Code prompts you to set it as default for the project, we cab hit yes.
Step 6. Install ipykernel
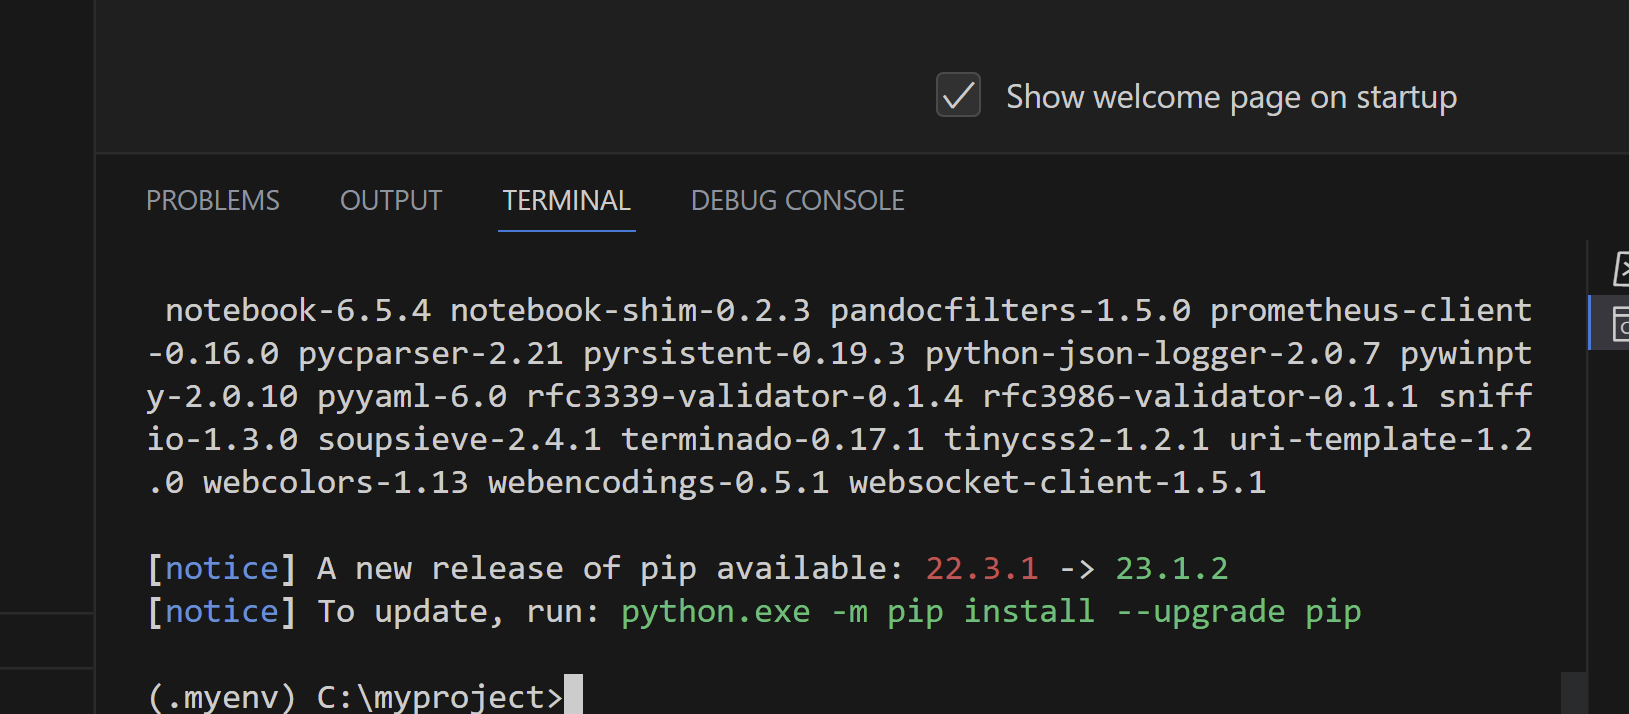
Now that your virtual environment is activated, install ipykernel
pip install ipykernel
Step 7. Create new kernel
Now you can create a new kernel to be used for your project:
python -m ipykernel install --user --name=myproject
That would create a kernel named ‘myproject’.
Step 8. Installation of Jupyter Notebooks
To work with Python in Jupyter Notebooks,we have to be activated the Python environment in which we have installed the Jupyter package.
pip install notebook
That would create jupyter notebook
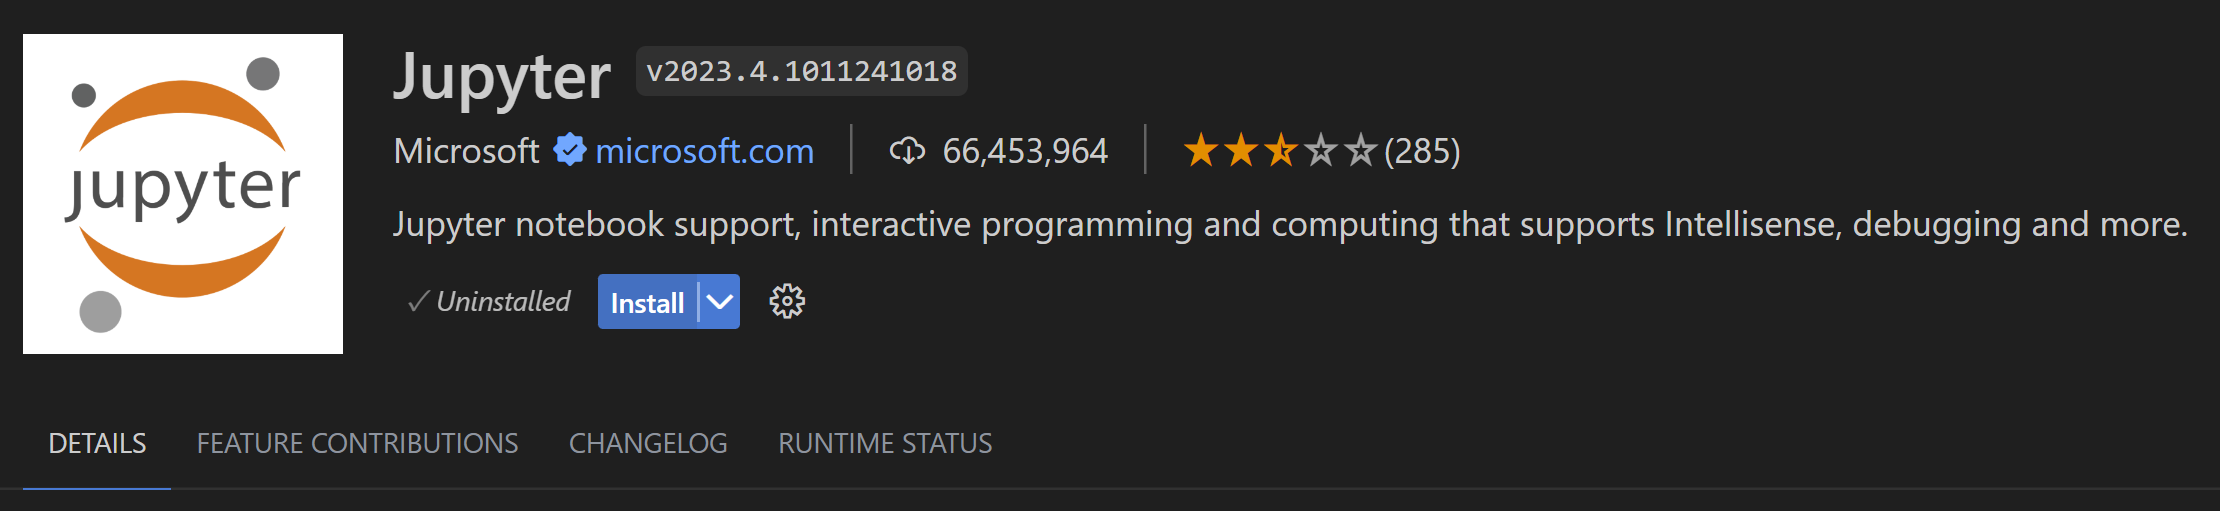
Step 9. Install a Jupyter Notebook Extension
We install a Jupyter Notebook Extension by installing Jupyter, in the Command Palette (Ctrl+Shift+X) and type
Jupyter
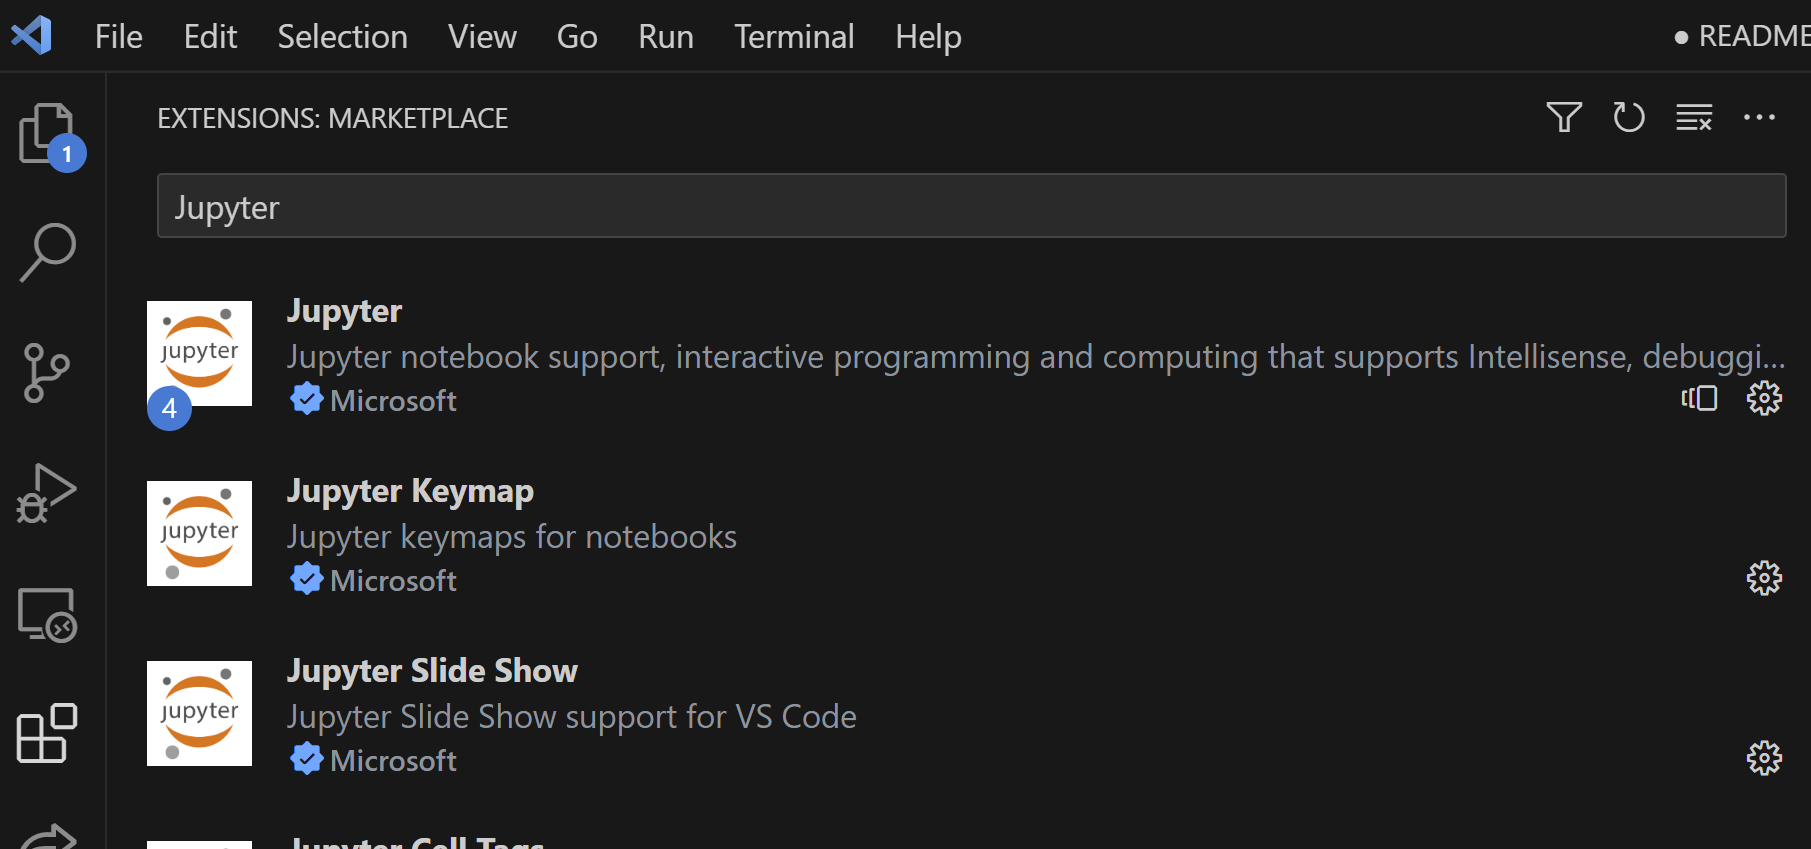 and we click install
Step 10 Create a Jupyter Notebook
We create a Jupyter Notebook by running the Create: New Jupyter Notebook command from the Command Palette (Ctrl+Shift+P)
Create:New Jupyter Notebook
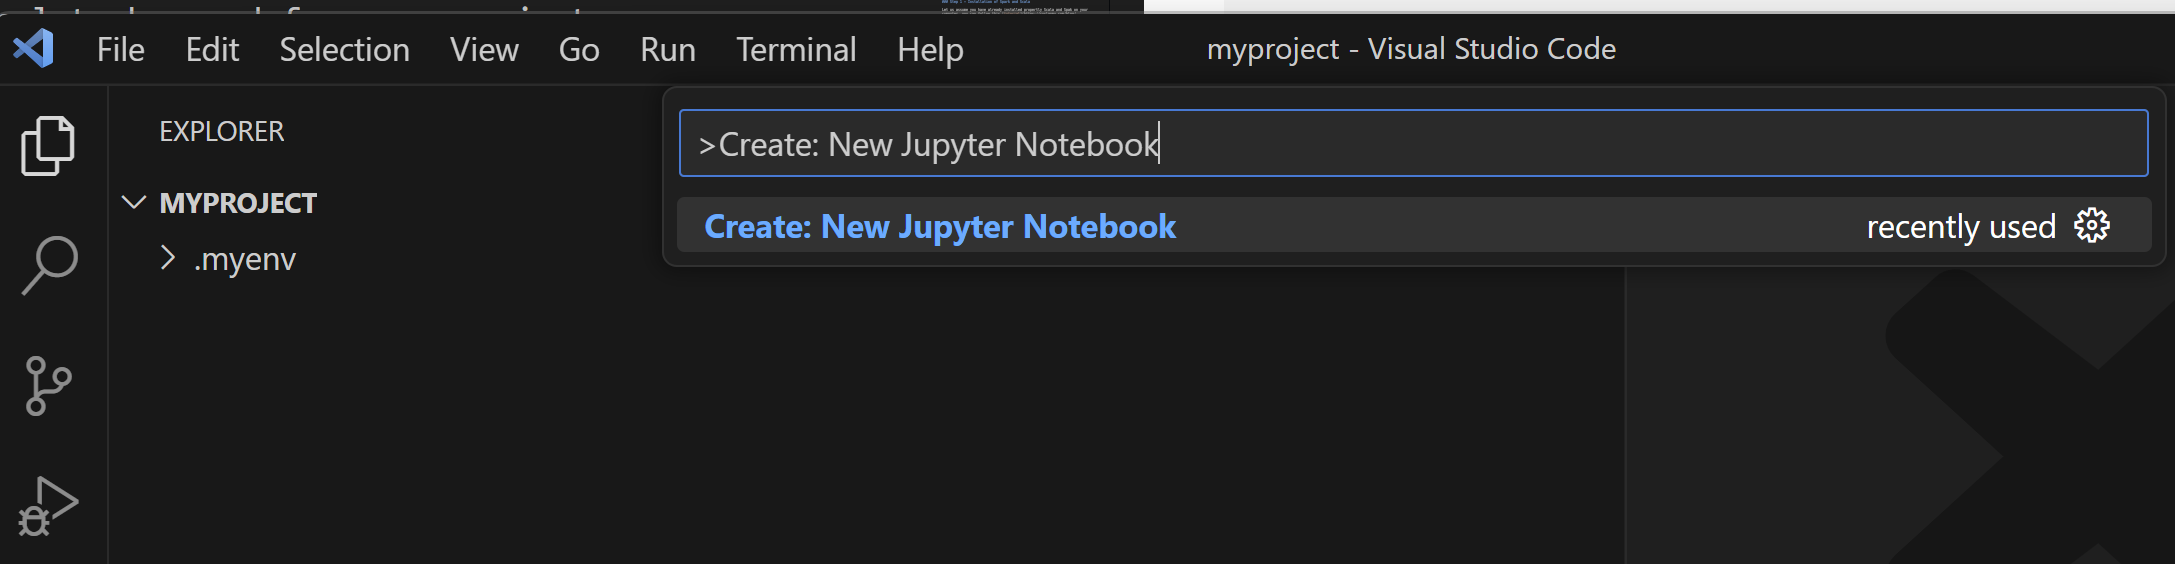
then we create a new .ipynb file in your workspace.
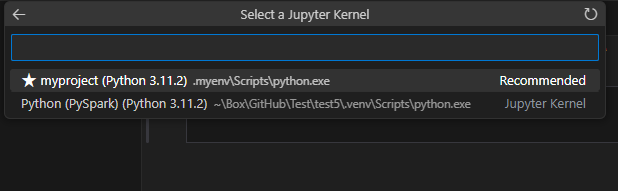
Step 11 Select a kernel
Next, select a kernel using the kernel picker in the top right.

After selecting a kernel, the language picker located in the bottom right of each code cell will automatically update to the language supported by the kernel.
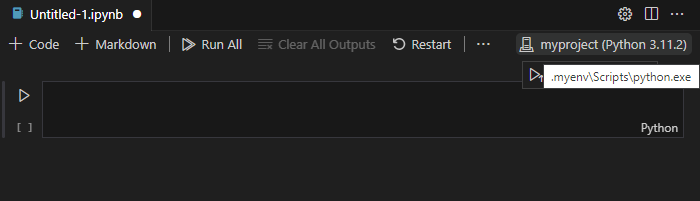
 you can see your enviroment installed here
If you have an existing Jupyter Notebook, you can open it by right-clicking on the file and opening with VS Code, or through the VS Code File Explorer.
Step 12. Test installation of jupyter
We can test by tping the folowing code in the cell and press shift + enter
!jupyter --version
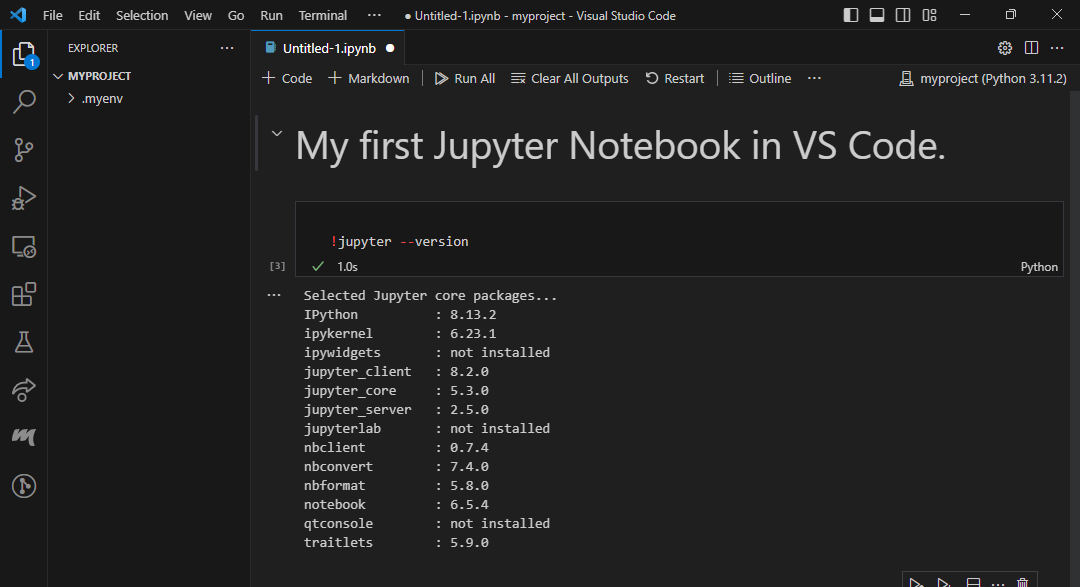
Congratulation! We have installed Visual Studio Code with support of Jupyter Notebook.
Leave a comment