
How to integrate Watson Assistant with IBM Cloud Function
Hello everyone, today we are going to integrate Watson Assistant by using IBM Cloud functions This is very interesting way to give power to you Chatbot with a fully serveless system in IBM Cloud. We are interested to connect a Chatbot with Serverless Function.
Step 1 - Login to your IBM Cloud.
First you need to login to your IBM Cloud here https://cloud.ibm.com
Step 2 - Create an Cloud Function
Type functions in the search bar type function
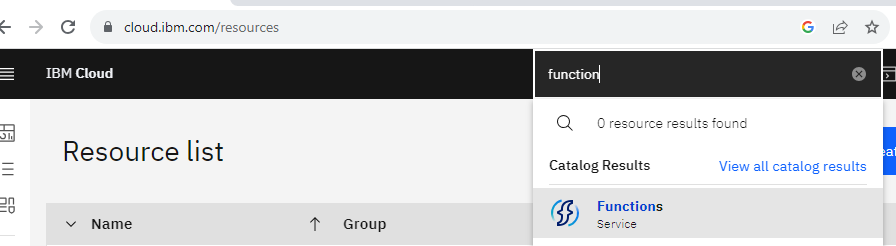
Then you select Start Creating
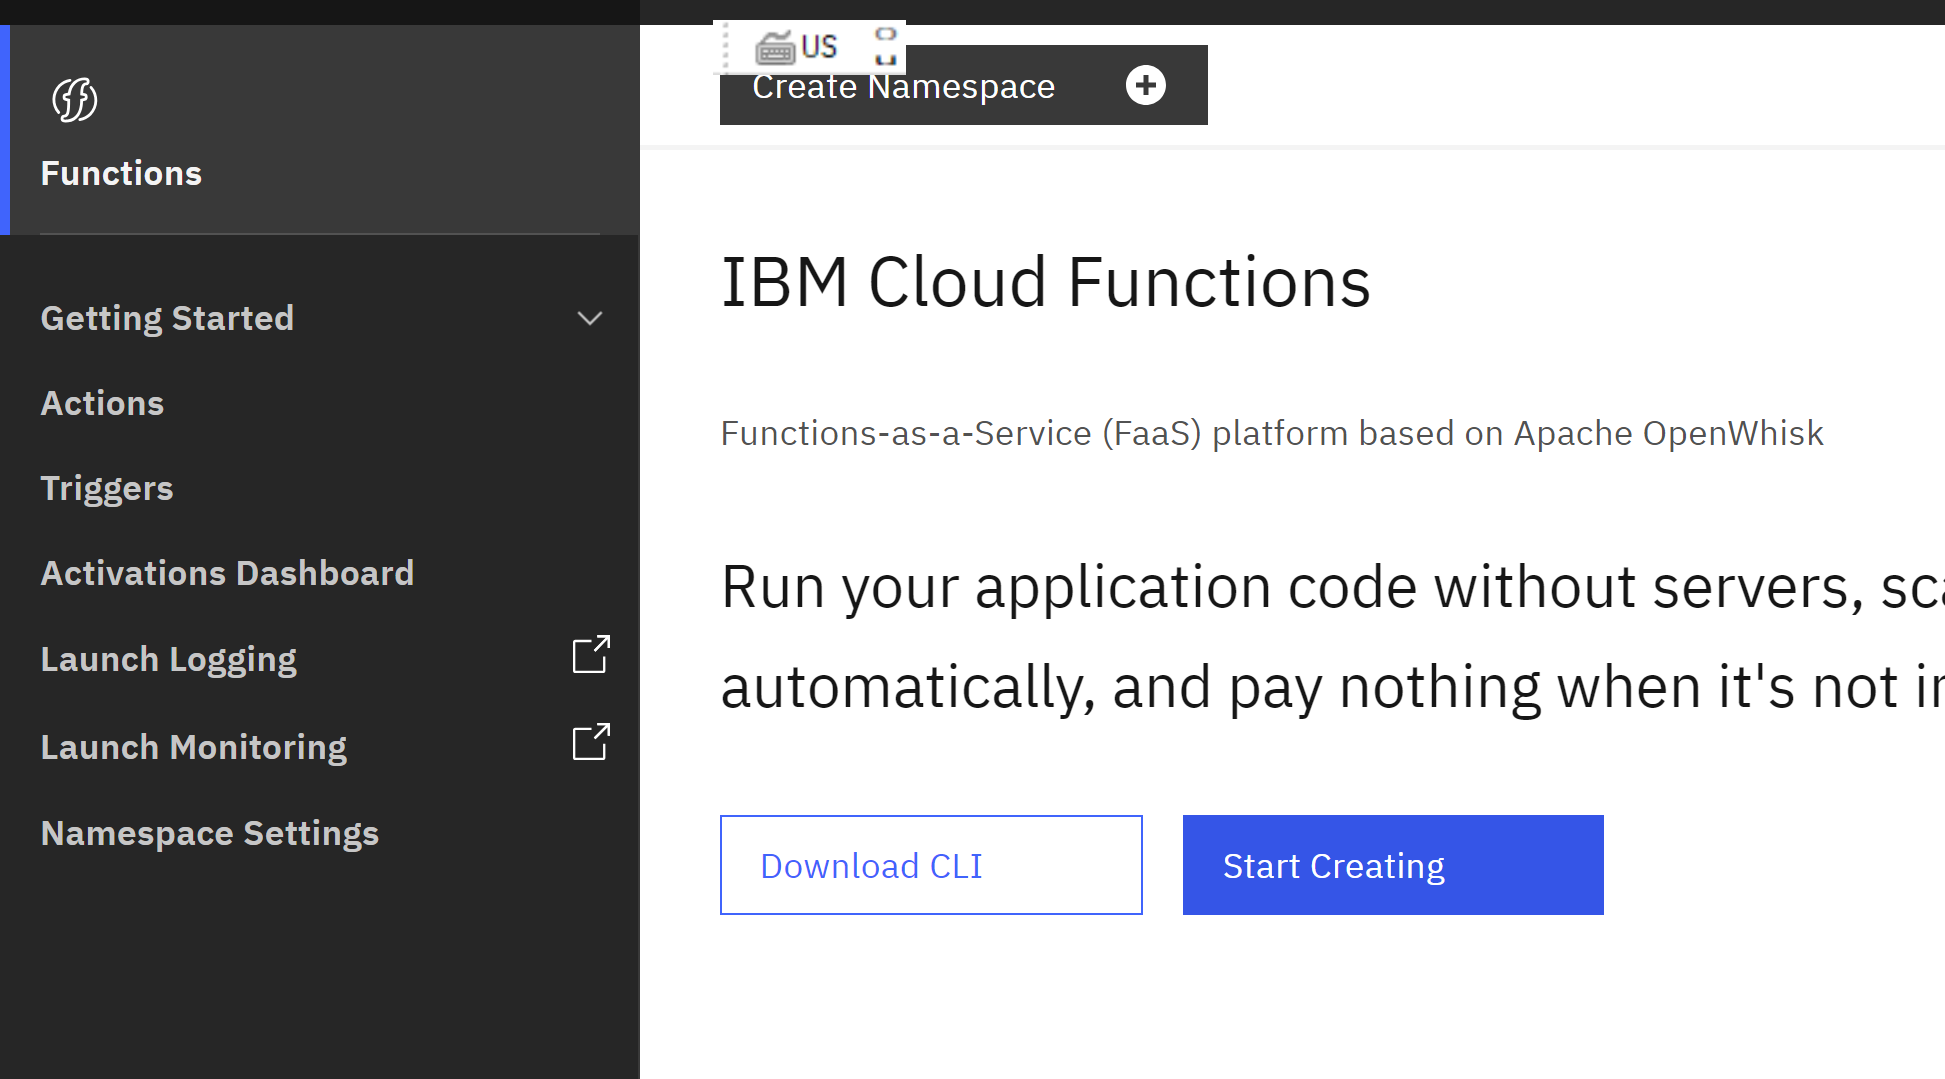 then you create Namespace, then you select Actions
and click Create
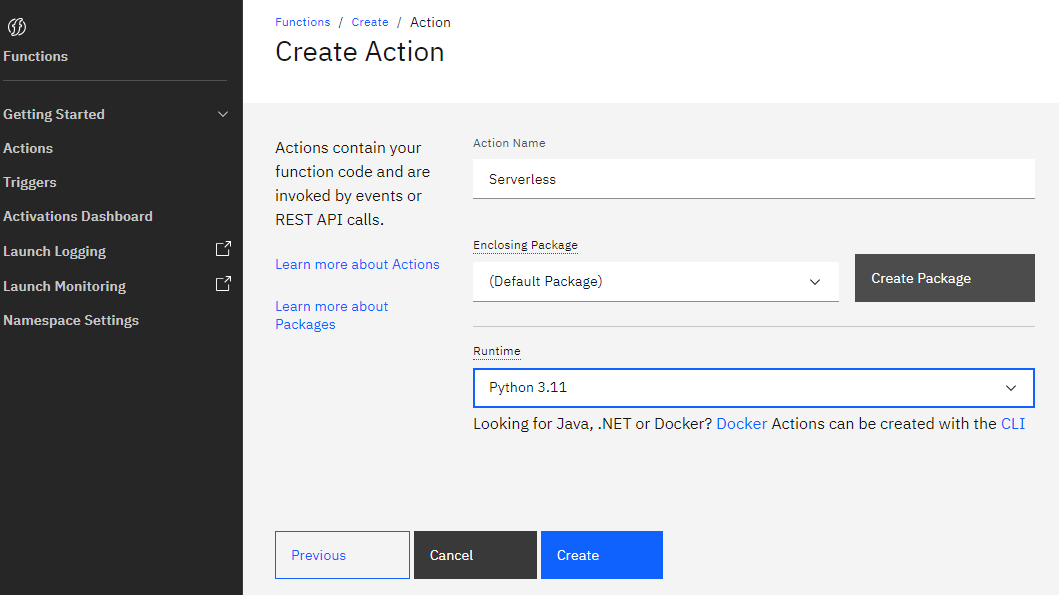 then you have created your serverless
For this example, instead use node.js we use Python
then you have created your serverless
For this example, instead use node.js we use Python
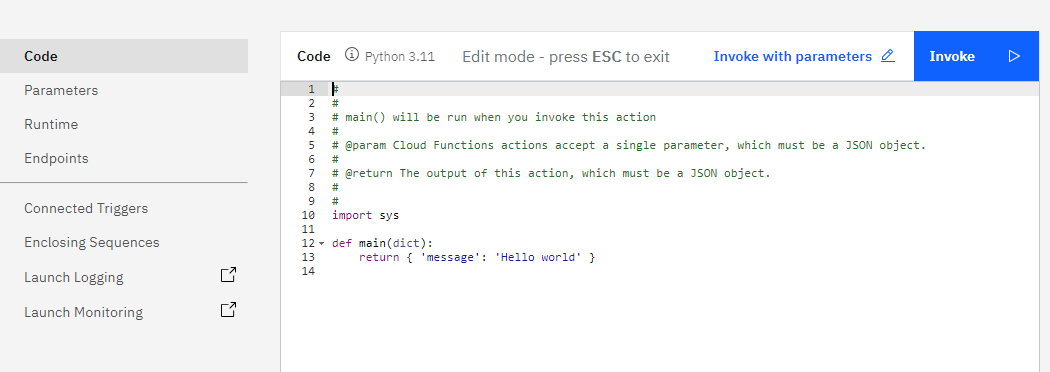
we copy the following code and replace the current one
import sys
import requests
import json
def main(params):
    # Used to identify the specific task being called from Watson Assistant
    # URL used for API call
    print(params)
    url = "https://en.wikipedia.org/api/rest_v1/page/summary/" + str(params['object_of_interest'])+ "?redirect=true"
    # Set headers
    headers = {'accept': 'application/json'}
    # Make API call
    r = requests.get(url,headers)
    # Process failed API call
    if r.status_code != 200:
        return {
            'statusCode': r.status_code,
            'headers': { 'Content-Type': 'application/json'},
            'body': {'message': 'Error processing your request'}
        }
    # Process successful API call
    else:
        res = json.loads(r.content)
        extract = res['extract']
        return {
            'statusCode': 200,
            'headers': { 'Content-Type': 'application/json'},
            'extract': {"extract":extract}
        }
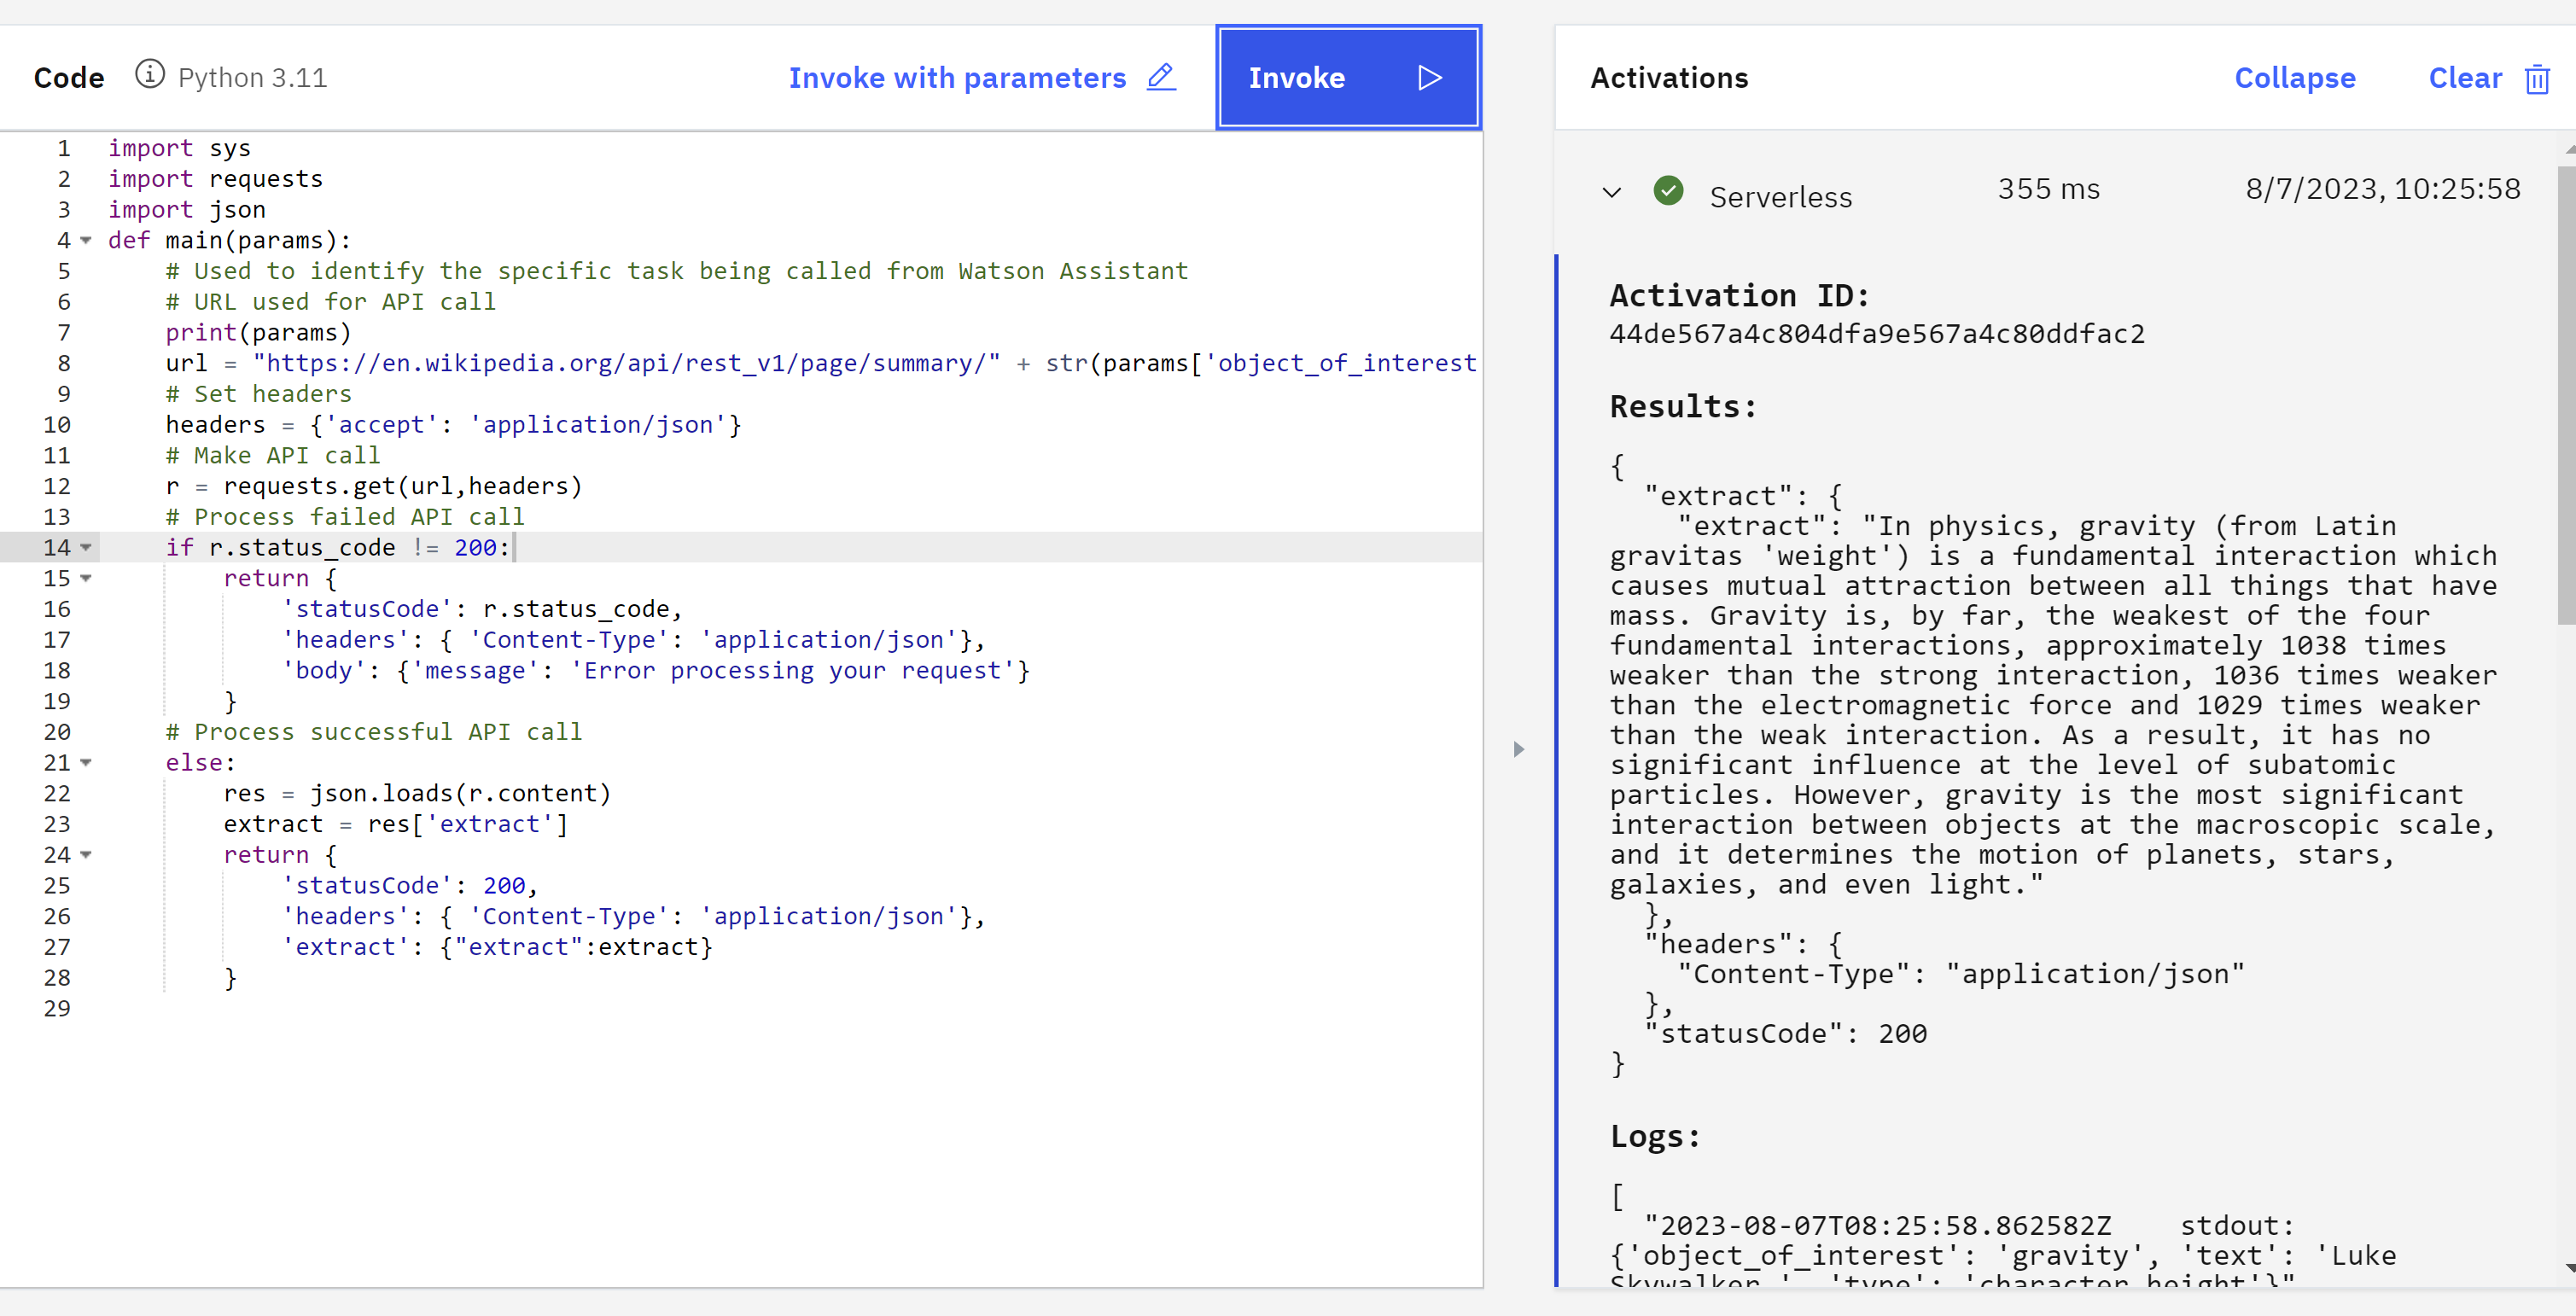
to test we can click on Invoke with parameters
{
    "object_of_interest":"gravity"
  }
and then we click Invoke
we got the following
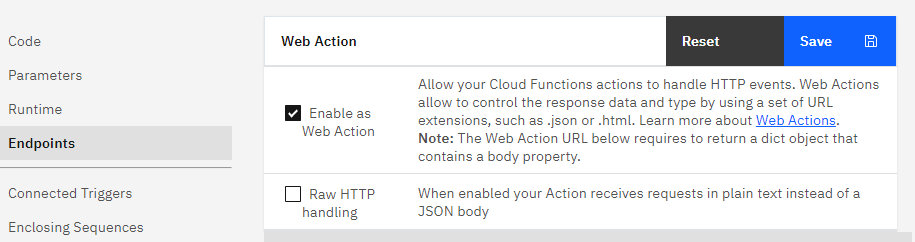
Step 4 - Enable Endpoint
Before create API we go to Endpoints and we click on Enable as Web Action and click save
 and then we copy the HTTP method

now it works our cloud function.
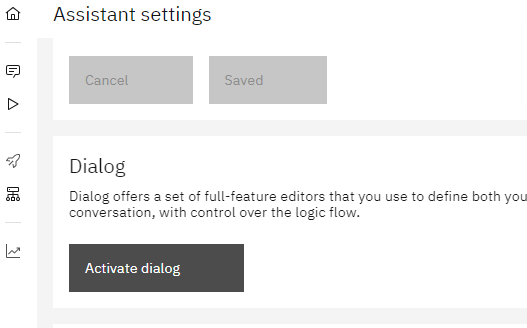
Step 5 - Call Cloud Function from Watson Assistant
In the menu of Watson Assistant we select the tab Assistant Settings
we scroll down and we click Activate dialog
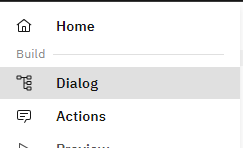
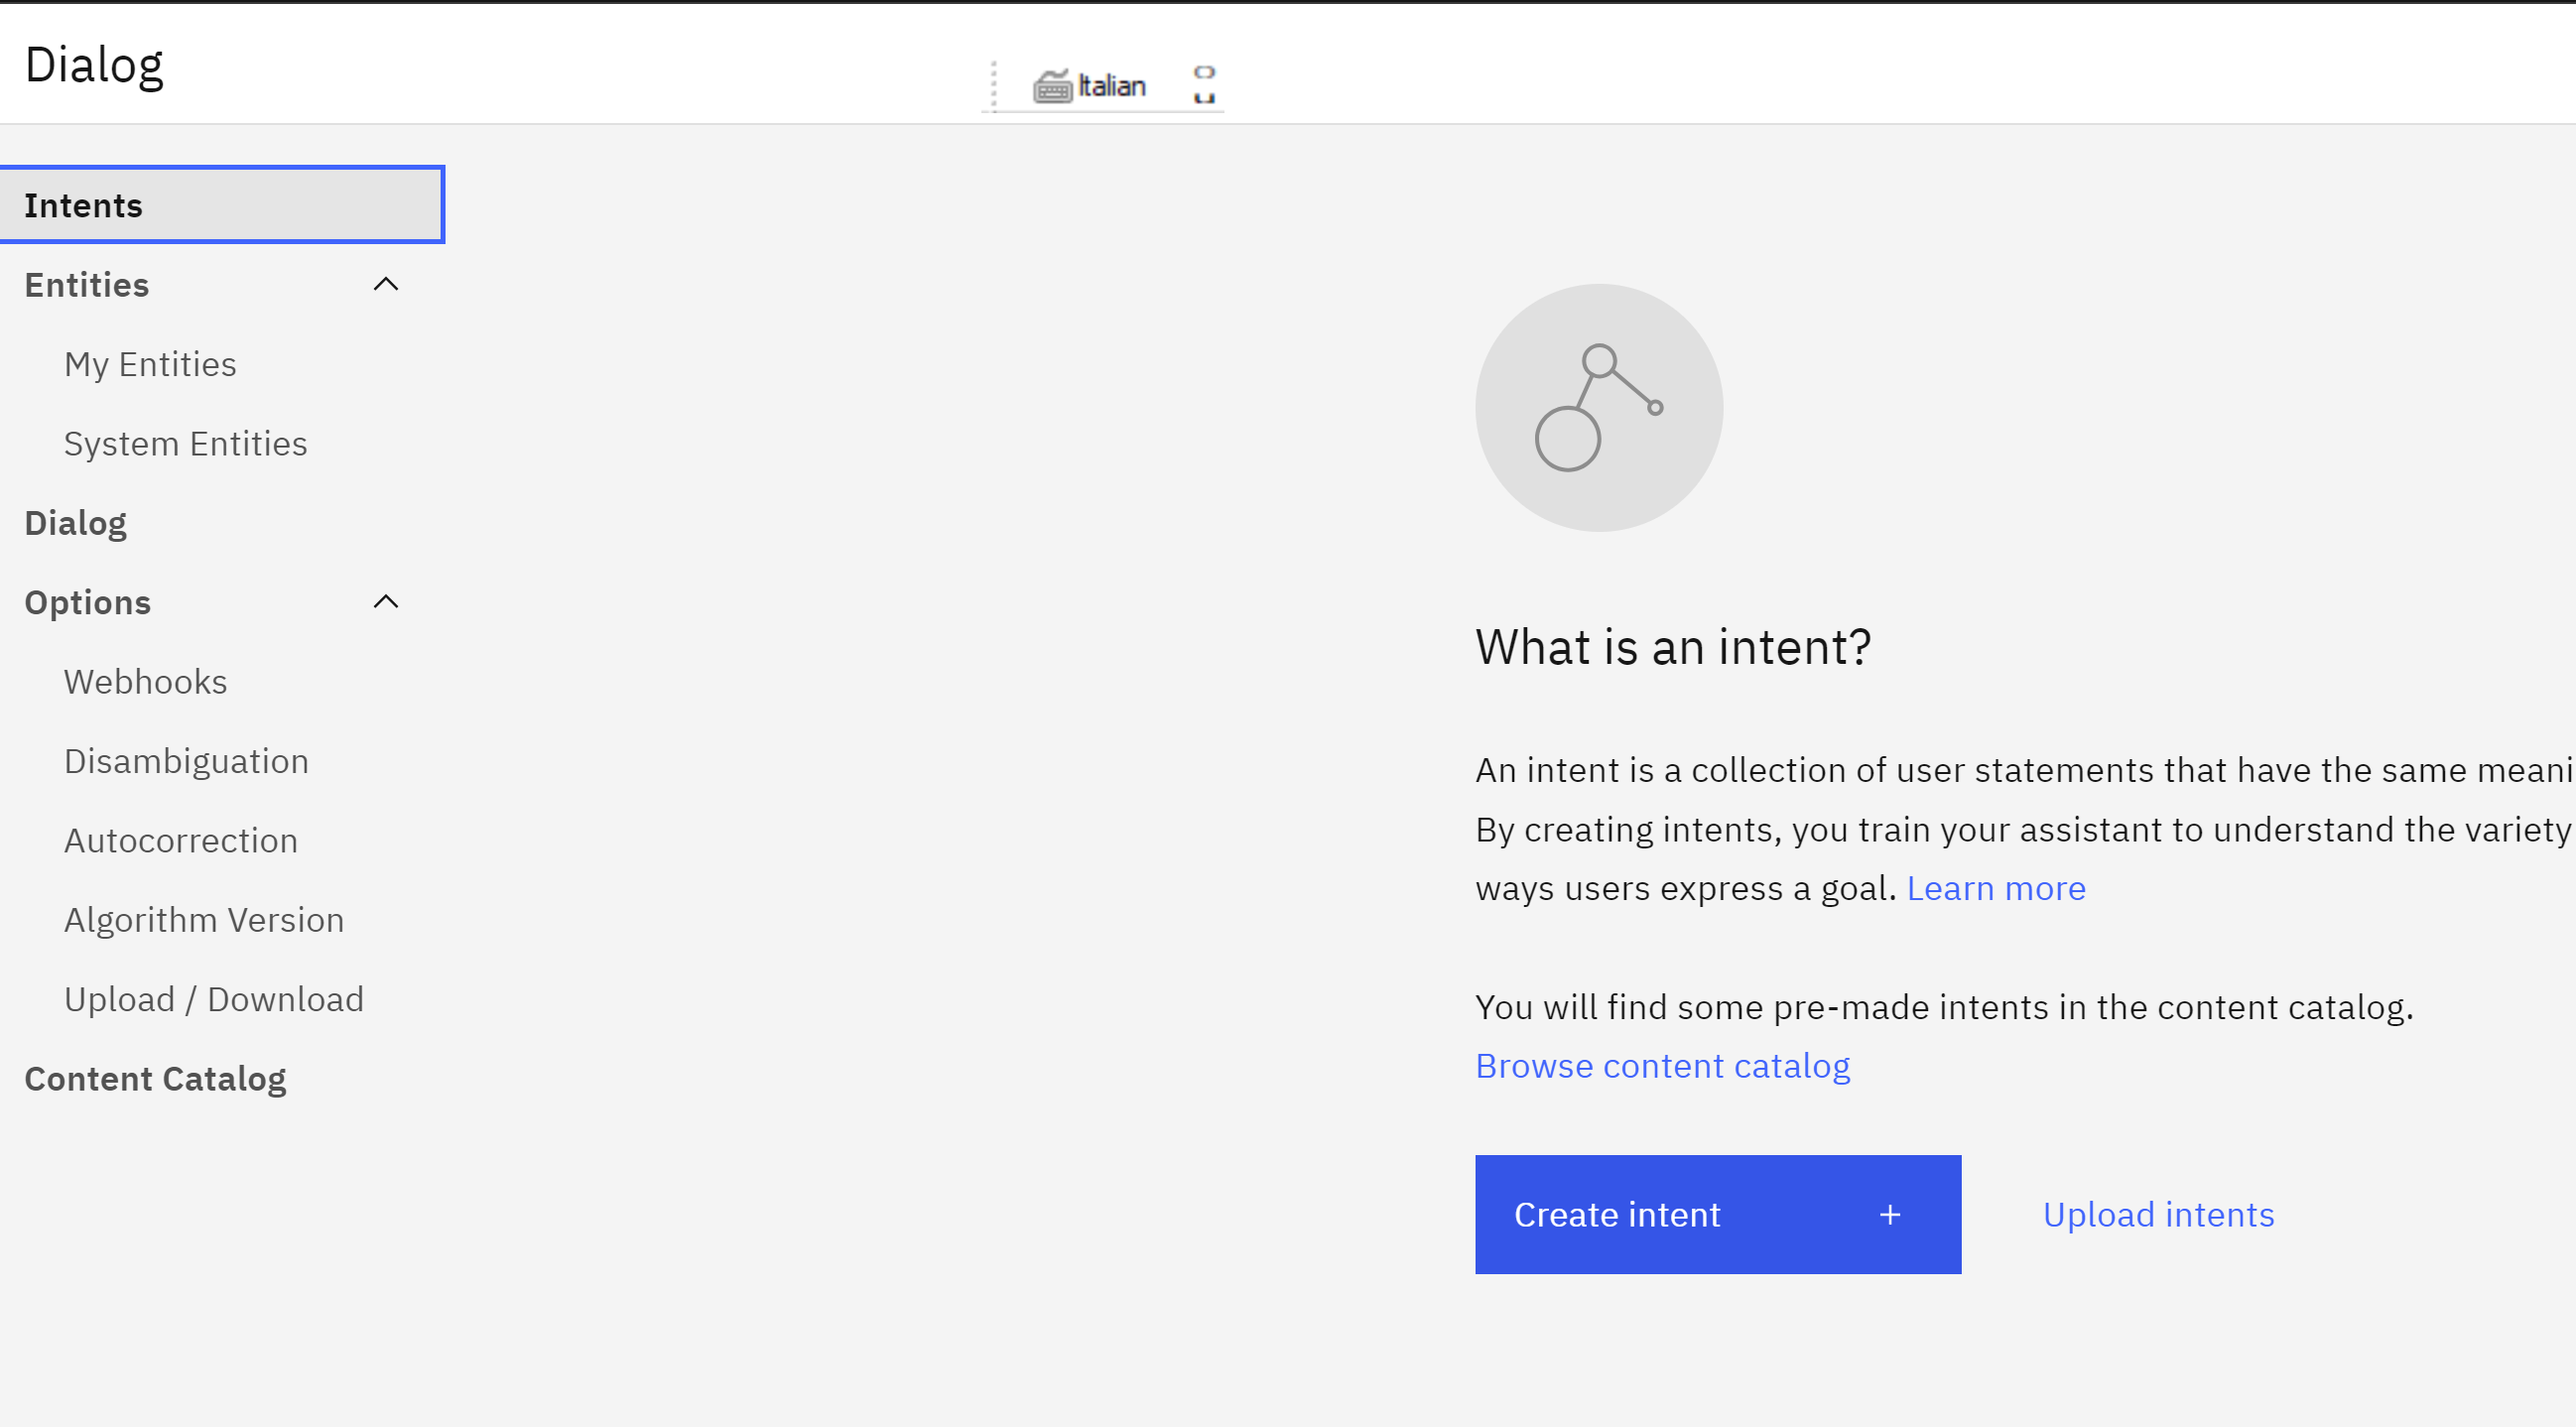
 At the Home menu we click
 Dialog
#Step 5 - Create Entity
We create am entitiy
@object_of_interest
#Step 6 - Create Intent
Then we create an intent,
 ,
for example we type
for the Intent name
,
for example we type
for the Intent name
#tell_me_about
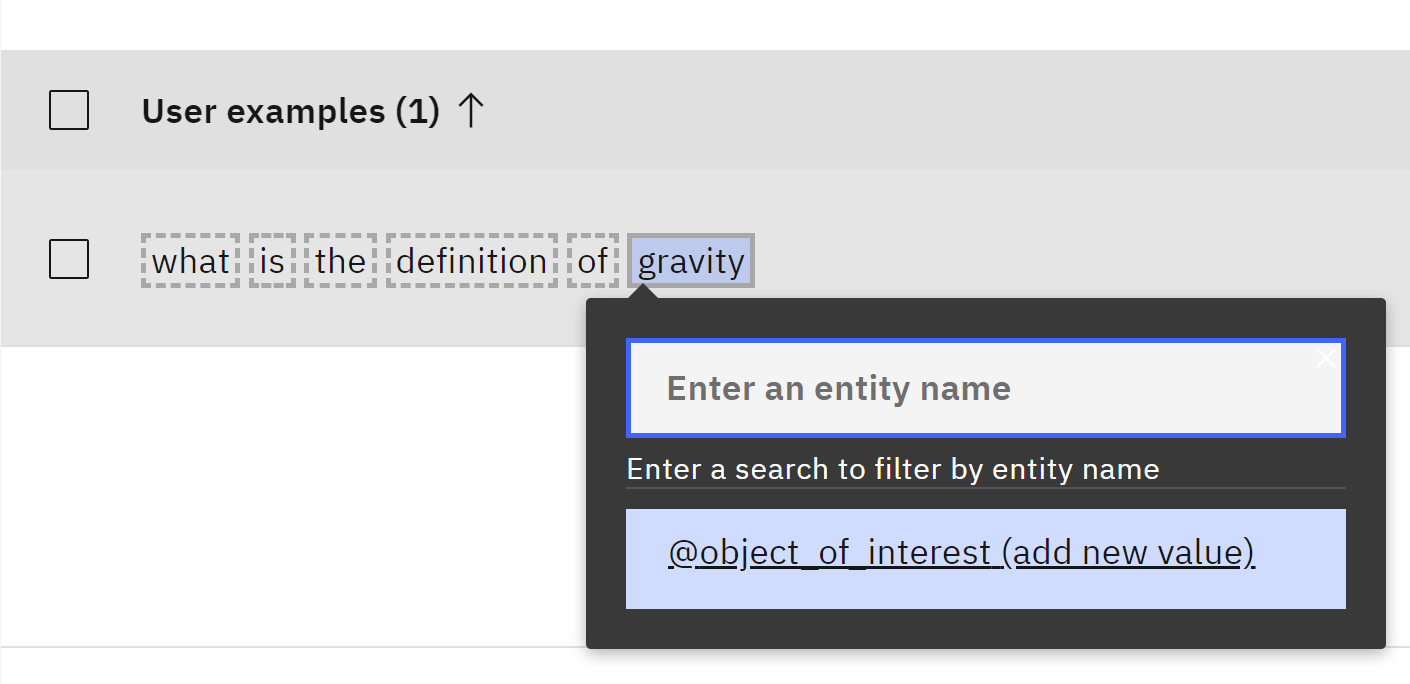
and in the user example we add different queries that countains the nouns that you will look on, or will be used as arguments.
eg. what is the definition of gravity
then you e click on Annotate entities and click with the mouse gravity
 and click the
 @object_of_interest
 you will got something like

Step 6 - Weebhook setup
We paste our edpoint copied here,
and we add the extension .json at the end of the URL.
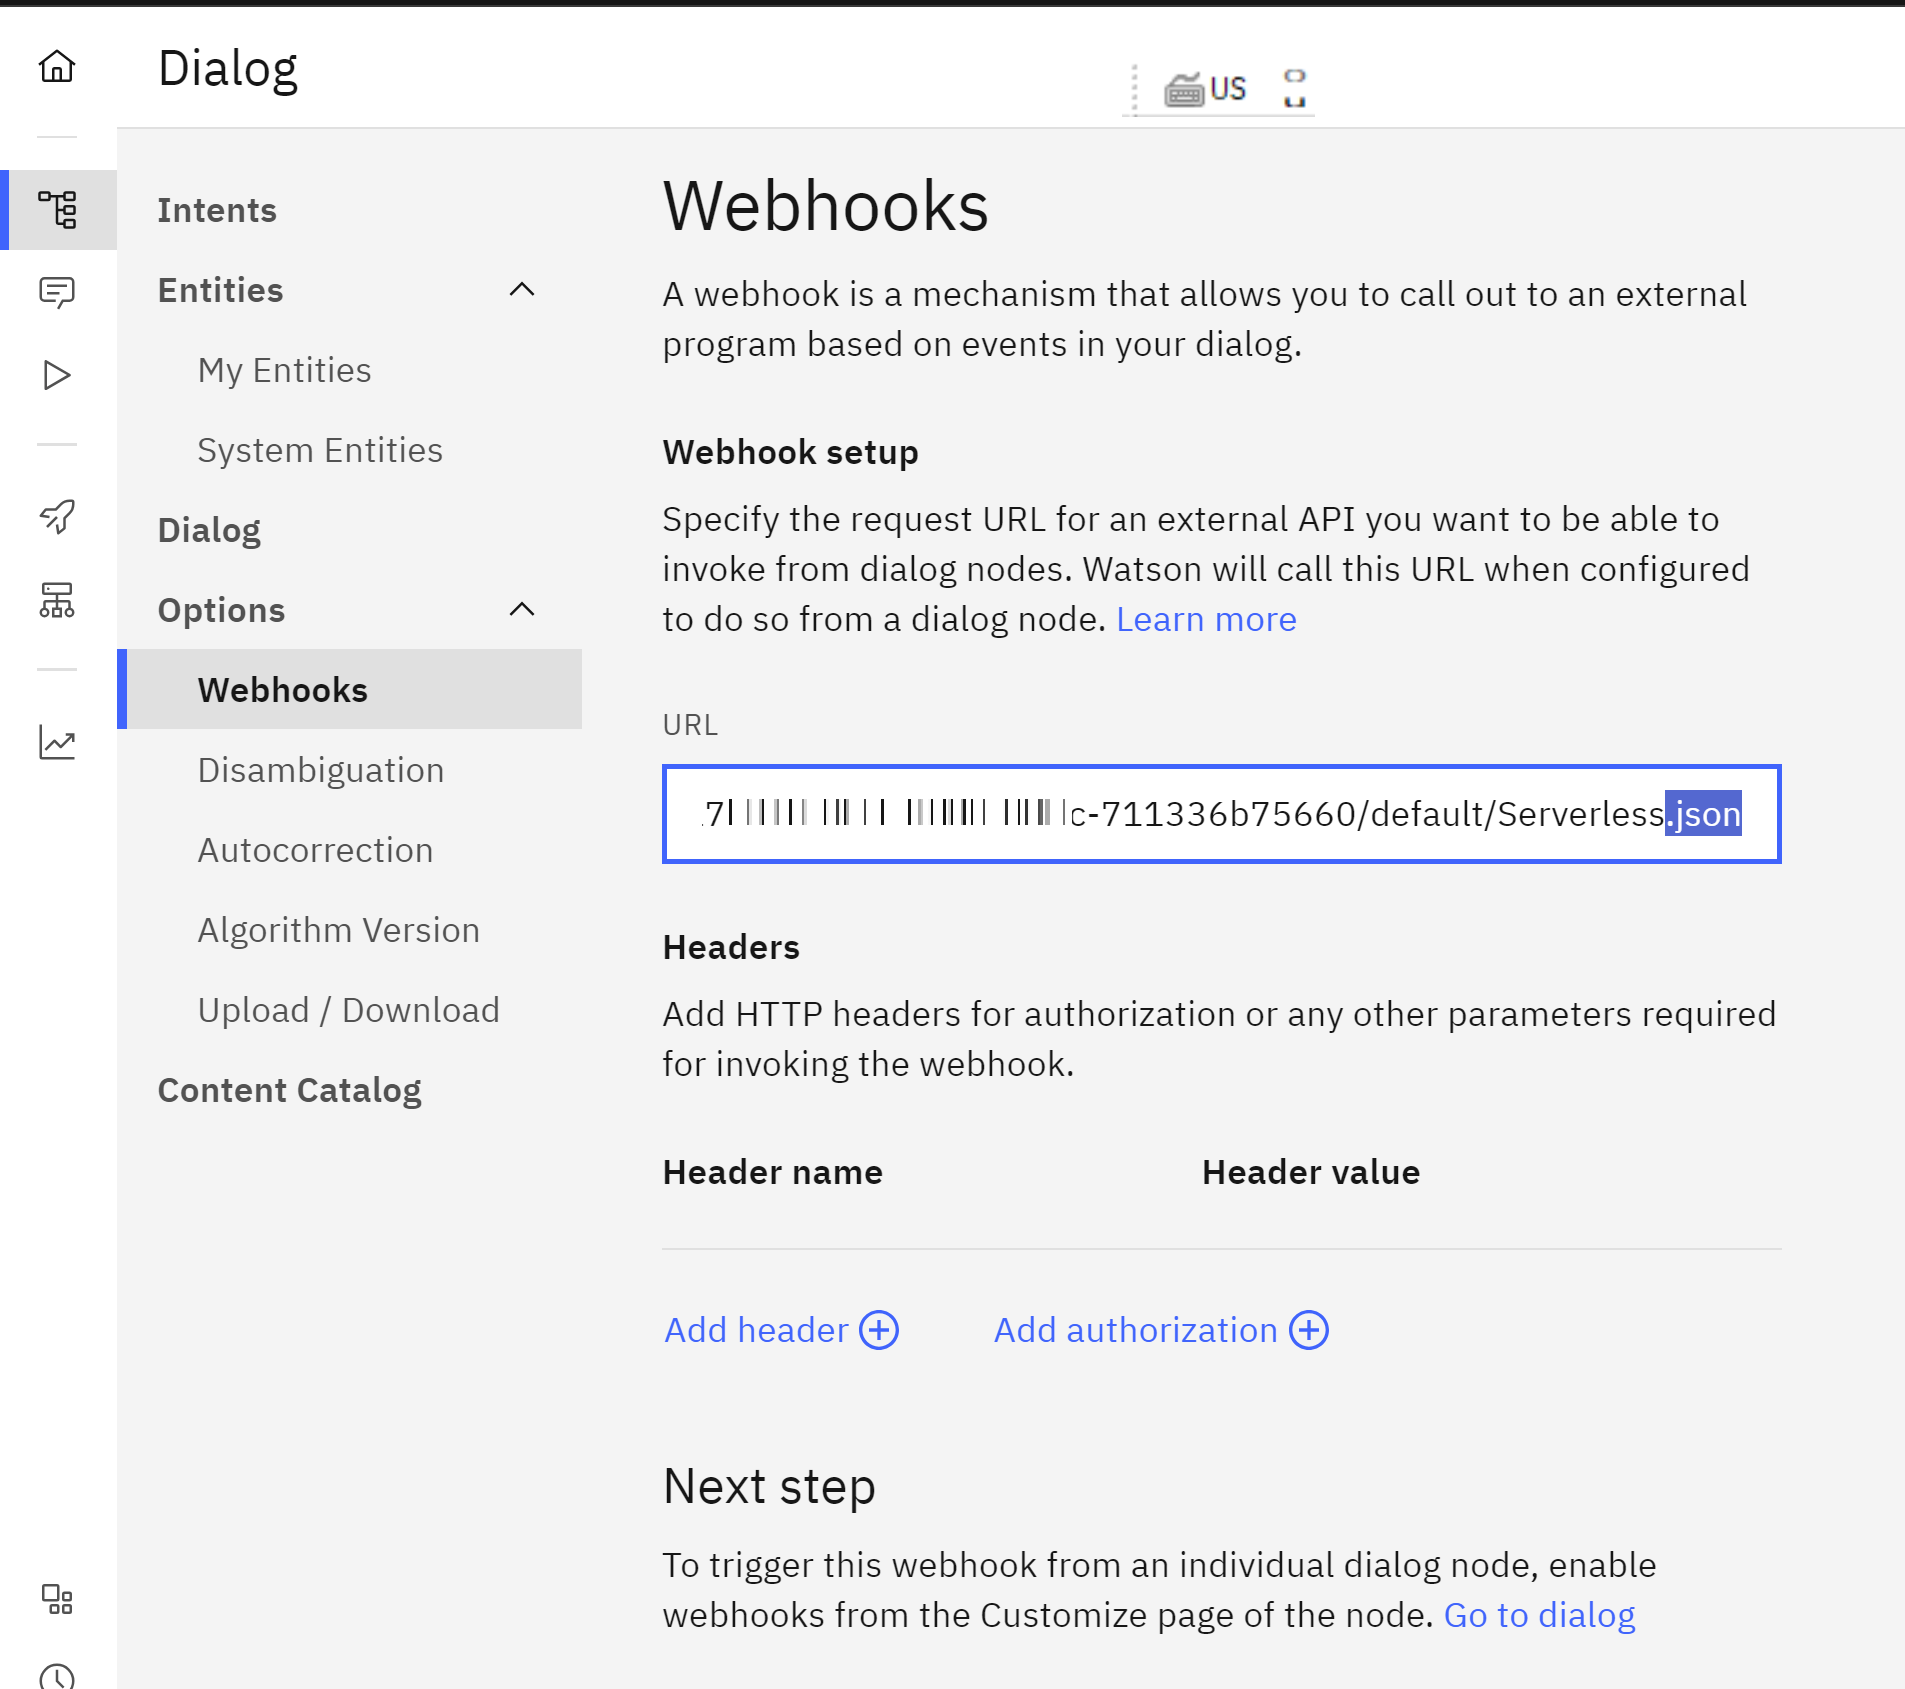 Here we do not need add, extra Header, or autorization.
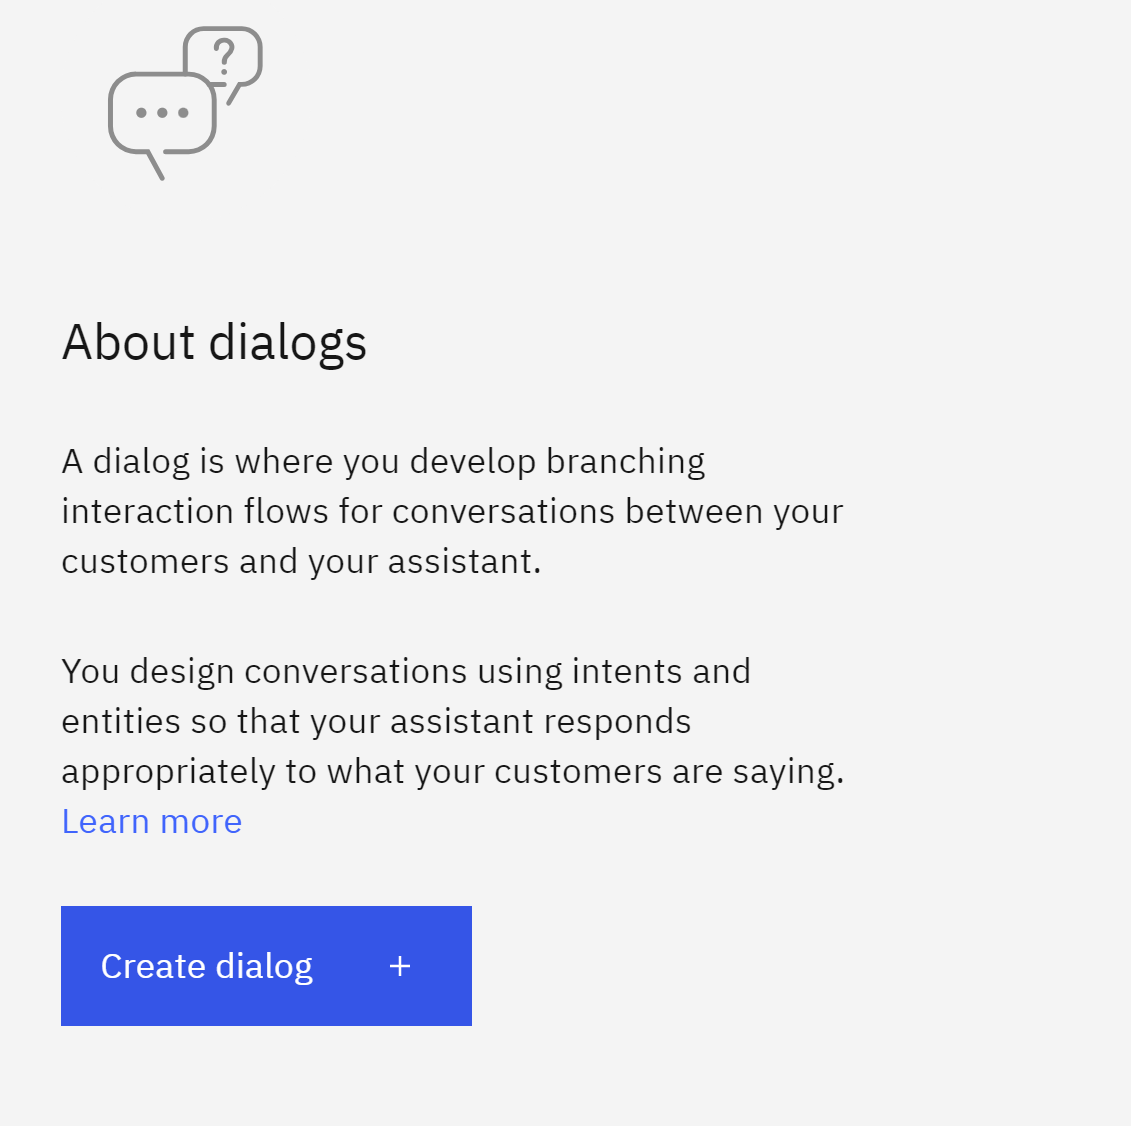
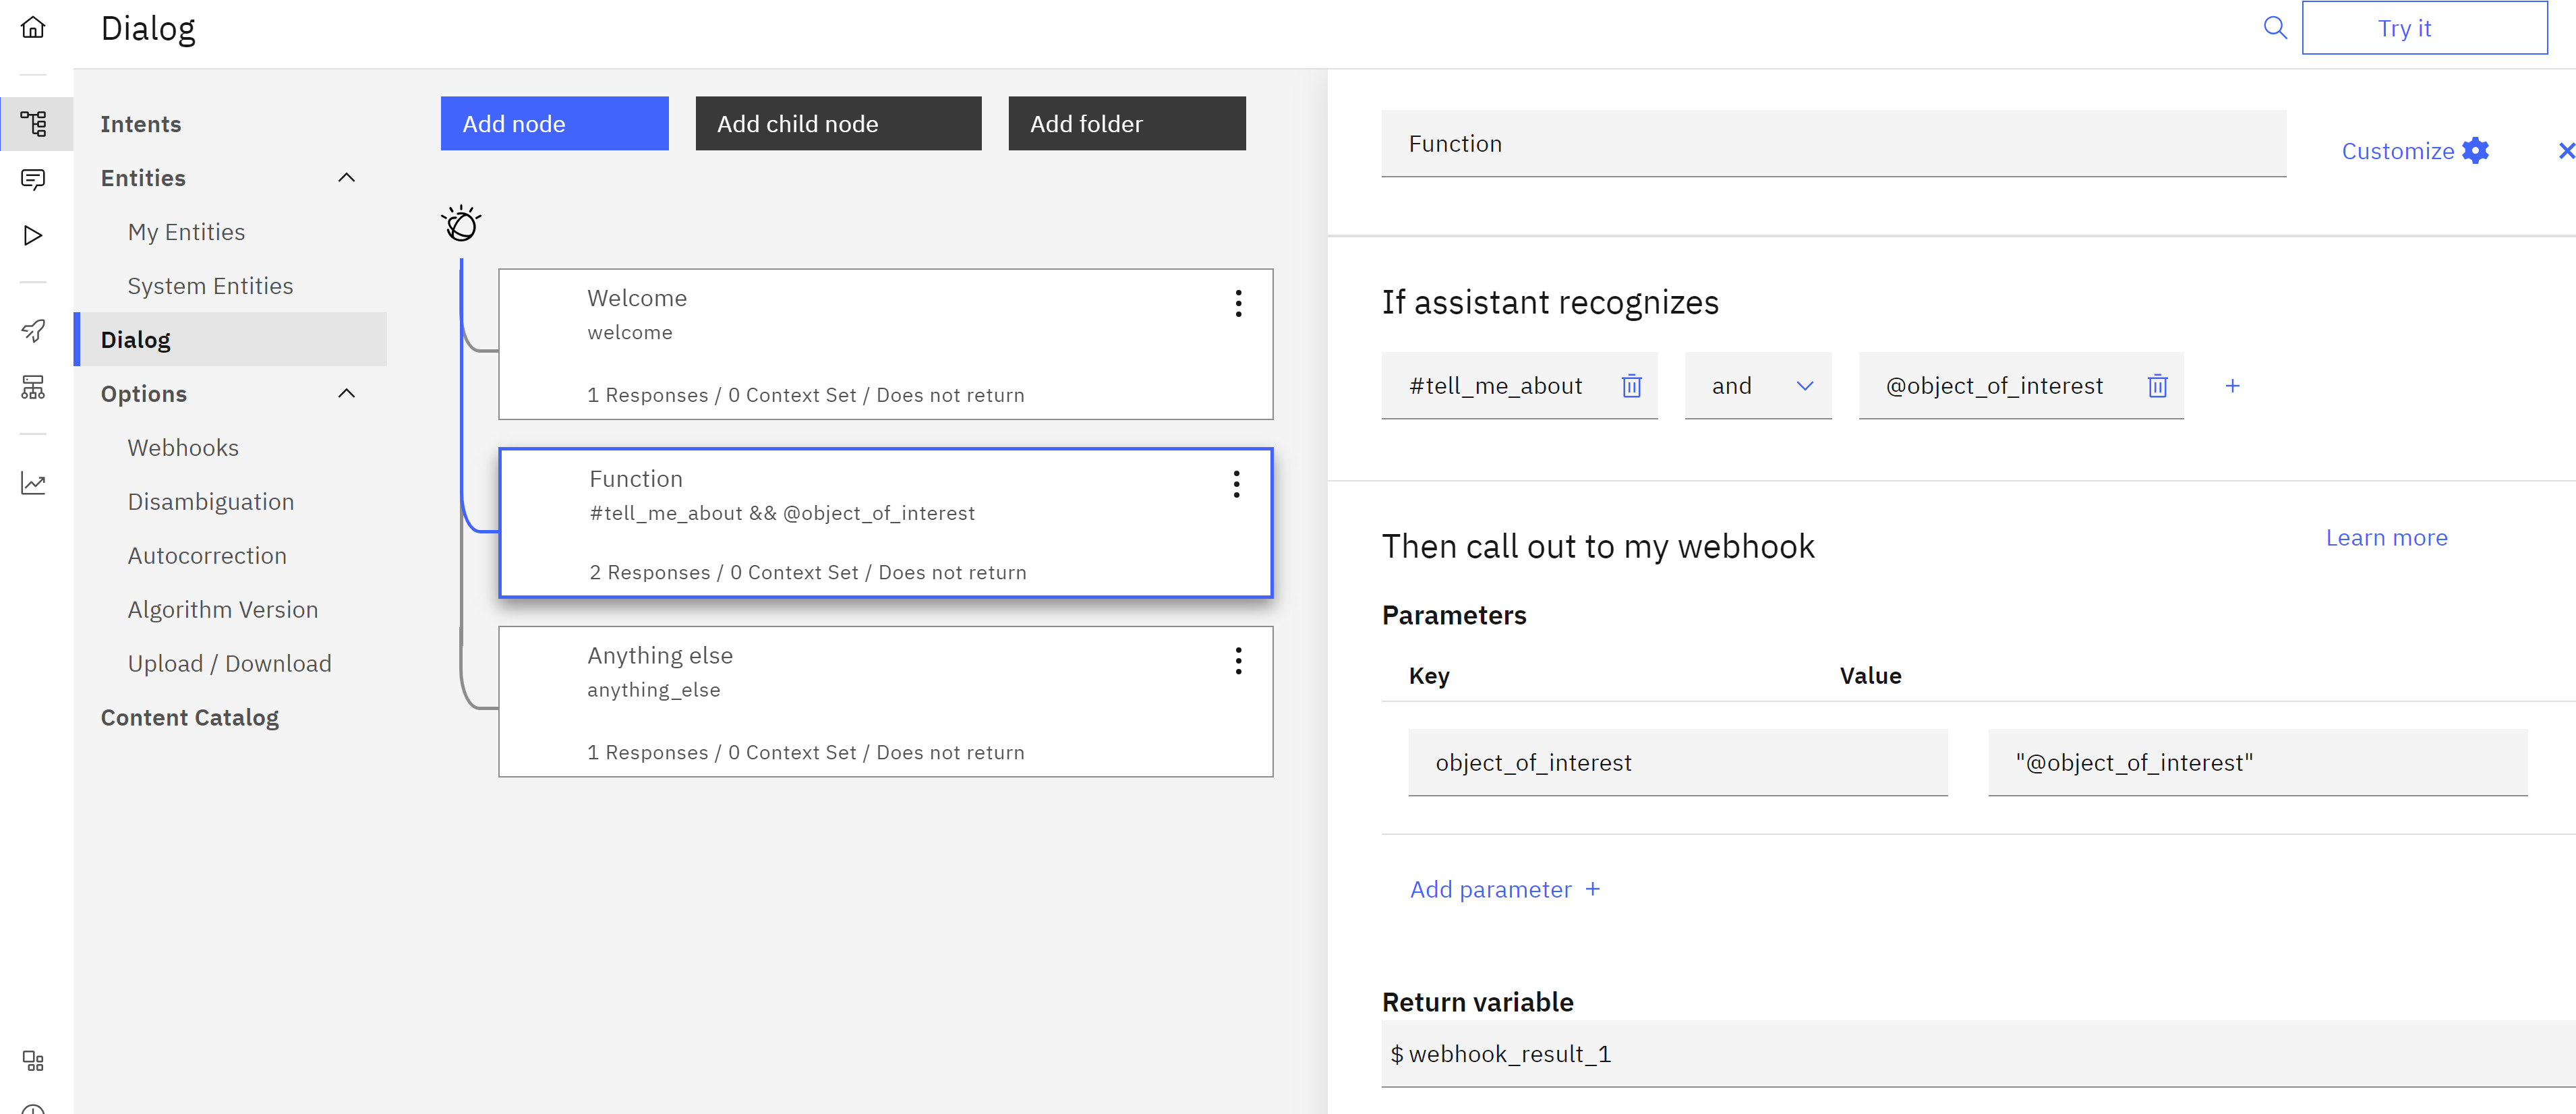
Step 7- Create Dialog
We go the menu Dialog and we Create dialog
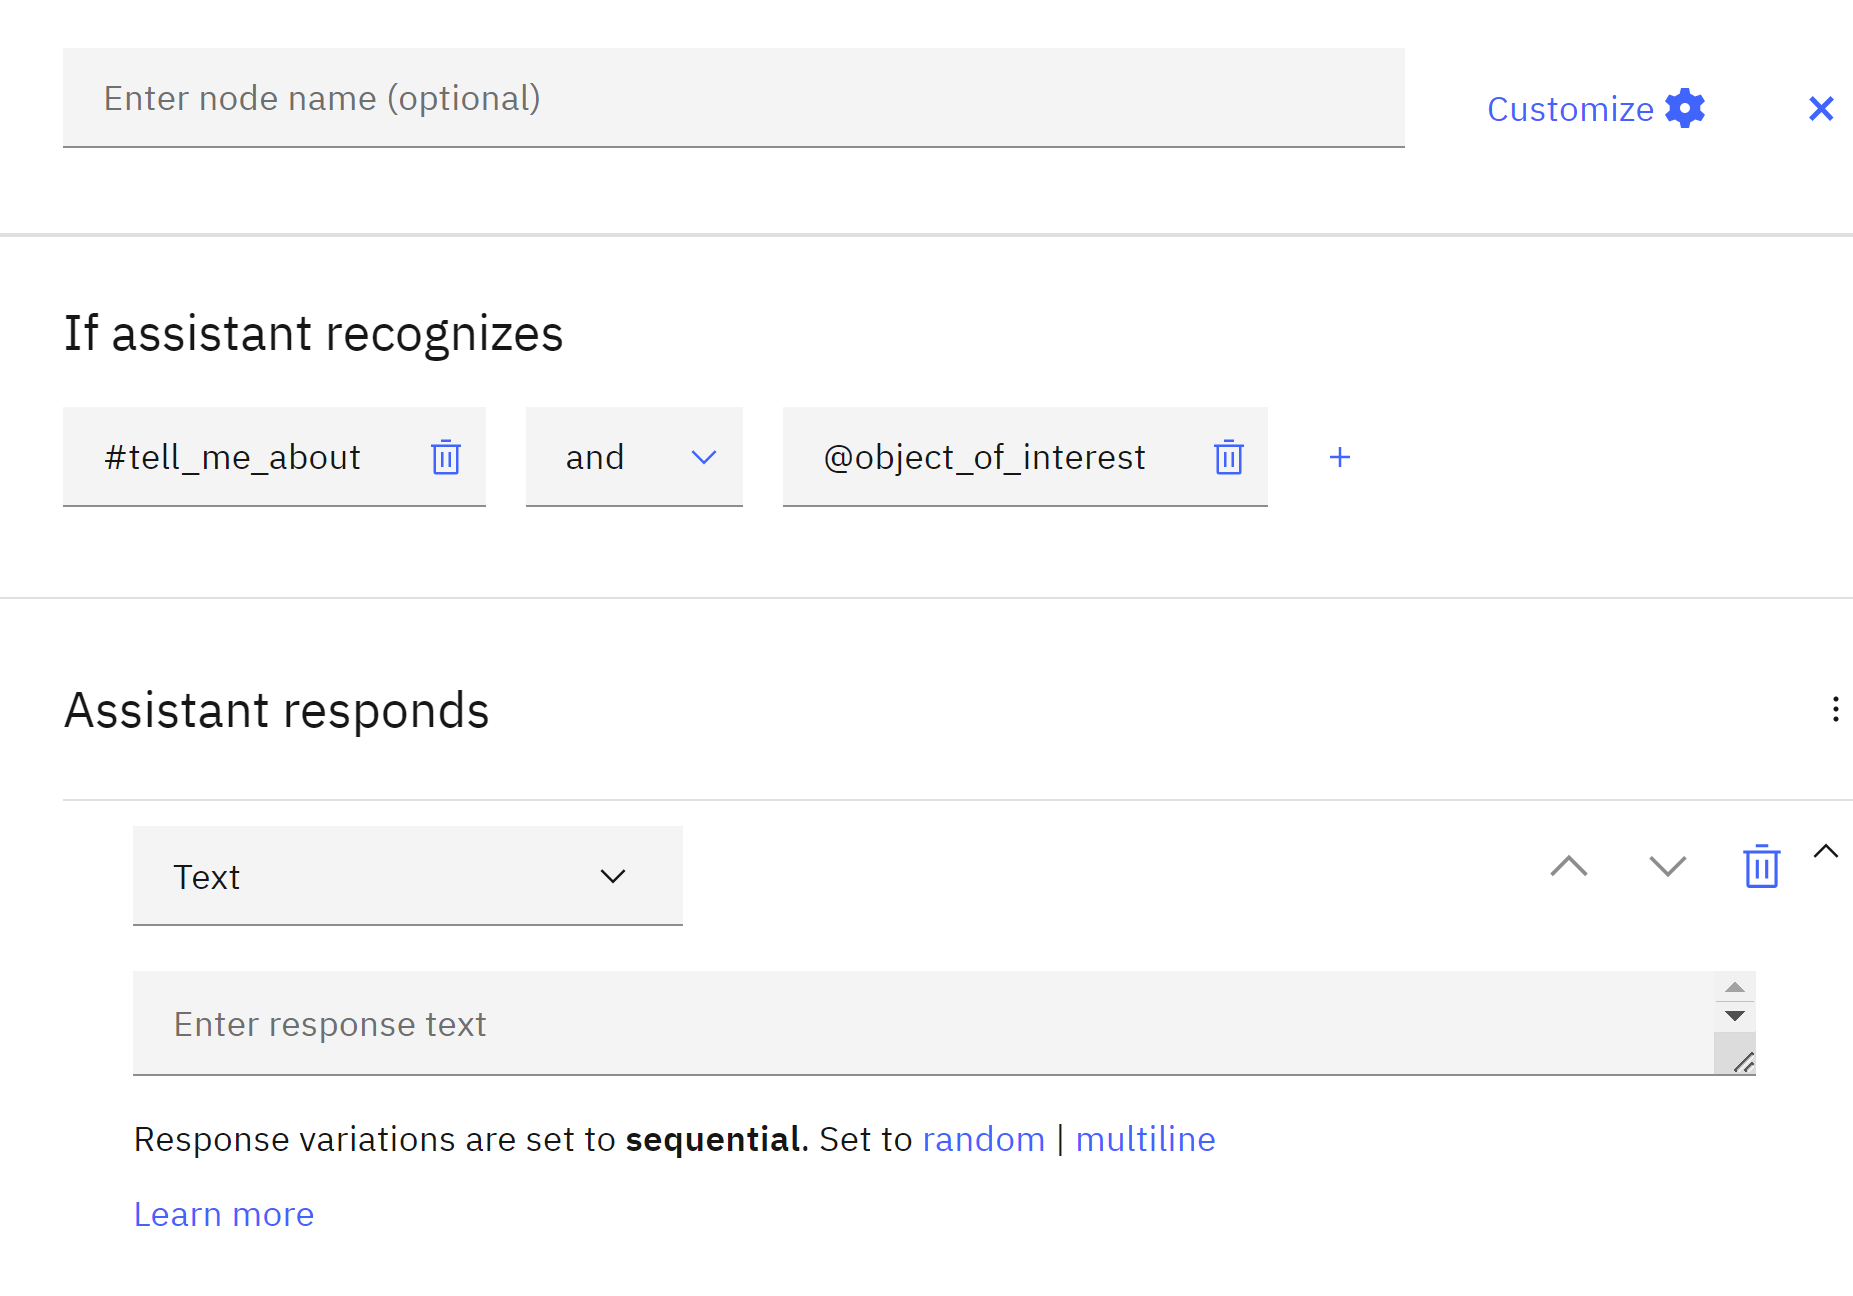
We click on Add node and in the
section If assistant recognizes, we add the condition
#tell_me_about and @object_of_interest
Then in the part of Parameters we add the following parameters
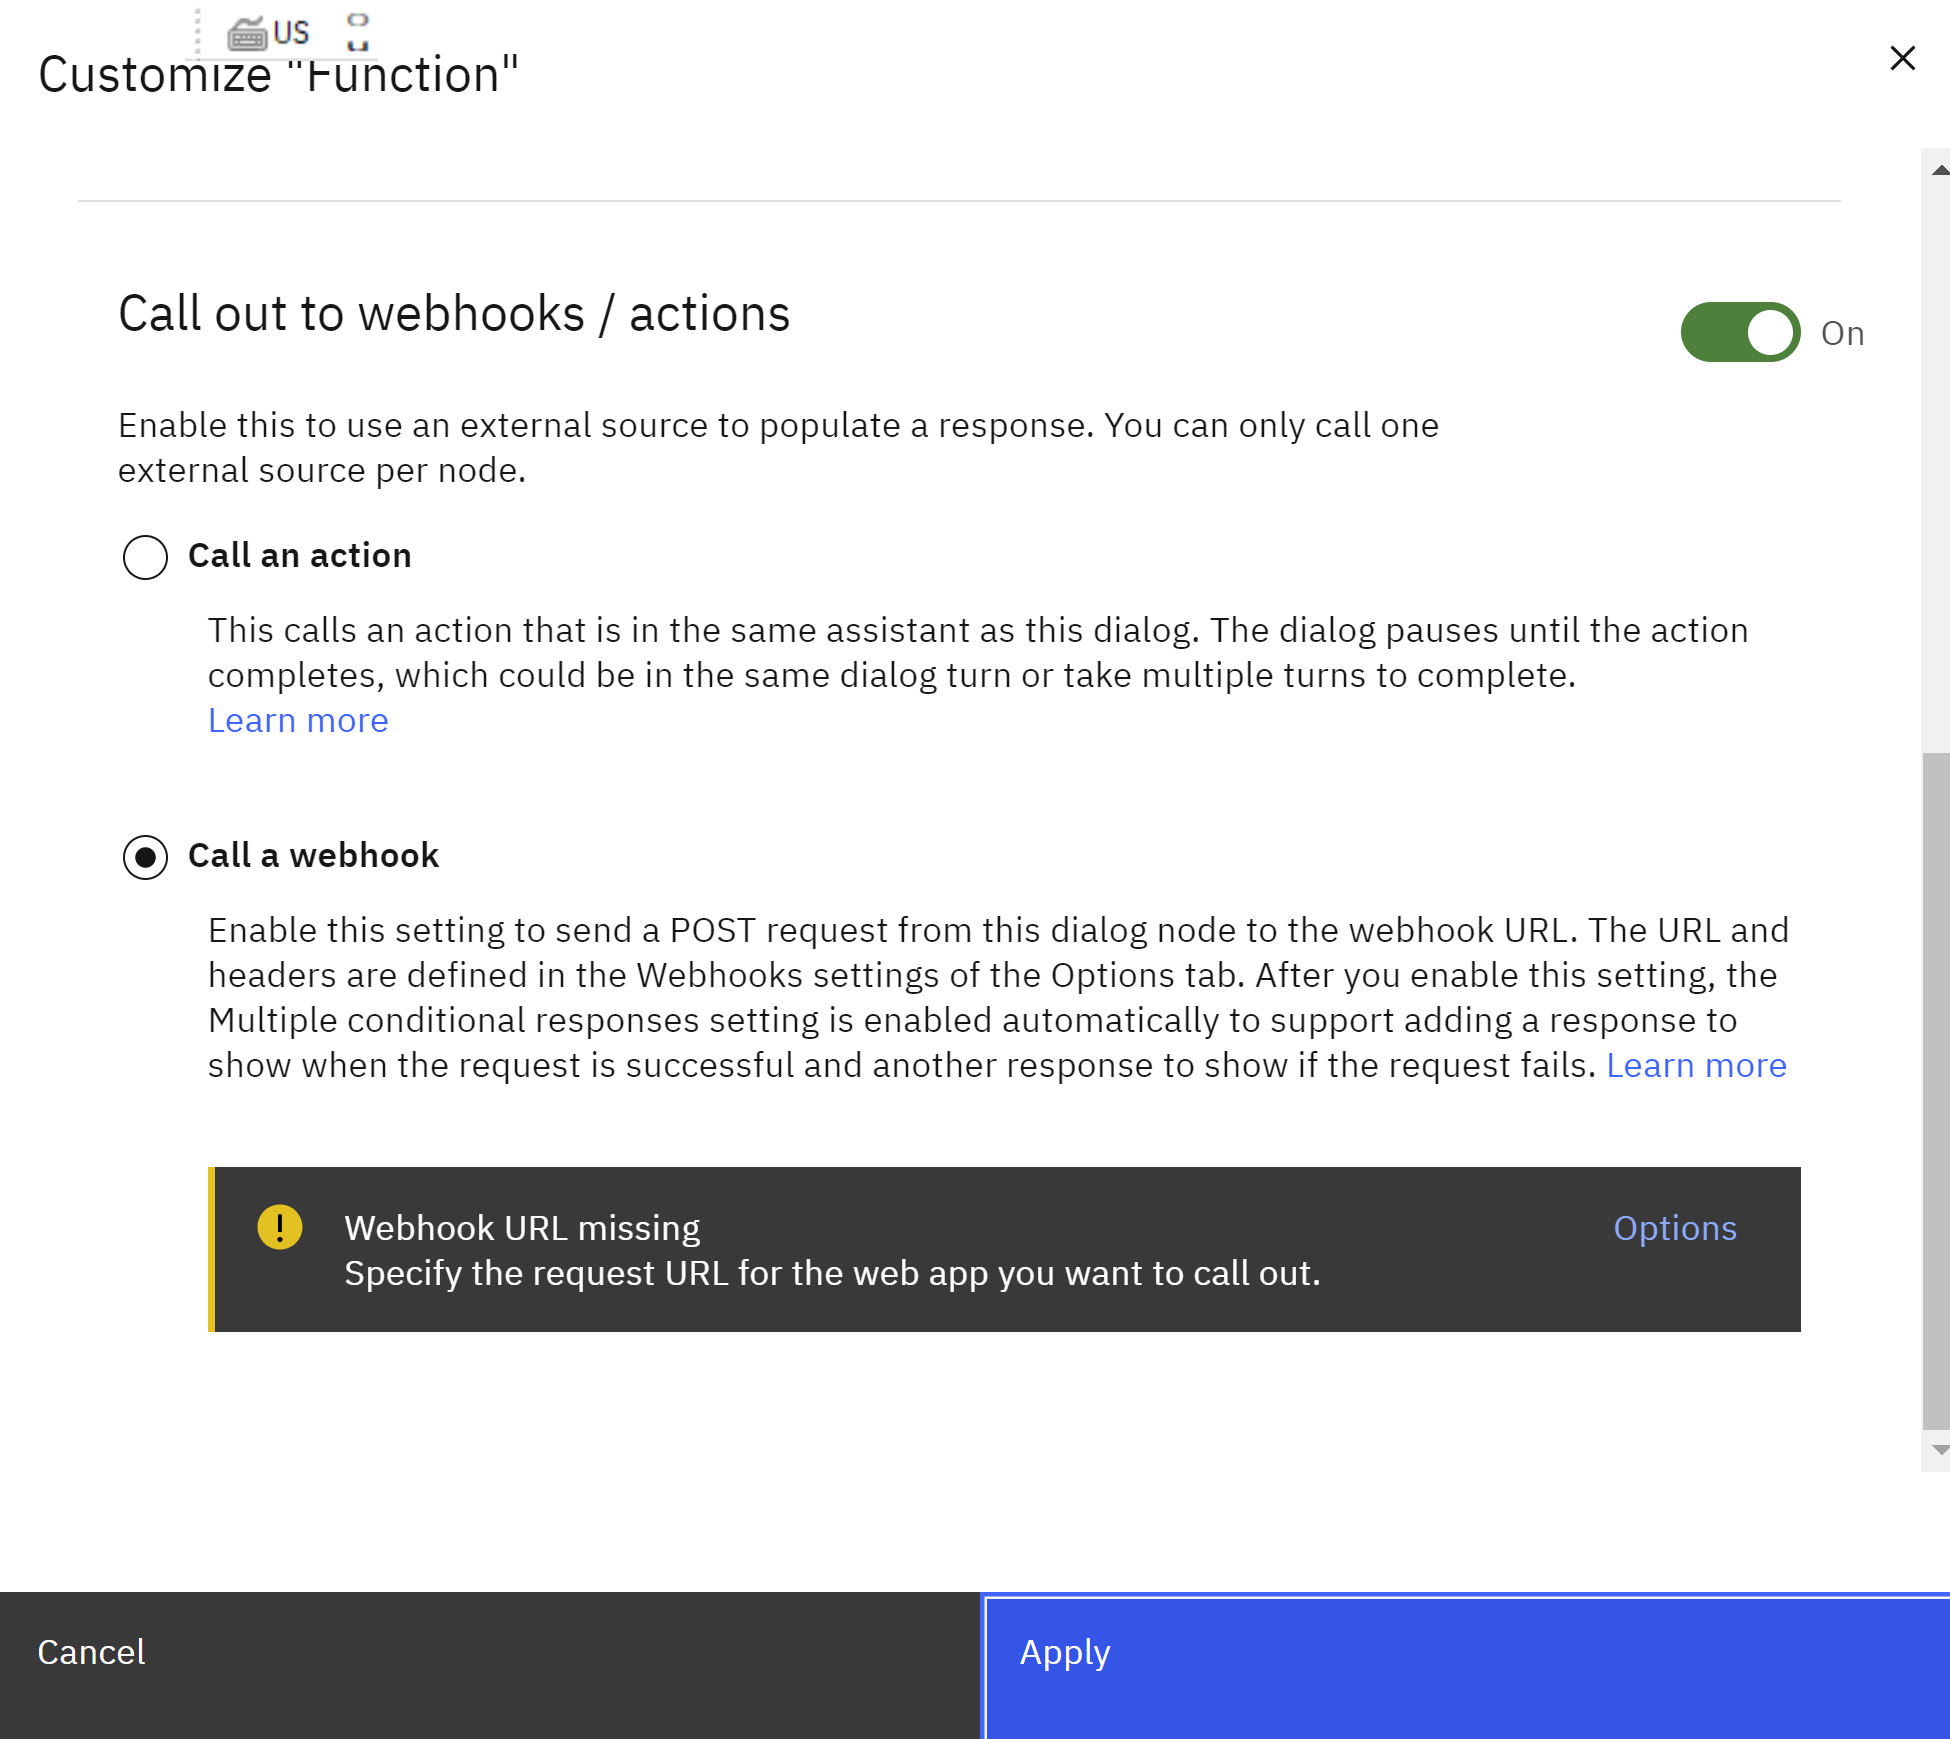
then we click on Customize
 and we enable
 Call out to webhook/actions and select Call a webhook click apply
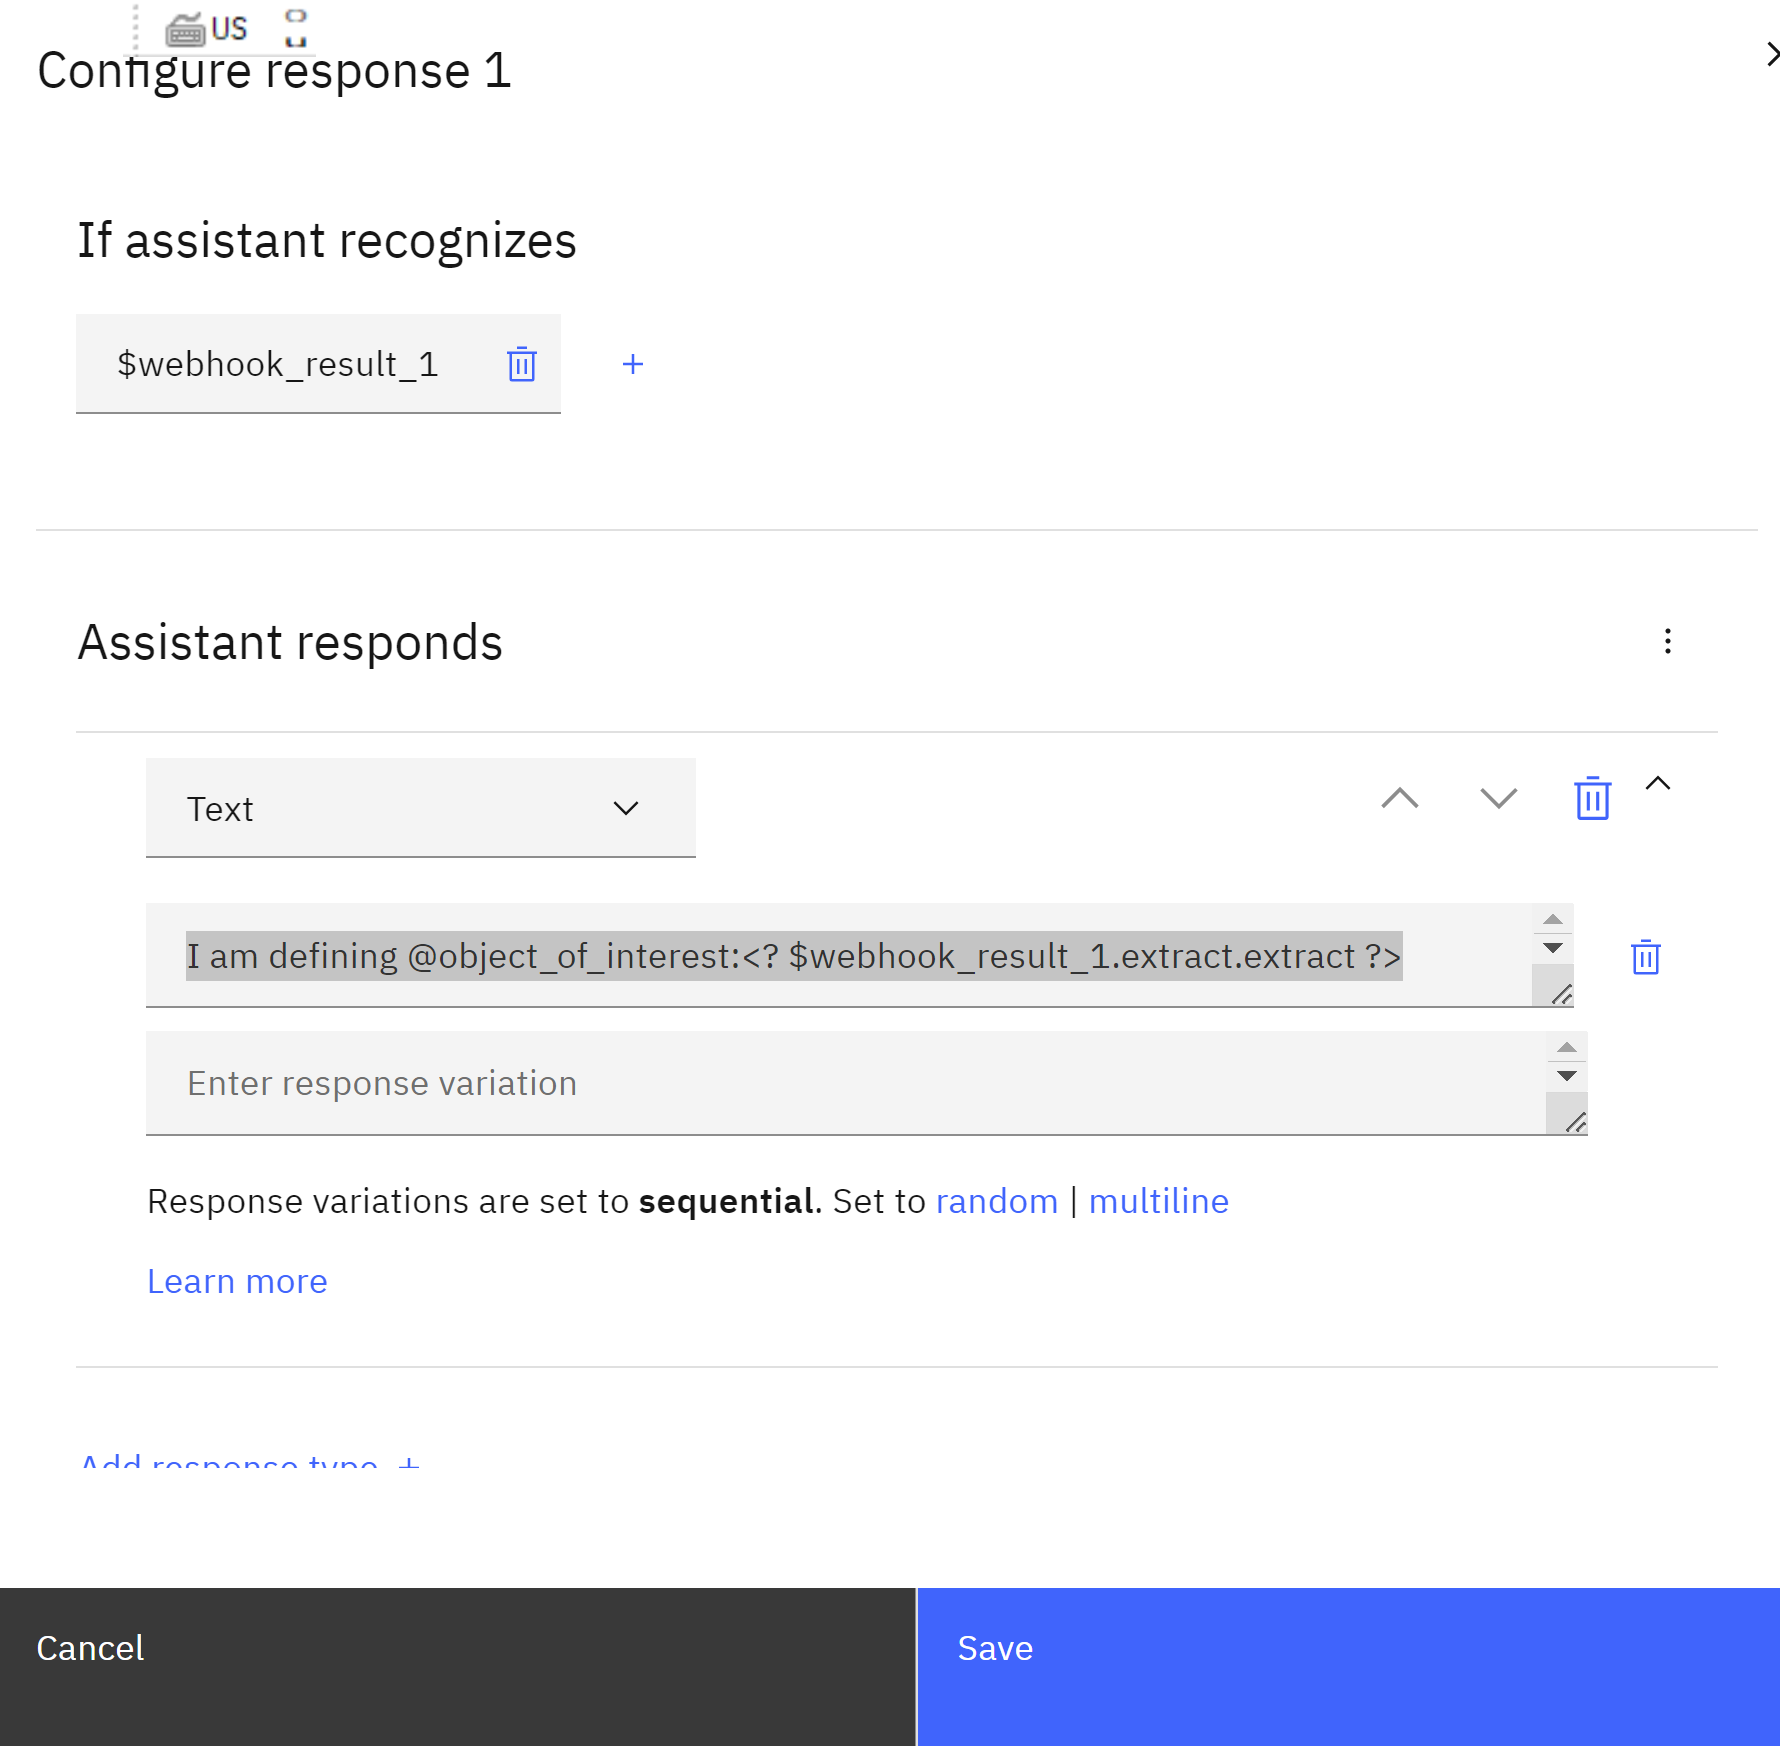
 in the part of Assistat responds you will have
If assistant recognizes:
$webhook_result_1
the you click the gear button of Respond with and you add the following in the Text responds
I am defining @object_of_interest:<? $webhook_result_1.extract.extract ?>
and click save
 then you will get something like
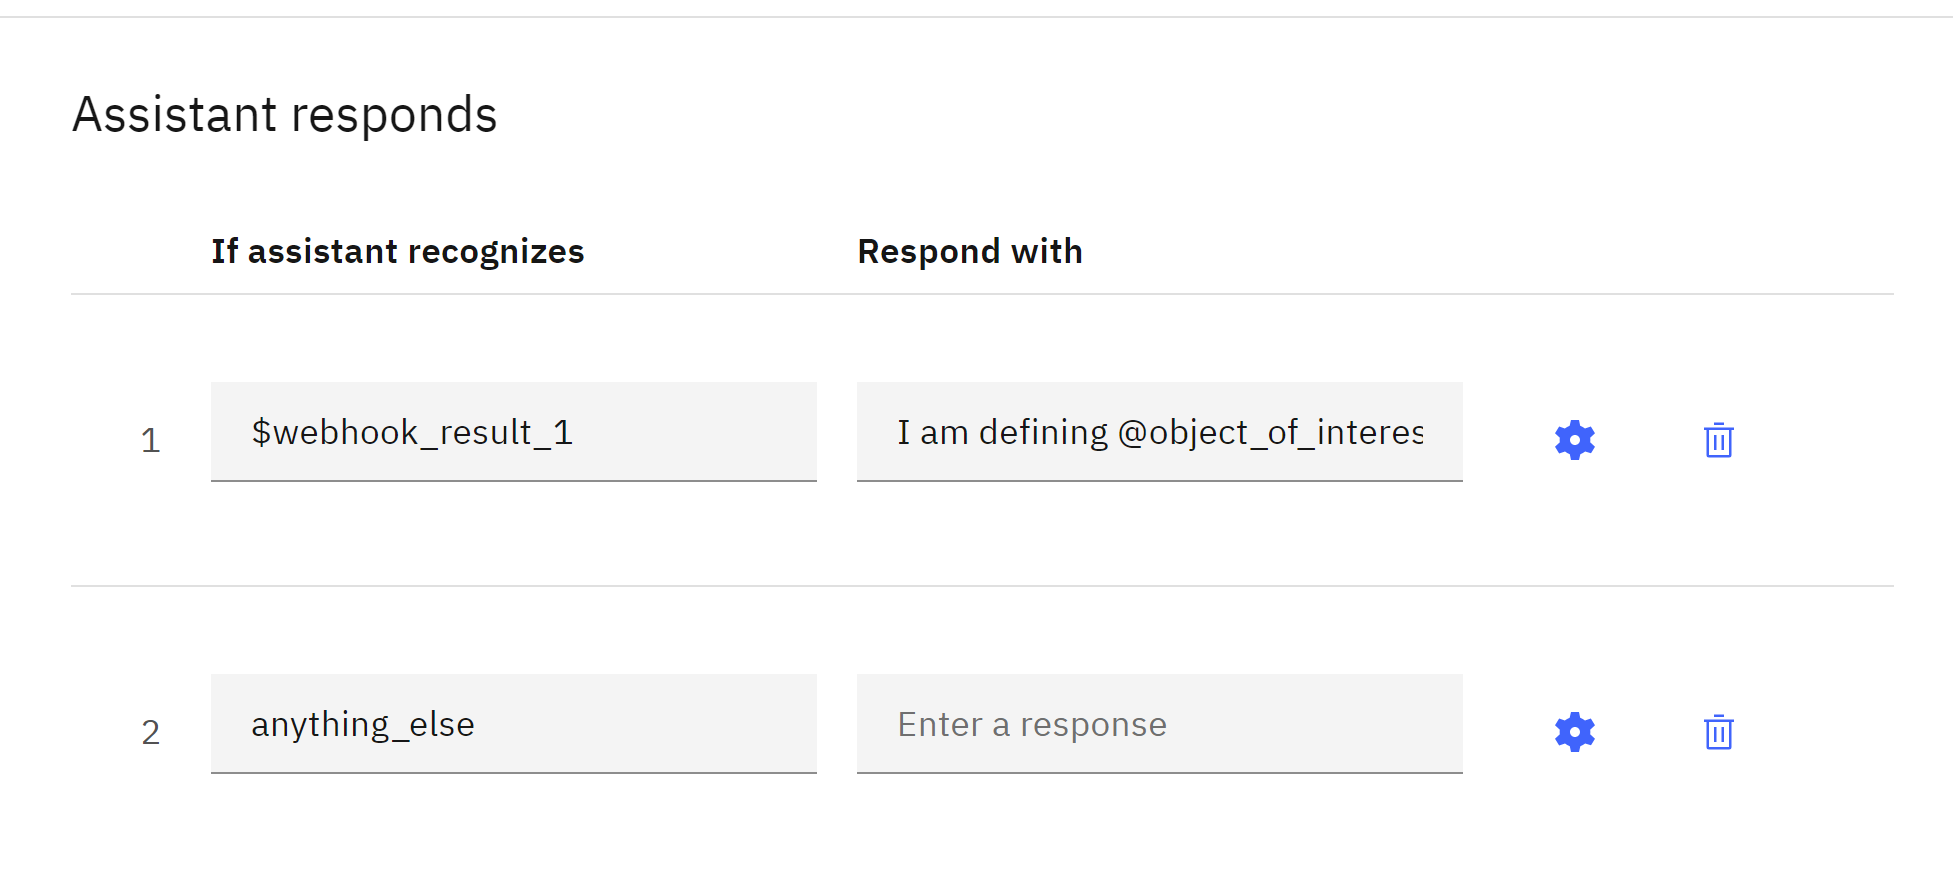
with
 Now finally we can try it and you can ask questions
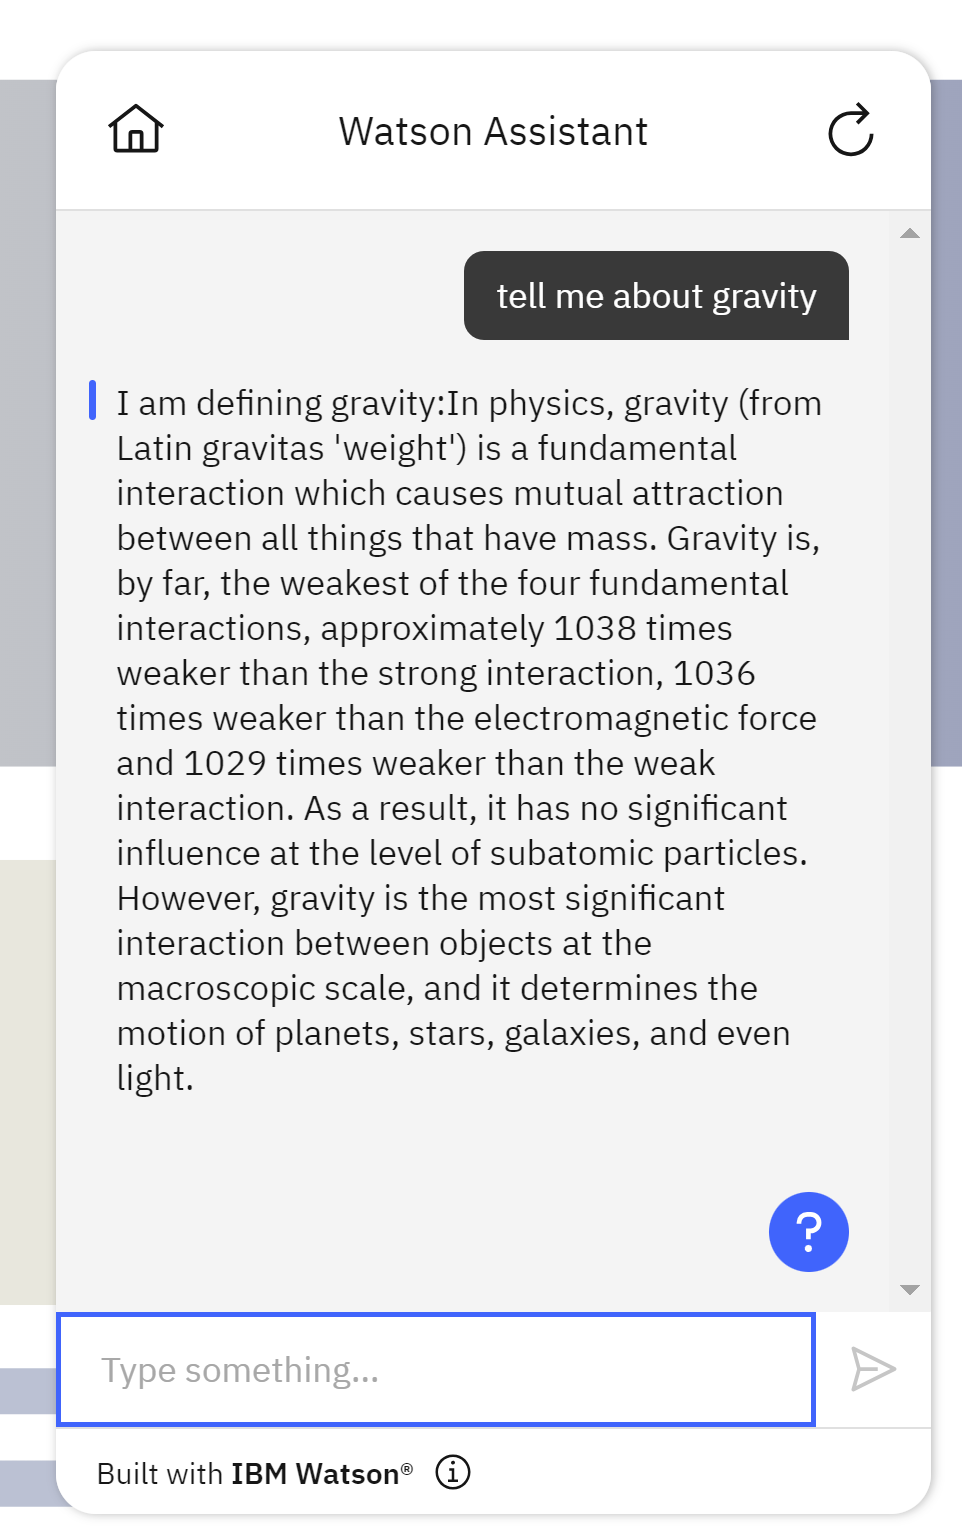
Congratulations! You have created a Chatbot with Serverless Cloud Function.
Leave a comment