
How to perform Real-Time Data Analysis with Kinesis in EC2
We are going to analyze the user ratings of a TV streaming movies. We are interested to know what are most popular captains characters and identify any data anomalies. Kinesis Data Analytics is a perfect pair for this task.
Introduction
Amazon Kinesis can be used as service for real-time application monitoring, fraud detection, and live leader-boards.
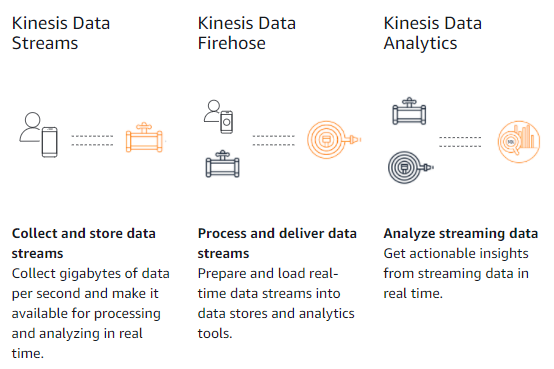
We can ingest streaming data using Kinesis Data Streams, process it using Kinesis Data Analytics, and emit the results to any data store or application using Kinesis Data Streams with millisecond end-to-end latency.
With Amazon Kinesis services, we can perform real-time analytics on data that has been traditionally analyzed using batch processing. Common streaming use cases include sharing data between different applications, streaming extract-transform-load, and real-time analytics. For example, you can use Kinesis Data Firehose to continuously load streaming data into your S3 data lake or analytics services
We can collect and store the Data with Kinesis Data Streams then Process with Kinesis Data Firehose and the analize with Kinesis Data Analytics
In this blog post we are going to perfom the following tasks:
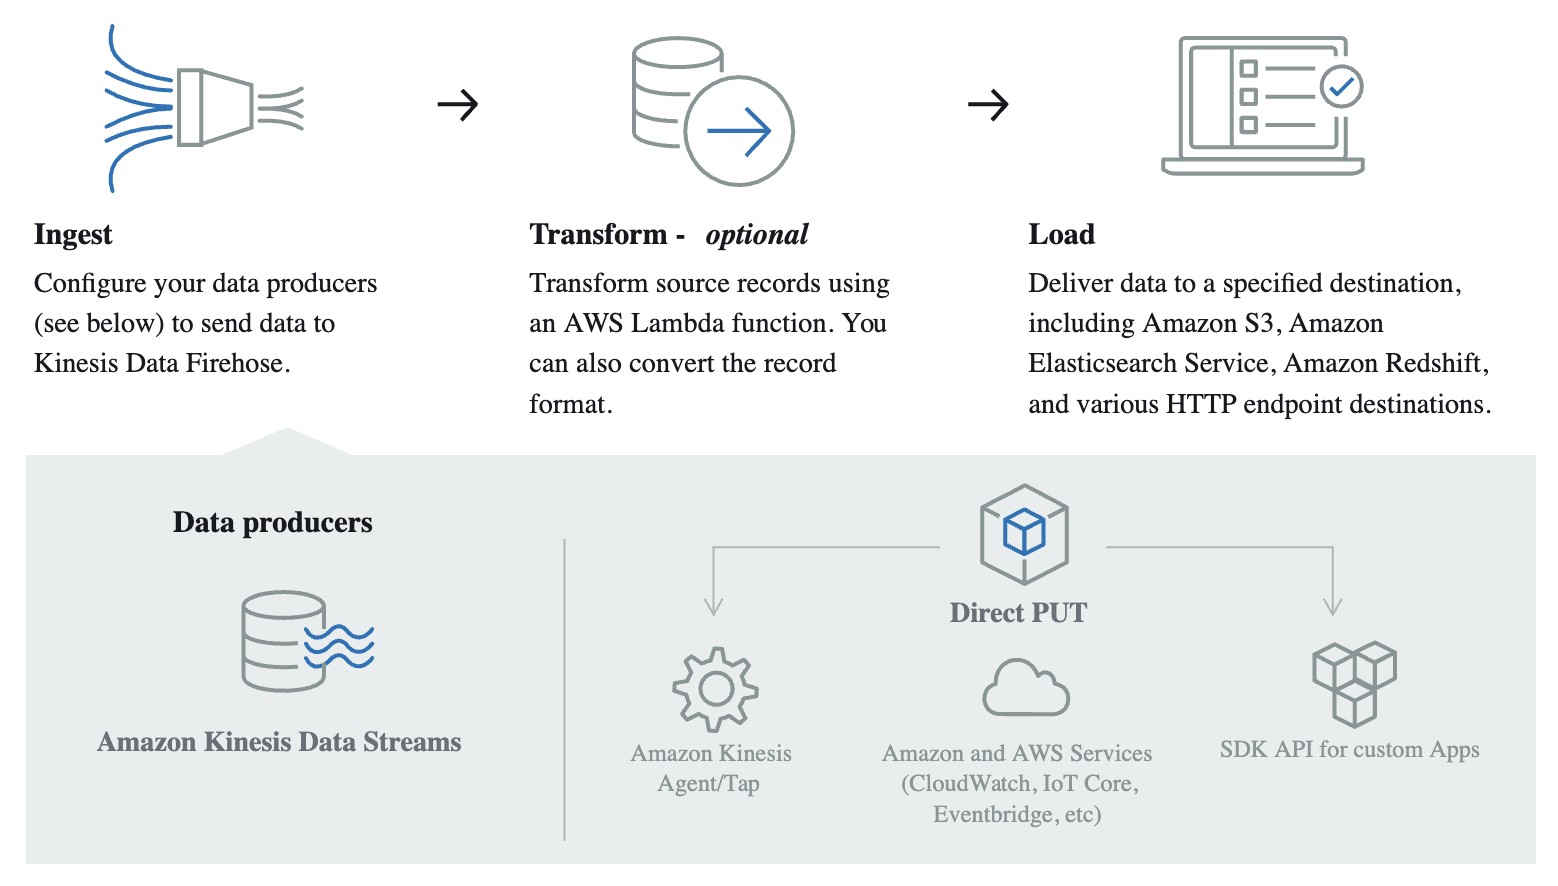
- Create a Kinesis Data Firehose Stream
- Send Data to the Stream
- Find Averages of the Data Per Minute
- Find Anomalies in the Data
Create a Kinesis Data Firehose Stream
- Log in to the AWS console https://aws.amazon.com/it/console/.
- Please make sure you are in the
us-east-1(N. Virginia) region when in the AWS console. - We are going to send data to S3, so we need a way to receive the user data.
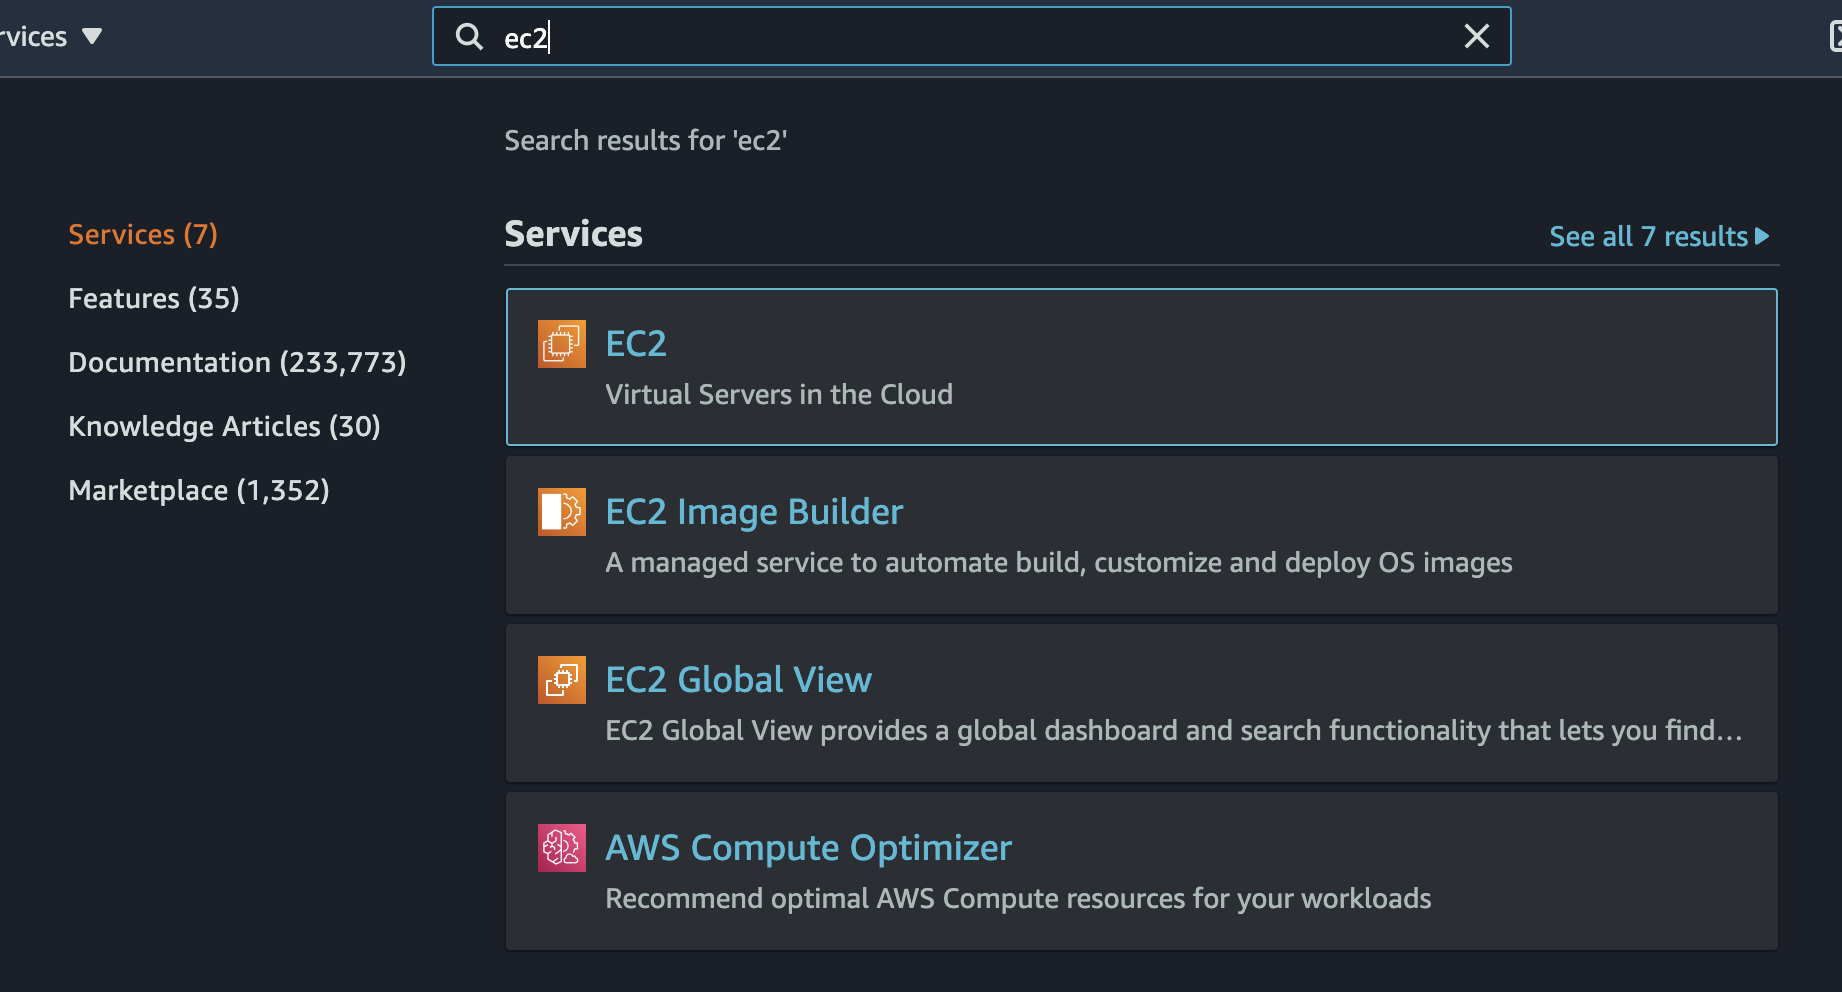
- In the search bar on top, enter “firehose”.
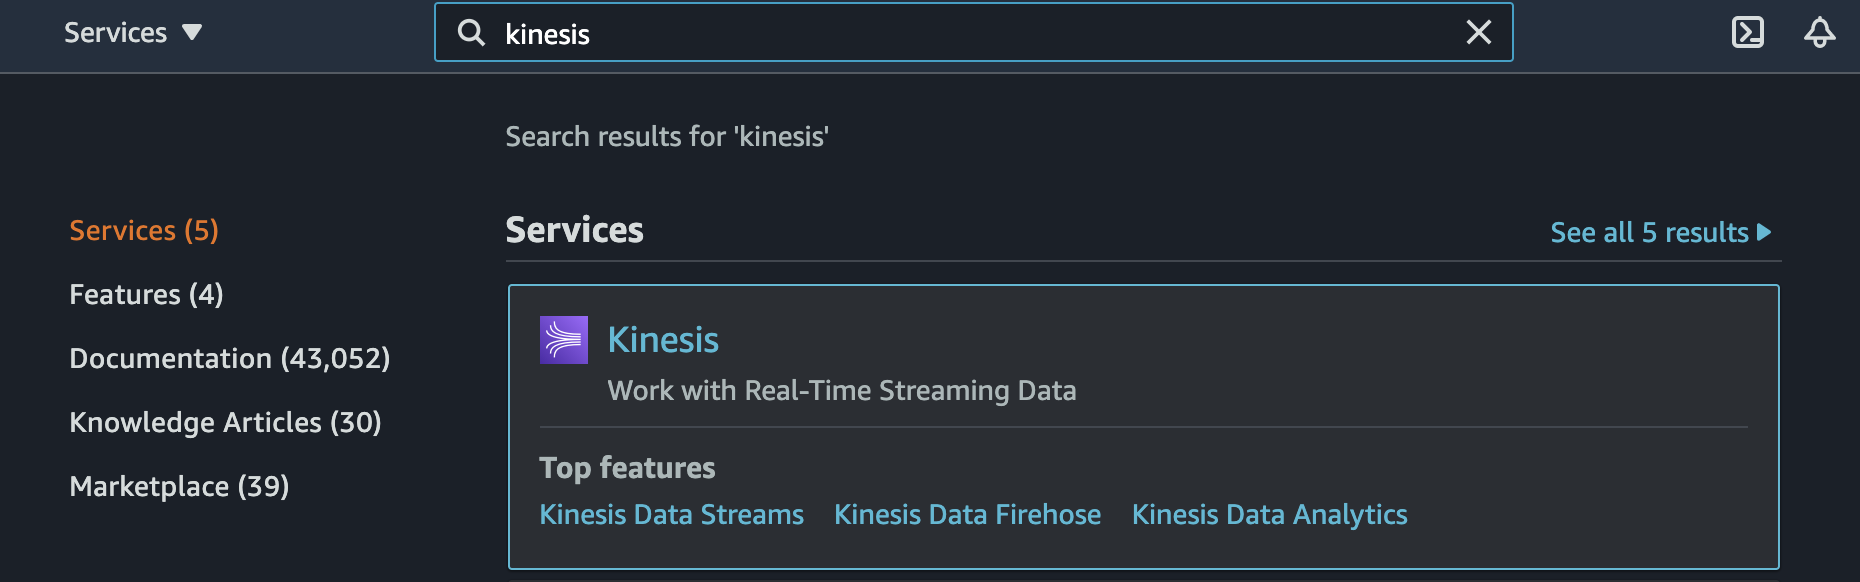
Select Kinesis Data Firehose from the search results.
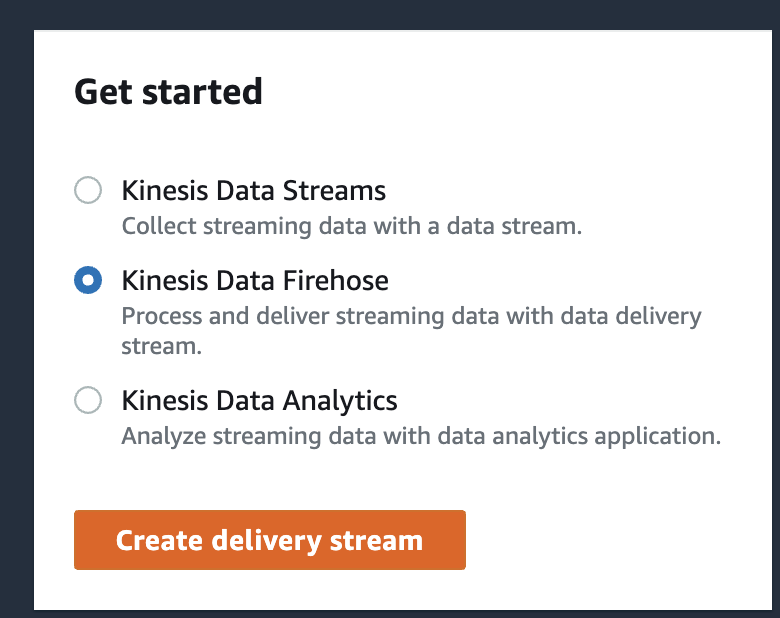
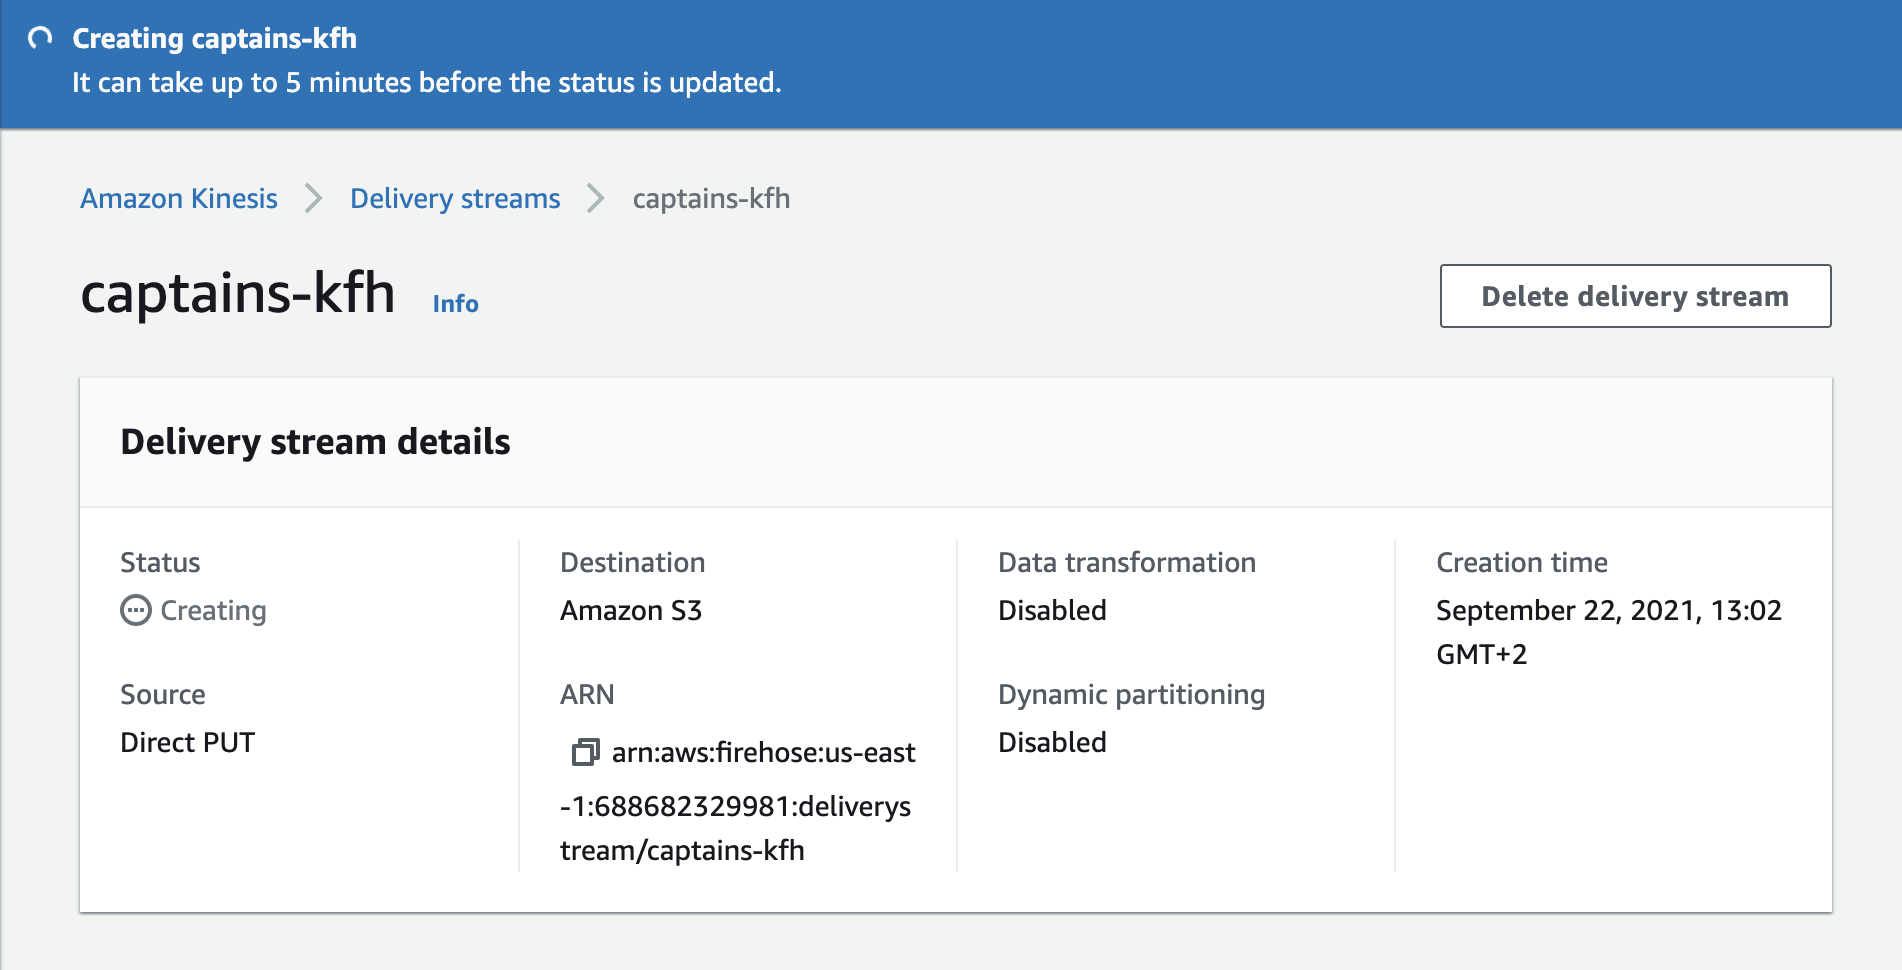
- Click Create Delivery Stream.
- Under Delivery stream name, enter “captains-kfh”.
- Select Direct PUT or other sources.
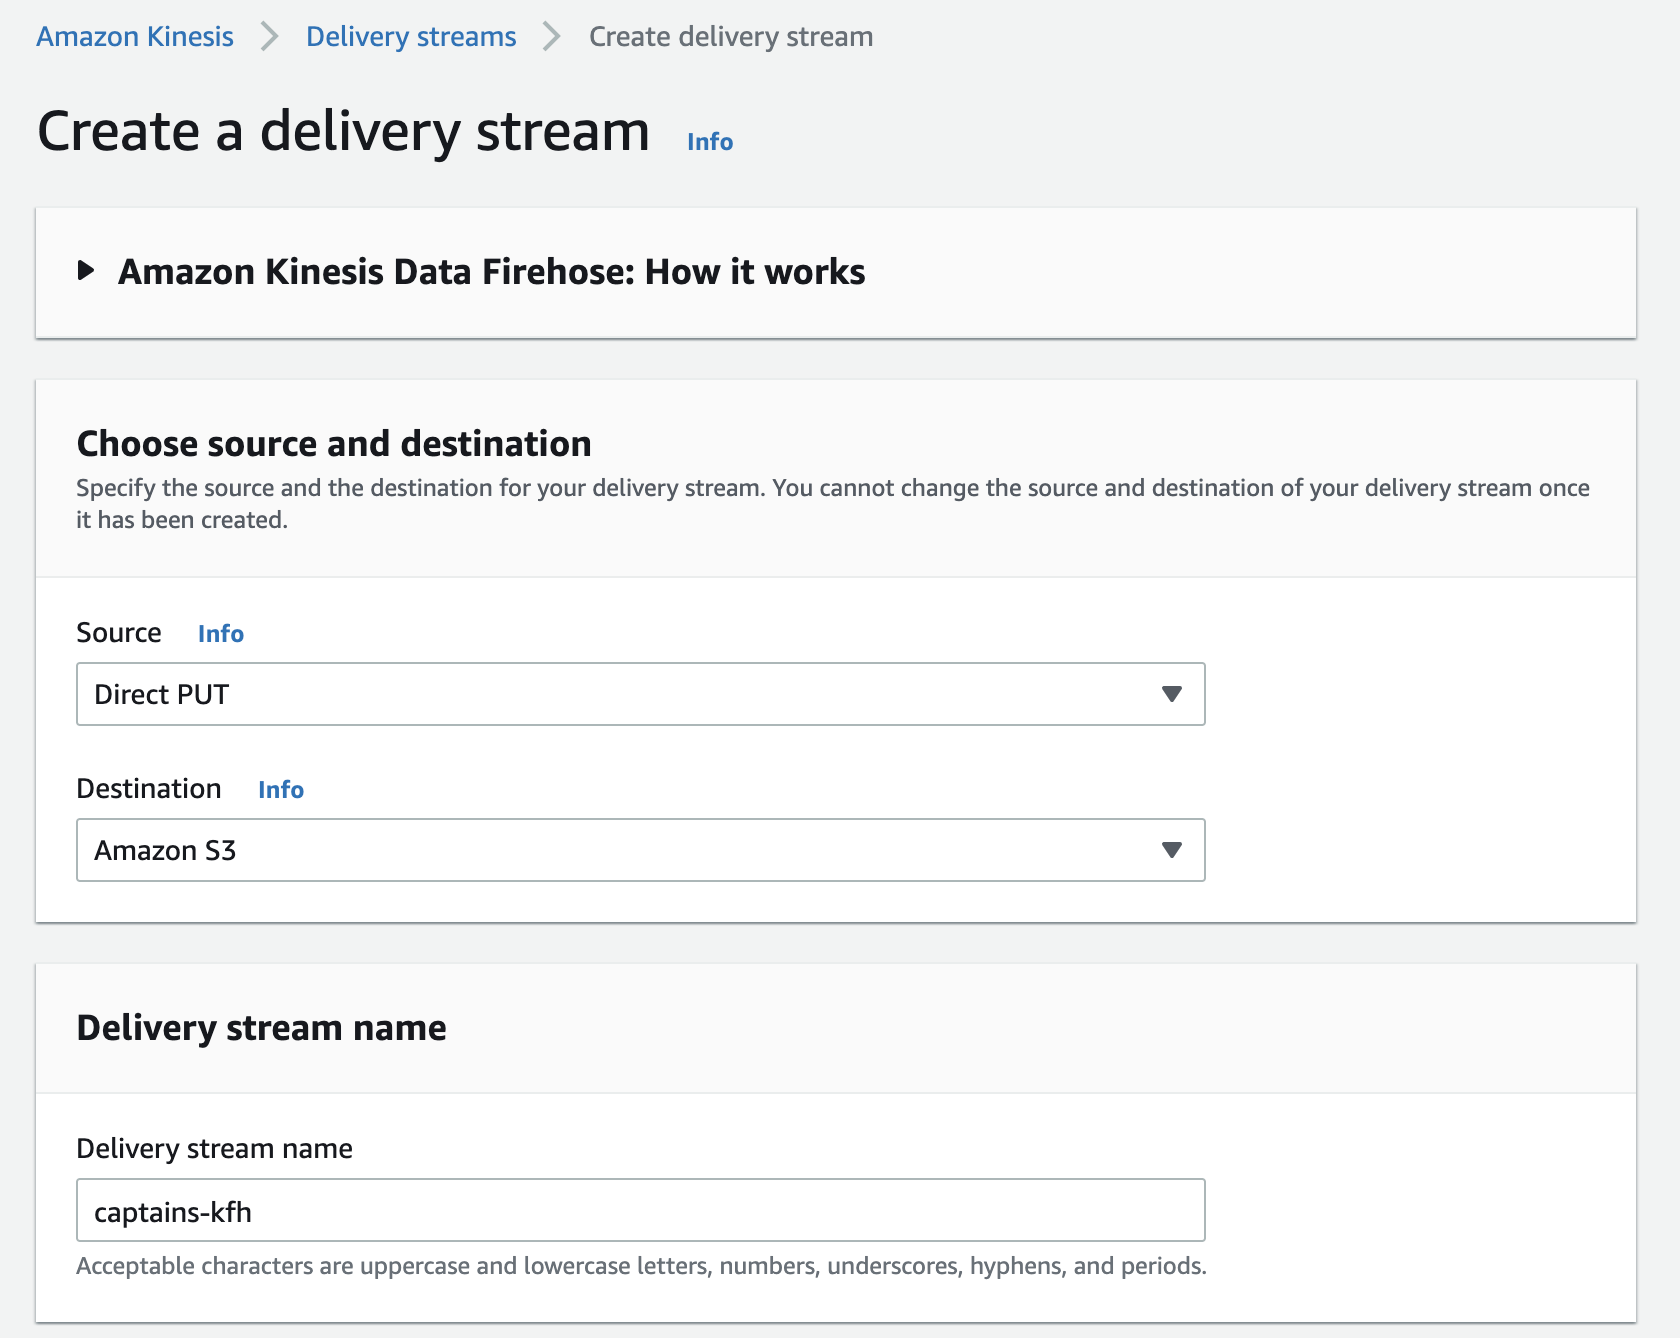
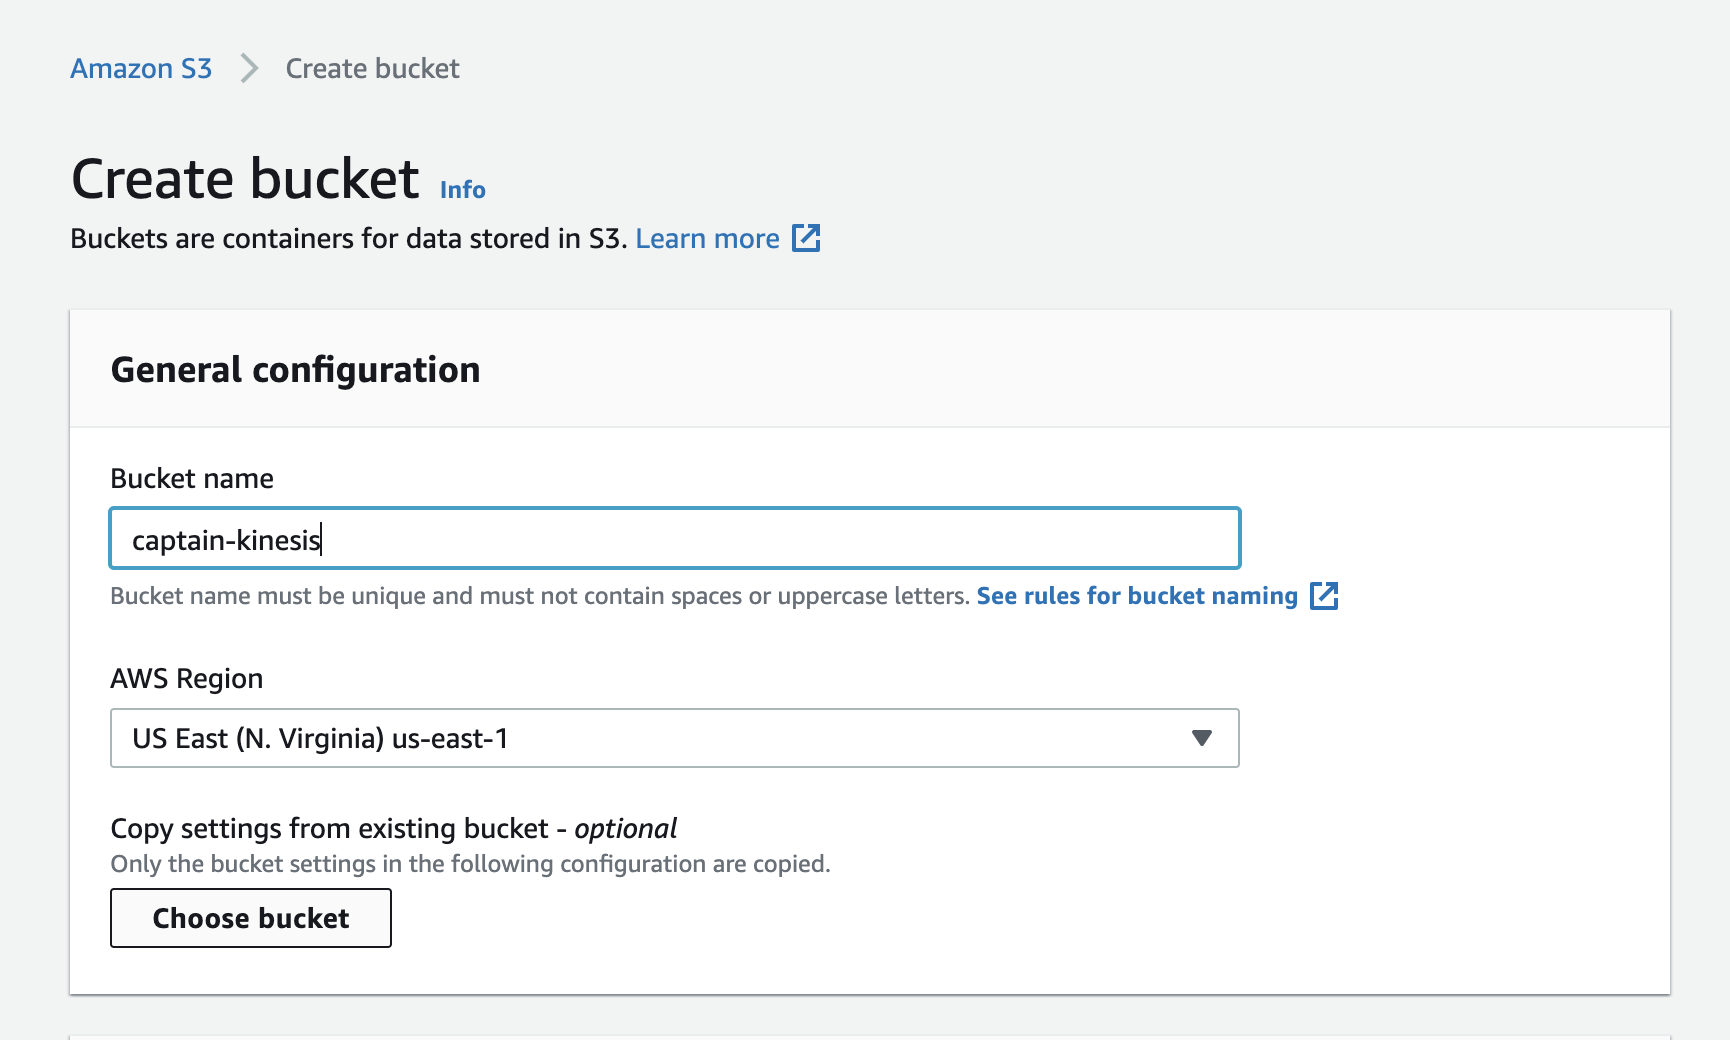
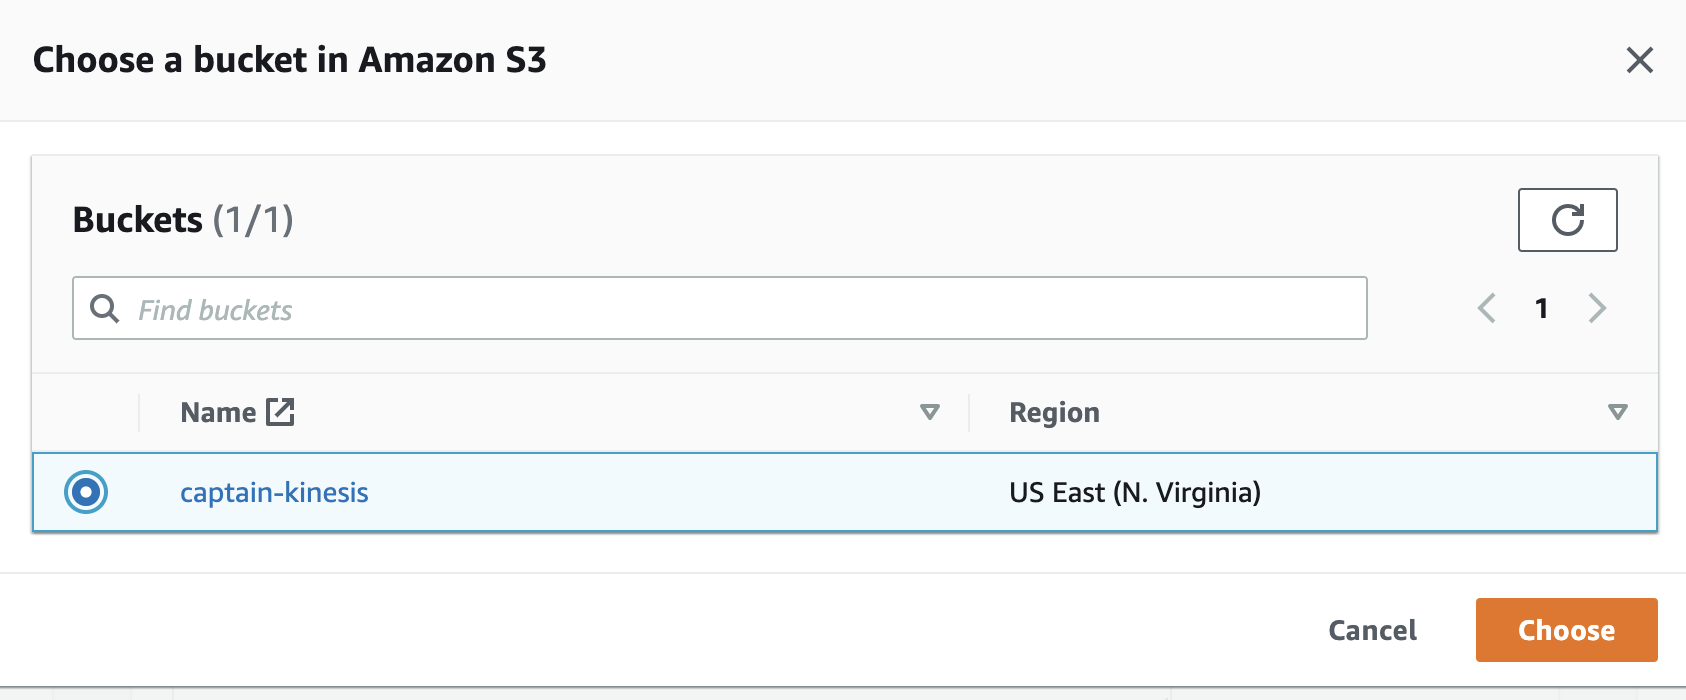
- Under S3 Bucket, click Create New.
In S3 bucket name, enter “captains-data” plus some random characters for uniqueness.
- Click Create S3 bucket.
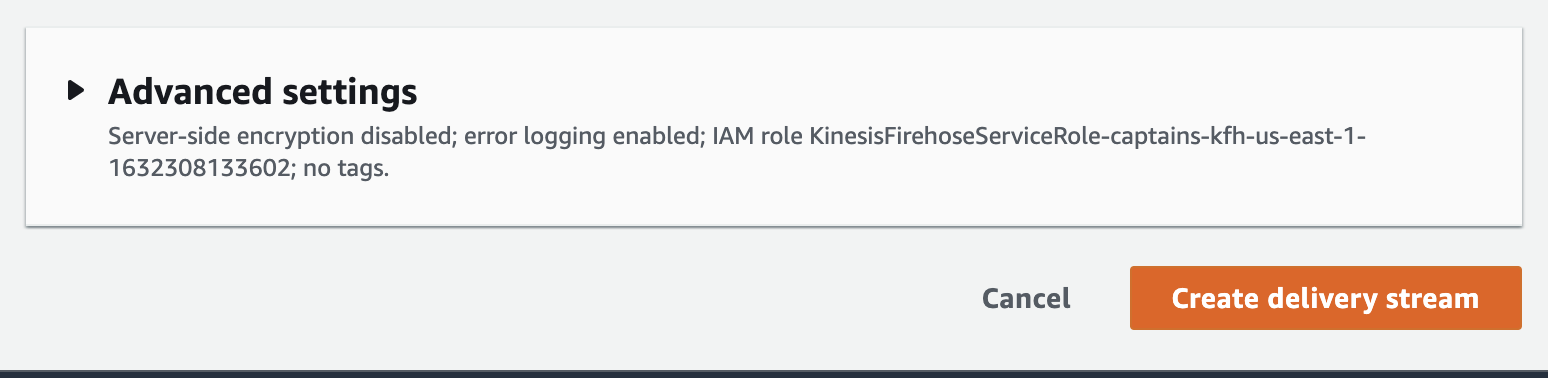
- Under Buffer size, enter “1”.
- Under Buffer interval, enter “60”.
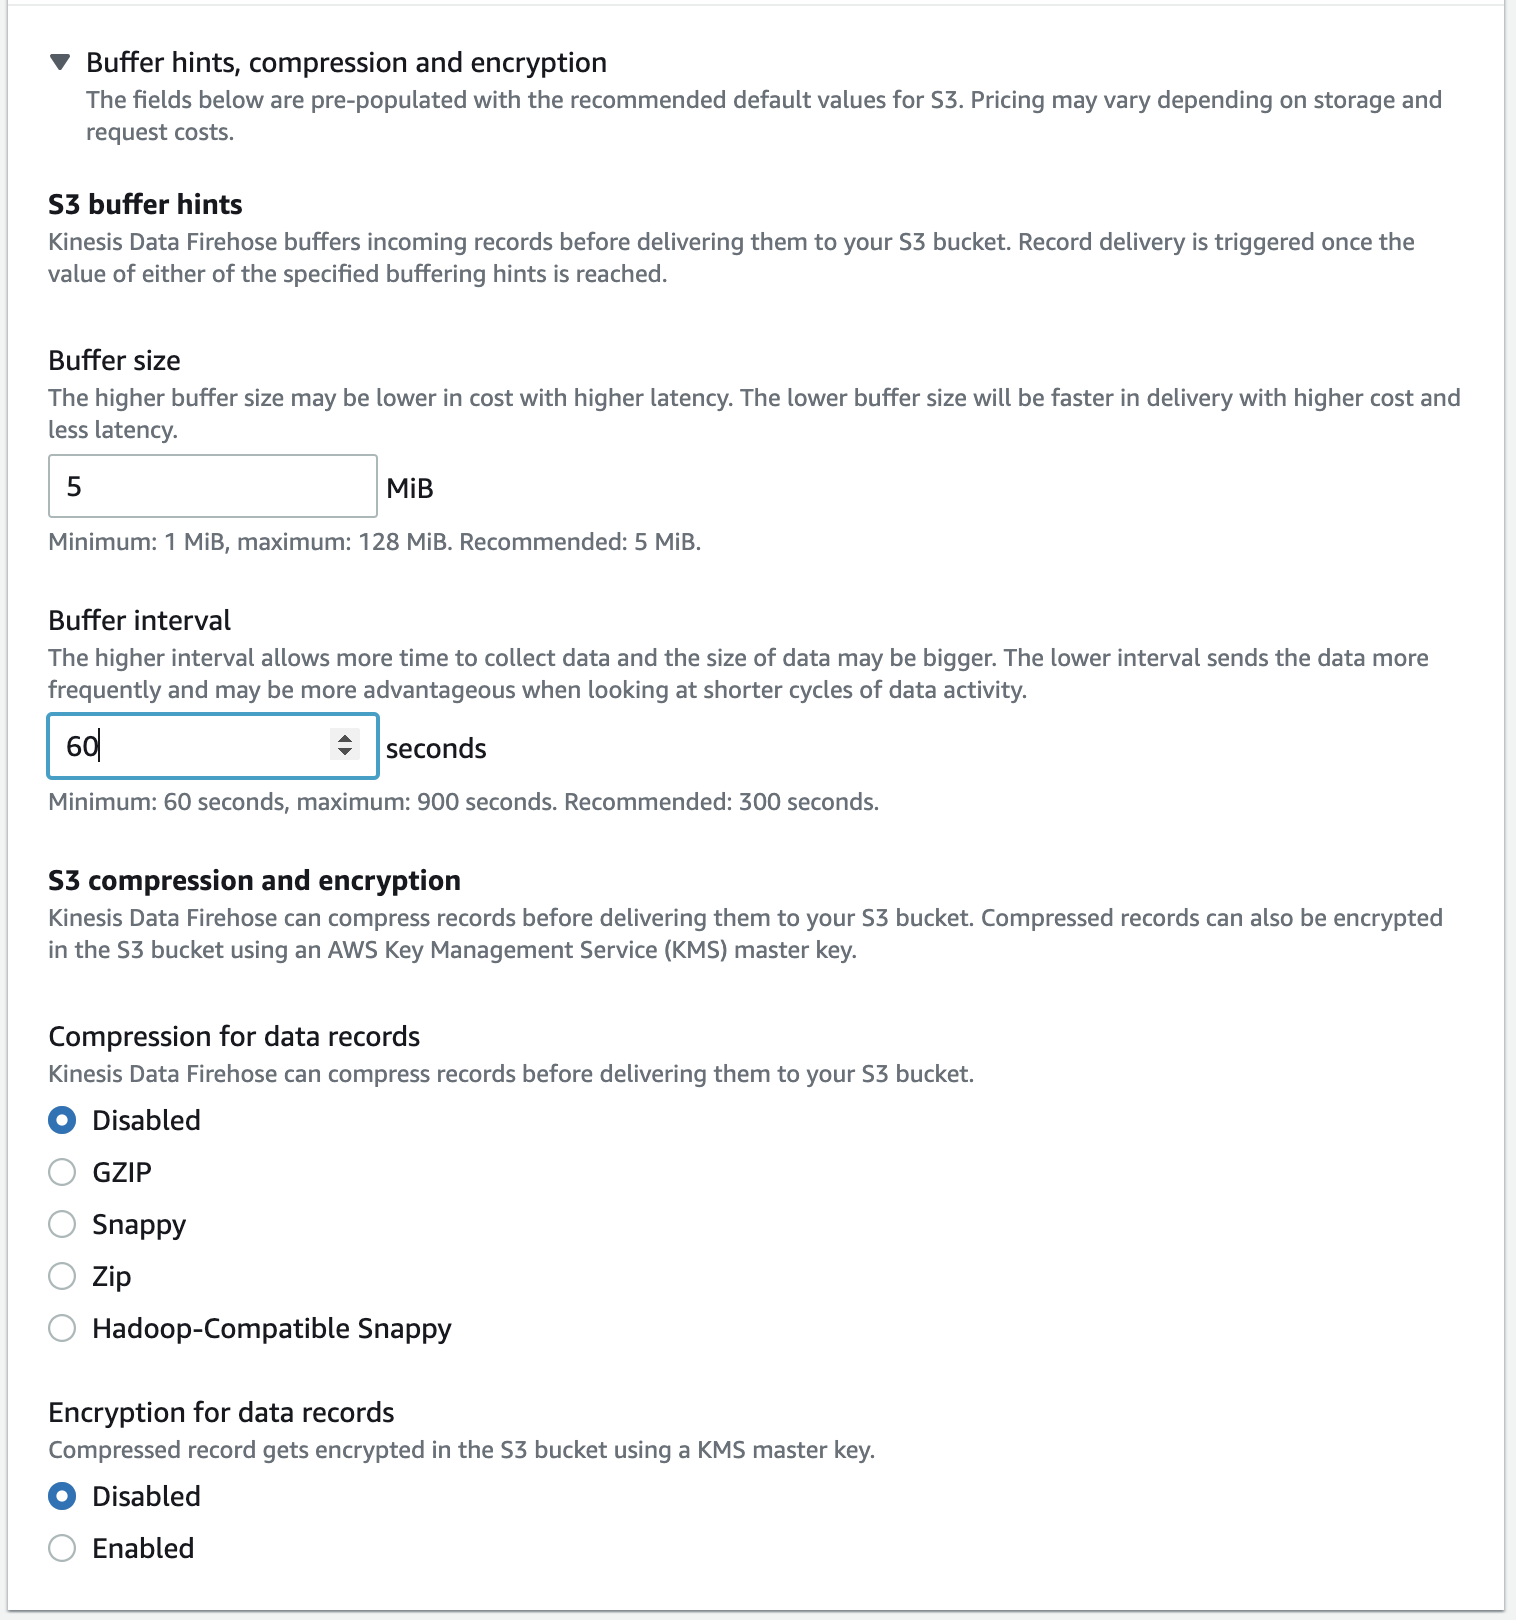
Click Create delivery stream.
Ingestion of Fake Data to simulate the Streaming
In this part we will setup and EC2 instance to send Data to the Stream
Open the Amazon EC2 console at https://console.aws.amazon.com/ec2/.
Choose Launch Instance.

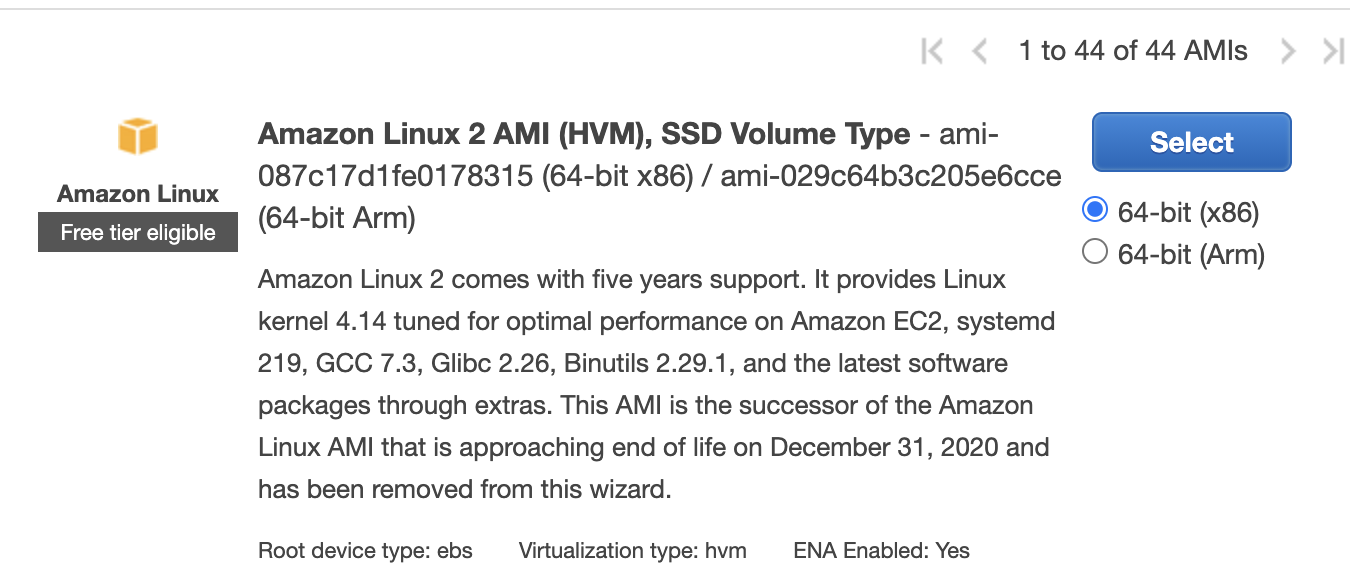
Choose an Amazon Machine Image (AMI), find an Amazon Linux 2 AMI at the top of the list and choose **Select.
Choose an Instance Type, choose **Next: Configure Instance Details.
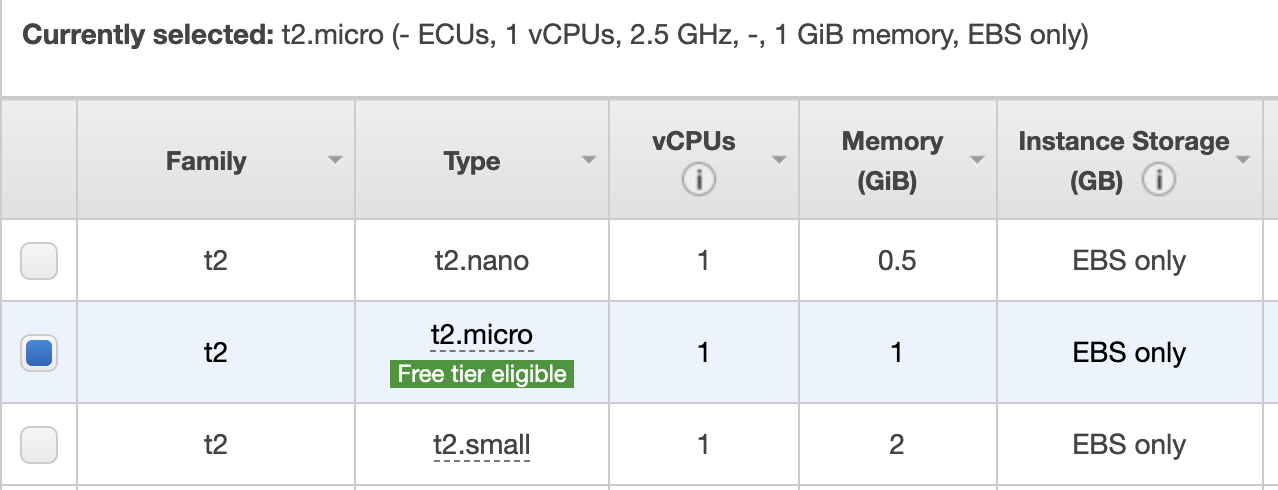
Configure Instance Details**, provide the following information:
- Leave Number of instances at one.
- Leave Purchasing option at the default setting.
- For Network, choose the entry for the same VPC that you noted when you created your EFS file system in Create your Amazon EFS file system.
- For Subnet, choose a default subnet in any Availability Zone.
- For File systems, make sure that the EFS file system that you created in Create your Amazon EFS file system is selected. The path shown next to the file system ID is the mount point that the EC2 instance will use, which you can change.
- The User data automatically includes the commands for mounting your Amazon EFS file system.
Choose Next: Add Storage.
Choose Next: Add Tags.
Name your instance and choose Next: Configure Security Group.
Configure Security Group, set **Assign a security group to Select an existing security group. Choose the default security group to make sure that it can access your EFS file system.
You can’t access your EC2 instance by Secure Shell (SSH) using this security group. SSH access isn’t required for this exercise. To add access by SSH later, you can edit the default security and add a rule to allow SSH. Or you can create a new security group that allows SSH. You can use the following settings to add SSH access:
- Type: SSH
- Protocol: TCP
- Port Range: 22
- Source: Anywhere 0.0.0.0/0
-
Choose Review and Launch.
-
Choose Launch.
-
Select the check box for the key pair that you created, and then choose Launch Instances.
Additionally we can create a group and select the policies to be attached to the group. Using groups is a best-practice way to manage users’ permissions by job functions, AWS service access, or your custom permissions.
Policy name:
AmazonS3FullAccess
AmazonKinesisFullAccess
AmazonEC2FullAccess
During the creation of the user of the EC2 instance we can download the .csv file of credentials that you will use that will be used later.
Send Data to the Stream
We simulate user data being sent to the stream and verify that it is output to S3
-
Open an SSH client.
-
Locate your private key file. The key used to launch this instance is kinesis.pem
-
Run this command, if necessary, to ensure your key is not publicly viewable.
chmod 400 kinesis.pem -
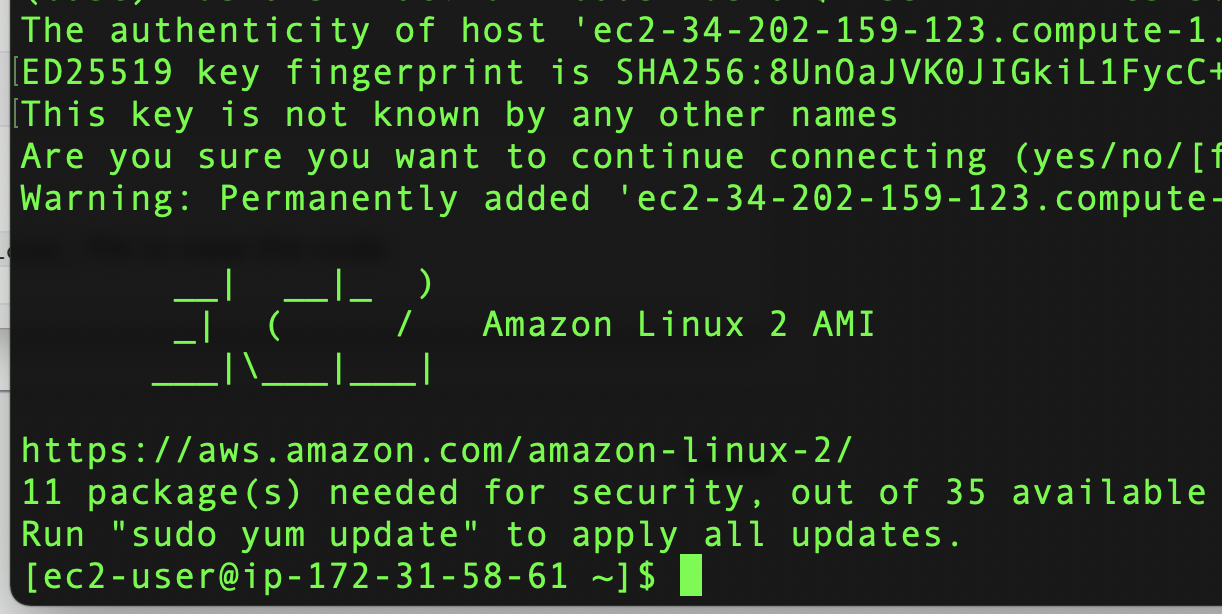
Connect to your instance using its Public DNS, for example , ec2-34-202-159-123.compute-1.amazonaws.com
ssh -i "kinesis.pem" [email protected]
When prompted, enter “y” for yes.
Installing the Generator of Data with Python 3 with the Boto 3
Perform a yum check-update to refresh the package index. The check-update also looks for available updates.
sudo yum update -y
Run list installed to determine if Python 3 is already installed on the host.
Python 3 already installed output example:
[ec2-user ~]$ yum list installed | grep -i python3
python3.x86_64                        3.7.10-1.amzn2.0.1             installed
python3-daemon.noarch                 2.2.3-8.amzn2.0.2              installed
python3-docutils.noarch               0.14-1.amzn2.0.2               installed
python3-libs.x86_64                   3.7.10-1.amzn2.0.1             installed
python3-lockfile.noarch               1:0.11.0-17.amzn2.0.2          installed
python3-pip.noarch                    20.2.2-1.amzn2.0.3             installed
python3-pystache.noarch               0.5.4-12.amzn2.0.1             installed
python3-setuptools.noarch             49.1.3-1.amzn2.0.2             installed
python3-simplejson.x86_64             3.2.0-1.amzn2.0.2              installed
If is not installed
sudo yum install python3 -y
Create a virtual environment under the ec2-user home directory
The following command creates the app directory with the virtual environment inside of it. You can change my_app to another name. If you change my_app, make sure that you reference the new name in the remaining resolution steps.
python3 -m venv my_app/env
source ~/my_app/env/bin/activate
Next we make sure that you have the latest pip module installed within your environment.
pip install pip --upgrade
Use the pip command to install the Boto 3 library within our virtual environment.
pip install boto3
pip install faker
pip install json
Use the deactivate command to exit the virtual environment.
deactivate
To activate the virtual environment automatically when you log in, add it to the ~/.bashrc file.
echo "source ${HOME}/my_app/env/bin/activate" >> ${HOME}/.bashrc
Source the ~/.bashrc file in your home directory to reload your environment’s bash environment. Reloading automatically activates your virtual environment. The prompt reflects the change (env). This change also applies to any future SSH sessions.
source ~/.bashrc
AWS Command Line Interface (AWS CLI) Setup
For general use, the aws configure command is the fastest way to set up your AWS CLI installation. When you enter this command, the AWS CLI prompts you for four pieces of information:
The AWS CLI stores this information in a profile (a collection of settings) named default in the credentials file. By default, the information in this profile is used when you run an AWS CLI command that doesn’t explicitly specify a profile to use. For more information on the credentials file, see Configuration and credential file settings
The following example shows sample values. Replace them with your own values as described in the following sections.
$ aws configure
AWS Access Key ID [None]: AKIAIOSFODNN7EXAMPLE
AWS Secret Access Key [None]: wJalrXUtnFEMI/K7MDENG/bPxRfiCYEXAMPLEKEY
Default region name [None]: us-west-2
Default output format [None]: json
Create a generator of data by using Python
We download first the application
curl -OL https://github.com/ruslanmv/Performing-Real-Time-Data-Analysis-with-Kinesis/raw/master/send_captains_to_cloud.py

Open up the send_captains_to_cloud_ file to view the code:
nano send_captains_to_cloud.py
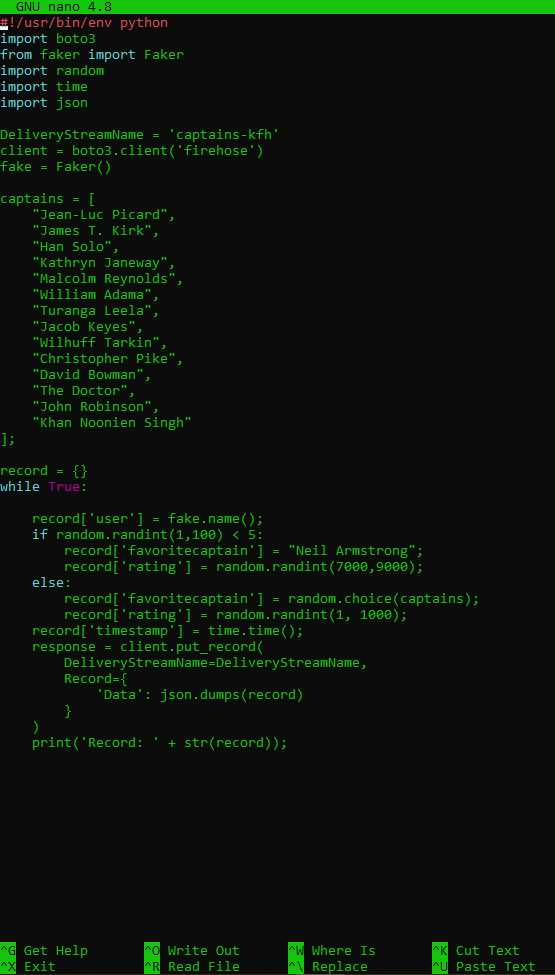
Clear the screen:
ctrl + x
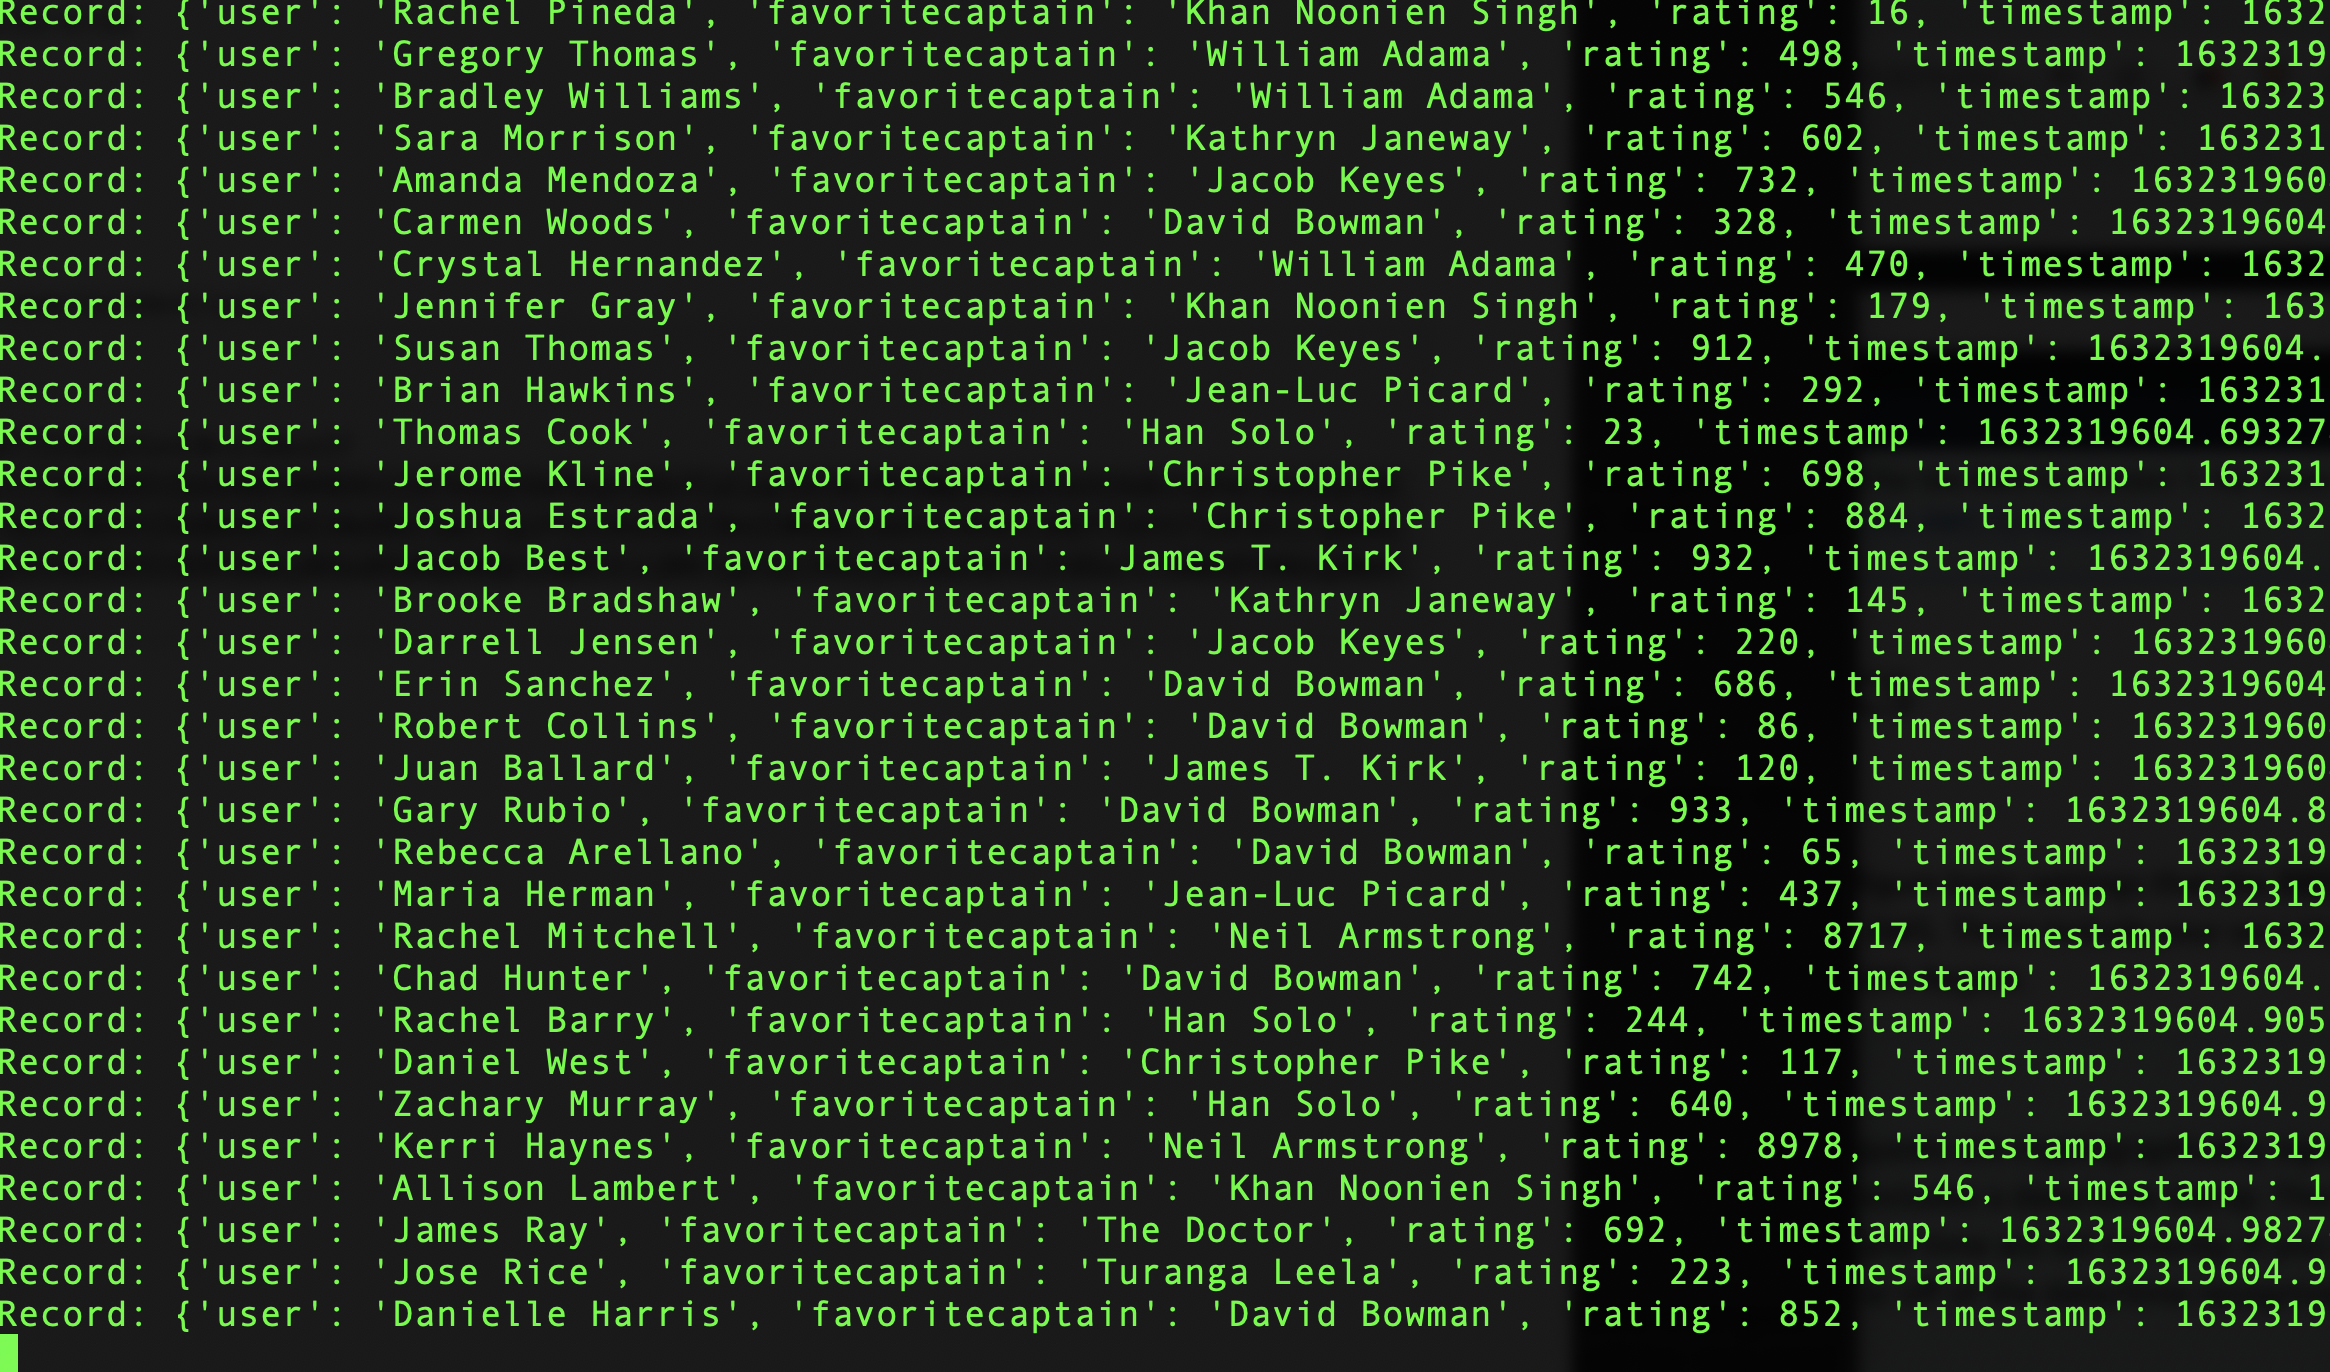
Run the script:
python3 send_captains_to_cloud.py
-
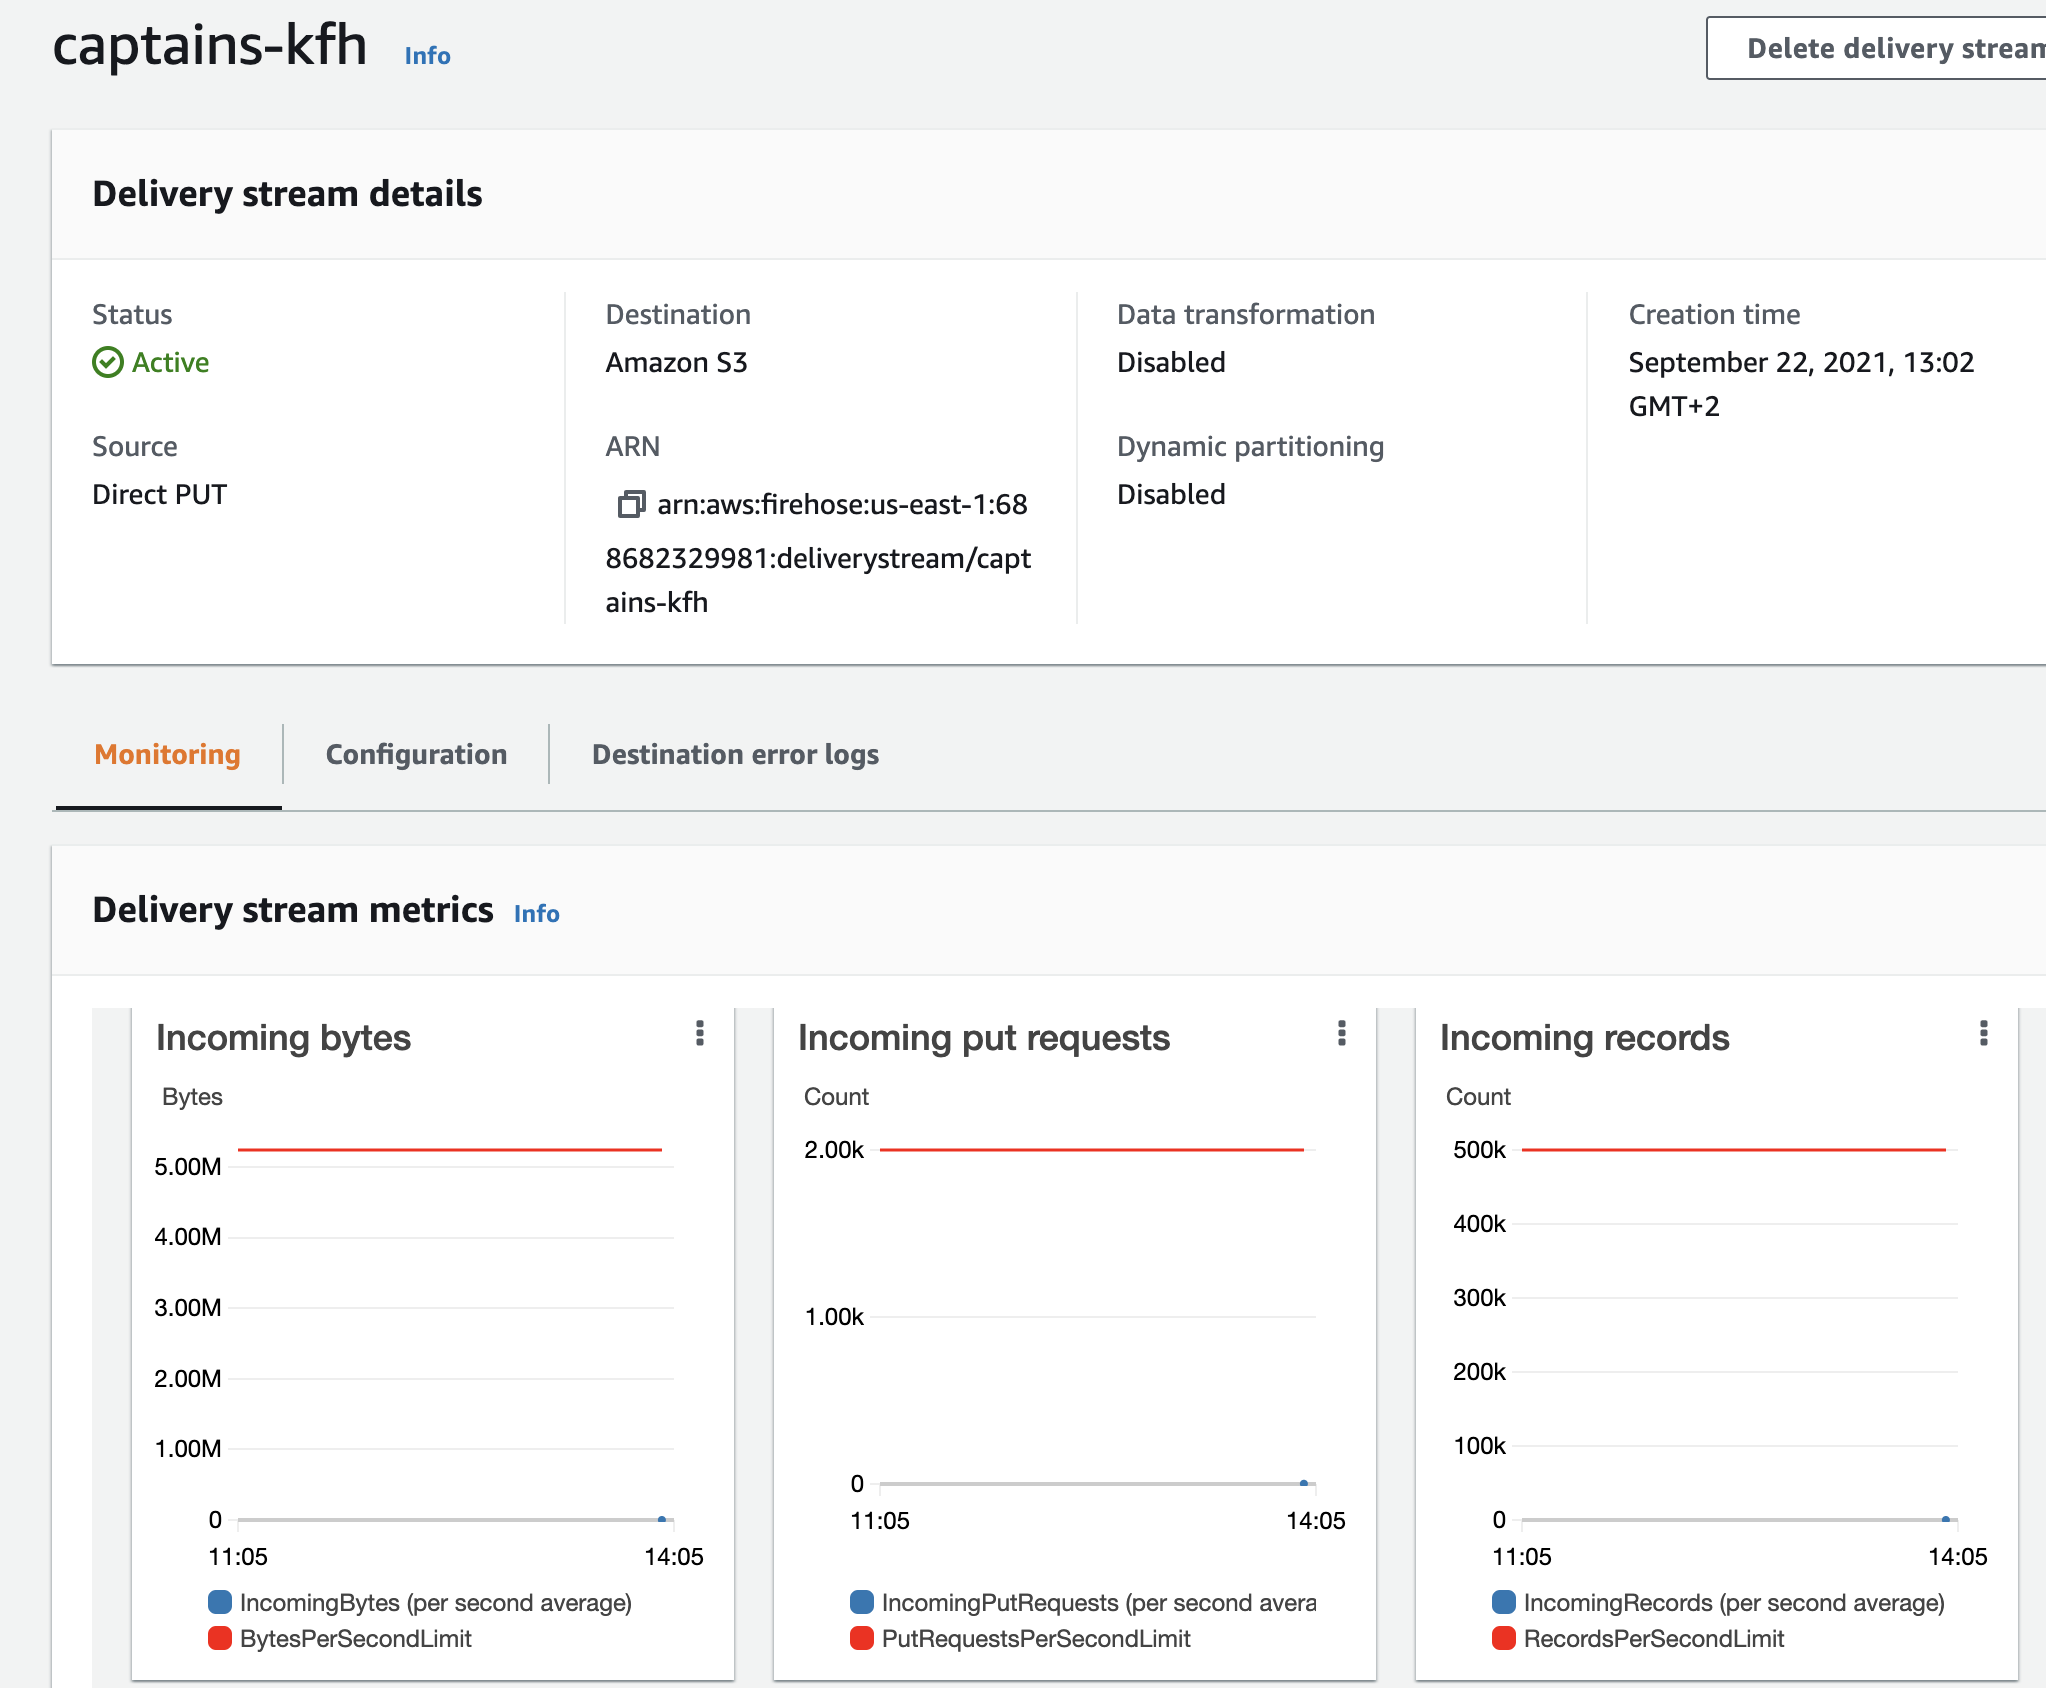
Go back to the Kinesis Firehose tab. Our delivery stream should now have a status of Active.
-
Click captains-kfh.
-
Click the Monitoring tab.
-
Switch to a one-hour view by clicking 1h. The graphs may take a few minutes to populate with data points.
-
Go back to the terminal and stop the script by pressing any key.
-
Go back to the Kinesis Firehose tab.
-
Click on Kinesis Firehouse delivery streams and then click on captains-kfh. Alternatively, you can just click on the Details tab.
-
Under S3 bucket in Amazon S3 destination, click on the link to the bucket to view the S3 bucket.
-
Go back to the terminal to pull some of the data down.
-
Find the bucket name:
aws s3 ls -
Copy the bucket name.
-
View the bucket contents:
aws s3 sync s3://<INSERT_BUCKET_NAME> . -
View the folder structure:
ll -
Change the working directory to the folder for the current year, month, day, and hour:
cd <YEAR>/<MONTH>/<DAY>/<HOUR>/ -
View the files in the folder:
ll -
Copy one of the file names.
-
View the first 200 characters of the file:
cut -c -200 <INSERT_FILE_NAME>
-
Return to the home directory:
cd -
Start the data-generating stream again:
python3 send_captains_to_cloud.py
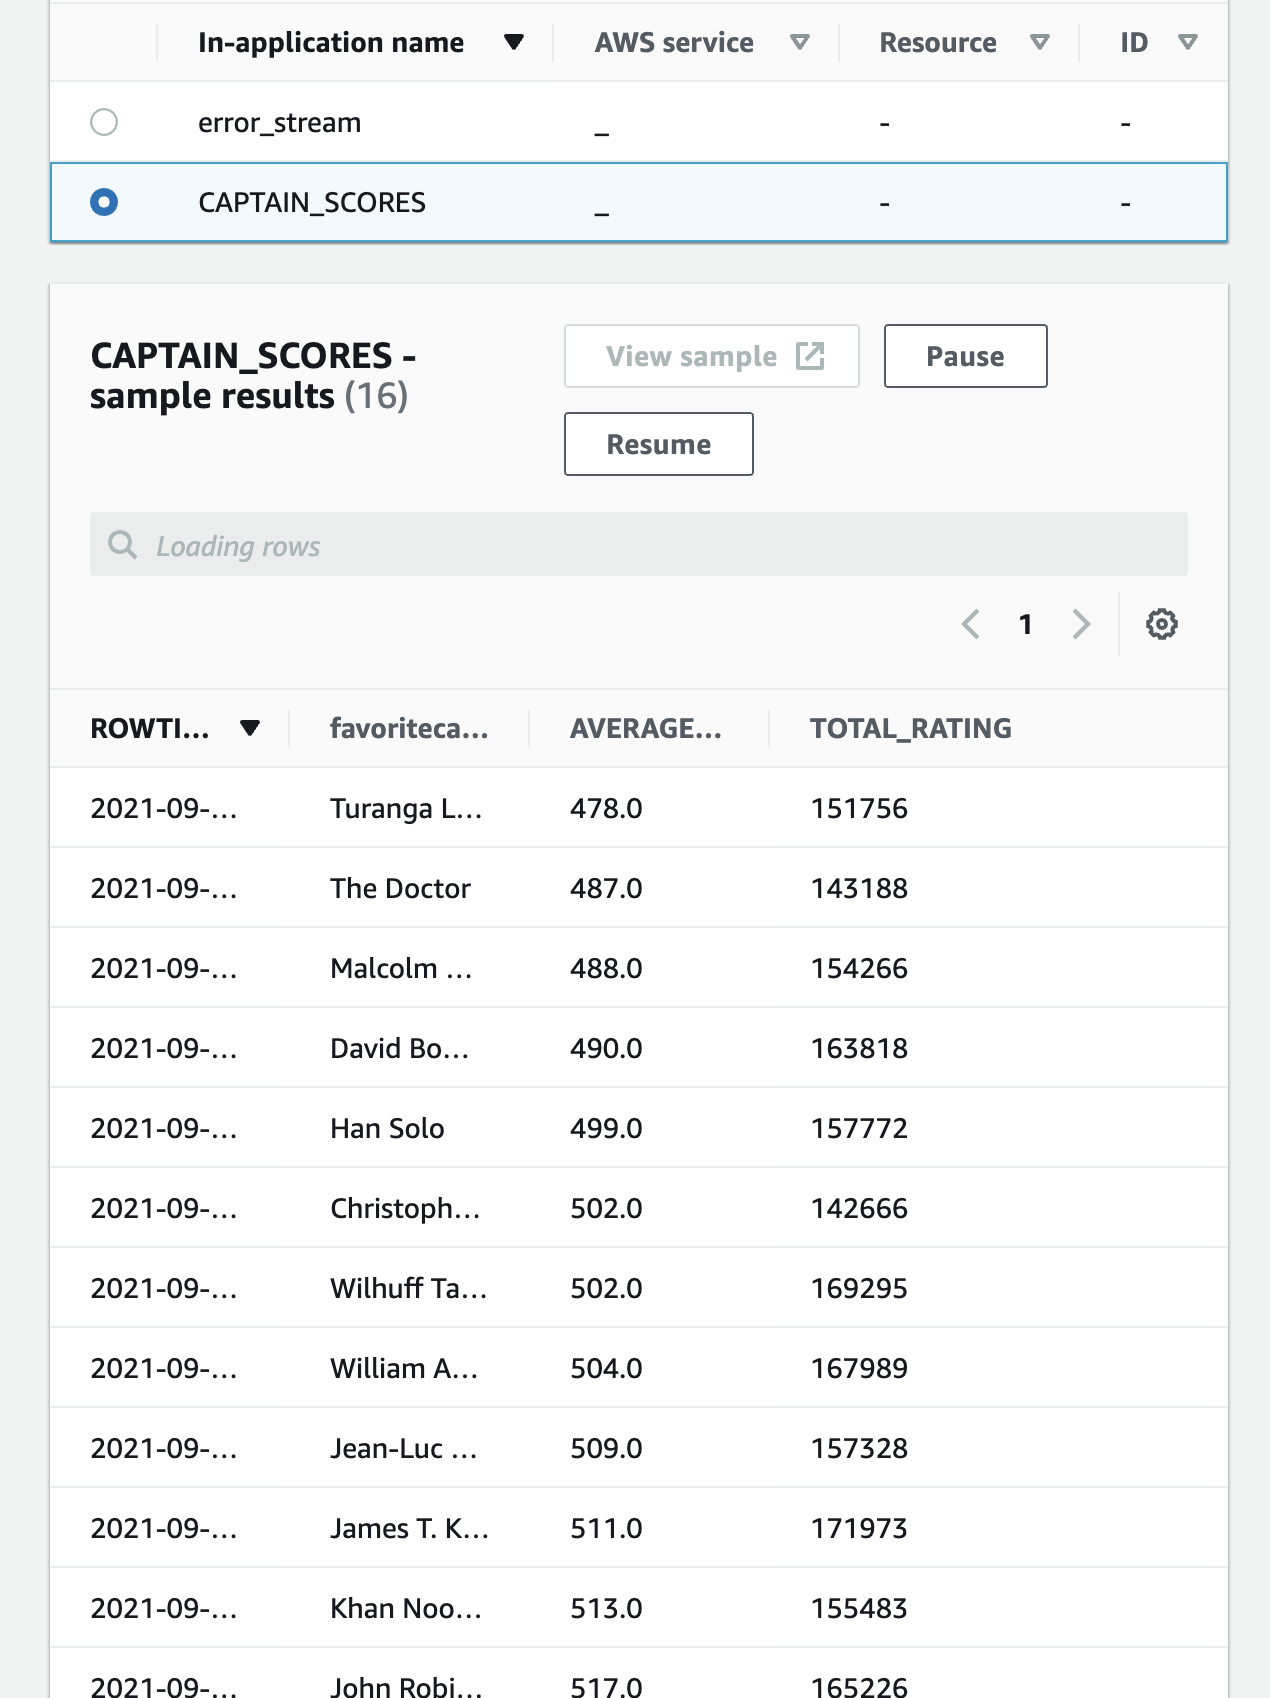
Find the Average Captain Ratings
We analyze the stream data to find the minute-by-minute popularity of our
users favorite captains.
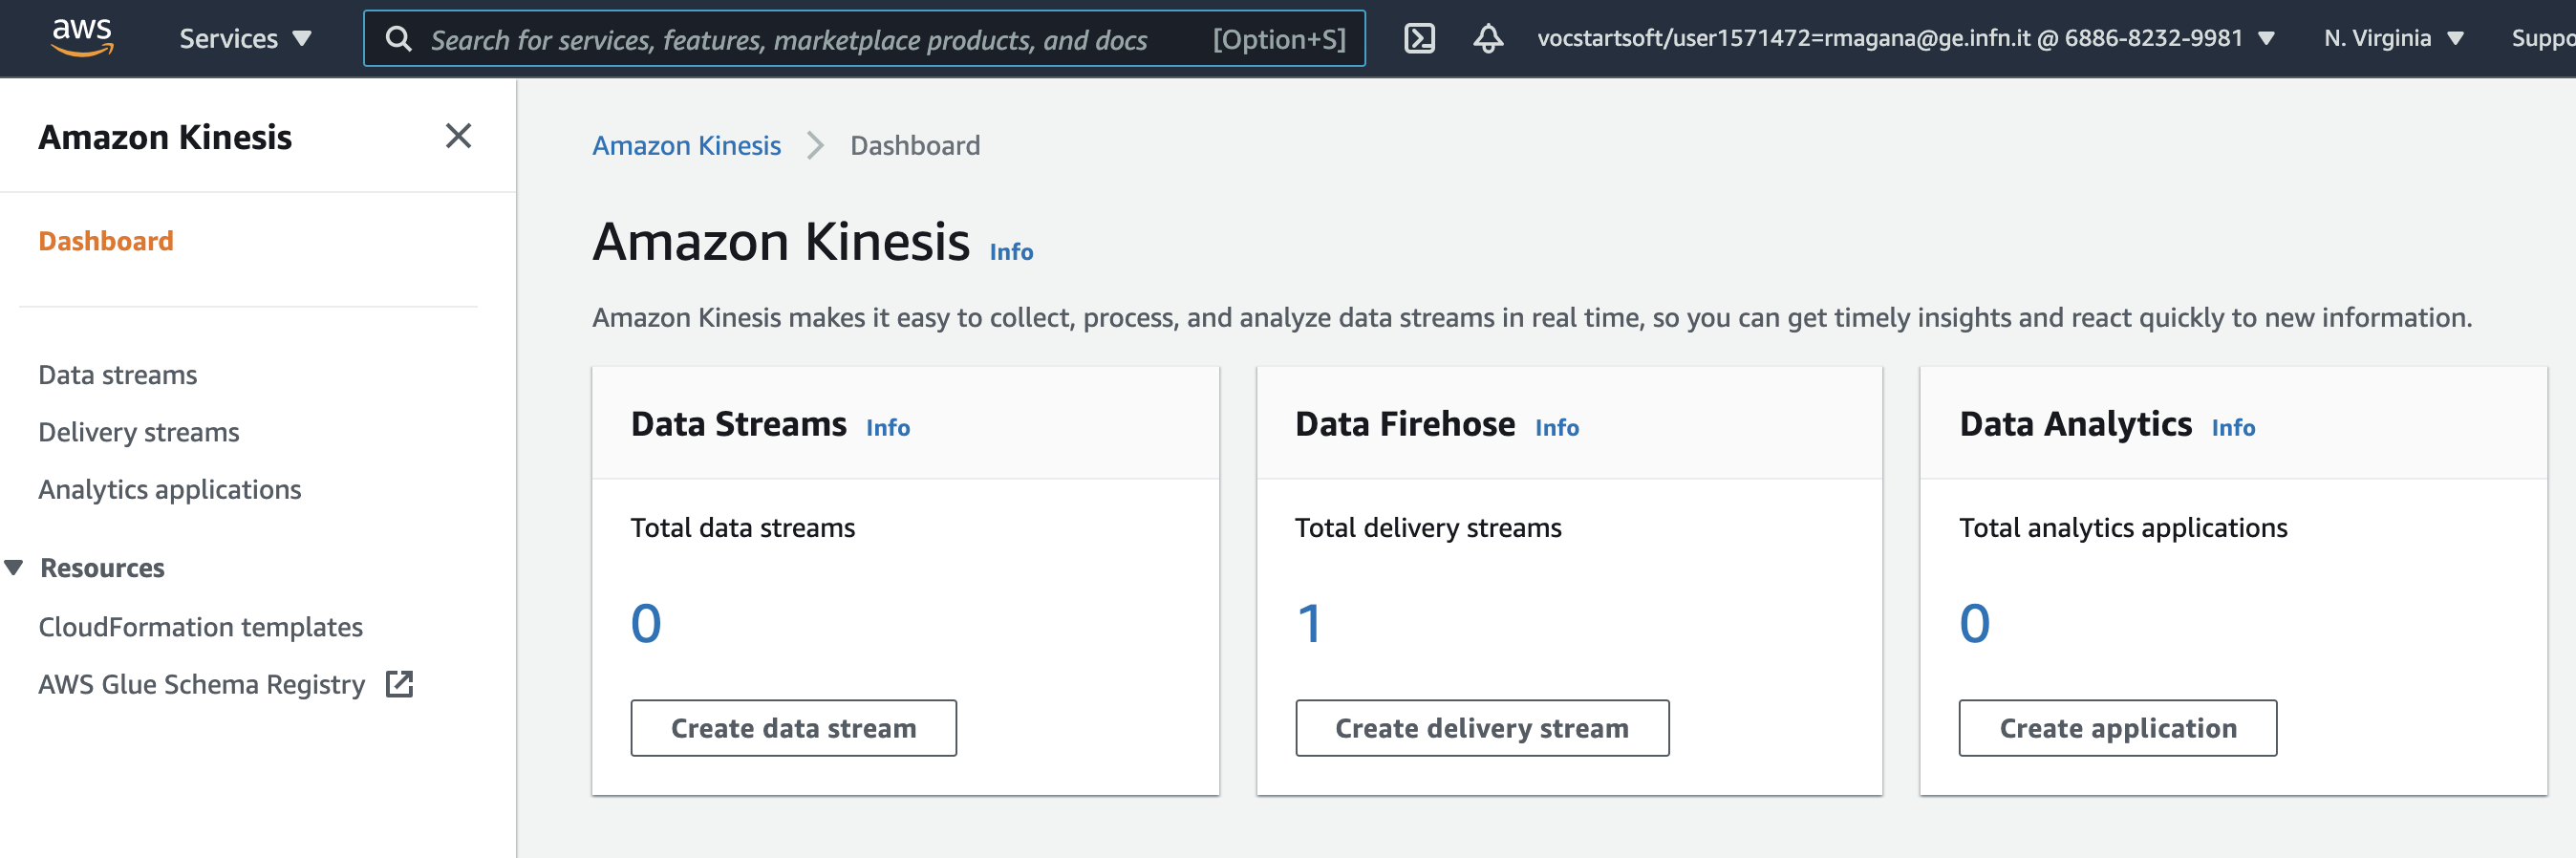
- Go back to the Kinesis Firehose tab.
- In the menu on the left, click Data Analytics.
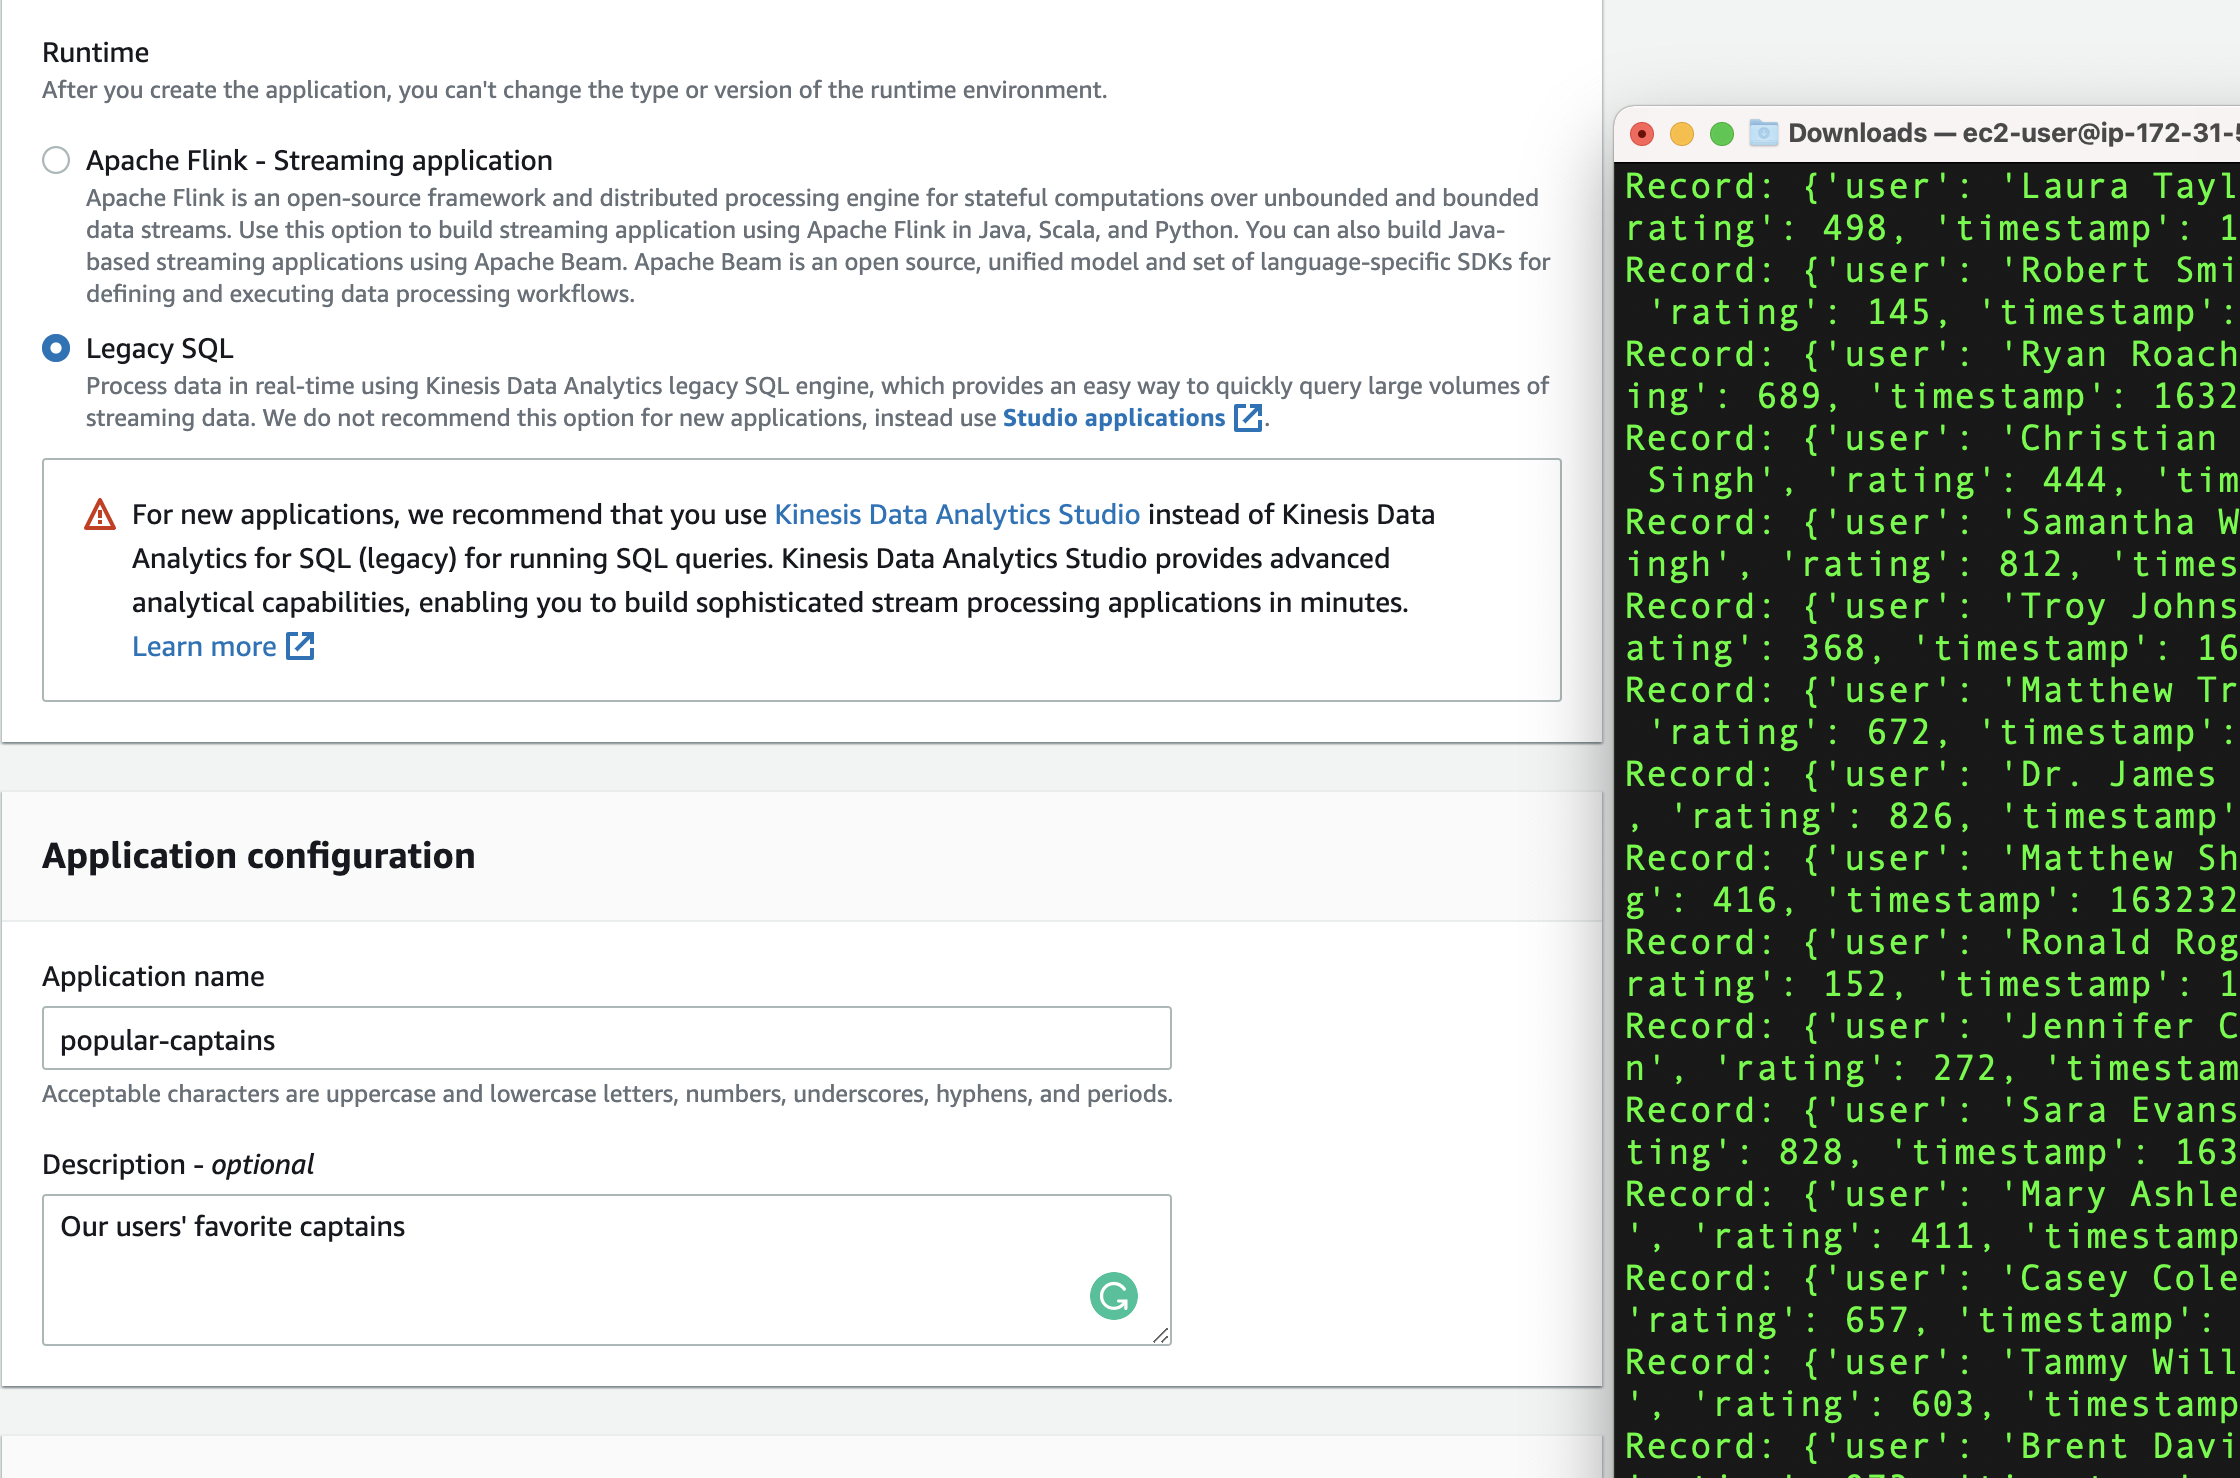
- Click Create application.
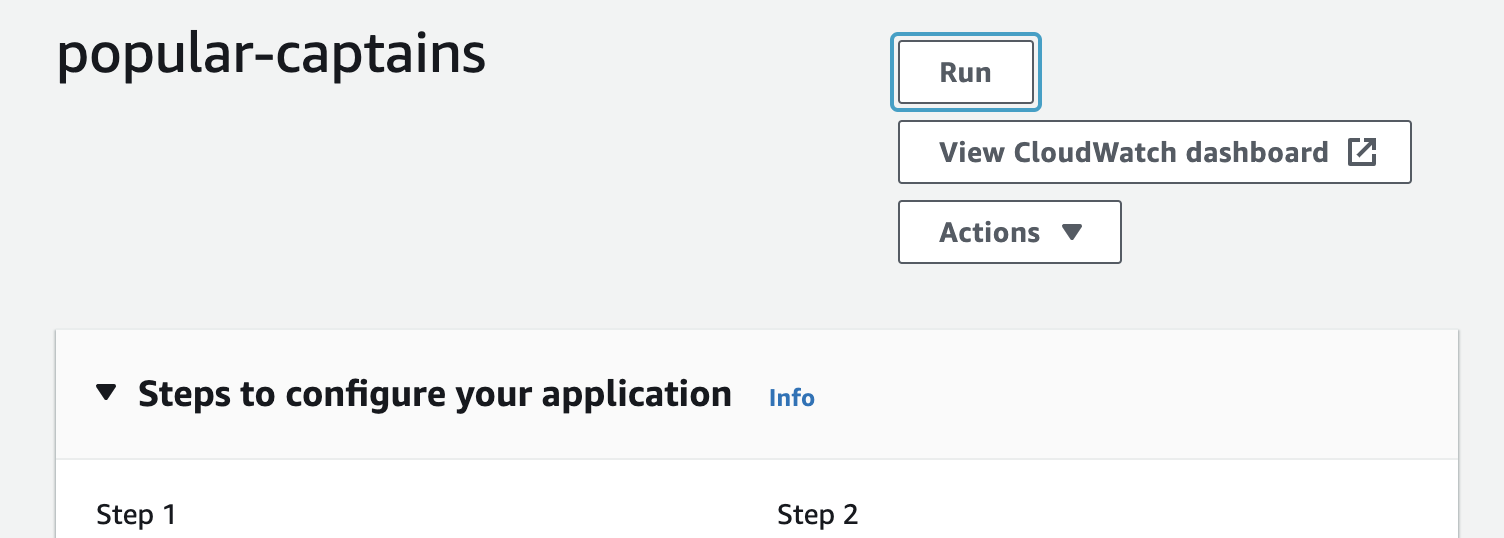
- Under Application name, enter “popular-captains”.
- Under Description, enter “Our users’ favorite captains”.
Click Create application.
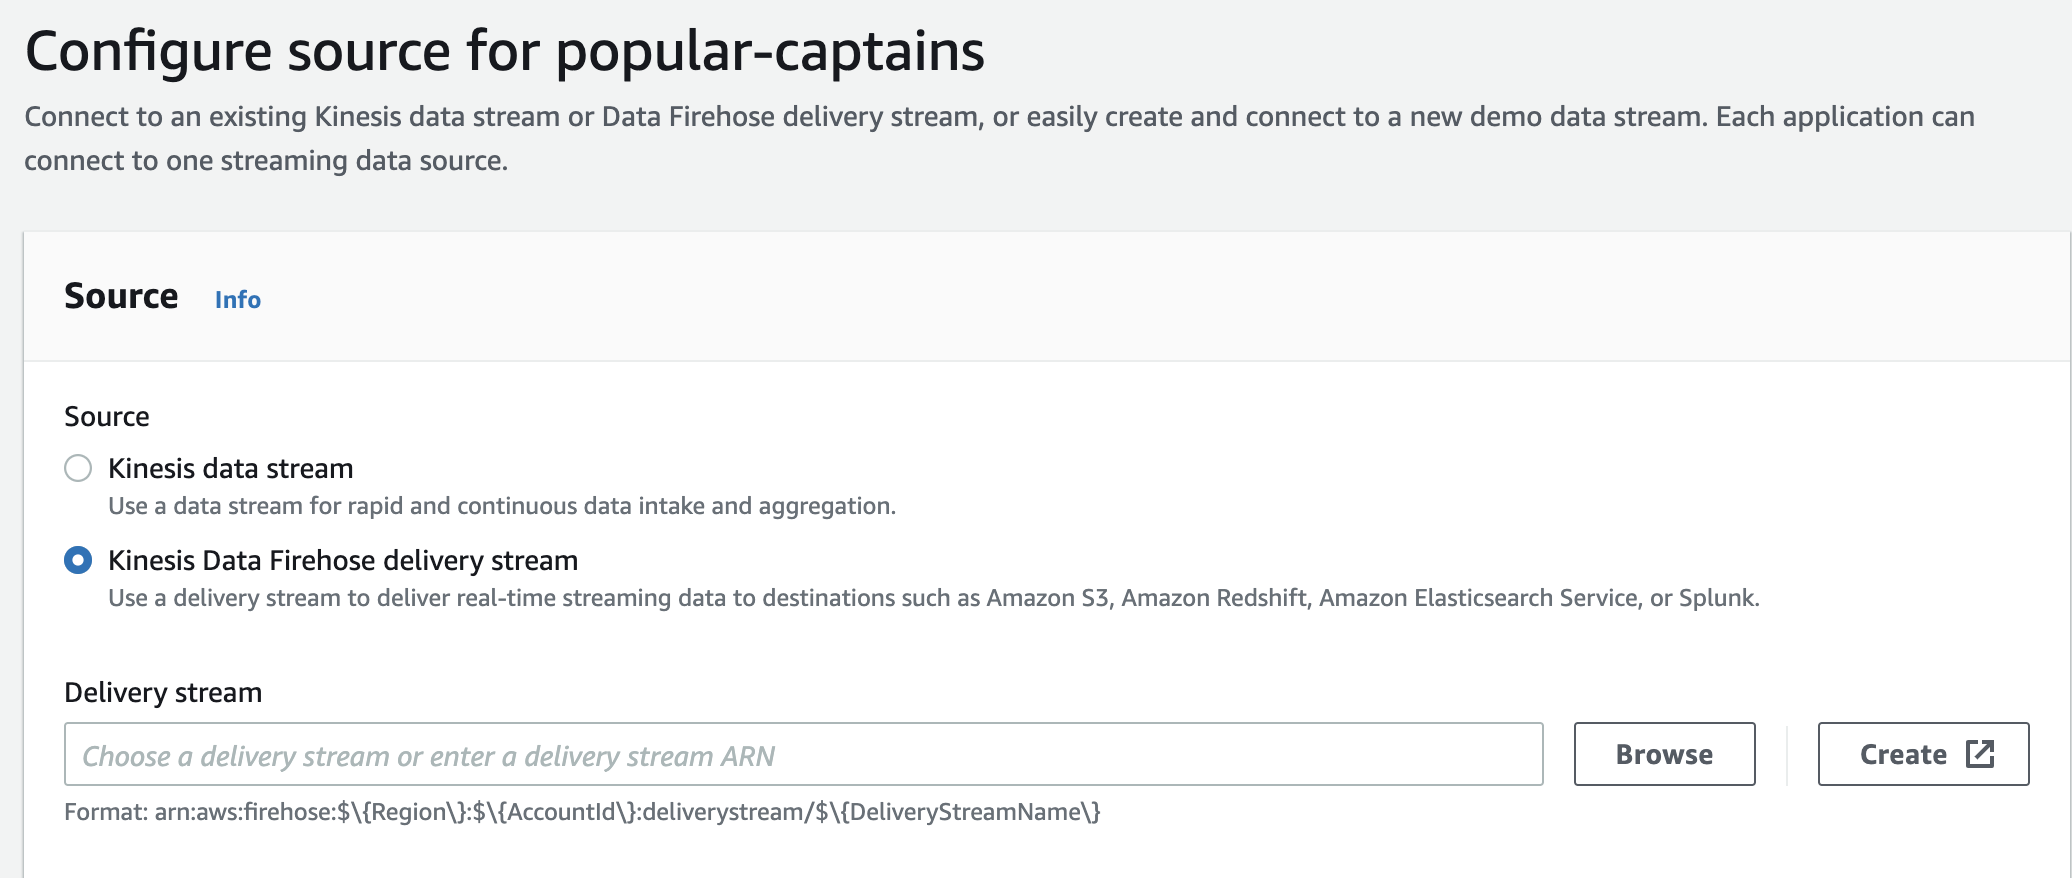
Click Connect streaming data.
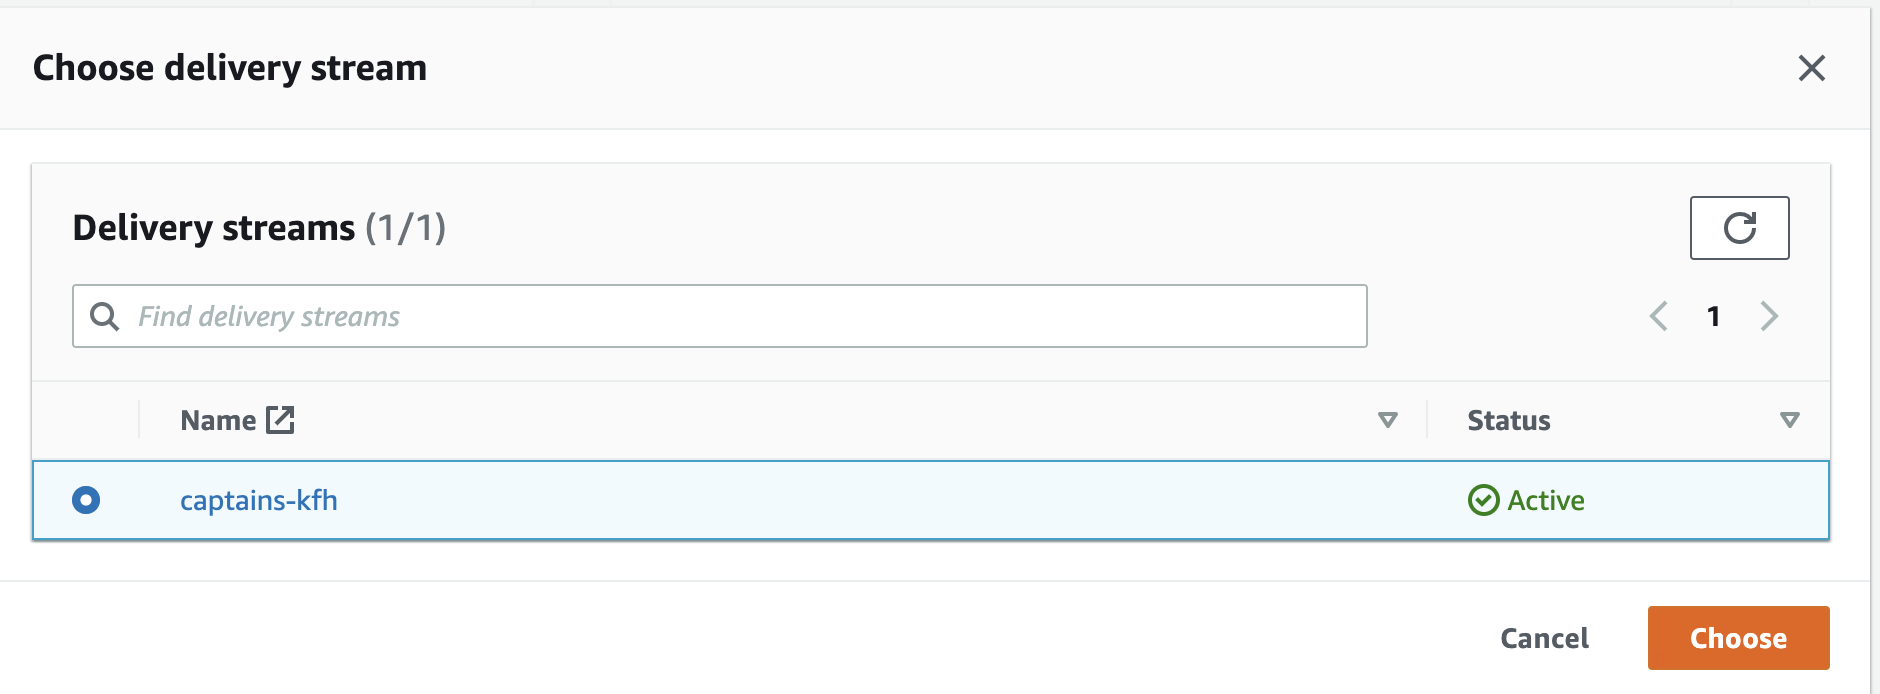
Select Kinesis Firehose delivery stream.
-
In the Kinesis Firehose delivery stream dropdown menu, select the captains-kfh stream.
-
Select Choose from IAM roles that Kinesis Analytics can assume.
-
In the IAM role dropdown menu, select the provided IAM role for this lab.
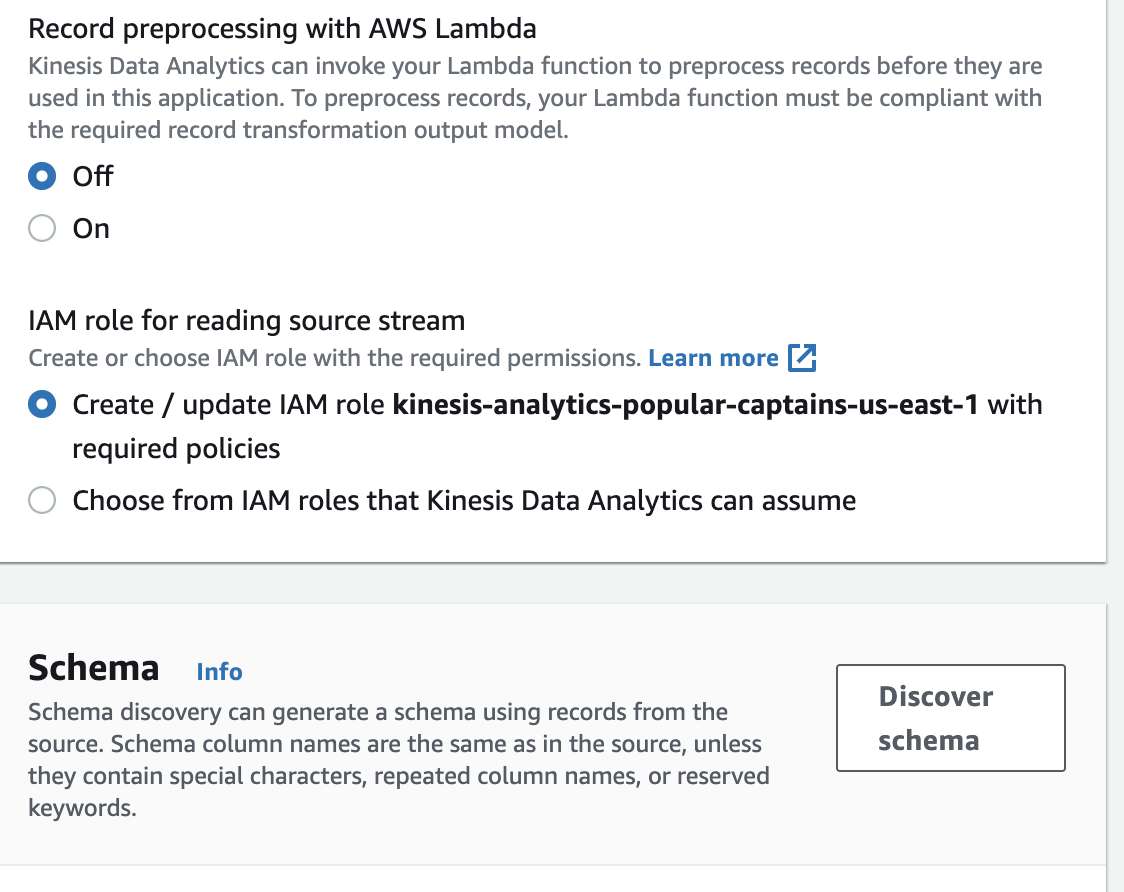
-
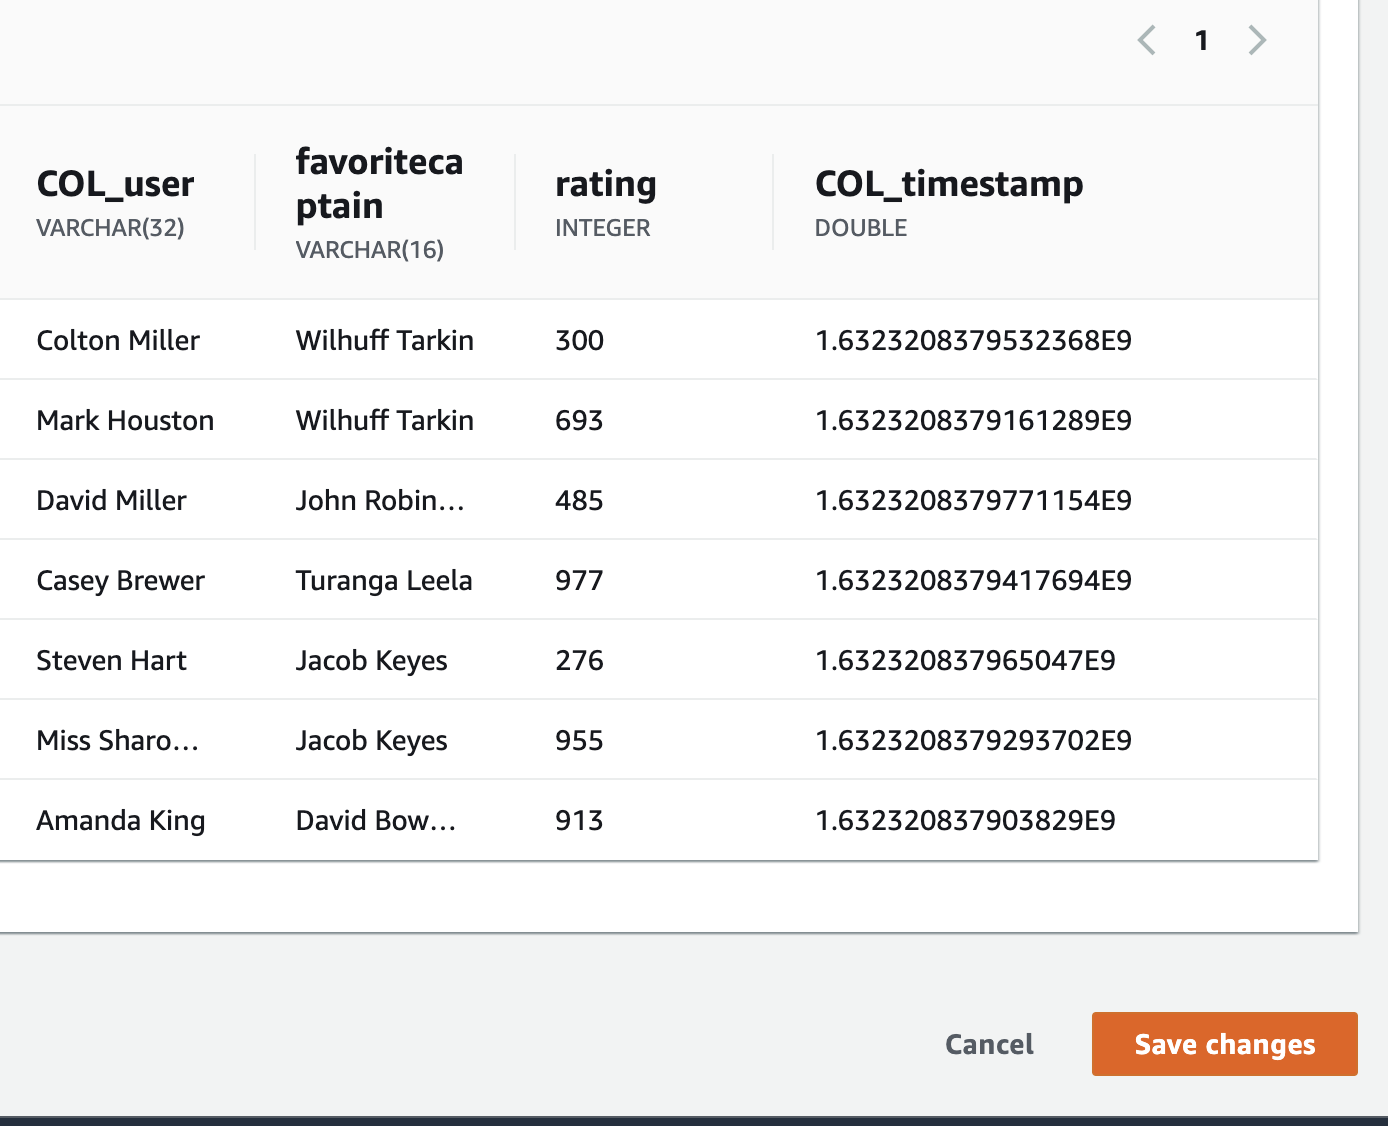
Click Discover schema.
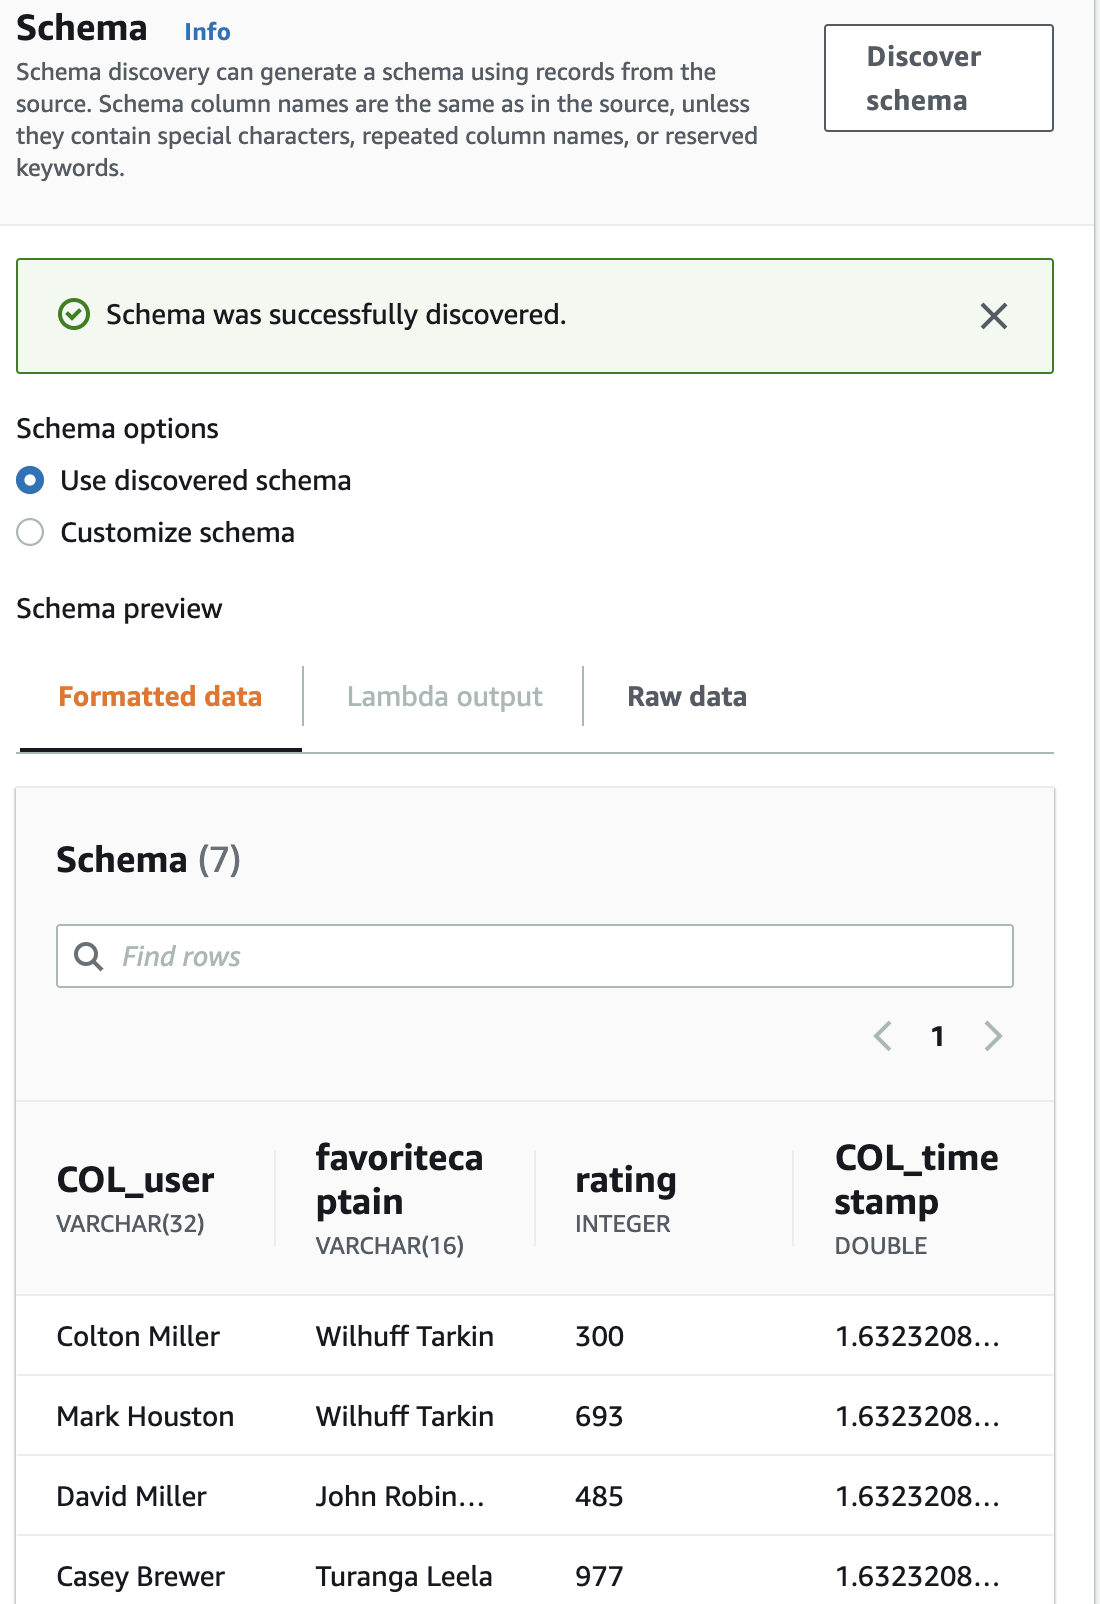
-
Click Save and continue.
-
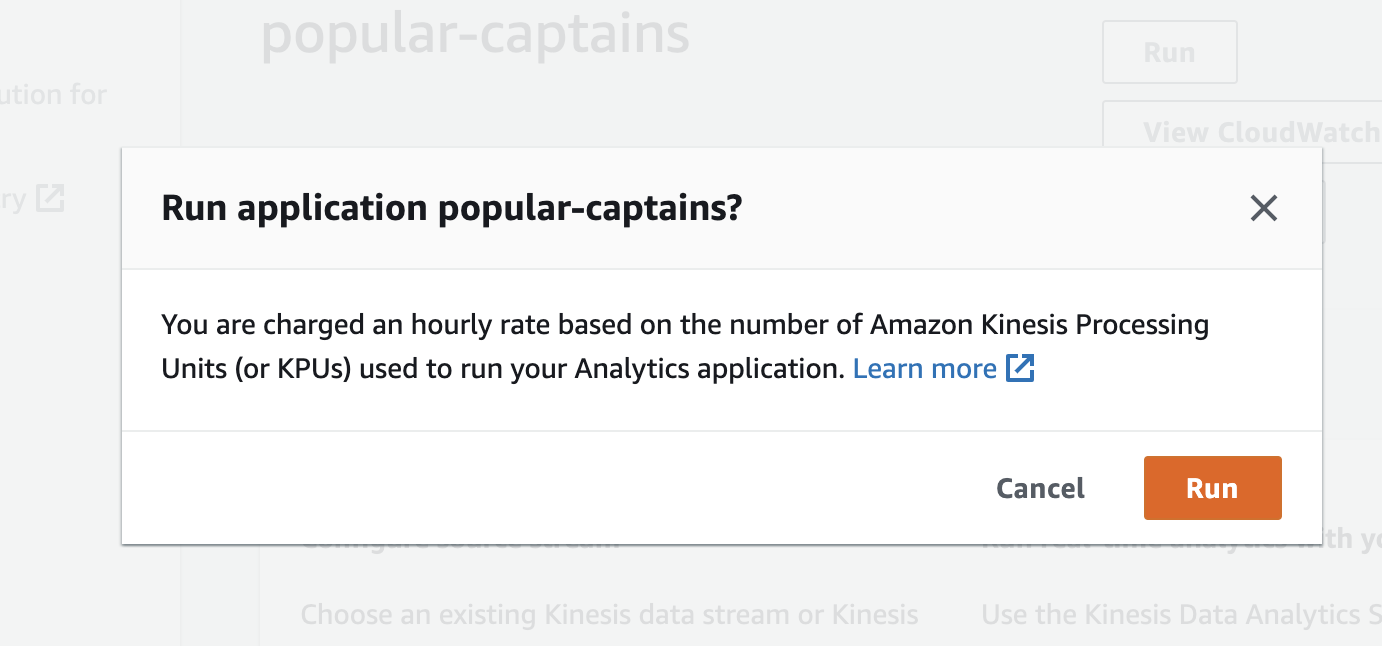
Under Real time analytics, click Run.
-
Click Yes, start application.
-
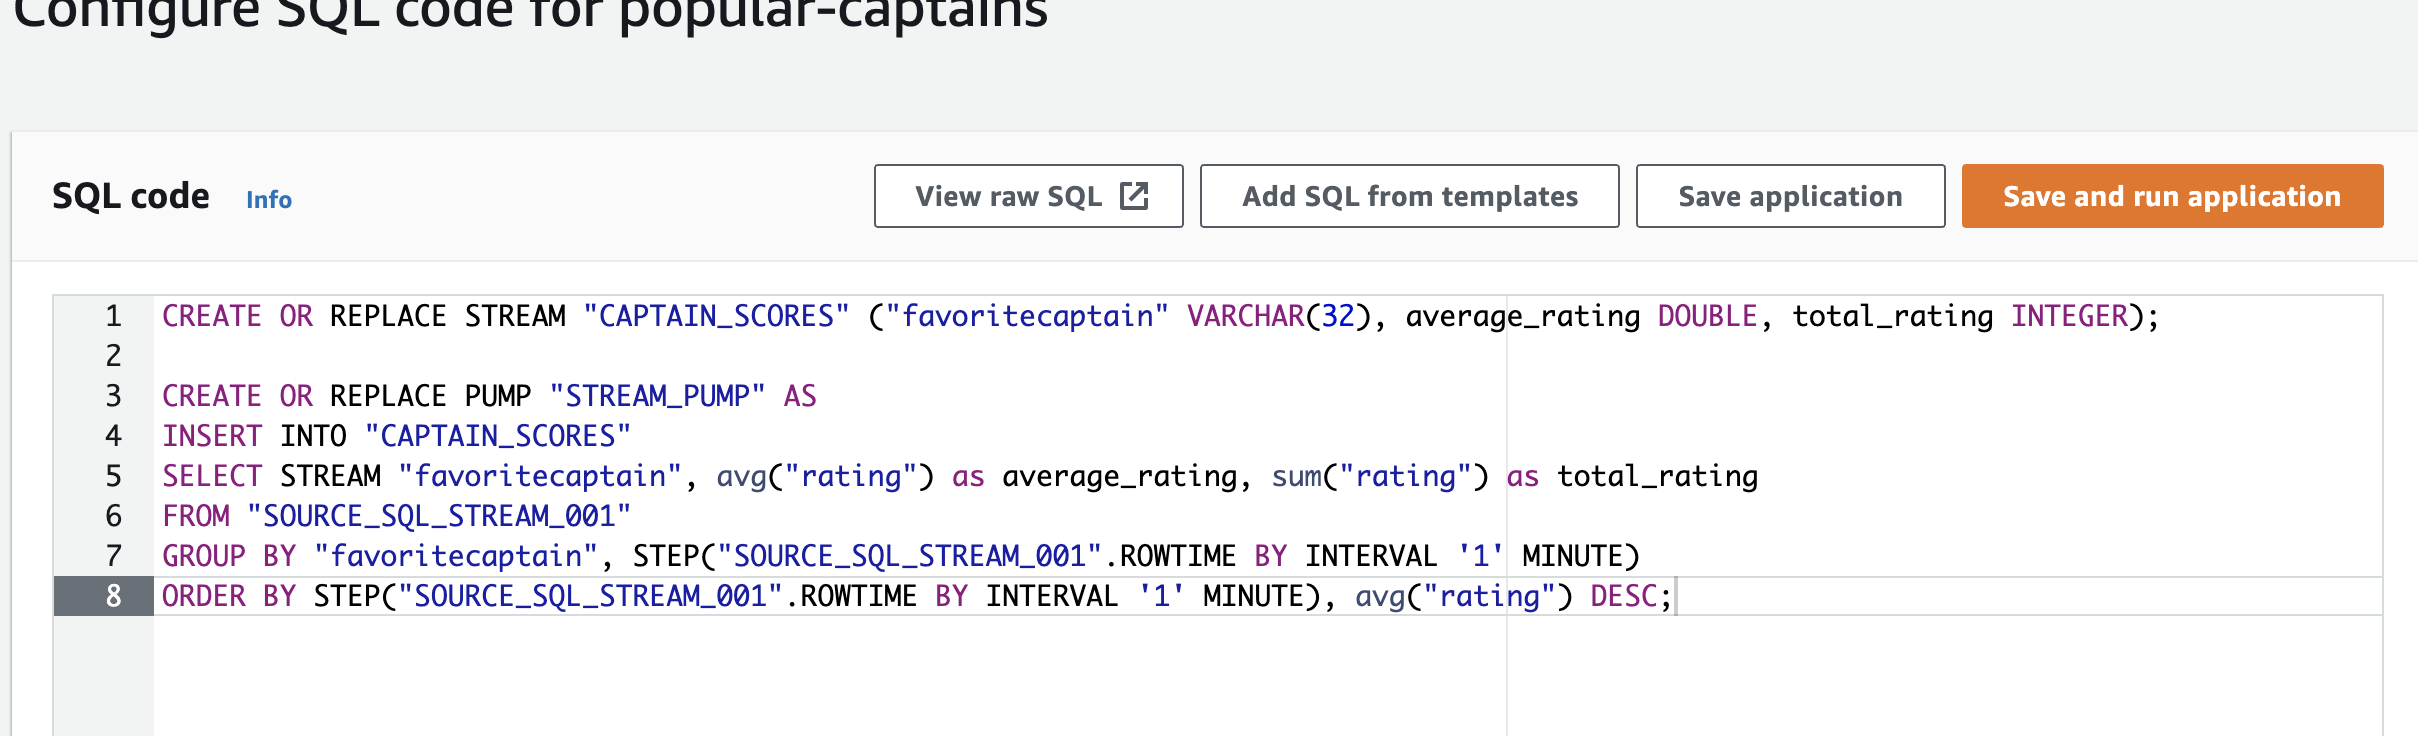
Create a query using the SQL Editor to show the average rating and total rating of each captain per minute, At the end of the query, change the last line to order the average rating by descending order:
CREATE OR REPLACE STREAM "CAPTAIN_SCORES" ("favoritecaptain" VARCHAR(32), average_rating DOUBLE, total_rating INTEGER);

CREATE OR REPLACE PUMP "STREAM_PUMP" AS
INSERT INTO "CAPTAIN_SCORES"
SELECT STREAM "favoritecaptain", avg("rating") as average_rating, sum("rating") as total_rating
FROM "SOURCE_SQL_STREAM_001"
GROUP BY "favoritecaptain", STEP("SOURCE_SQL_STREAM_001".ROWTIME BY INTERVAL '1' MINUTE)
ORDER BY STEP("SOURCE_SQL_STREAM_001".ROWTIME BY INTERVAL '1' MINUTE), avg("rating") DESC;
Click Save and run application . The table will need to be recreated, which will take a few minutes before it is ready to view.
Find Anomalous Captain Ratings
Here, there might some anomalous values in the stream. We create an analysis
to find this data in real time.
-
Delete the SQL code for popular captains.
-
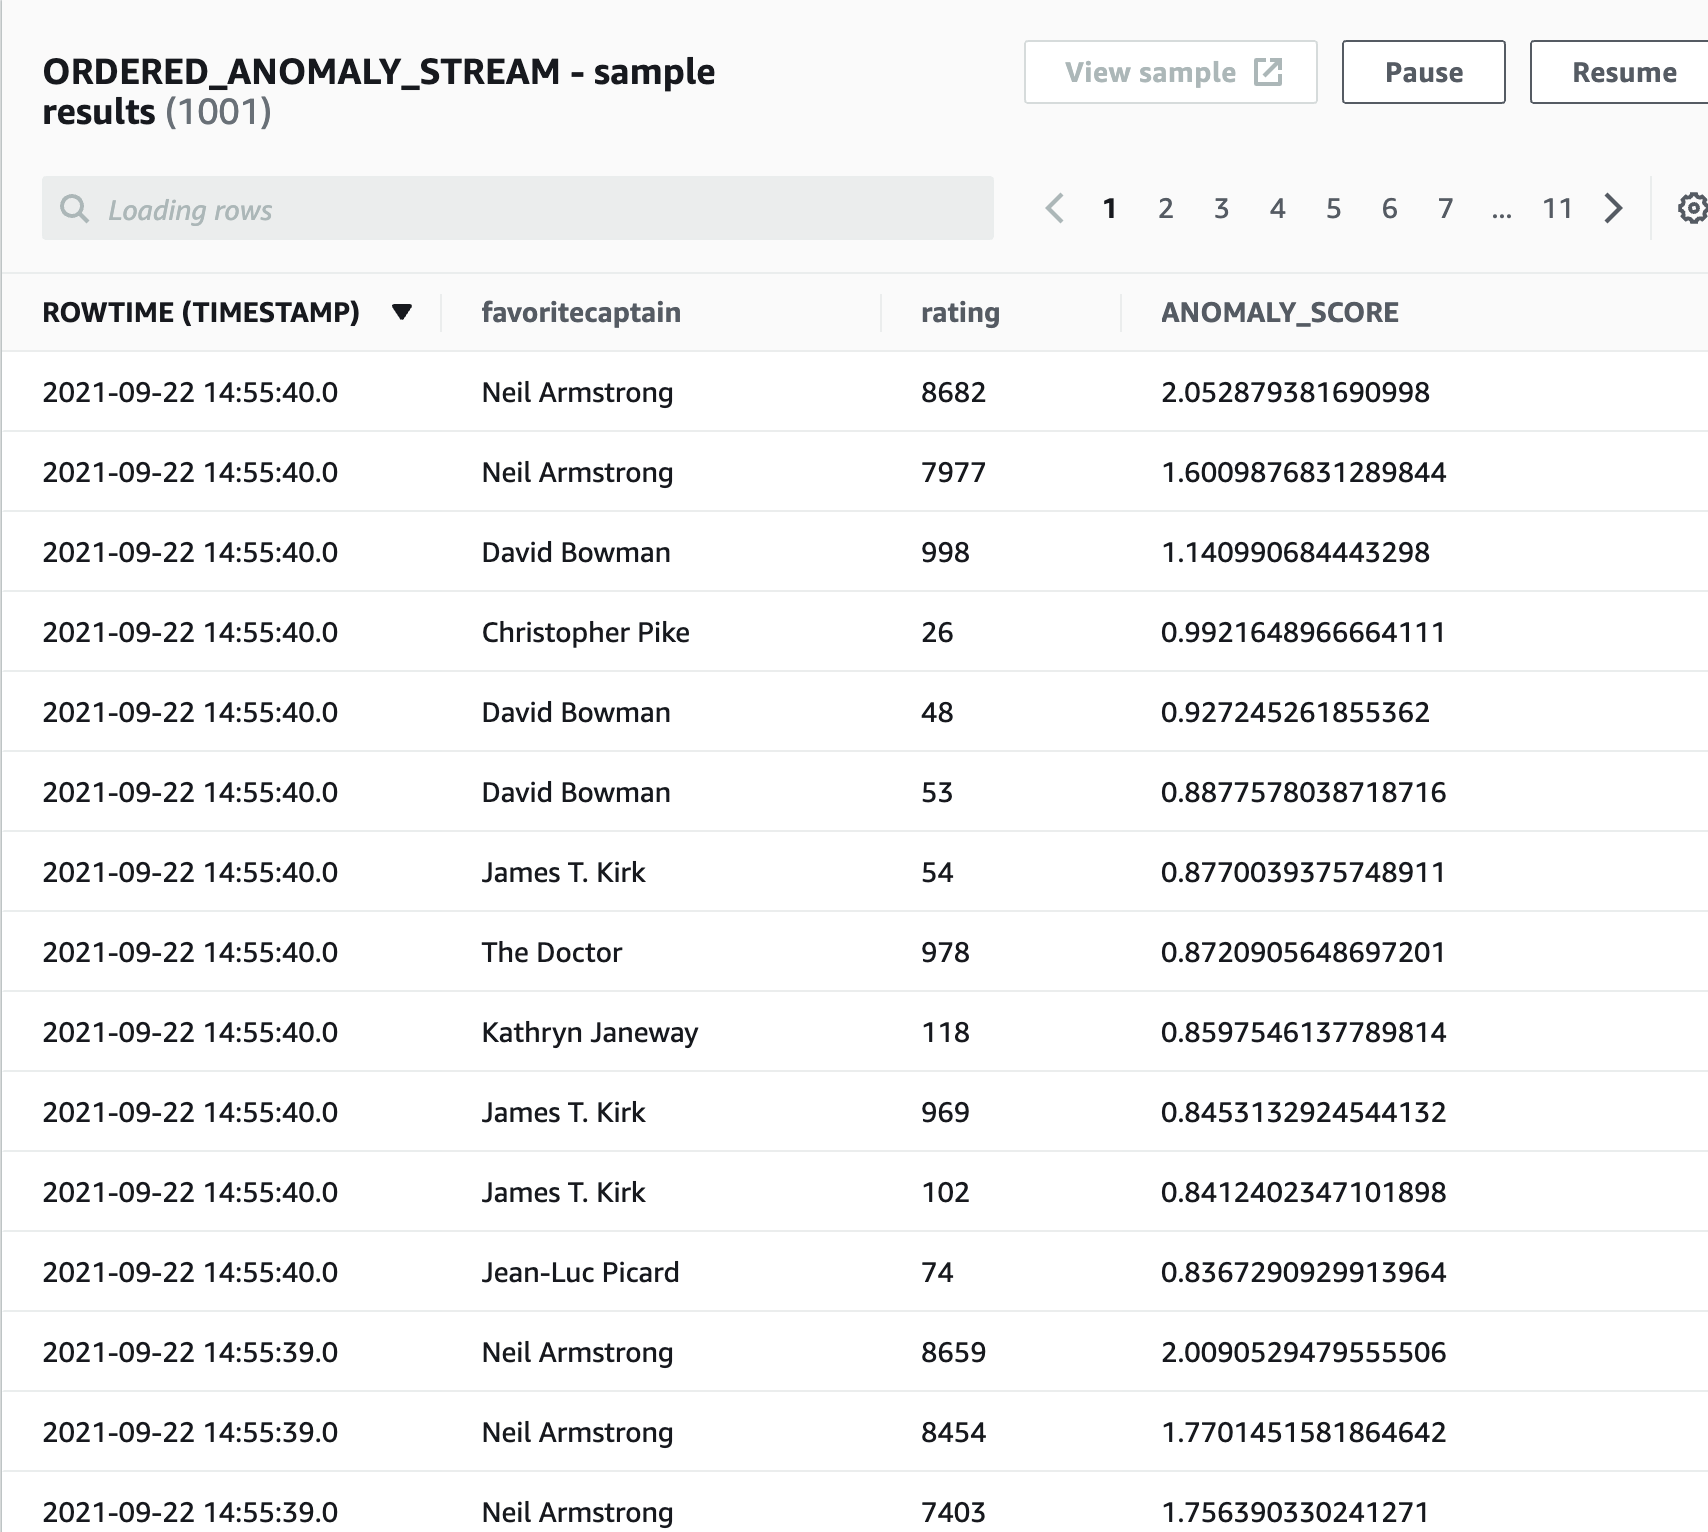
Create a new query that will rank the incoming captain ratings by how anomalous the rating is, displaying the most anomalous values first:
CREATE OR REPLACE STREAM "RAW_ANOMALY_STREAM" ( "favoritecaptain" VARCHAR(32), "rating" INTEGER, "ANOMALY_SCORE" DOUBLE); CREATE OR REPLACE PUMP "RAW_PUMP" AS INSERT INTO "RAW_ANOMALY_STREAM" SELECT STREAM "favoritecaptain", "rating", "ANOMALY_SCORE" FROM TABLE(RANDOM_CUT_FOREST( CURSOR(SELECT STREAM "favoritecaptain", "rating" FROM "SOURCE_SQL_STREAM_001") )); CREATE OR REPLACE STREAM "ORDERED_ANOMALY_STREAM" ( "favoritecaptain" VARCHAR(32), "rating" INTEGER, "ANOMALY_SCORE" DOUBLE); -- Sort records by descending anomaly score, insert into output stream CREATE OR REPLACE PUMP "ORDERED_PUMP" AS INSERT INTO "ORDERED_ANOMALY_STREAM" SELECT STREAM * FROM "RAW_ANOMALY_STREAM" ORDER BY FLOOR("RAW_ANOMALY_STREAM".ROWTIME TO SECOND), "ANOMALY_SCORE" DESC; -
Click Save and run application. The table will take a few minutes to populate.
Congratulations ! We have created a Kinesis Data Firehose Stream we sent Data to the Stream and found Averages of the Data and Anomalies in the Data.
Leave a comment