
How to connect Google Colab to your local computer with Jupyter Notebook
Hello everyone, today I will explain how to connect your Google Colab to your local computer.
When you are working on Google Colab sometimes you have limitations such as memory, time, resources, etc. And if you don’t want to pay for the resources upgrade then I will explain how to use your pc as a host in Google Colab.
Introduction

Colaboratory, or Colab, is a hosted Jupyter notebook service requiring zero setup and providing free access to compute resources. It is a convenient and powerful way to share research.
Colab allows you to create, run, and share Jupyter notebooks without having to download or install anything. Integration with GitHub means that you can work entirely in the cloud.
There are two methods that I will consider that you can connect Google Colab with you computer:
- a) With Windows
- b) With Ubuntu or Windows with Ubuntu
a) Windows method
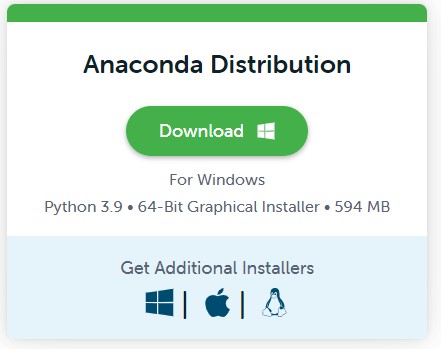
Step 1: Install Anaconda
First you need to install anaconda at this link
Step 2: Install environment
After you have installed Anaconda go to your terminal and let us create an environment called colab, but you can put the name that you like.
conda create -n colab python==3.10
conda activate colab
then we need to install Jupyter server extension for using a WebSocket to proxy HTTP traffic
conda install -c conda-forge jupyter_http_over_ws
jupyter serverextension enable --py jupyter_http_over_ws
If you want to control you environment on Anaconda you can install the kernel (optionally)
conda install ipykernel
python -m ipykernel install --user --name colab --display-name "Python (Colab)"
Step 3: Start a local Jupyter server
then you can start a local Jupyter server
jupyter notebook --NotebookApp.allow_origin='https://colab.research.google.com' \ --port=9090 --no-browser
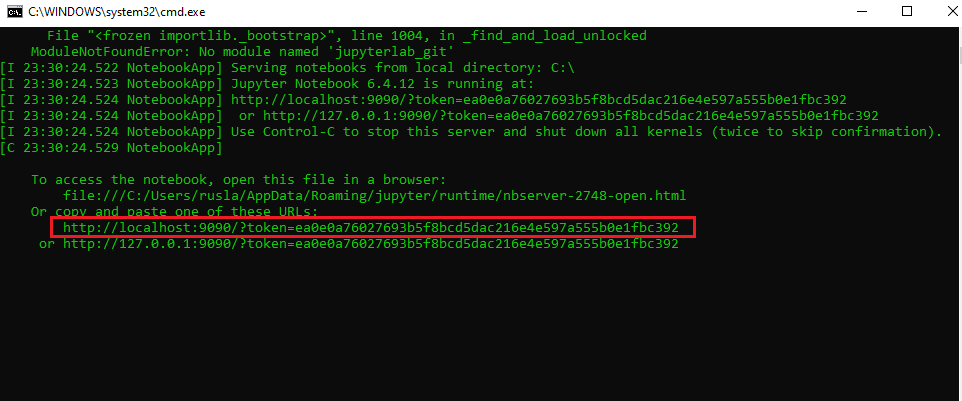
Once the server has started, You’ll need a copy initial backend URL used for authentication.
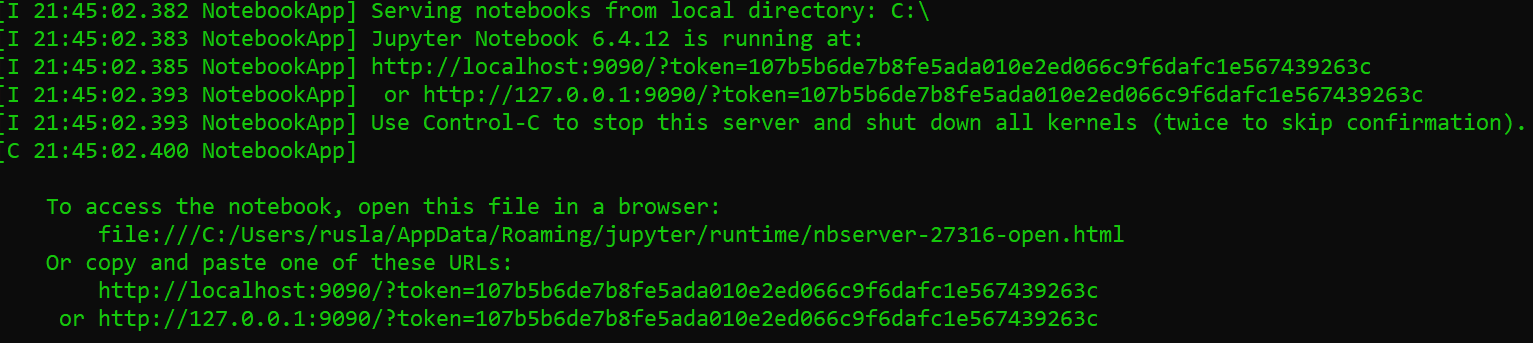
in my case I copy
http://localhost:9090/?token=107b5b6de7b8fe5ada010e2ed066c9f6dafc1e567439263c
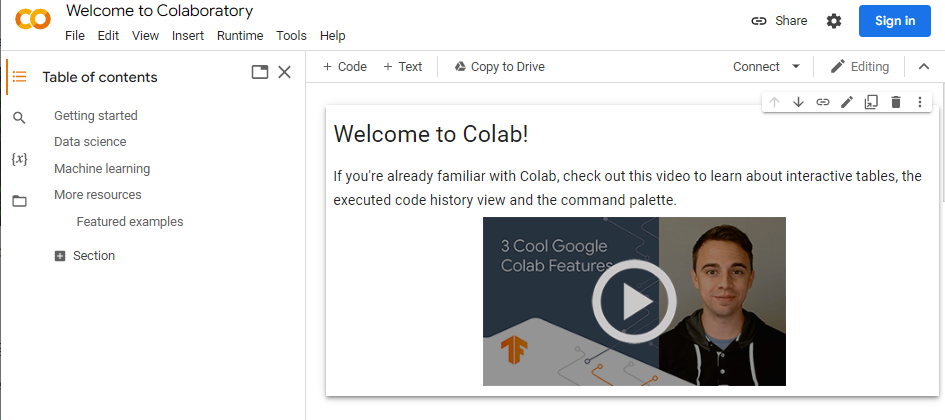
Step 4: Open Google Colab
You open a new web browser and go to the following link
https://colab.research.google.com/
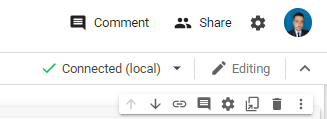
Step 5: Connect to your local runtime
In Colab, click the “Connect” button and select “Connect to local runtime”.

Enter the URL you just copied and click “Connect”:
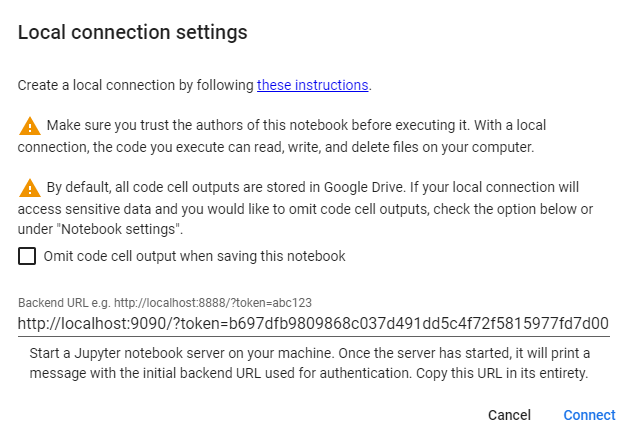
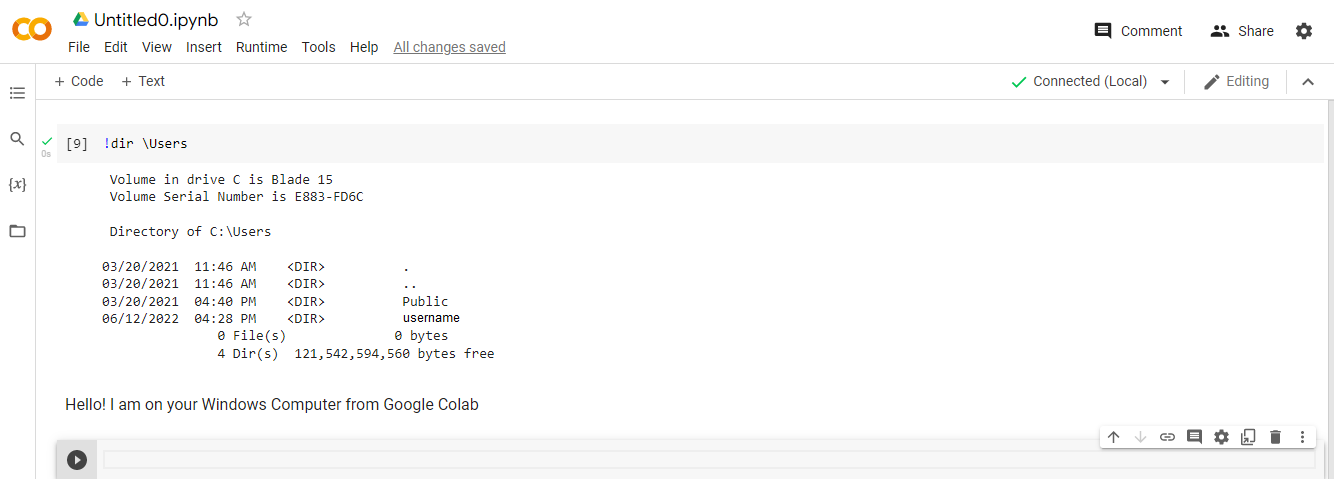
That’s it! You now have the Colab research environment running on your local Jupyter server.
and finally you can type
!dir
to explorer your computer and work with your local files.
Reconnect to local runtime
Next time you want to connect to a local runtime, you only need to run steps 3 and 5 above.
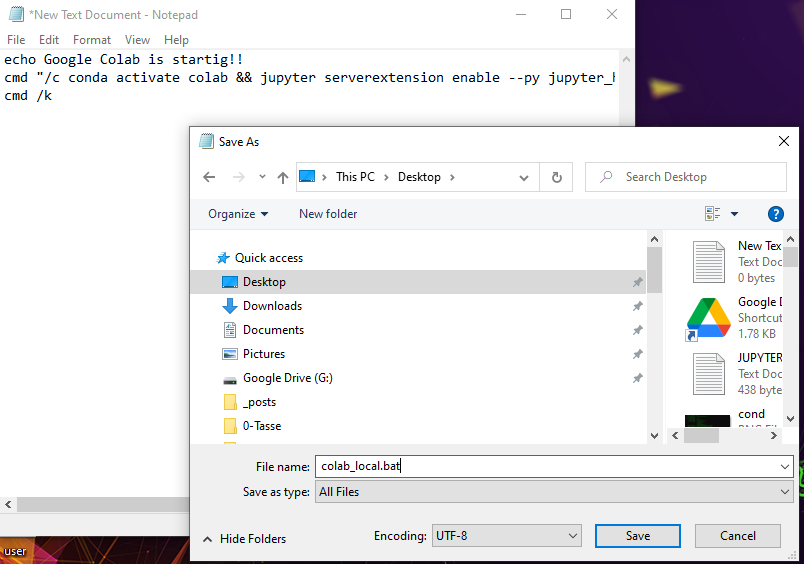
Also you can automatize the method by creation a .bat file in notepad with the following code
echo Google Colab is startig!!
cmd "/c start chrome https://colab.research.google.com"
cmd "/c conda activate colab && jupyter serverextension enable --py jupyter_http_over_ws && jupyter notebook --NotebookApp.allow_origin='https://colab.research.google.com' \ --port=9090 --no-browser"
cmd /k
then you can just save as colab_local.bat
then you have your executable bat
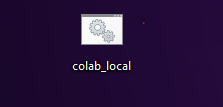
when you click, will be open two windows, one is the google colab an the other the screen where you have to copy the localhost address.
and copy the last values in red and paste in your google colab .
Uninstall
If you dont need the enviroment you can delete by typing
conda remove -n colab --all
cd Desktop
del colab_local.bat
b) Ubuntu method
If you want to have a fully features of Google Colab, you may require the Unix support, then I suggest install Ubuntu or use Windows with ubuntu.
Step 1: Open Ubuntu or Windows Subsystem for Linux
The first thing is have a Unix operative system like ubuntu or a Windows Subsystem for Linux
You can follow this tutorial here.
Step 2: Open the bash terminal
Once you have ubuntu, you can go to your terminal and type
bash
you will get something like
Microsoft Windows [Version 10.0.19044.1766]
(c) Microsoft Corporation. All rights reserved.

C:\Users\ruslanmv>bash
ruslanmv@pc:/mnt/c/Users/ruslanmv$
Step 2: Update Local Package Manager
Start by updating the local package manager. Open a terminal window and enter the following:
sudo apt-get update
If your system doesn’t have wget, install it by entering:
sudo apt install wget
Step 3: Download the Latest Version of Anaconda
At the time this article was written, the latest version of Anaconda is 2022.05. Check the developer’s download page to view the newest version.
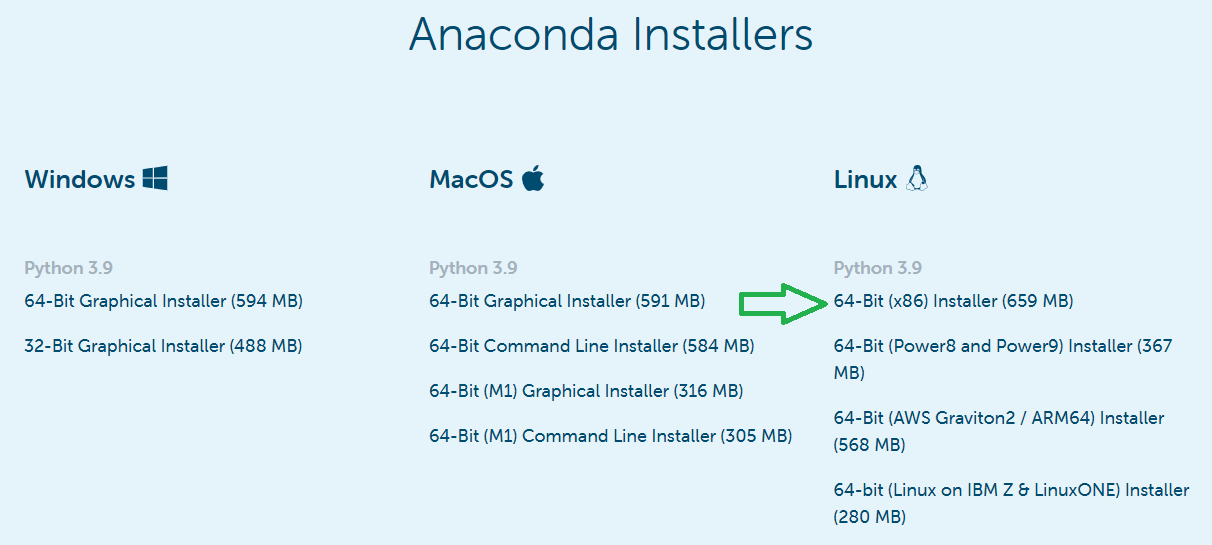
Note the URL and use it to download the correct version.
Use curl to download the installer using your command terminal:
wget https://repo.anaconda.com/archive/Anaconda3-2022.05-Linux-x86_64.sh
you will get something like
Saving to: ‘Anaconda3-2022.05-Linux-x86_64.sh’
Anaconda3-2022.05-Linux-x86_64.sh    100%[===================================================================>] 658.85M  12.1MB/s    in 48s
2022-06-26 23:03:36 (13.8 MB/s) - ‘Anaconda3-2022.05-Linux-x86_64.sh’ saved [690850711/690850711]
ruslanmv@pc:/mnt/c/Users/ruslanmv$
Step 4: Run Anaconda Installation Script
The Anaconda installer is a bash script. To run the installation script, use the command:
bash Anaconda3-2022.05-Linux-x86_64.sh
A license agreement will appear. Use the Enter key to review the agreement.

At the bottom, type yes to agree to the terms.
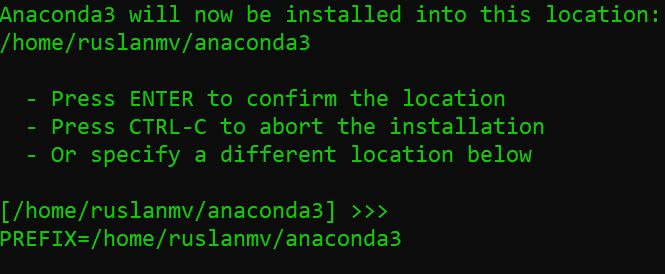
The installer will prompt you to accept the default location, or install to a different location. Use the default path unless you have a specific need to change it. (You may cancel the installation here if needed.)
The installation will finish. After sucessful installation, the following will appear:
installation finished.
Do you wish the installer to initialize Anaconda3
by running conda init? [yes|no]
This determines if you want to use the conda command without changing the directory. Type yes and hit enter, unless you have a specific need to do otherwise. t
In ordering to use conda from the terminal you should update the enviroment variables of your terminal by doing
nano ~/.bashrc
then add this path to your .bashrc file at the end, by using CTRL+W and CTRL+V and paste the following line
export PATH=~/anaconda3/bin:$PATH
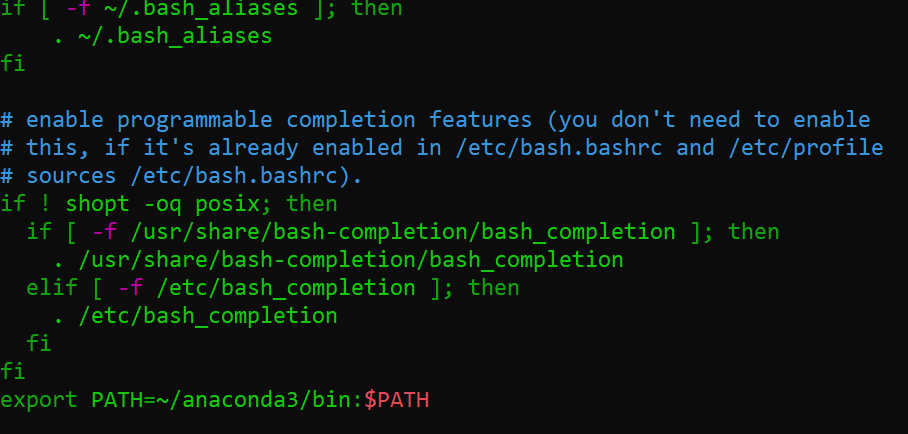
and then save the file
using CTRL+S to save and CTRL+X to exit
additionally if you are in the WSL Windows you should do instead
nano ~/.bash_profile
you should add this path:
export PATH=~/anaconda3/bin:$PATH
then test
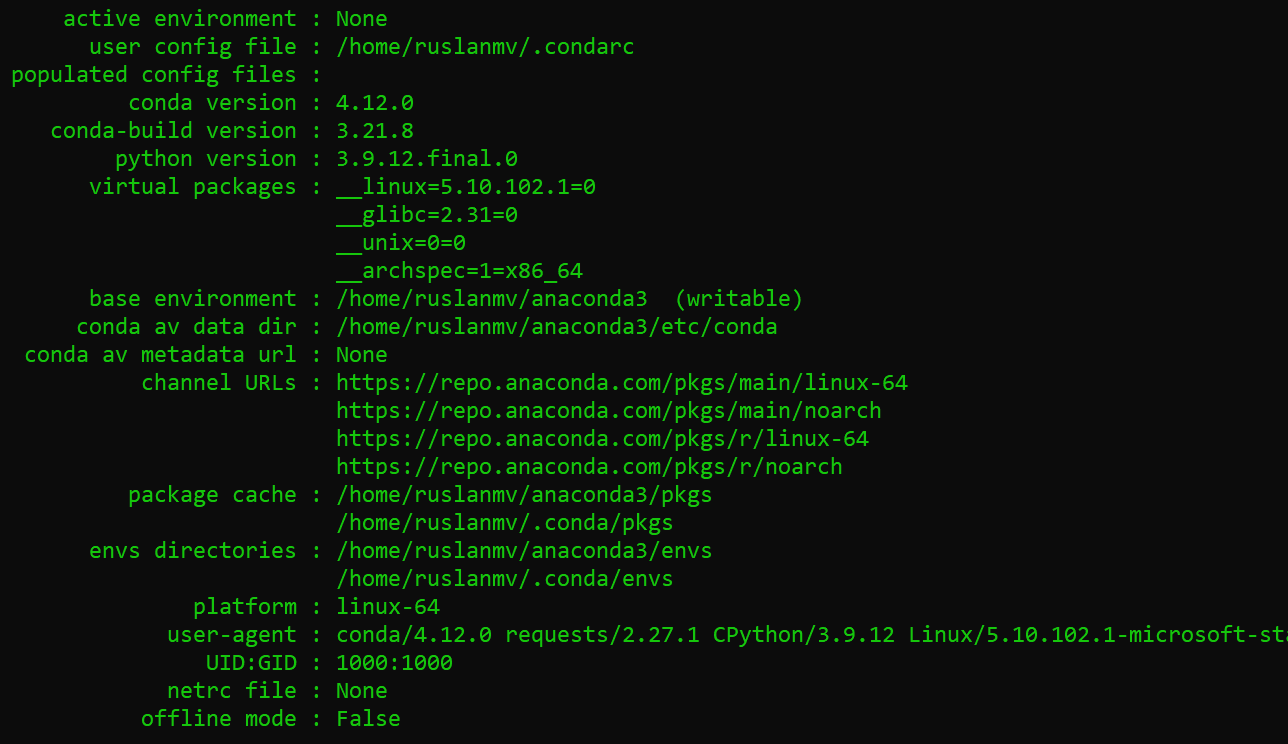
conda --version
ruslanmv@Blade:/mnt/c/Users/ruslanmv$ conda --version
conda 4.12.0
Wee need to initialize the shell with
conda init bash
Once finished, activate the installation, that will automatically edit your .bashrc. (Reload)
source ~/.bashrc
Then we need to close and restart your shell.
Step 5: Test Installation
Use the conda command to test the installation:
conda info
Step 6. Create and Activate Anaconda Environments
Create a Python 3 Colab enviroment named colab by entering the following:
conda create -n colab python==3.7
Activate this environment:
conda activate colab
In order to use Drive files in Colab, you’ll need to mount your Google Drive on the Colab,
conda install google-colab
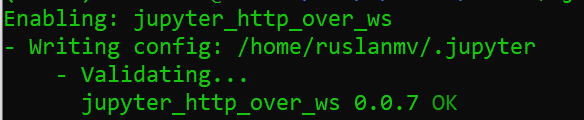
then we need toiInstall Jupyter server extension for using a WebSocket to proxy HTTP traffic
conda install -c conda-forge jupyter_http_over_ws
jupyter serverextension enable --py jupyter_http_over_ws
Step 7: Start a local Jupyter server
then you can start a local Jupyter server
jupyter notebook --NotebookApp.allow_origin='https://colab.research.google.com' --port=9090 --no-browser
Once the server has started, You’ll need a copy initial backend URL used for authentication.
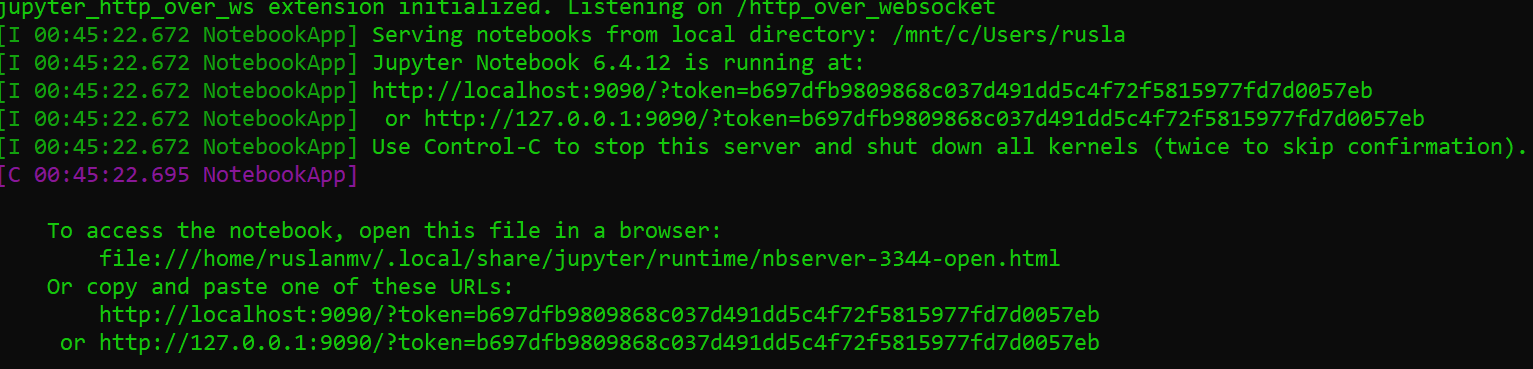
in my case I copy
http://localhost:9090/?token=b697dfb9809868c037d491dd5c4f72f5815977fd7d0057eb
Step 8: Open Google Colab
You open a new web browser and go to the following link
https://colab.research.google.com/
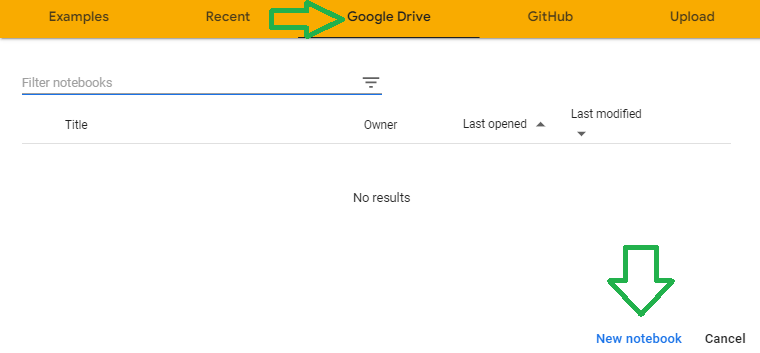
if you want you use your cloud drive in Google Drive, you select Google drive and then click on New Notebook
Step 9: Connect to your local runtime
In Colab, click the “Connect” button and select “Connect to local runtime”.
Enter the URL you just copied and click “Connect”:
That’s it! You now have the Colab research environment running on your local Jupyter server.
Let us check if we are on our Windows Linux System from Google Colab.
The command “uname -r” shows the version of the Linux kernel that you’re currently using. You’ll now see which Linux kernel you’re using
we add new cell
!uname-r
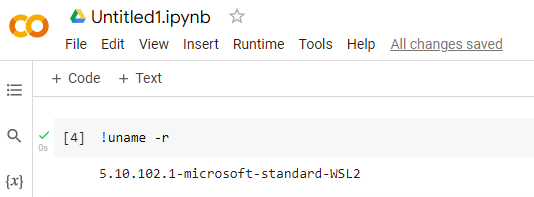
Good we are in our Windows system with Linux.
Mount your Google Drive on the local Colab
Now let us try to connect to our Google Drive.
There are different methods to import data from local Colab , among them:
-
Mount Google Drive to your Local PC
-
Get files from Google Drive using gdown
-
Mound Google Drive using Jupyter Lab (more )
-
Mound Google Drive using APIs in GCP
You can mount the drive but it cost by using the API.
I will use the simplest free methods
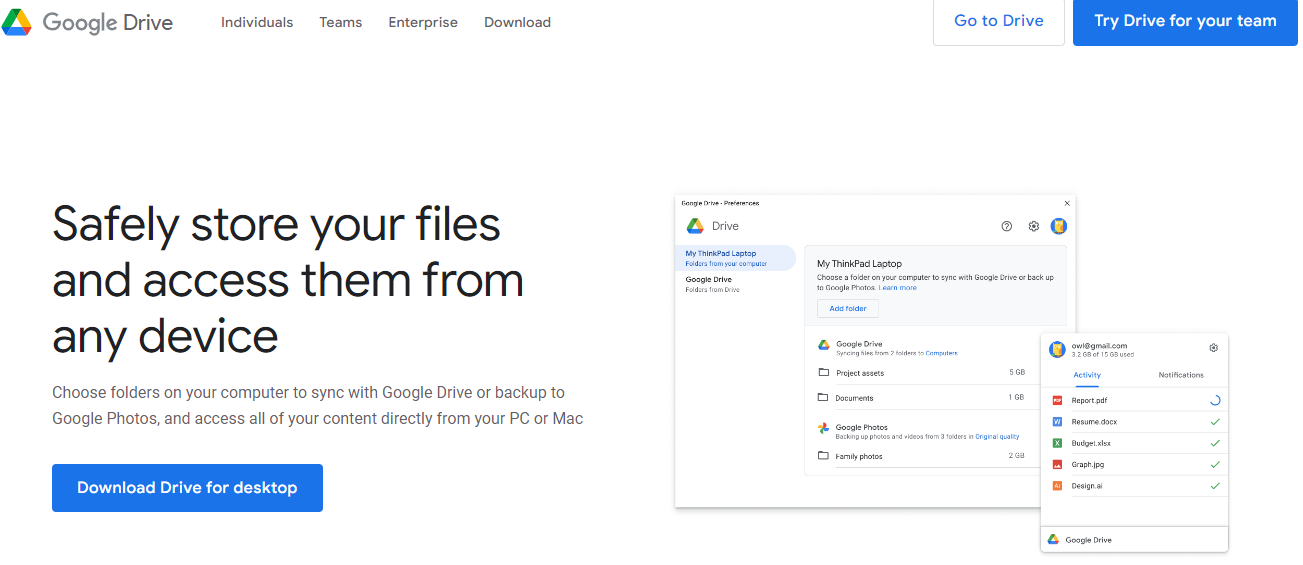
Mount Google Drive to your Local PC
Go to the Google Drive downloads page and click Download Drive for desktop.
Click Download Drive for desktop and Once the program is done downloading, click on it to begin installing and follow the onscreen instructions.
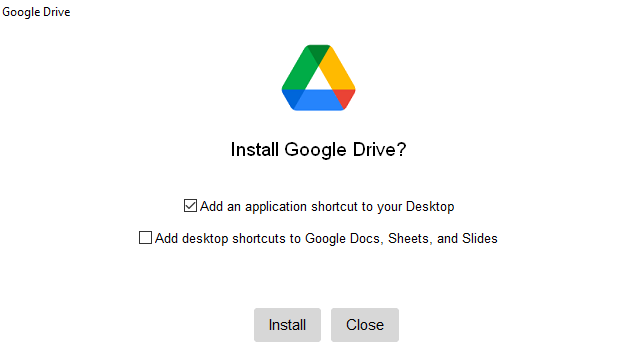
When the app has finished installing, click Close. Look for a window called Sign in to Google Drive and click on Sign in with browser.
I click Sign In.
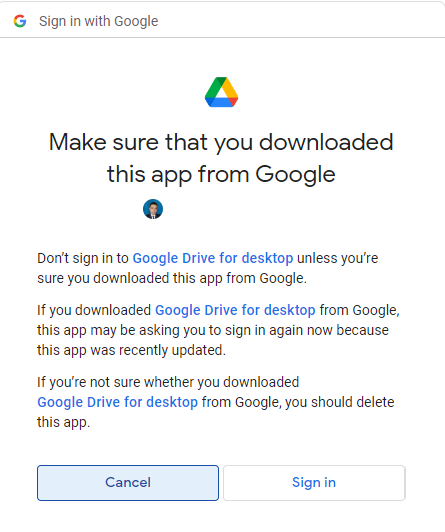
Type in your Gmail address, click Next, then type in your Gmail password, and then click Next. In the new page that appears confirming you downloaded the application from Google,

Then you can execute the icon of Google Drive from your Desktop,
"C:\Program Files\Google\Drive File Stream\launch.bat"
And then you have your google drive
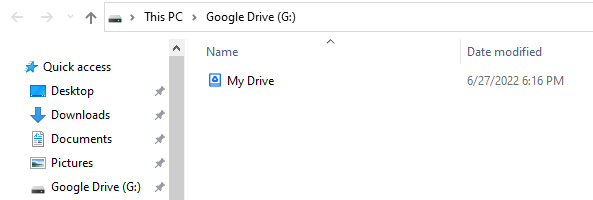
Now if you are in Windows, you can go to your terminal
and type the letter of your Google Drive unit, in my case is G
g:
Microsoft Windows [Version 10.0.19044.1766]
(c) Microsoft Corporation. All rights reserved.

C:\Users\ruslanmv>G:

G:\>
then you can enter to your Colab Diretory
cd "My Drive\Colab Notebooks"
conda activate colab
then you can start a local Jupyter server
jupyter notebook --NotebookApp.allow_origin='https://colab.research.google.com' \ --port=9090 --no-browser
Once the server has started

You open a new web browser and go to the following link
https://colab.research.google.com/), you select Google drive and then click on New Notebook

Get files from Google Drive using gdown
First, extract the ID of your desire file from google drive:
In your browser, navigate to drive.google.com.
Right-click on the file, and click “Get a shareable link”
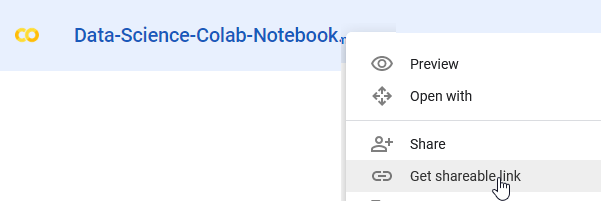
Then extract the ID of file from URL:

Next, install gdown PyPI module using conda:
! conda install -y gdown
Finally, download the file using gdown and the intended ID:
!gdown --id <put-the-ID>
For example:
!gdown --id 1-1wAx7b-USG0eQwIBVwVDUl3K1_1ReCt
Congratulations! We have learned how to connect Google Colab with our local computer.
Leave a comment