
How to connect to SageMaker notebook via SSH and run Flask
Hello everyone, today I will explain how to to connect to SageMaker Notebook via SSH and execute a WebApp from your Laptop.
In this blog post we are going to create a bastion box and optionally you can also Opening a SSH Tunnel to run Flask.

SageMaker enables developers to create, train, and deploy machine-learning models in the cloud. SageMaker also enables developers to deploy ML models on embedded systems and edge-devices.
Introduction
Amazon VPC enables you to launch AWS resources on a virtual private network that you have defined. The bastion host runs on an Amazon EC2 instance that is typically in a public subnet of your Amazon VPC. Linux instances are in a subnet that is not publicly accessible, and they are set up with a security group that allows SSH access from the security group attached to the underlying EC2 instance running the bastion host
SSH tunneling is a method of transporting arbitrary networking data over an encrypted SSH connection. It can be used to add encryption to legacy applications. It can also be used to implement VPNs (Virtual Private Networks) and access intranet services across firewalls.
SSH is a standard for secure remote logins and file transfers over untrusted networks. It also provides a way to secure the data traffic of any given application using port forwarding, basically tunneling any TCP/IP port over SSH. This means that the application data traffic is directed to flow inside an encrypted SSH connection so that it cannot be eavesdropped or intercepted while it is in transit. SSH tunneling enables adding network security to legacy applications that do not natively support encryption.
AWS does not natively support SSH-ing into SageMaker notebook instances, but nothing really prevents you from setting up SSH yourself.
The only problem is that these instances do not get a public IP address, which means you have to either create a reverse proxy or connect to it via bastion box.
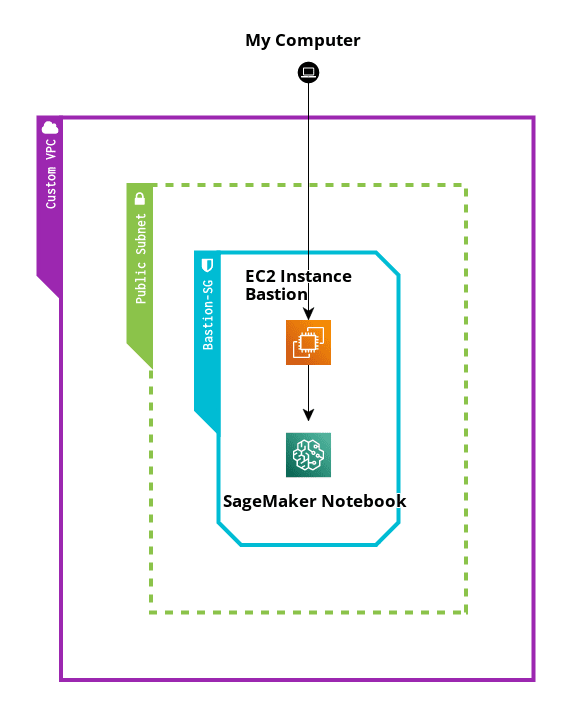
The following diagram of this project:
Step 1 Creation of Custom VPC
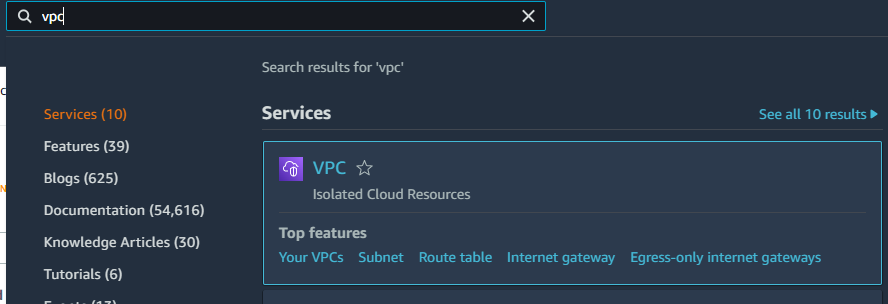
In the AWS management console so the first thing to do is to go to my services then select VPC
We are using to build our own private network in AWS
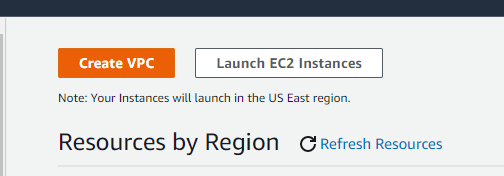
Click a create a VPC
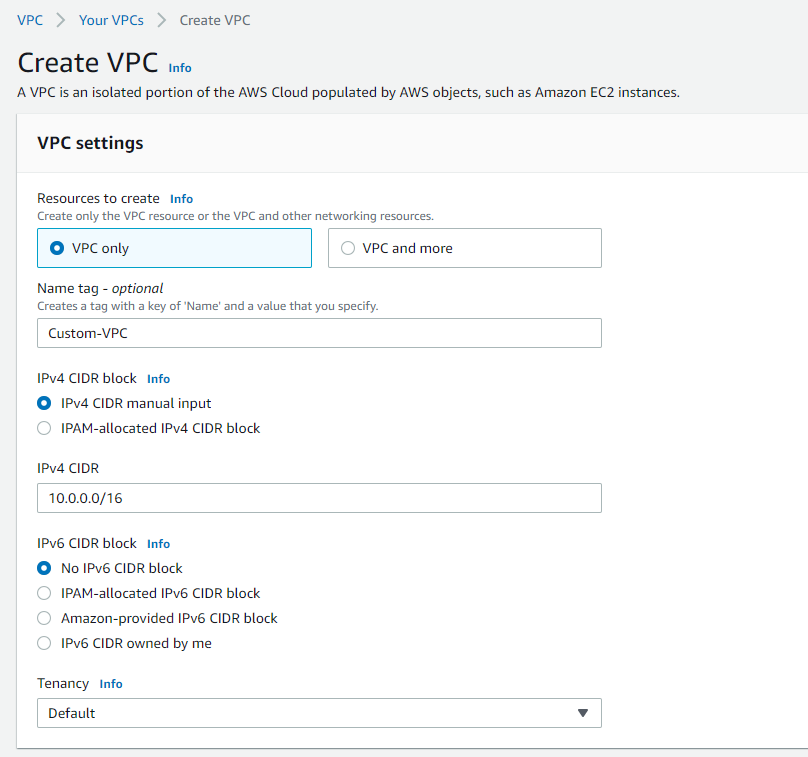
We select VPC only and we call Custom-VPC
In the cidr block that we want to use is 10.0.0.0/16. this means that this VPC is going to have about 65 536 available IP so we can segment that VPC further into more subnets and default tenancy
then we click create a vpc , once you create a vpc select the vpc and now from the actions
menu click Edit DNS hostnames
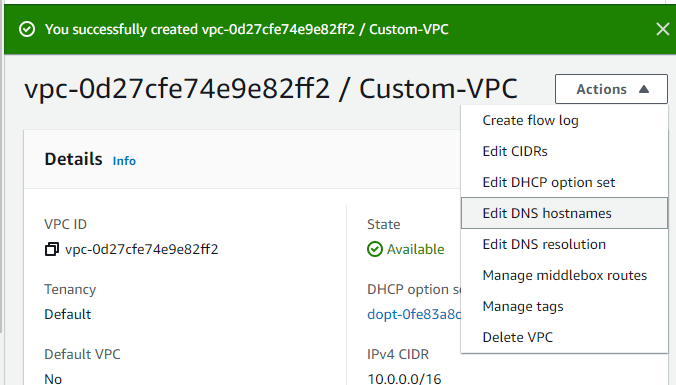
and Enable DNS hostnames and click save
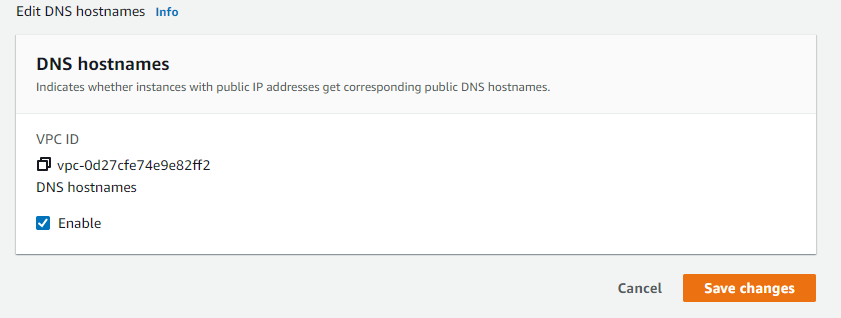
This will give any EC2 Instances in this VPC a DNS name.
Select subnet, select your Custom-VPC and create a new subnet and i will call this Public Subnet. In the first availability zone of us-east1a , we choose the ip address 10.0.0.1/24 which means we get up to 2 to the power 8 available IP minus 5 which are the 5 IPs reserved for AWS
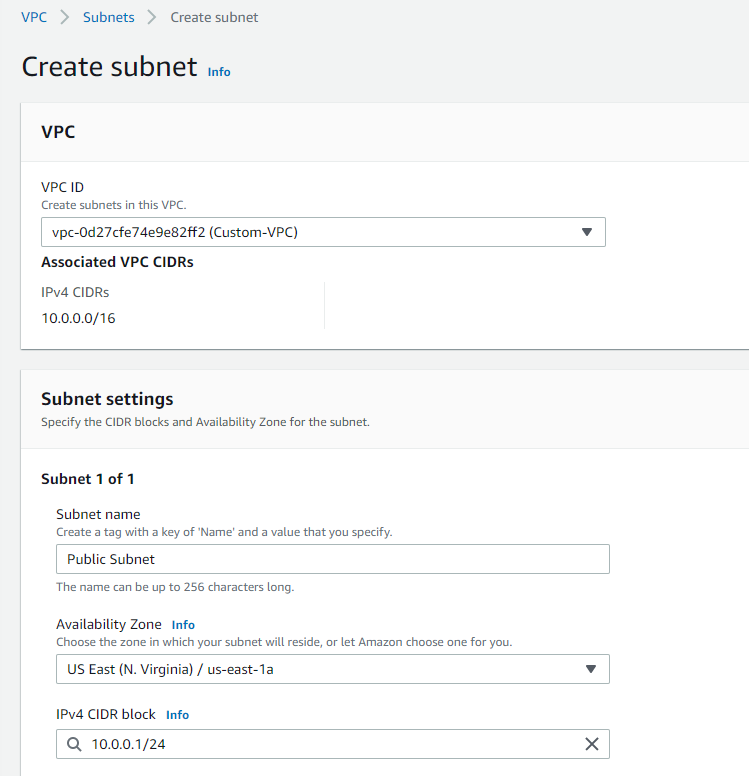
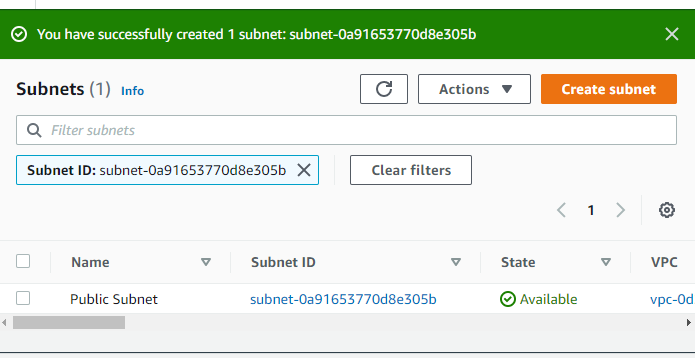
then click create subnet.
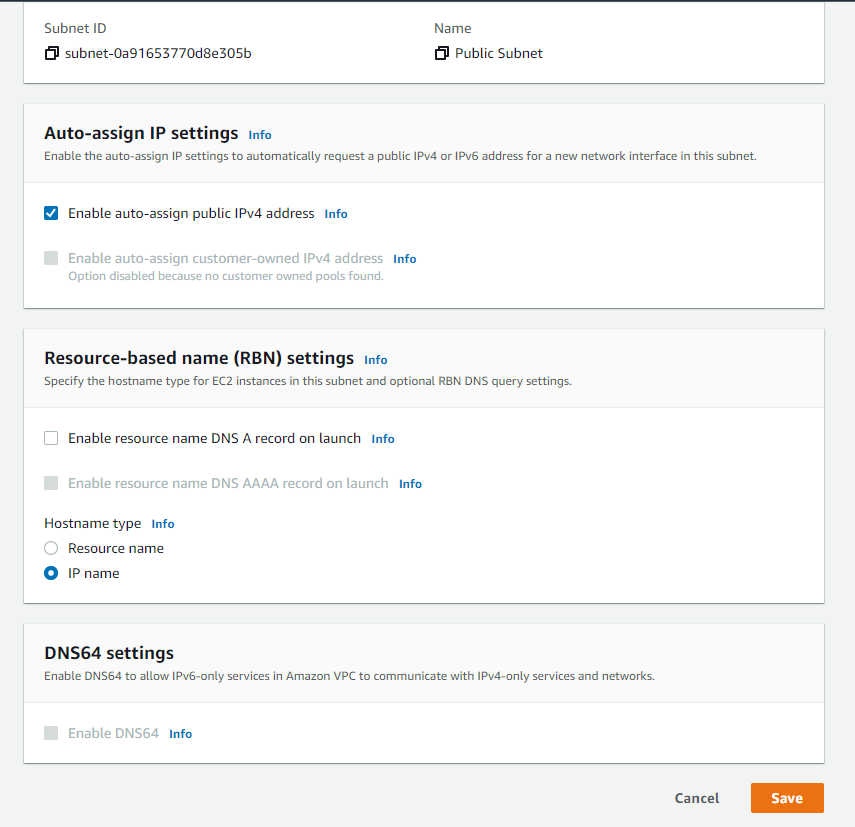
then select my Public Subnet and from the action menu click Edit Subnet settings
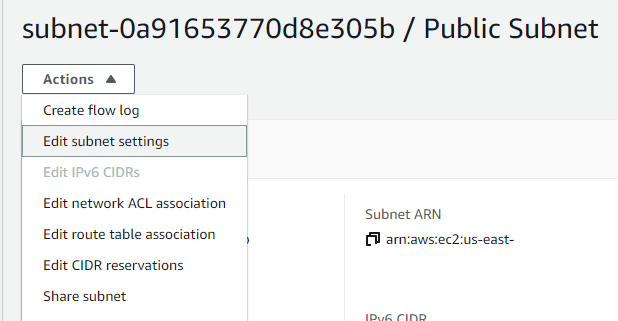
and enable auto assign public ip address then click on save
Now let us create Internet gateway because we want that the public subnet has inbound and outbound. internet connection.
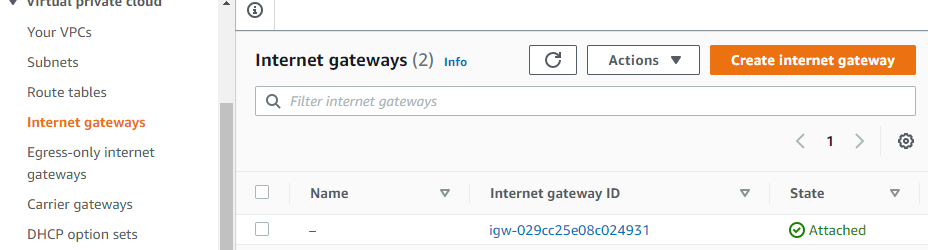
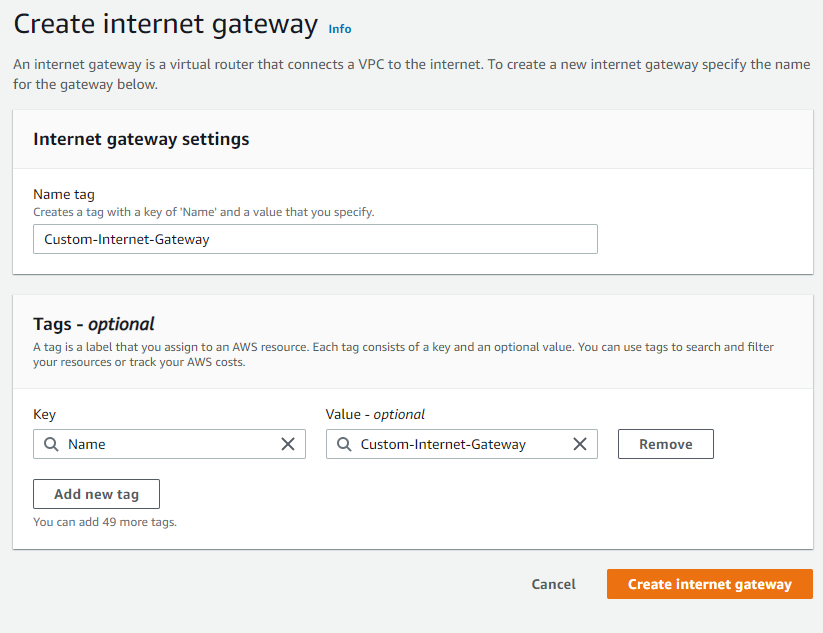
create an internet gateway i will call it Custom-Internet-Gateway and click Create internet gateway
Then we click on action menu of the internet gateway that just we created and click attach to VPC
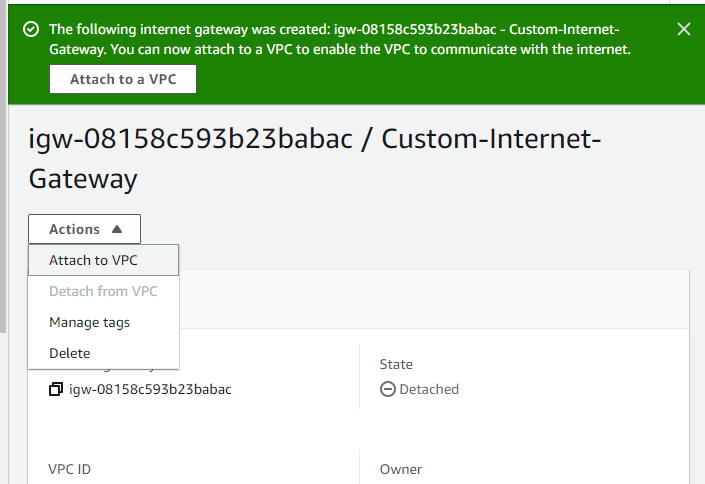
and we select the Custom-VPC
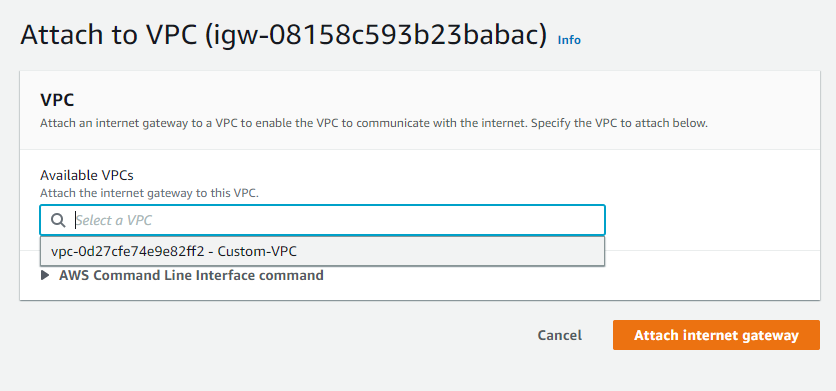
and click Attach internet gateway.
Let us go to the Route tables and we want to configure the route table now be careful when you go to the route table you must be sure that this route table belongs to the Custom-VPC because most likely you will have a default vpc created in your region by AWS.
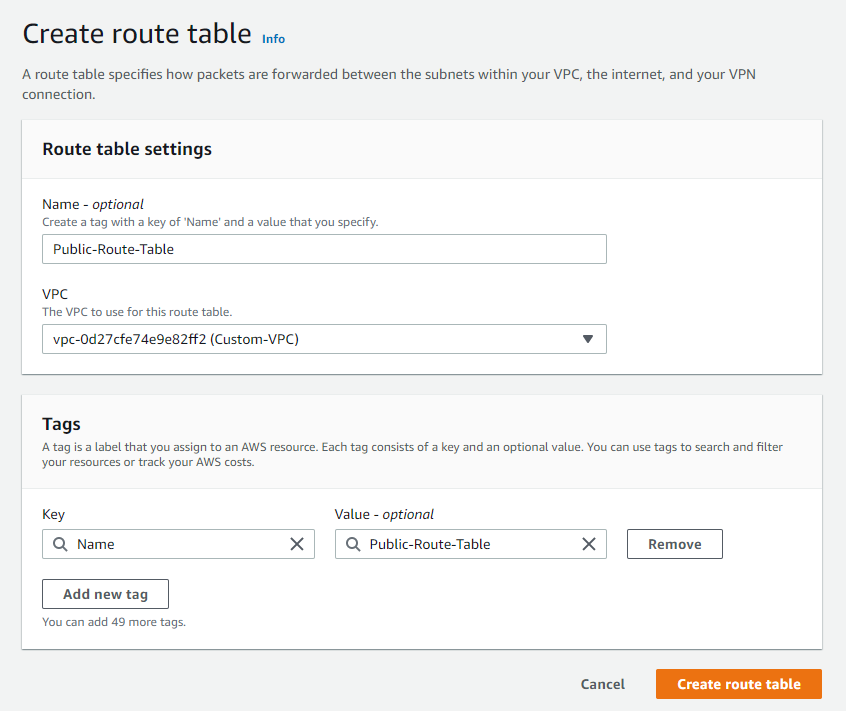
and click Create route table, then click on Edit route tables
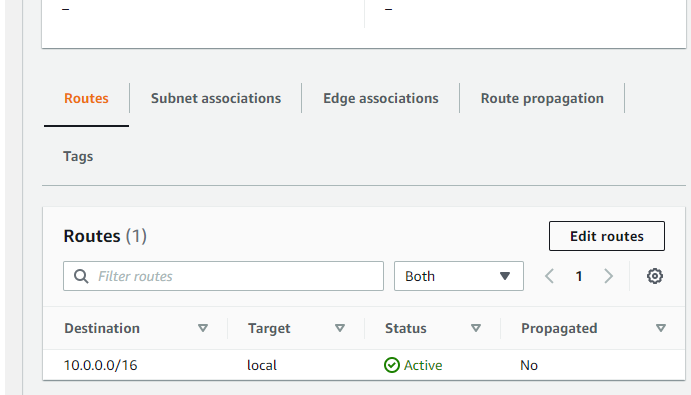
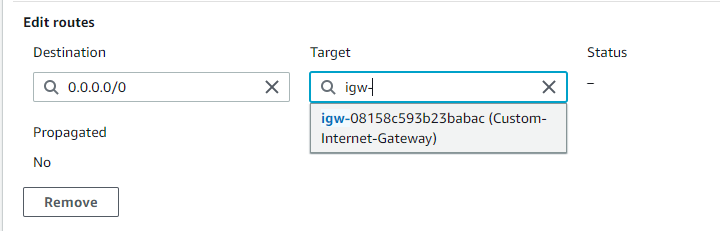
For this project I will edit the route tables to be public, we add 0.0.0.0/0
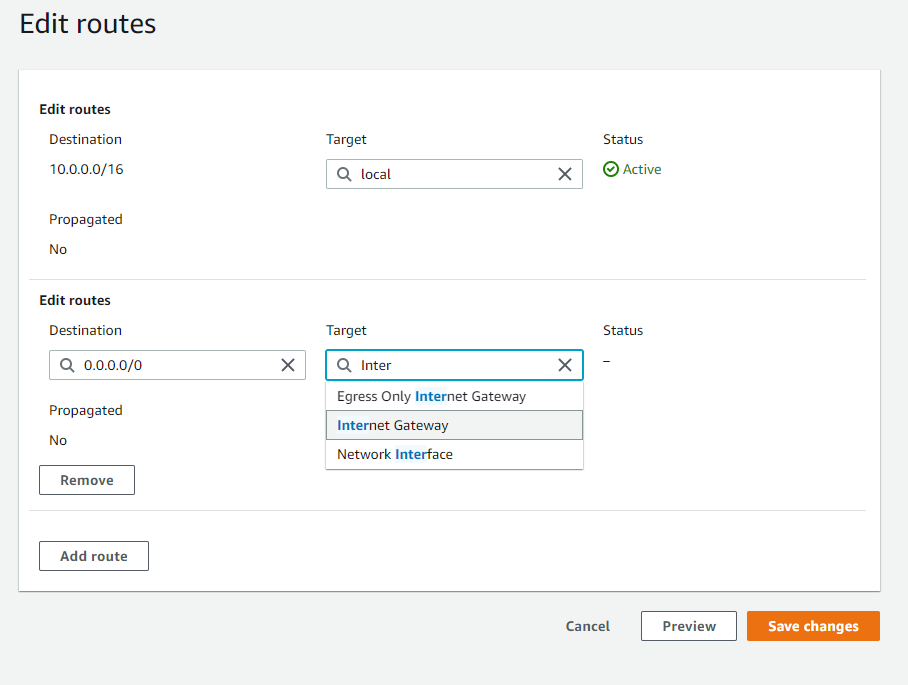
and we select our Custom-Internet-Gateway
now in the subnet association, we need to point now my public subnet to my public route table , we click on edit subnet associations
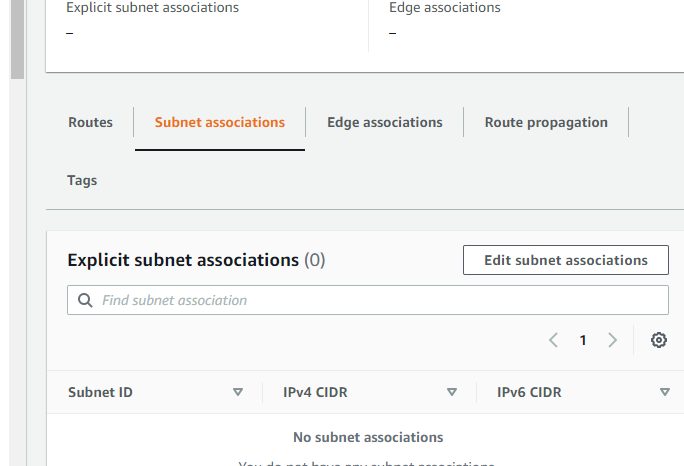
and then Select the Public Subnet and click Save associations.
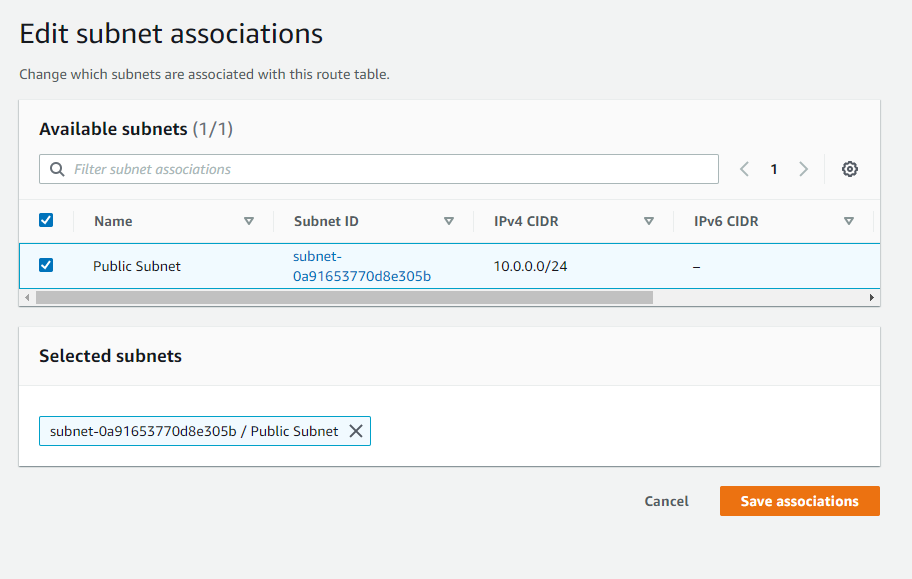
and this is from now on this subnet will be act as a public subnet because it has a destination route to the internet gateway .
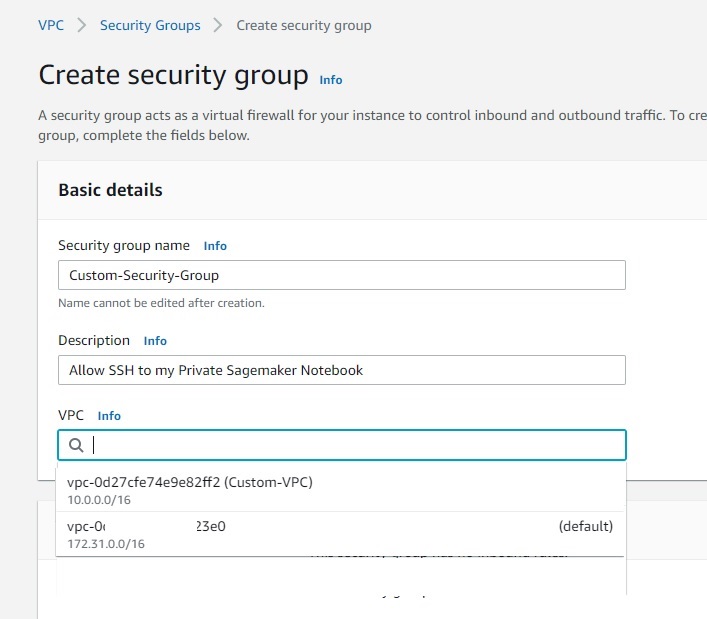
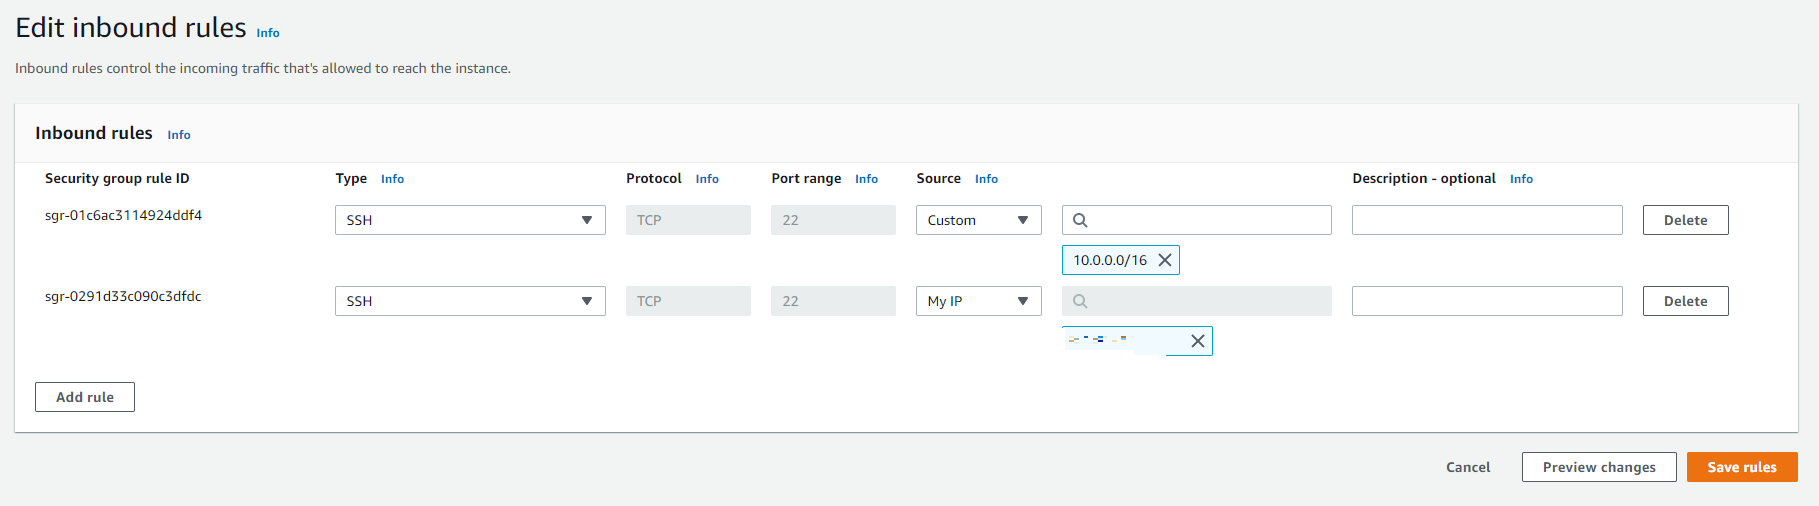
The next step is create a create a security group , we click on create a security group you need to specify, where this security group in which vpc we choose Custom-VPC, be sure to deselect the default because by default aws console will give you the default vpc , then a new rule and this is will be ssh and let assign the block CIDR 10.0.0.0/16 that corresponds to all IPs ouf our VPC and then we add an extra new rule where we choose MyIP
You can create two different subnets, one private another public, but to simplify the things, we I have used only a single subnet. Because the private subnet requires create a NAT Gateway. But due to I am on my single VPC , and Sagemaker does not generate public IP and has their own private subnet so its okay.
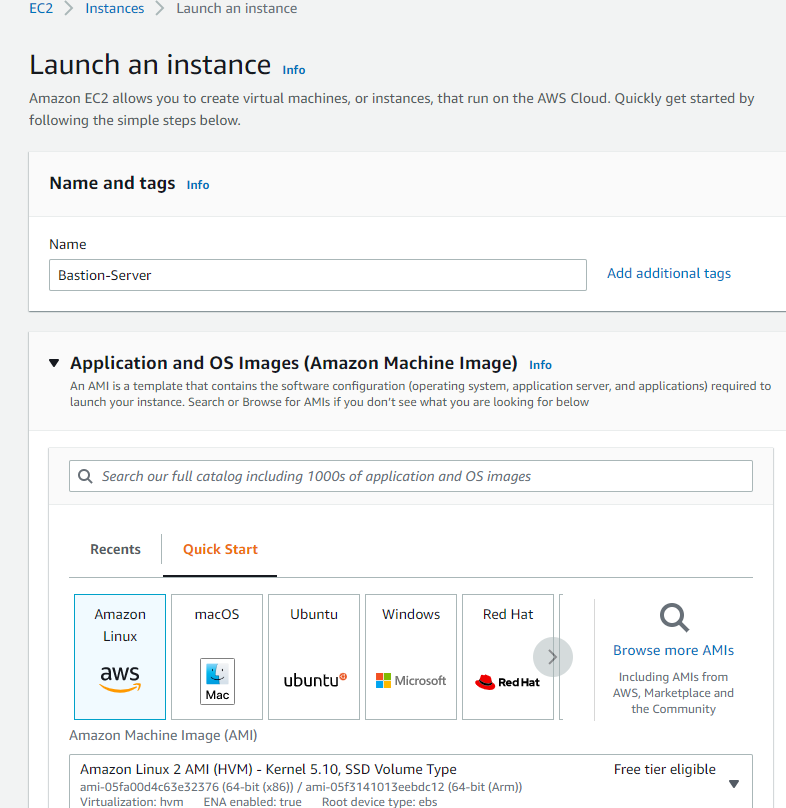
Step 2 Creation of Bastion-Server Instance
Let us create a Bastion Server.
then you add the Key pair name , Bastion-Server
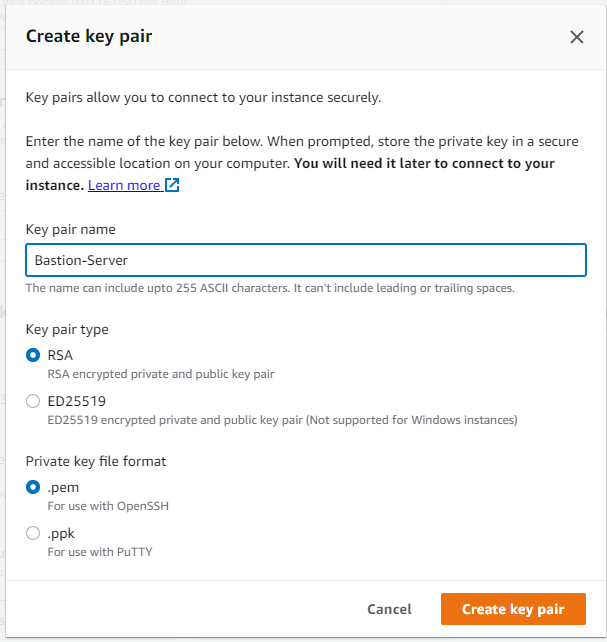
and click create Key pair, you download this Bastion-Server.pem , then you select
the Custom-VPC and the Public Subnet and Enable public IP, select Custom Security Group
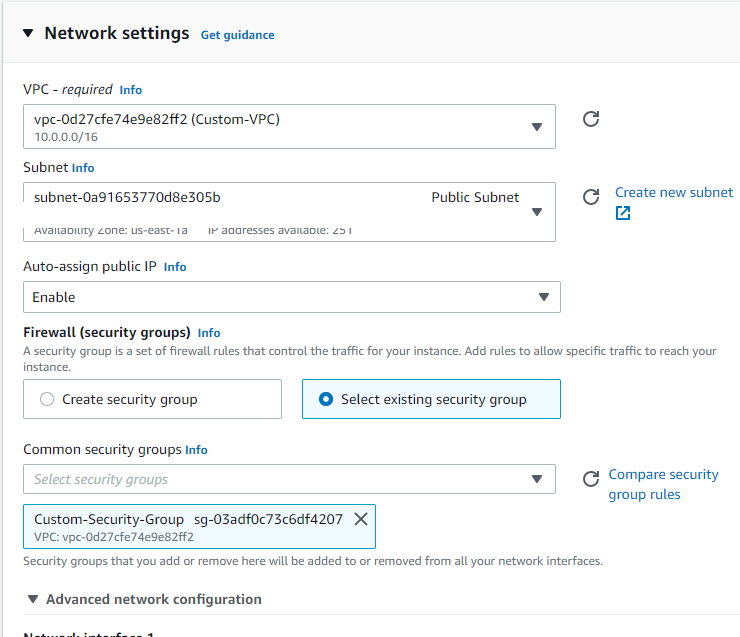
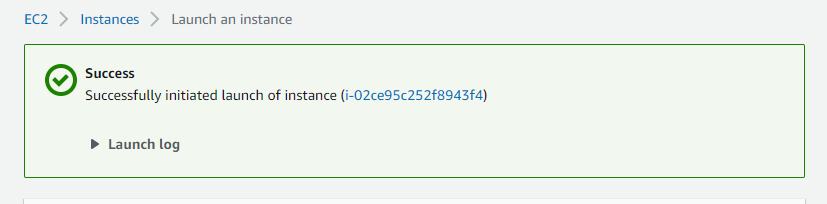
and finally launch the EC2 instance.
Step 3. Creation of the SageMaker Notebook
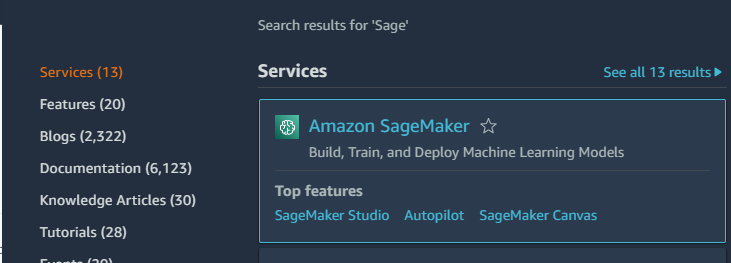
Head to the AWS Console and from there, under All Services, choose SageMaker.
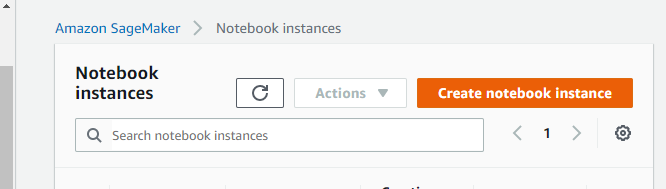
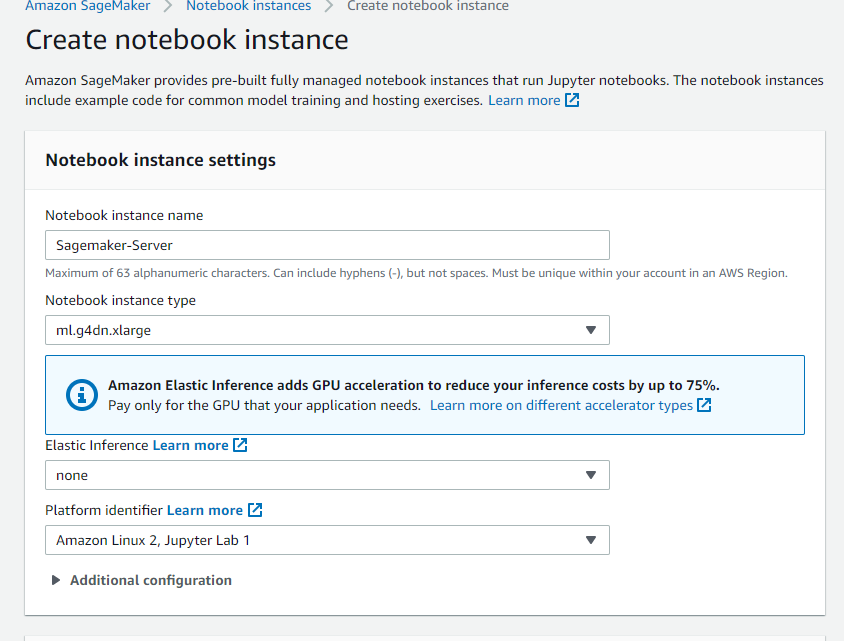
Then we will create a notebook instance,
then we name our server as Sagemaker . There are a vast of types of AWS Instaces, for our GPU consuming I suggest use the Amazon EC2 G4 instances that provide the latest generation NVIDIA T4 GPUs, Amazon Web Services custom Intel Cascade Lake CPUs, up to 100 Gbps of networking throughput, and up to 1.8 TB of local NVMe storage.
Moreover Amazon EC2 G4 instances deliver a cost-effective GPU instance for deploying machine learning models in production and graphics-intensive applications.
These instances deliver up to 65 TFLOPs of FP16 performance to accelerate machine learning inference applications and ray-tracing cores to accelerate graphics workloads such as graphics workstations, video transcoding, and game streaming in the cloud.
Let us then choose
ml.g4dn.xlarge
which has the following specs:
1 GPU, 4 vCPUs, 16 GiB of memory, 125 NVMe SSD, up to 25 Gbps network performance
You should be careful, choose the appropriate instance, to avoid extra costs!!!
| Accelerated Computing | vCPU | Memory | Price per Hour |
|---|---|---|---|
| ml.p3.2xlarge | 8 | 61 GiB | $3.825 |
| ml.p3.8xlarge | 32 | 244 GiB | $14.688 |
| ml.p3.16xlarge | 64 | 488 GiB | $28.152 |
| ml.g4dn.xlarge | 4 | 16 GiB | $0.7364 |
In particular this instance ml.g4dn.xlarge , during the writing time, you will pay $0.7364 per Hour so be sure to delete your Instance after you finish.
then we name Sagemaker-Server
Custom-VPC amd we choose the first subnet that you can see then
it is important to select the security group Custom-Security-Group
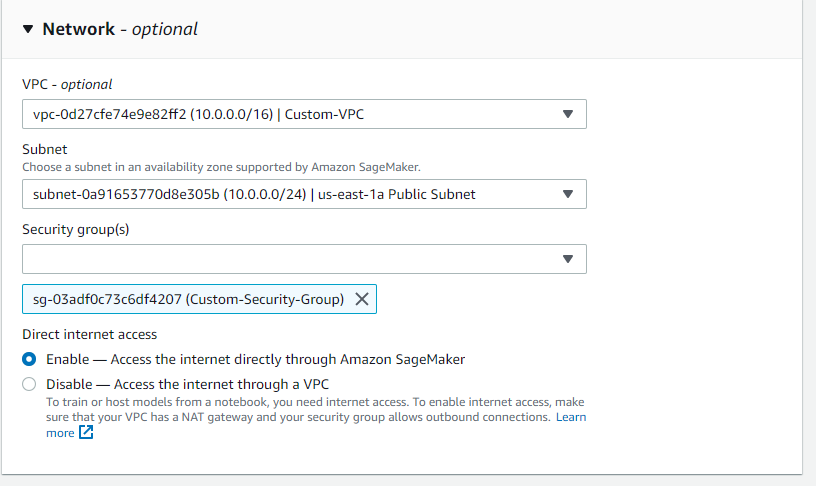
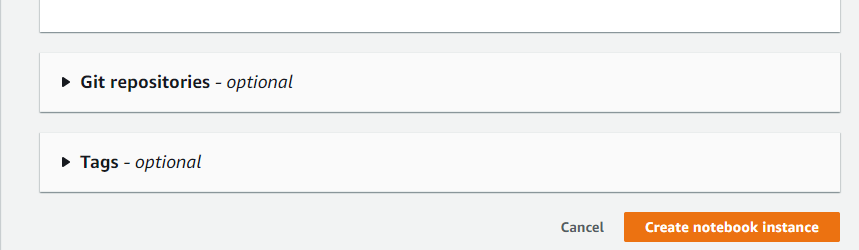
and later click on Create notebook instance
Step 4. Setup your Computer
Go to your EC2 server
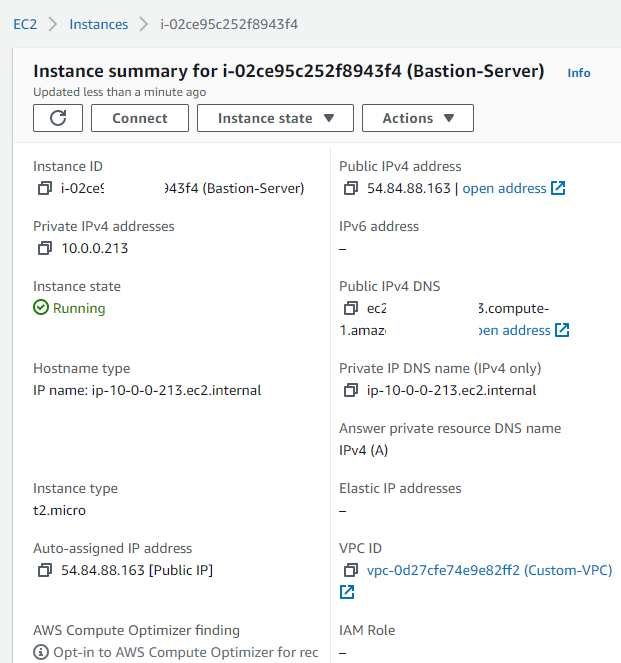
and click connect and then copy the public ip Copy the Bastion-Server.pem to the c:\bastion or in any folder of your preference,you enter to the terminal, to that folder, in my case I use
cd c:\bastion
chmod 400 Bastion-Server.pem
If you don’t have openssh or cygwin, use chocolatey to install it easily using chocolatey.
choco install cyg-get
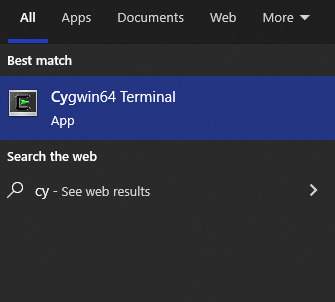
Open Cygwin Terminal that was installed with chocolatey
and run
cyg-get install openssh
then type
cd C:
cd bastion
and we can test our connection
ssh -i "Bastion-Server.pem" [email protected]
then we return back to our laptop terminal
exit
For this project we need to skip call the .pem file , so we copy your .pem file to .ssh
cp Bastion-Server.pem ~/.ssh/
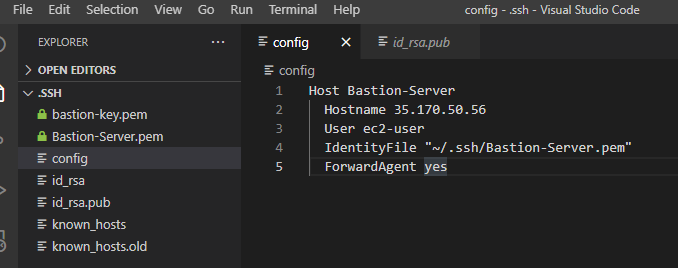
copy your public IP address of your Bastion-server and edit the config file
cd ~/.ssh/
code config
with the following lines in the
Host Bastion-Server
  Hostname 35.170.50.56
  User ec2-user
  IdentityFile "~/.ssh/Bastion-Server.pem"
  ForwardAgent yes
then you simply to connect type
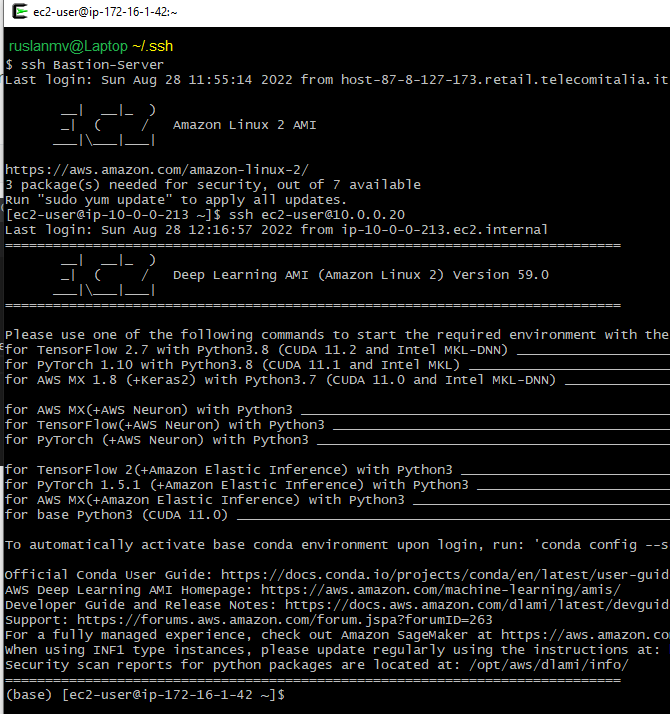
ssh Bastion-Server
$ ssh Bastion-Server
Last login: Sat Aug 27 23:41:41 2022 from host-87-8-127-173.retail.telecomitalia.it

       __|  __|_  )
       _|  (     /   Amazon Linux 2 AMI
      ___|\___|___|

https://aws.amazon.com/amazon-linux-2/
3 package(s) needed for security, out of 7 available
Run "sudo yum update" to apply all updates.
[ec2-user@ip-10-0-0-213 ~]$
then you type
ssh-keygen -t rsa
cd .ssh
cat id_rsa.pub

then copy what you see on your terminal, then return back to Sagemaker Notebook

open Jupyter Lab, then click on open new terminal
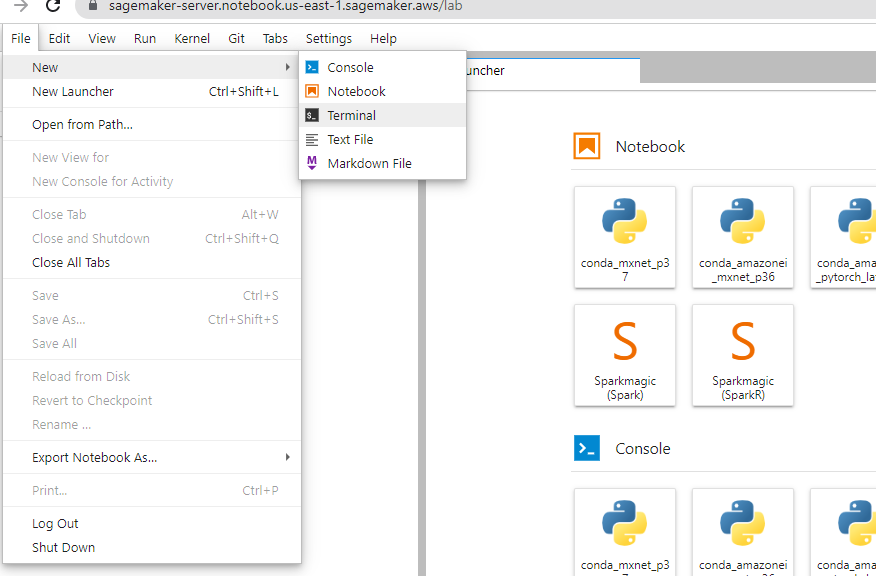
and type the following
cd .ssh
nano authorized_keys
and paste the copied code , then to save press ctrl+X and then press Y and press enter.
then type
/sbin/ifconfig eth2 | grep 'inet' | cut -d: -f2 | /sbin/ifconfig eth2 | grep 'inet' | cut -d: -f2
and then copy the private ip
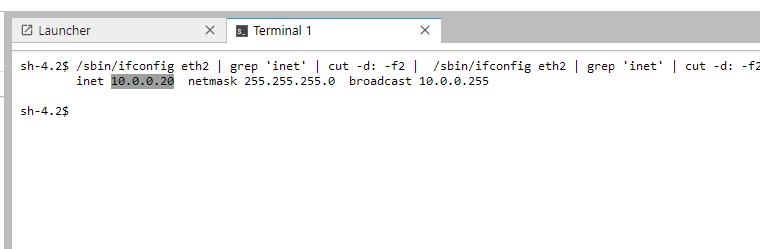
in my case is 10.0.0.20, then return to your Bastion Terminal
and type
and wuala! you are in your Jupyter Notebook instance. For future connections, just type
ssh Bastion-Server
then
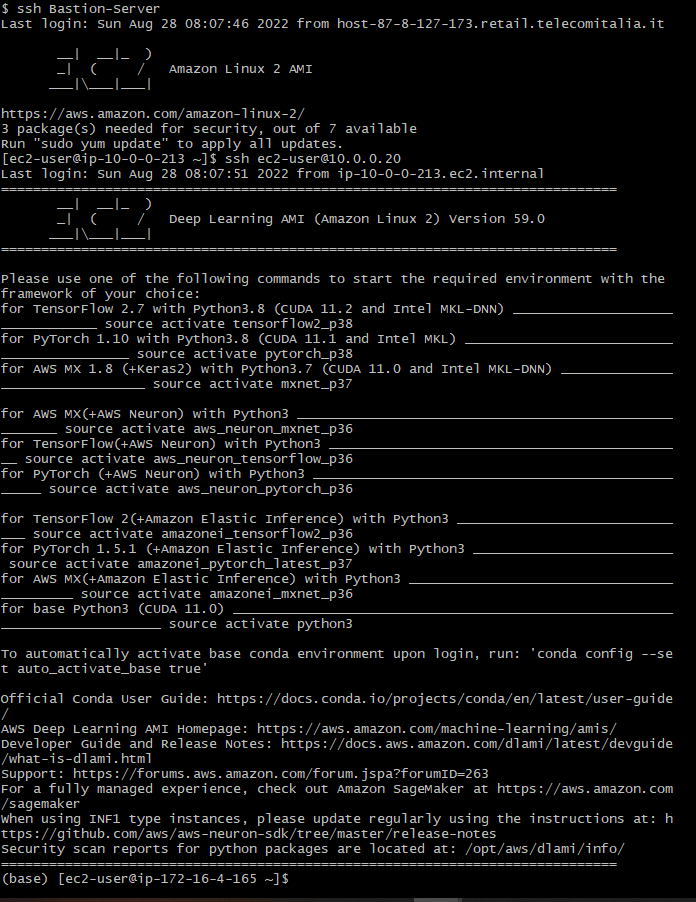
If you see your are in ec2-user@ip-172-16-1-42 , and IP that is managed by AWS
Gresat! You have connected via ssh to your Sagemaker Notebook
Troubleshooting’s:
Sometimes if you have problems, I have collected some of the common errors that I found and I solved.
Scenario 1: If you stop your Sagemaker Notebook and start your instance, do the following steps:
-
Enter to your Bastion-Server and copy again the .pub fille
cat ~/.ssh/id_rsa.pub -
Remove the saved connections
rm ~/.ssh/known_hosts -
You can test if you can enter to Sagemaker
ssh [email protected] -y
Scenario 2: If you stop your EC2 Bastion and start your instance, do the following steps:
-
You should update you public IP in your computer,
code ~/.ssh/config -
Remove old connections with wrong ip
rm ~/.ssh/known_hosts -
From your personal computer, test if you can connect
ssh Bastion-Serverthen type
ssh ssh [email protected] -y
General Check : You have to verify that your setup is correct:
Jupyter Notebook Side : You must update every time the Jupyter notebook authorized keys file with the .pub key of your Bastion when you stop of restart your SageMaker Instance.
Check that at the end of the authorized keys files in .ssh folder
nano ~/.ssh/authorized_keys
you have the following:
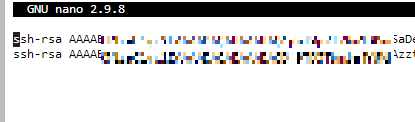
With your latest EC2 key, verify that appears the EC2.internal address at the end of the file for your Bastion Server
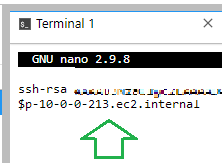
Bastion Side : in the authorized keys file in .ssh folder verify that appears the local ip of your VPC of your Bastion-Server
nano ~/.ssh/authorized_keys

cat ~/.ssh/known_hosts

Your computer Side :
You have to check that the config file you have the public IP address of your Bastion-Server
You must update every time the public IP when you stop of restart your EC2 instance.
code ~/.ssh/config
From your computer you can check
ssh Bastion-Server
then
If everything its okay should run.
Great you have learned how to connect to your Sagameker Notebook instance from your Laptop.
Opening SSH Tunnel (Optional)
If your are interested to run a Web Application which uses for example the port 5000 and you want it to connect it from your Laptop, and connect to you Cluster Sagemaker Notebook, you simply should add a new rule on your Custom-Security-Group , with this port 5000 and CIDR 10.0.0.0/16

Then let us play with Sagemaker Notebook, open a new terminal there
sh-4.2$ source activate python3
(python3) sh-4.2$ pip install flask
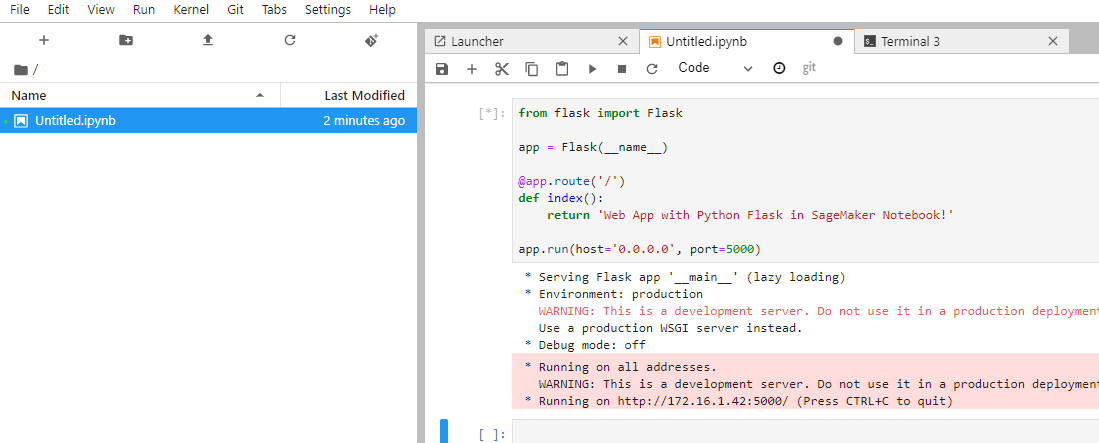
then open a new Jupyter notebook and paste the following code and press shift enter
from flask import Flask

app = Flask(__name__)

@app.route('/')
def index():
    return 'Web App with Python Flask in SageMaker Notebook!'

app.run(host='0.0.0.0', port=5000)
you will have something like
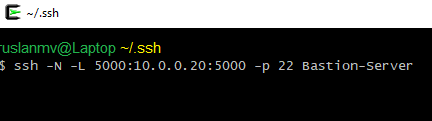
and finally go to your personal computer, and type the following command
ssh -N -L 5000:10.0.0.20:5000 -p 22 Bastion-Server
This will forward port 5000 from your local desktop to the remote SageMaker notebook through a Public facing bastion EC2 instance, in our case it is bastion with IP 52.54.209.62
The key here is -L which says we’re doing local port forwarding. Then it says we’re forwarding our local port 5000 to 10.0.0.20:5000, which is the default port of your WebApp.
Flag -N indicates to not execute a remote command. This is useful for just forwarding ports.
Dont worry if does not happen anything , that means that it is working
Then go to your favorite web browser like
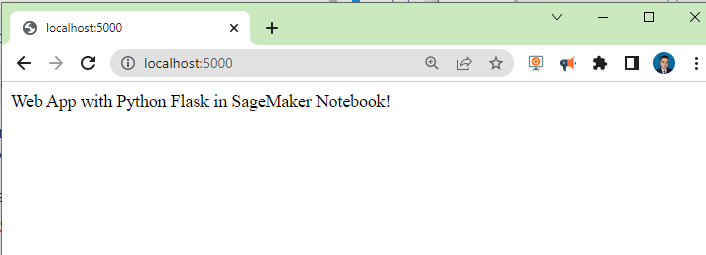
Congratulations! You have connected via ssh to your Sagemaker Notebook and executed Flask.
Leave a comment