How to create exe application that converts mp3 to video by using python
Hello everyone, today I will explain you how to create an executable Windows application with python.
We are interested to create program that converts a simple mp3 audio to mp3 static image, and create an executable .exe program.
We want to create an application with GUI window that converts a .mp3 audio file and an image into a .mp4 video
Step 1 Installation of Conda
First you need to install anaconda at this link

in this location C:\Anaconda3 , then you, check that your terminal , recognize conda
C:\conda --version
conda 4.12.0
Step 2 Environment creation
The environments supported that I will consider is Python 3.10.5,
I will create an environment called **mp3-to-video **, but you can put the name that you like.
conda create -y -n mp3-to-video python==3.10.5
and then type
conda activate mp3-to-video
You will have something like this:
Microsoft Windows [Version 10.0.19044.1706]
(c) Microsoft Corporation. All rights reserved.
C:\Users\ruslanmv>conda activate mp3-to-video
(mp3-to-video) C:\Users\ruslanmv>
then in your terminal type the following commands:
conda install -y -c conda-forge ffmpeg gooey
pip install pyinstaller
Step 3 Creation of the code.
FFmpeg is a free and open-source software project consisting of a suite of libraries and programs for handling video, audio, and other multimedia files and streams. At its core is the command-line ffmpeg tool itself, designed for processing of video and audio files
We are going to use ffmpeg application con to convert an mp3 into a mp4 with a simple image.jpg
If we want to convert a single image.jpg with an audio.mp3 into a output.mp4 we can use the following command
ffmpeg -i image.jpg -i audio.mp3 output.mp4
However for this project we want to customize a little the parameters
ffmpeg -loop 1 -framerate 1 -i image.jpg -i audio.mp3 -map 0:v -map 1:a -r 10 -vf "scale='iw-mod(iw,2)':'ih-mod(ih,2)',format=yuv420p" -movflags +faststart -shortest -fflags +shortest -max_interleave_delta 100M output.mp4
Where
-
-loop 1makesinput.pngloop indefinitely. -
-framerate 1setsinput.pnginput frame rate to 1 fps. -
-map 0 -map 1:achooses the video fromimage.pngand only the audio fromaudio.mp3.This is needed in case
image.pngis smaller than any album/cover art attached to the MP3. -
-r 10sets output frame rate to 10 fps. Setting input to 1 fps and output to 10 fps is for two reasons:- It is faster to input as 1 fps and duplicate frames to 10 fps compared to initially setting the input as 10 fps. It makes encoding faster.
- Most players can’t play anything under ~6 fps or so. 10 is a safe value.
-
scale='iw-mod(iw,2)':'ih-mod(ih,2)'uses scale filter to make sure the output width and height are both divisible by 2 which is a requirement for some encoders. This allows you to use any arbitrarily sized image as an input. Otherwise you can get error:width not divisible by 2. -
format=yuv420pformat filter makes output use YUV 4:2:0 chroma subsampling for playback compatibility. -
-movflags +faststartmakes the video start playing faster. -
-shortestmakes the output as long asaudio.mp3. This is needed because-loop 1was used. -
-fflags +shortest -max_interleave_delta 100Mrelated to-shortestand needed in some cases due to weird behavior by ffmpeg.
So in ordering to create this program we go to our terminal and we create a a folder
cd \
mkdir app
cd app
mkdir src
cd src
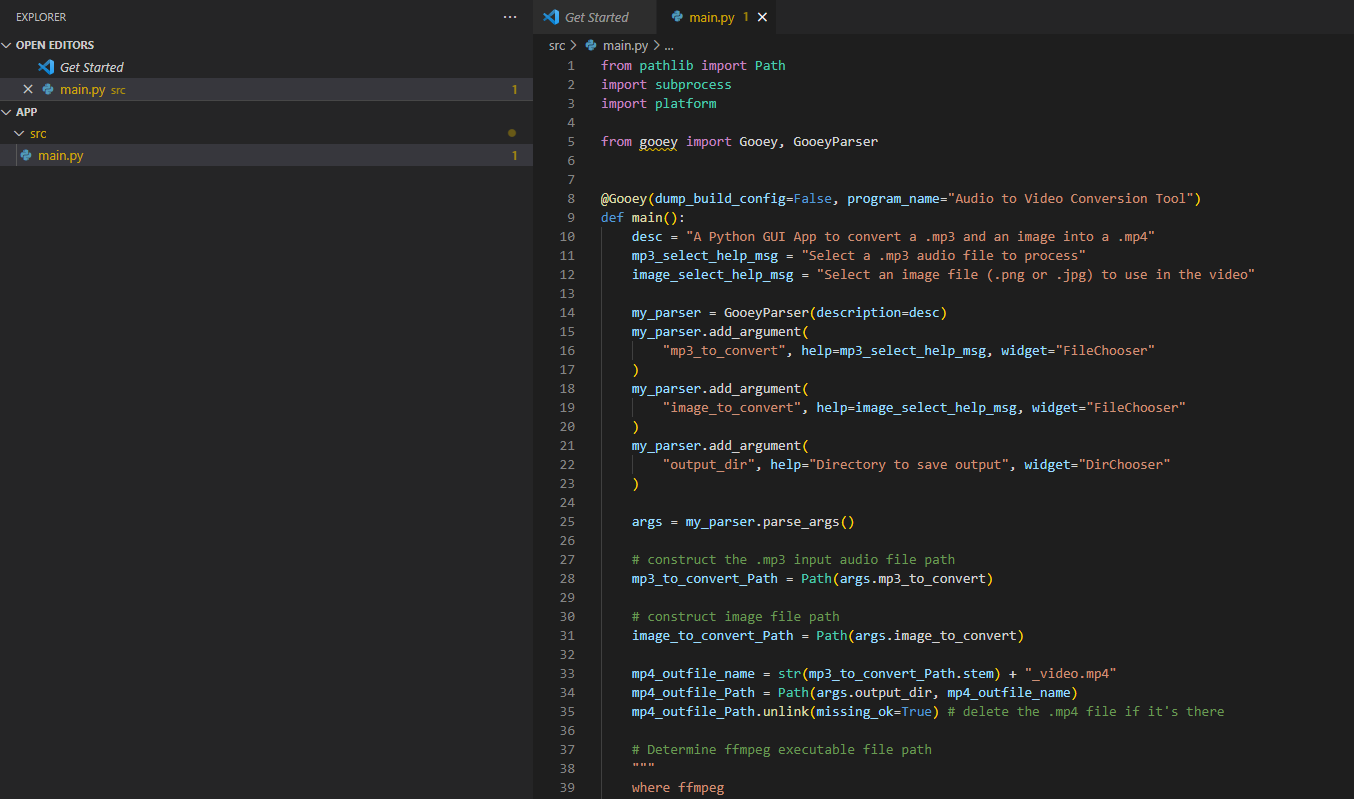
we are in the src folder, there we create the following main.py
from pathlib import Path
import subprocess
import platform

from gooey import Gooey, GooeyParser


@Gooey(dump_build_config=False, program_name="Audio to Video Conversion Tool")
def main():
    desc = "A Python GUI App to convert a .mp3 and an image into a .mp4"
    mp3_select_help_msg = "Select a .mp3 audio file to process"
    image_select_help_msg = "Select an image file (.png or .jpg) to use in the video"

    my_parser = GooeyParser(description=desc)
    my_parser.add_argument(
        "mp3_to_convert", help=mp3_select_help_msg, widget="FileChooser"
    )
    my_parser.add_argument(
        "image_to_convert", help=image_select_help_msg, widget="FileChooser"
    )
    my_parser.add_argument(
        "output_dir", help="Directory to save output", widget="DirChooser"
    )

    args = my_parser.parse_args()

    # construct the .mp3 input audio file path
    mp3_to_convert_Path = Path(args.mp3_to_convert)

    # construct image file path
    image_to_convert_Path = Path(args.image_to_convert)

    mp4_outfile_name = str(mp3_to_convert_Path.stem) + "_video.mp4"
    mp4_outfile_Path = Path(args.output_dir, mp4_outfile_name)
    mp4_outfile_Path.unlink(missing_ok=True) # delete the .mp4 file if it's there

    # Determine ffmpeg executable file path
    """
    where ffmpeg
    """
    if platform.system() == 'Windows':

        ffmpeg_path_bytes = subprocess.check_output("where ffmpeg", shell=True)

    elif platform.system() == 'Linux':
        ffmpeg_path_bytes = subprocess.check_output("which ffmpeg", shell=True)

    ffmpeg_executable_path = ffmpeg_path_bytes.decode().strip()
    print("ffmpeg_executable_path: ", ffmpeg_executable_path)

    # create the ffmpeg command
    """
    ffmpeg -i image.jpg -i audio.mp3 out.mp3 (basic)
    """
    aux = '''-map 0:v -map 1:a -r 10 -vf "scale='iw-mod(iw,2)':'ih-mod(ih,2)',format=yuv420p" -movflags +faststart -shortest -fflags +shortest -max_interleave_delta 100M '''
    ffmpeg_command = f"-loop 1 -framerate 1 -i {image_to_convert_Path} -i {mp3_to_convert_Path}  {aux}  {mp4_outfile_Path}"
    cmd_command = f"{ffmpeg_executable_path} {ffmpeg_command}"


    print(f"input .mp3 file \n {mp3_to_convert_Path}")
    print()
    print(f"input image file \n {image_to_convert_Path}")
    print()
    print(f"output .mp4 file \n {mp4_outfile_Path}")
    print()
    print("cmd prompt command: ")
    print()


    # call ffmpeg
    returned_value = subprocess.call(cmd_command, shell=True)# returns the exit code in unix

    print("returned value:", returned_value)

if __name__ == "__main__":
      main()
you will have something like
Step 4 Creation of the executable program
Here we go to our terminal
conda activate mp3-to-video
cd  c:\app\src
you will have something like
Microsoft Windows [Version 10.0.19044.1826]
(c) Microsoft Corporation. All rights reserved.

C:\Users\ruslanmv>conda activate mp3-to-video

(mp3-to-video) C:\Users\ruslanmv>cd c:\app\src

(mp3-to-video) c:\app\src>
then you type the “magic “command
pyinstaller --onefile main.py
and you wait like 2 minutes and you got the following output
(mp3-to-video) c:\app\src>pyinstaller --onefile main.py
1344 INFO: PyInstaller: 5.2
1344 INFO: Python: 3.10.5 (conda)
1358 INFO: Platform: Windows-10-10.0.19044-SP0
1359 INFO: wrote c:\app\src\main.spec
1365 INFO: UPX is not available.
1372 INFO: Extending PYTHONPATH with paths
['c:\\app\\src']
5165 INFO: checking Analysis
5166 INFO: Building Analysis because Analysis-00.toc is non existent
5166 INFO: Initializing module dependency graph...
5167 INFO: Caching module graph hooks...
.
.
.
73635 INFO: Writing RT_ICON 5 resource with 9640 bytes
73635 INFO: Writing RT_ICON 6 resource with 4264 bytes
73636 INFO: Writing RT_ICON 7 resource with 1128 bytes
73640 INFO: Copying 0 resources to EXE
73640 INFO: Embedding manifest in EXE
73641 INFO: Updating manifest in c:\app\src\dist\main.exe.notanexecutable
73702 INFO: Updating resource type 24 name 1 language 0
73705 INFO: Appending PKG archive to EXE
73724 INFO: Fixing EXE headers
77386 INFO: Building EXE from EXE-00.toc completed successfully.

(mp3-to-video) c:\app\src>
then inside of the folder dist
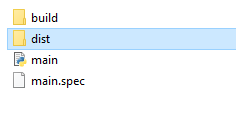
you have created you .exe file

you click twice to main.exe
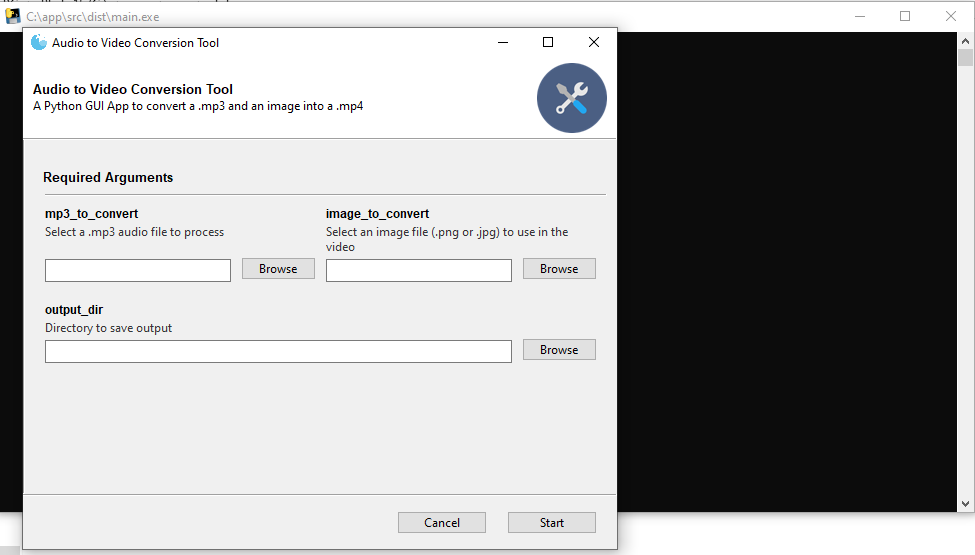
You can choose the mp3 file and the image to convert and also you choose the folder where you want that your video file will be created
and click start.
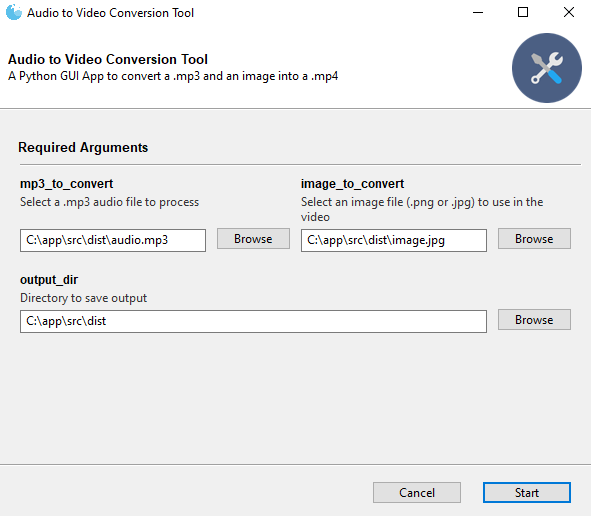
And wuala, you have created an Windows .exe application by using Python.
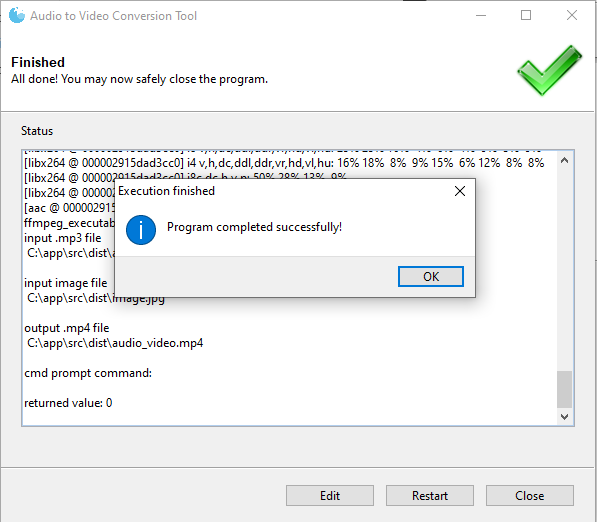
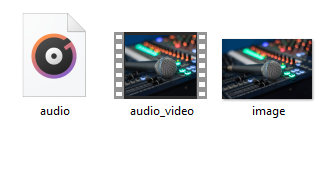
this is the result:
You can download the exe application here
Congratulations! you have created an application that convert mp3 to mp4 with static image.

Leave a comment