
How to Install Terraform in Ubuntu as a virtual machine on Windows
We are going to install Terraform in Ubuntu 20.04 to start developing our AWS infrastructure.
In addition we are going to setup the Virtual Box with Ubuntu and install AWS CLI, Terraform and Terragrunt with Microsoft Visual Code as main editor.
Table of Contents
- Section 1. Ubuntu as a virtual machine on Windows
- Section 2, Installation AWS CLI , Terraform and Terragrunt
- Section 3. Configure access to AWS account
- Section 4. Install Visual Studio Code
If you are working in Windows or Mac you can install VirtualBox 6.1.22 otherwise you can skip the following step.
Section 1. Ubuntu as a virtual machine on Windows
To install Ubuntu as a virtual machine on Windows 10:
-
Download VirtualBox for Windows and install it on your computer.
-
Download the Ubuntu ISO file you want to install from the Ubuntu download page.

-
Open VirtualBox and select New in the top taskbar.
-
Give your VM a name, choose Linux as the Type, then choose Ubuntu as the Version and select Next.
-
Choose how much RAM you want to assign to the virtual machine and select Next. The recommended minimum is 1024 MB . I will use 4096 MB
The amount of memory you set aside is only used while the virtual machine is running.
-
Choose Create a virtual hard disk now and select Create.
You must create a virtual hard drive to save the changes you make in Ubuntu.
-
Choose VDI (VirtualBox Disk Image) and select Next.
-
Choose Dynamically allocated or Fixed size for the storage type and select Next.
A fixed size disk performs better because the virtual machine doesn’t have to increase the file size as you install software.
Choose at least 20GB of size.
-
The name of your virtual machine will now appear on the left side of the VirtualBox manager. Select Start in the toolbar to launch your VM.
-
This is the point where you need to choose the Ubuntu ISO file you downloaded earlier.
-
Select Add in the window that pops up.
-
Choose your Ubuntu disk image and select Open.
-
Select Choose.
-
Select Start.
-
Your VM will now boot into a live version of Ubuntu. Choose your language and select Install Ubuntu.
If you select Try Ubuntu, you can run the installer later by double-clicking Install Ubuntu on the desktop.
-
Choose your keyboard layout and select Continue.
-
Choose Normal installation or Minimal installation, then select Continue.
Check the boxes under Other Options to download updates.
-
Choose Erase disk and install Ubuntu and select Install Now, then select Continue to ignore the warning.
This step will not erase your computer’s physical hard drive; it only applies to the virtual machine.
-
Choose your time zone on the map, then select Continue.
-
Set up your user account, your computer we select
awsand select Continue. -
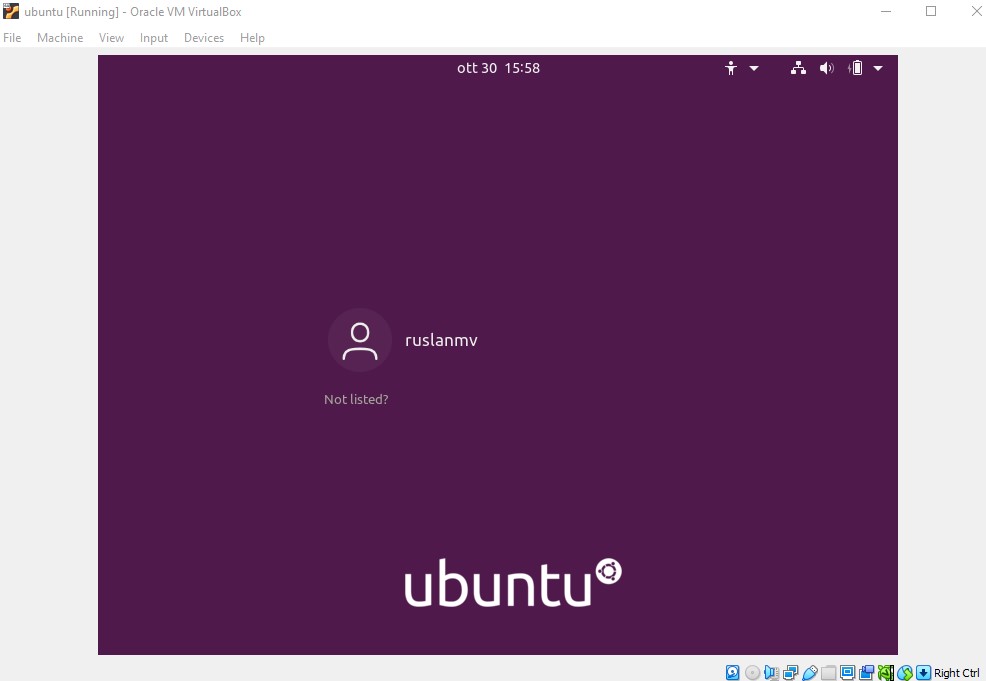
Select Restart Now and press enter. After restart you will have something like
-
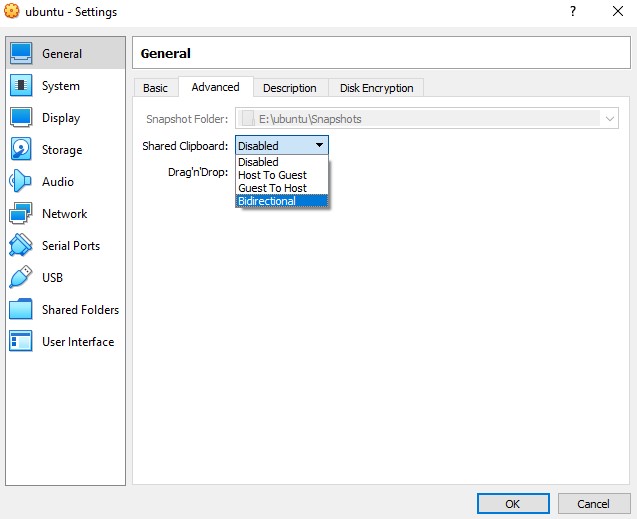
To enable the shared clipboard in VirtualBox , go to Oracle VM Virtual Box Manager and our image called ubuntu click settings then General>Advanced>Shared Clipboard we change to Bidirectional and then click OK
-
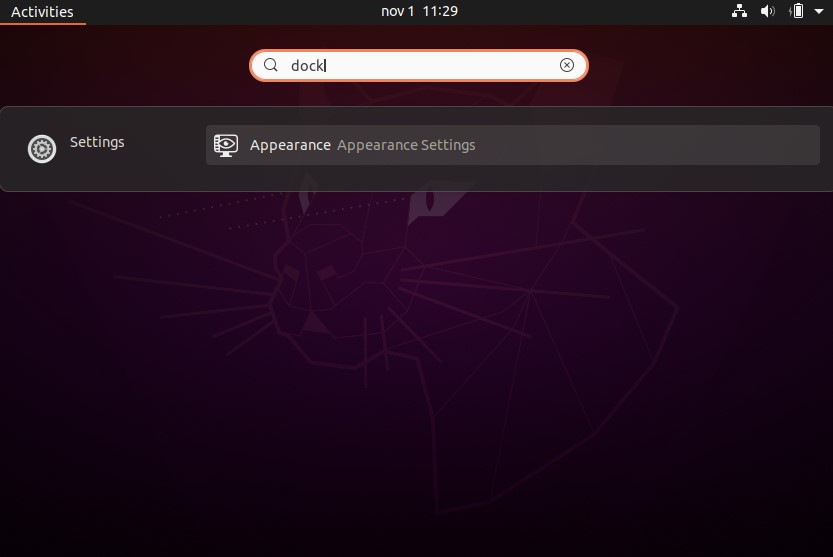
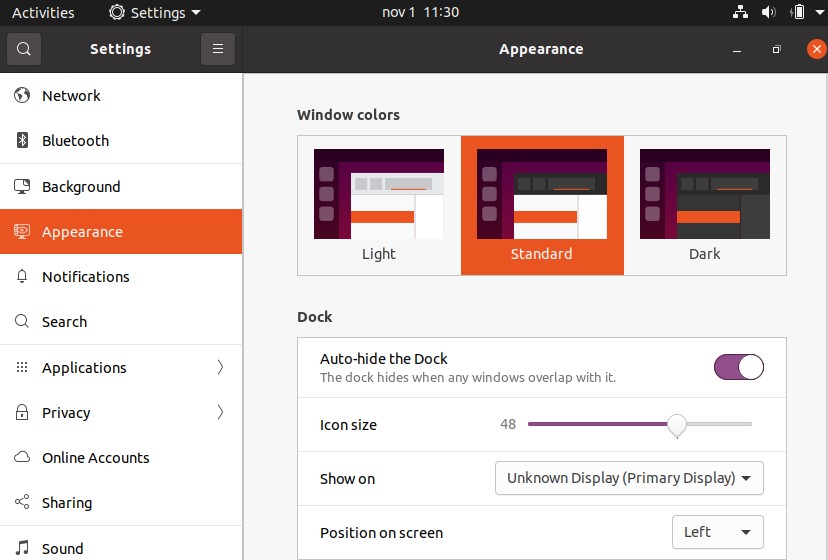
Hide the Dock (optional)
Due to we will going to code, we need work with a clean screen. so Let us to clear the screen in ubuntu by removing the left panel of ubuntu while we are coding.
Press the Win key on your keyboard and type “dock” to filter the app list down to the sub-page you need in “Appearance Settings.” Select the Settings entry that appears to open that page.
Enable the toggle next to “Auto-hide the Dock.”
-
Then return back to your terminal in Ubuntu , open a new terminal,
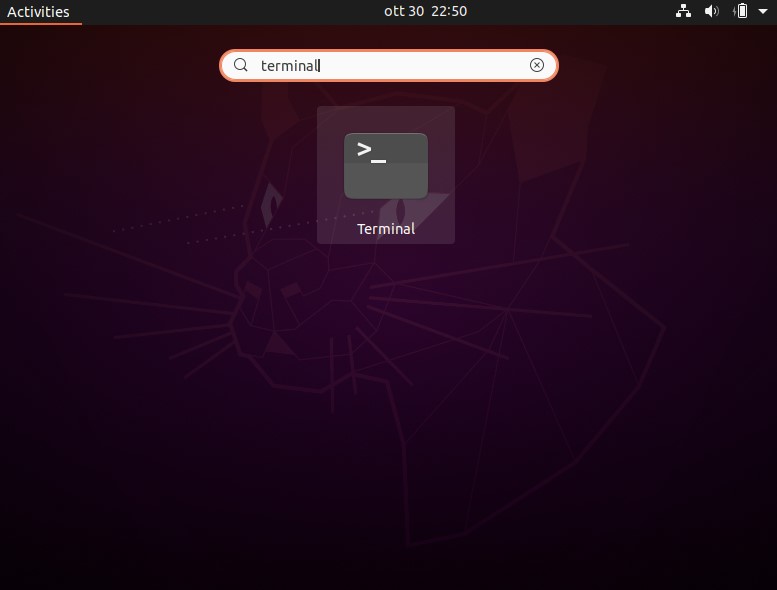
-
and type the following
sudo apt-get updatesudo apt install virtualbox-guest-x11sudo VBoxClient --clipboardthen Shared Clipboard should be work. Copy the following text
echo 'Your VM is Ready!'and paste it with
ctrl+shift+vand then press enter.Great, now you have virtual box with Ubuntu ready to start your project.
Section 2. Installation AWS CLI , Terraform and Terragrunt
First update the package repository cache with the following command:
sudo apt-get update
AWS CLI
Now install AWS CLI with the following command:
sudo apt-get install awscli
Now press y and then press Enter to continue.
Now check whether AWS CLI is working with the following command:
aws --version
you should have something like
aws-cli/1.18.69 Python/3.8.5 Linux/5.11.0-38-generic botocore/1.16.19
Terraform
In this project we will use the Terraform version 0.13.5
We first need install software-properties-common, gnupg, and curl packages
sudo apt-get install -y software-properties-common
sudo apt-get install gnupg
sudo apt install curl
We will verify the HashiCorp’s GPG signature, and install HashiCorp’s
sudo apt-get update && sudo apt-get install -y gnupg software-properties-common curl
Add the HashiCorp GPG key.
curl -fsSL https://apt.releases.hashicorp.com/gpg | sudo apt-key add -
Add the official HashiCorp Linux repository.
sudo apt-add-repository "deb [arch=amd64] https://apt.releases.hashicorp.com $(lsb_release -cs) main"
Update to add the repository, and install the Terraform CLI.
sudo apt-get update && sudo apt-get install terraform=0.13.5
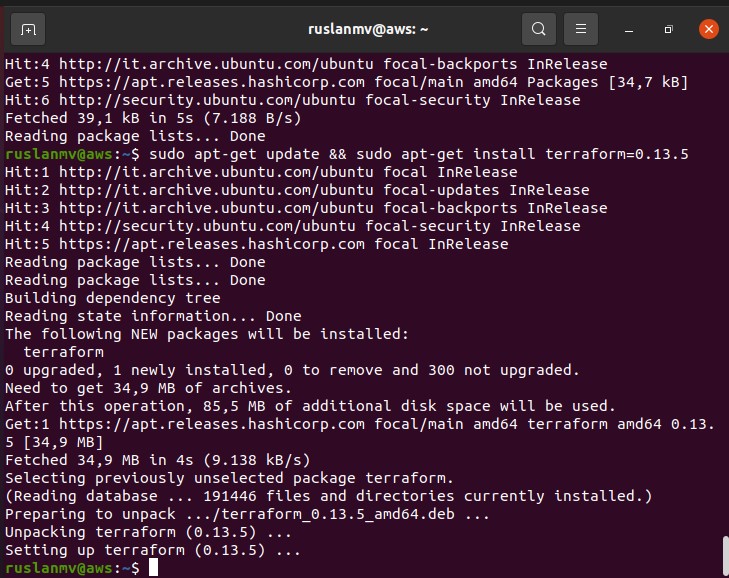
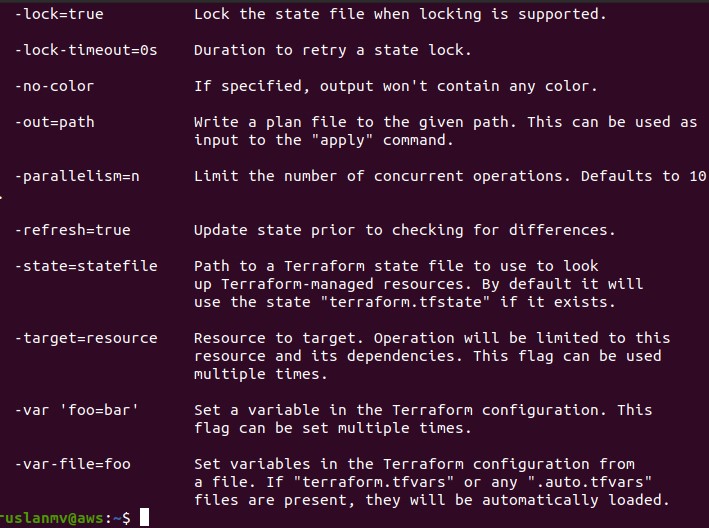
Verify the installation
terraform -help plan
Additional resource’s.(optional)
If you are interested to switch different versions of Terraform, you can install tfswitch
sudo snap install tfswitch
Terragrunt
Terragrunt is used to work with Terraform configurations which allows to orchestrate dependent layers, update arguments dynamically and keep configurations DRY.
The officially supported versions are:
| Terraform Version | Terragrunt Version |
|---|---|
| 1.0.x | >= 0.31.0 |
| 0.15.x | >= 0.29.0 |
| 0.14.x | >= 0.27.0 |
| 0.13.x | >= 0.25.0 |
In this project we will use Terraform version 0.13.5 of and Terragrunt 0.29.4
sudo apt-get install build-essential procps curl file git
then we install brew
/bin/bash -c "$(curl -fsSL https://raw.githubusercontent.com/Homebrew/install/HEAD/install.sh)"
and then press enter ,you will have something like
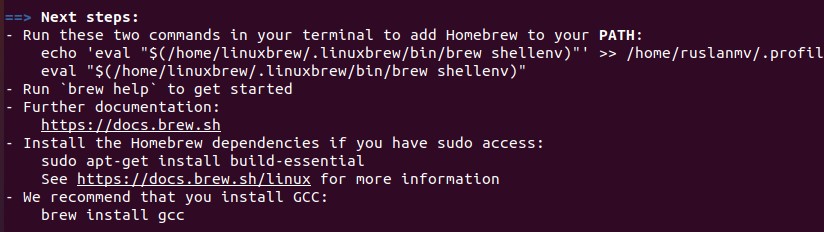
then copy the two commands like says in your terminal as example in my case is
echo 'eval "$(/home/linuxbrew/.linuxbrew/bin/brew shellenv)"' >> /home/ruslanmv/.profile
eval "$(/home/linuxbrew/.linuxbrew/bin/brew shellenv)"
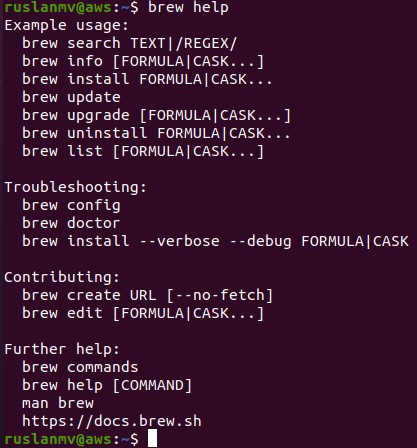
then you can test your brew installation by
brew help
and finally we can install Terragrunt.
We are going to us the following package tgenv to switch different versions of terragrunt.
git clone https://github.com/cunymatthieu/tgenv.git ~/.tgenv
you can make symlinks for tgenv/bin/* scripts into a path that is already added to your $PATH (e.g. /usr/local/bin) OSX/Linux Only!
sudo ln -s ~/.tgenv/bin/* /usr/local/bin
Install a specific version of terragrunt
tgenv install 0.29.4
to install latest version
tgenv install latest
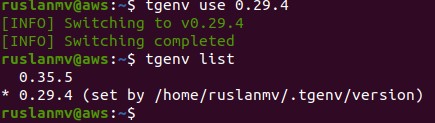
List installed versions
tgenv list
Switch a version to use 0.29.4 is a syntax to use the latest installed version
tgenv use 0.29.4
terragrunt --version
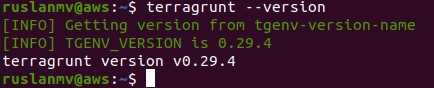
terraform --version

Perfect, now we are ready start setup the AWS credentials.
Section 3. Configure access to AWS account
There are several ways to view and set your configuration settings in the files.
-
The first method is use
aws configureRun this command to quickly set and view your credentials, region, and output format. The following example shows sample values.
$ aws configure
AWS Access Key ID [None]: AKIAIOSFODNN7EXAMPLE
AWS Secret Access Key [None]: wJalrXUtnFEMI/K7MDENG/bPxRfiCYEXAMPLEKEY
Default region name [None]: us-east-1
Default output format [None]: json
-
The second method is by using Credentials and config file.
Import
CSVcredentials generated from the AWS web console.aws configure import --csv credentials.csv
To list all configuration data, use the aws configure list command. This command displays the AWS CLI name of all settings you’ve configured
aws configure list
You can create s3 bucket and check if you can see it with the command
aws s3 ls
For Terraform to be able to make changes in your AWS account, you will need to set the AWS credentials for the IAM user you created earlier as the environment variables AWS_ACCESS_KEY_ID and AWS_SECRET_ACCESS_KEY.
The recommended way to configure access credentials to AWS account is using environment variables:
export AWS_ACCESS_KEY_ID=(your access key id)
export AWS_SECRET_ACCESS_KEY=(your secret access key)
export AWS_DEFAULT_REGION=us-east-1
If your are using additional layers of security such as Token, you should also include it.
export AWS_SESSION_TOKEN=(your token key)
Note that these environment variables apply only to the current shell, so if you reboot your computer or open a new terminal window, you’ll need to export these variables again.
Alternatively, you can edit terragrunt.hcl and use another authentication mechanism as described in AWS provider documentation.
You can use an AWS credentials or configuration file to specify your credentials. The default location is $HOME/.aws/credentials on Linux and macOS, or "%USERPROFILE%\.aws\credentials" on Windows. You can optionally specify a different location in the Terraform configuration by providing the shared_credentials_file argument or using the AWS_SHARED_CREDENTIALS_FILE environment variable.
Great, now le us install the editor where we can start creating our infrastructure code
Section 4. Install Visual Studio Code
The Visual Studio Code is available from the official Microsoft Apt repositories.
sudo apt install software-properties-common apt-transport-https wget
Import the Microsoft GPG key using the following wget command:
wget -q https://packages.microsoft.com/keys/microsoft.asc -O- | sudo apt-key add -
And enable the Visual Studio code repository by typing:
sudo add-apt-repository "deb [arch=amd64] https://packages.microsoft.com/repos/vscode stable main"
Once the apt repository is enabled, install the Visual Studio code package:
sudo apt install code
First let us create a folder where we will create our project.
mkdir project
cd project
VS Code can be launched from the command line by typing
code .
then click Trust the authors.
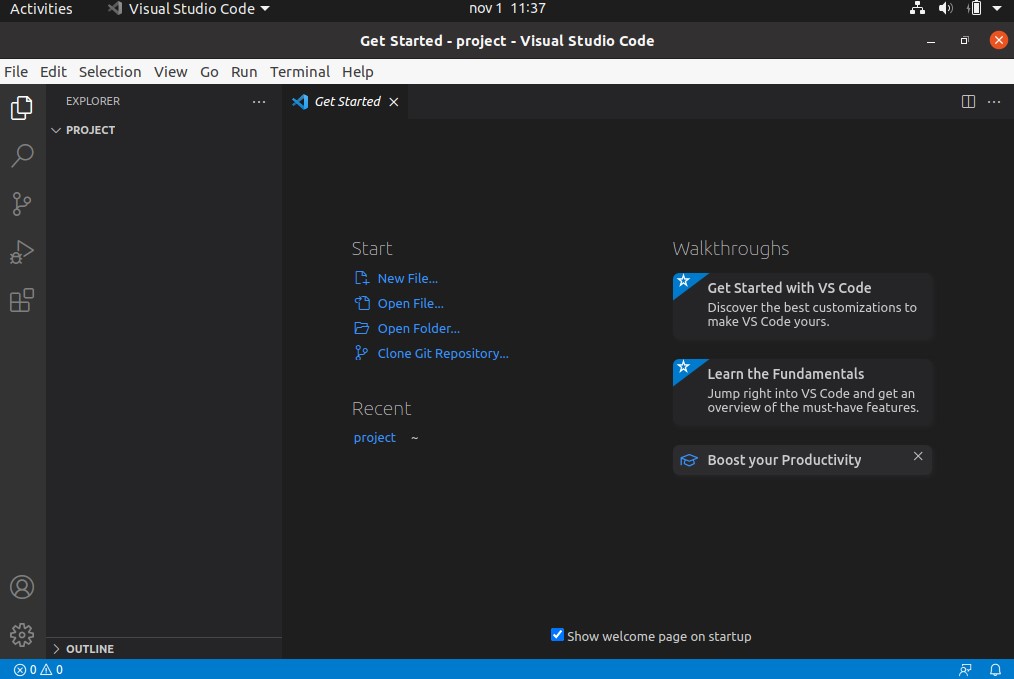
Then, you can install an additional extension in VS code
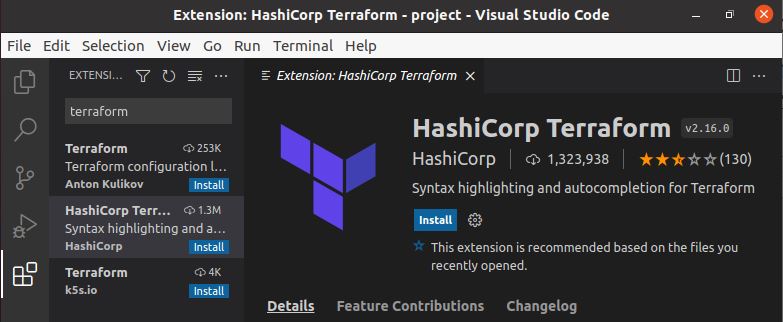
Well done ! Now we are ready start developing our AWS infrastructure.
Leave a comment